I try to stay reasonably fit and strong. One of the cheapest, easiest and convenient forms of exercise is running. So I run and I know it’s good for me (mentally and physically), but it’s not my favourite thing to do.
Every so often I sign up for a competitive running event because it’s a good way to scare myself into keeping active.
The History
In November 2016 my uncle was signed up for a running race called the Zevenheuvelenloop (Seven hills run) in Nijmegen, The Netherlands. He and his running buddy were unable to participate and handed their entries over to my ‘partner-in-crime’ and I. Soon thereafter we were signed up for the Bruggenloop (Bridge run) in Rotterdam, The Netherlands.
Around this time my partner came across a blog post written by two Dutch girls who were challenging themselves to run twelve competitive running events in 12 months in order to achieve 12 medals. When he told me about it, it would seem that I dared him to do it and somehow we both ‘signed up’ for running 12 races in 12 months.
The Challenge
We’ve set up some rules for ourselves for this challenge. The challenge is to complete twelve competitive, and officially recognised, running events in a twelve month period. The race you has to be 10 kilometres or over. The event has to award a medal.
We did not have any other limiting conditions on the way we completed the challenge. We completed a variety of events, all over The Netherlands (and one in Budapest) covering a range of distances: 10 kilometres, a car-chasing event,10 english miles (16K) and a half marathon.
If you want to sign up to an official 12in12 challenge, commit to 12 events of the same distance and receive a 12in12 medal; then there is an official challenge site 12in12.
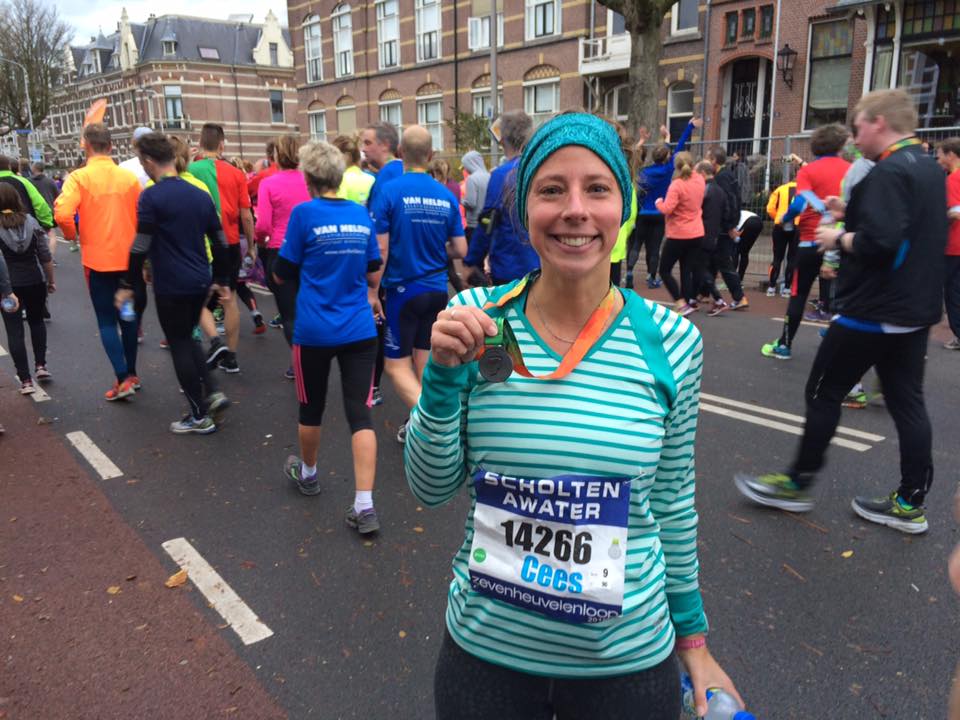
One of the most popular and scenic races in The Netherlands, despite the name it doesn’t have seven hills, rather it’s named after the street along which you run, the Zevenheuvelenweg.
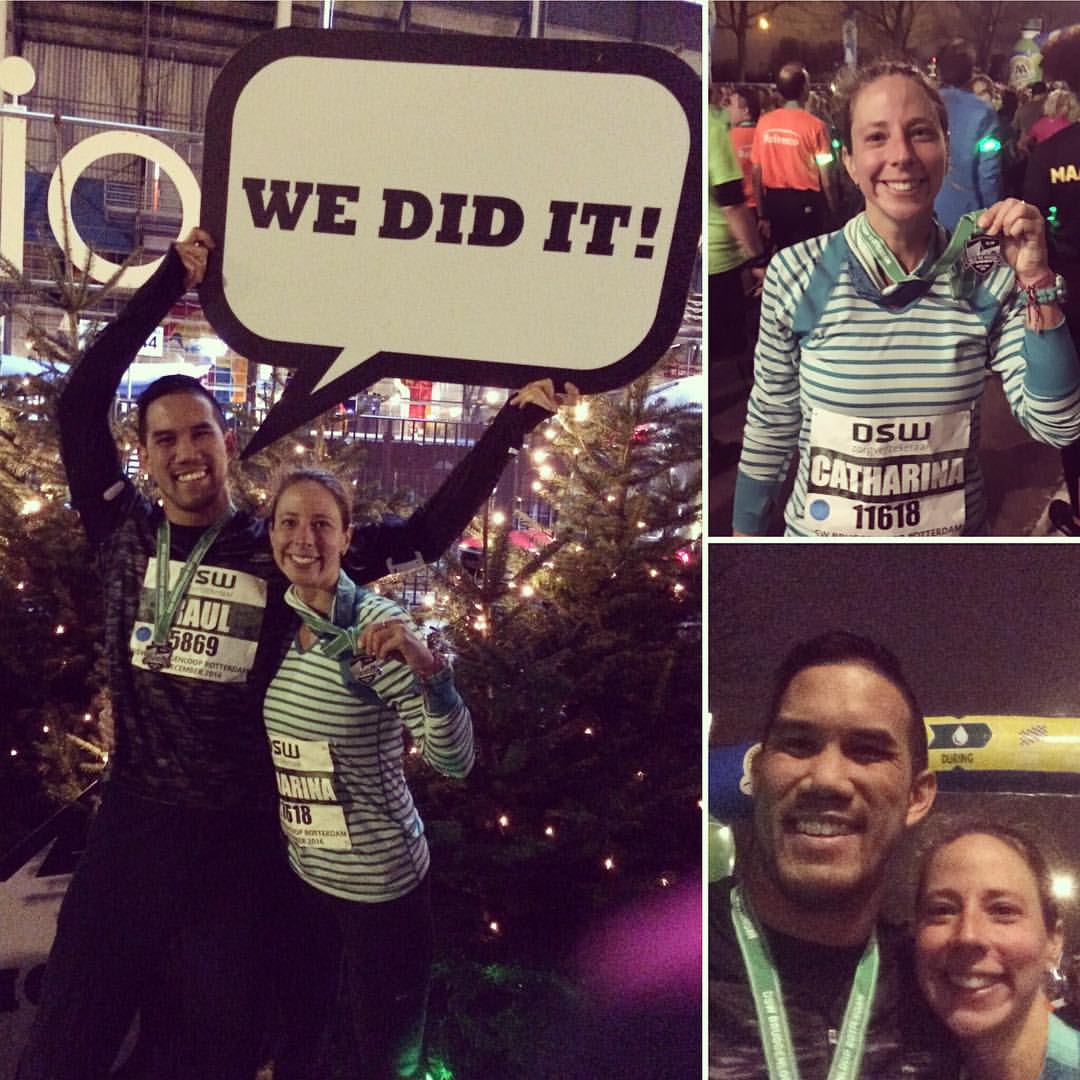
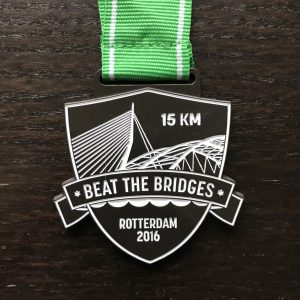
Really fun evening race where you run through the sunset and everyone wears flashing green armbands. After the sun has set the sea of green flowing through the streets looks awesome. The run crosses several bridges and passes through a tunnel; it’s a great city tour of Rotterdam with many cheering spectators. This is probably my favourite medal simply based on it’s appearance.
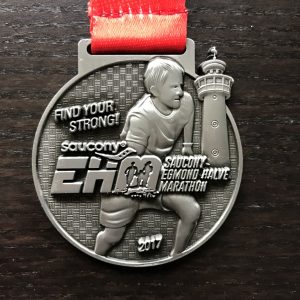
A run along the beach and through the dunes is not my ideal terrain, but it certainly was scenic! This was a tough race as I was not just fighting the cold, I was fighting the flu. I like that the medal is quite heavy, it’s reflective of the heavy nature of a half marathon along the beach in the winter.
A very quiet and cold forest run, not the most inspiring event. We took the opportunity to do some sightseeing of the Royal Summer Palace after the race, since we were in the neighbourhood.
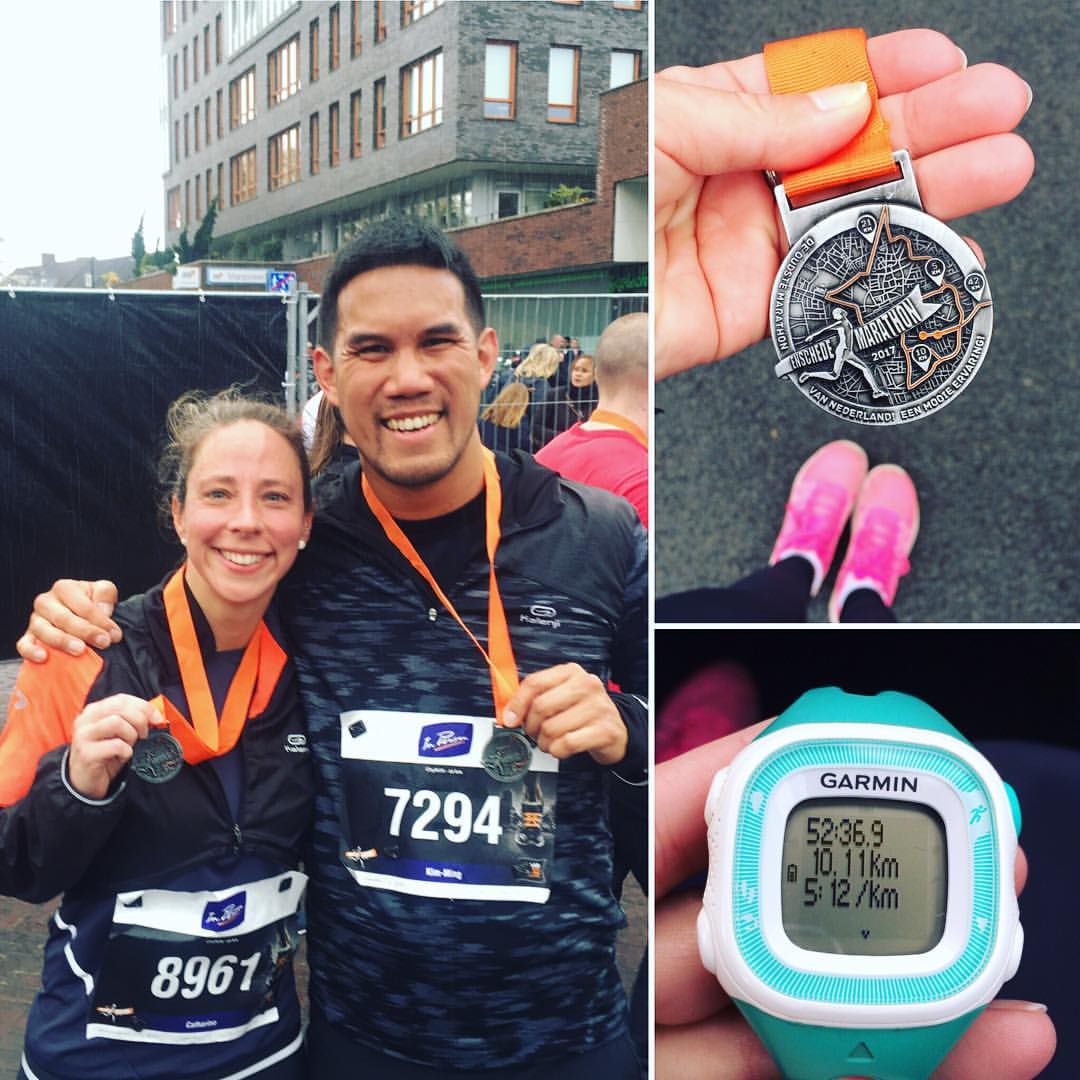
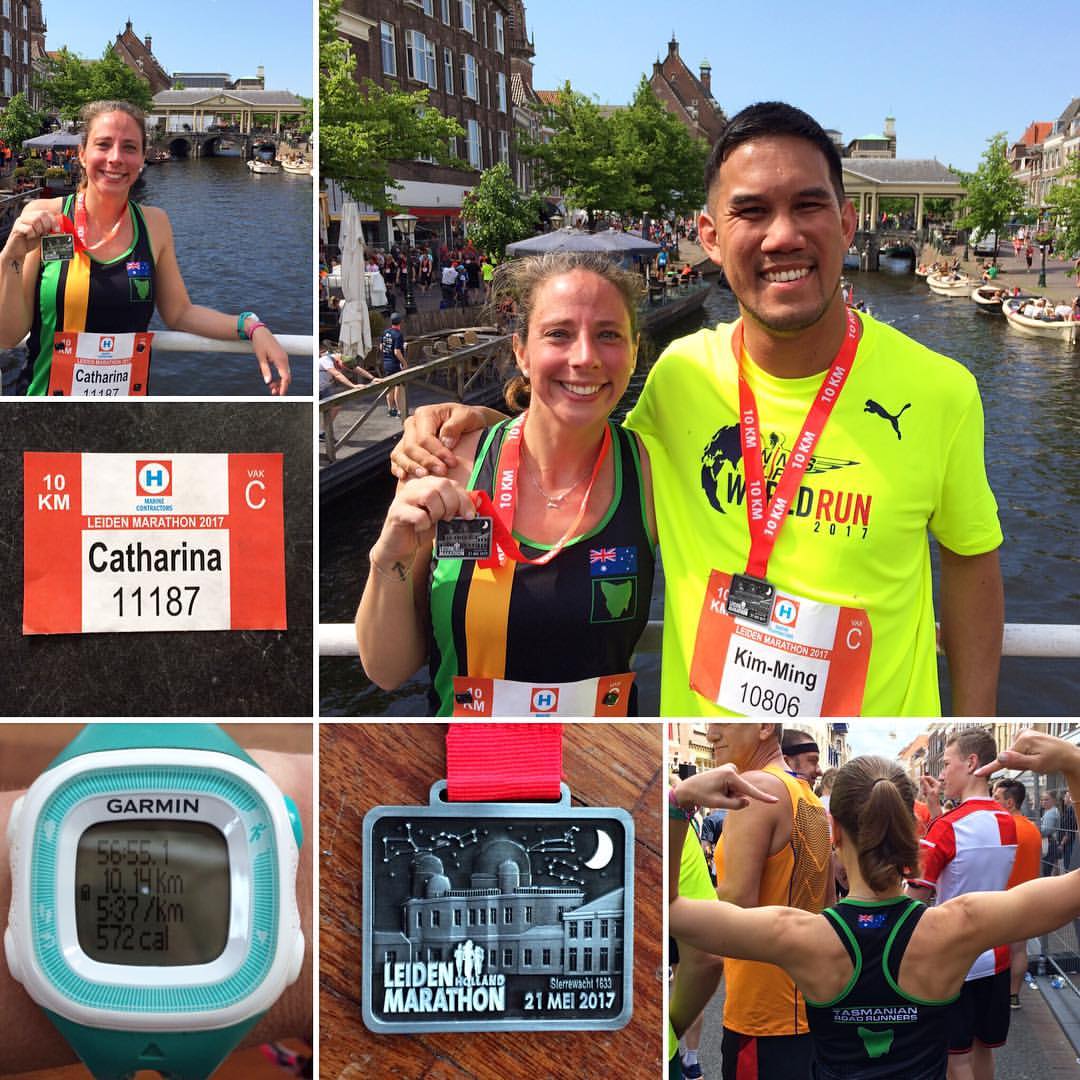
As Enschede is a border city we combined this event with a weekend trip to a pink castle in Benrath and explore the city of Düsseldorf, Germany. Aside from our sightseeing, the event itself wasn’t particularly memorable.
With a group of five of us, we made a team called the “Suckers for Punishment” and signed up for the Red Bull Wings for Life relay. It’s an awesome race with no set distance, you simply keep running until a chaser car catches up with you. It’s a fund raising event to support sufferers of spinal cord injury. Absolutely truck loads of fun!
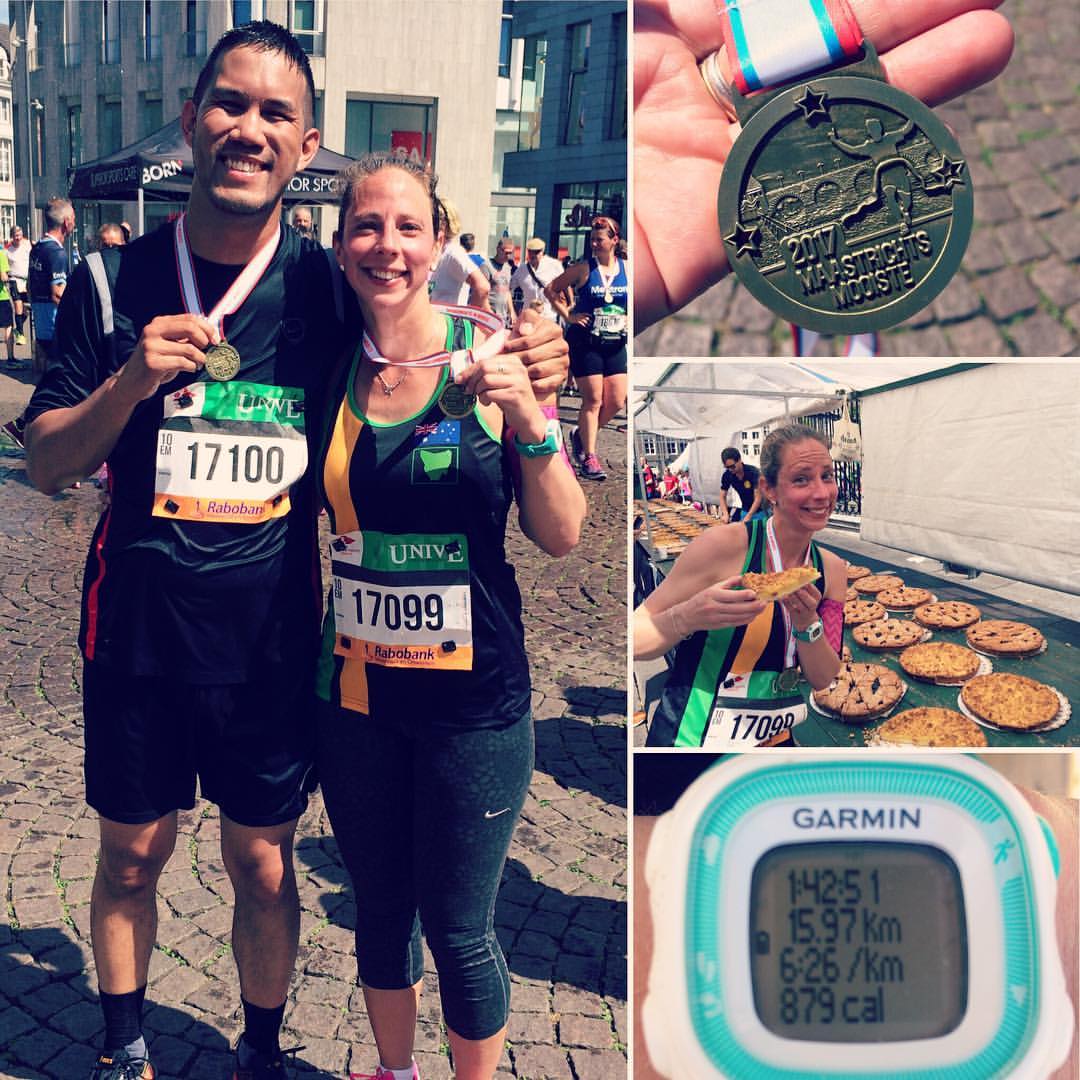
A beautiful but challenging run in crazy hot weather; with a cheeky loop over the border into Belgium (I can assure you though, I did not run with my passport in my pocket). This was the only race where I have ever been given cake at the end! It’s a traditional cake called Limburgse Vlaai.
The most popular race in The Netherlands is by far the Dam tot Damloop. Entries sell out within hours of registration opening. A run from the centre of Amsterdam to the city of Zaandam. After a break from running over the summer, this was quite a challenging run; despite the pain I was in, the huge volume of spectators cheering us on was a real motivator! Note: I forgot to wear my Garmin on this run, so stats are pulled manually from the official event site.
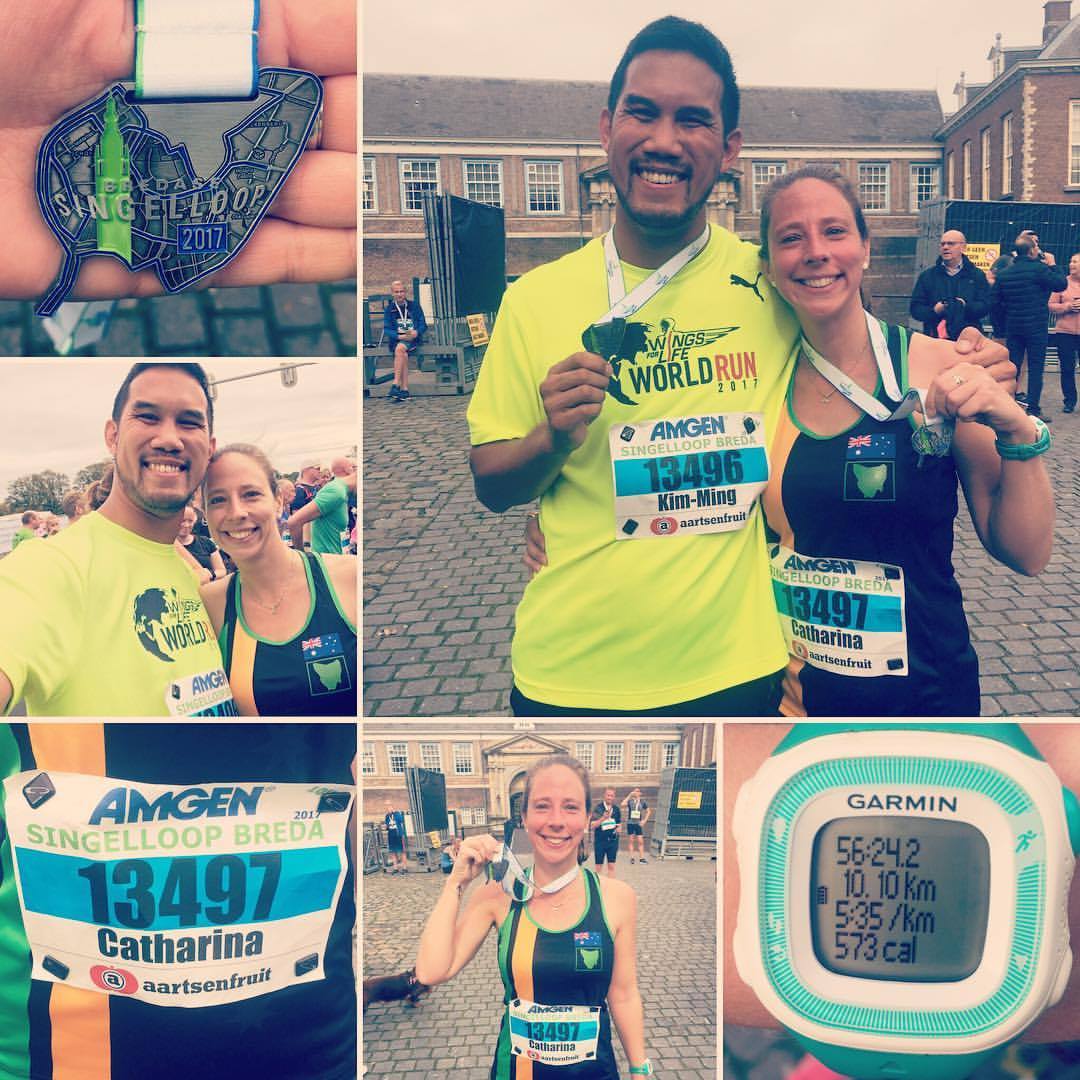
Breda is another cute town, with adorable architecture, cobble-stone streets, bridges and canals. The race finished near the church, which is the architectural focal point of the city.
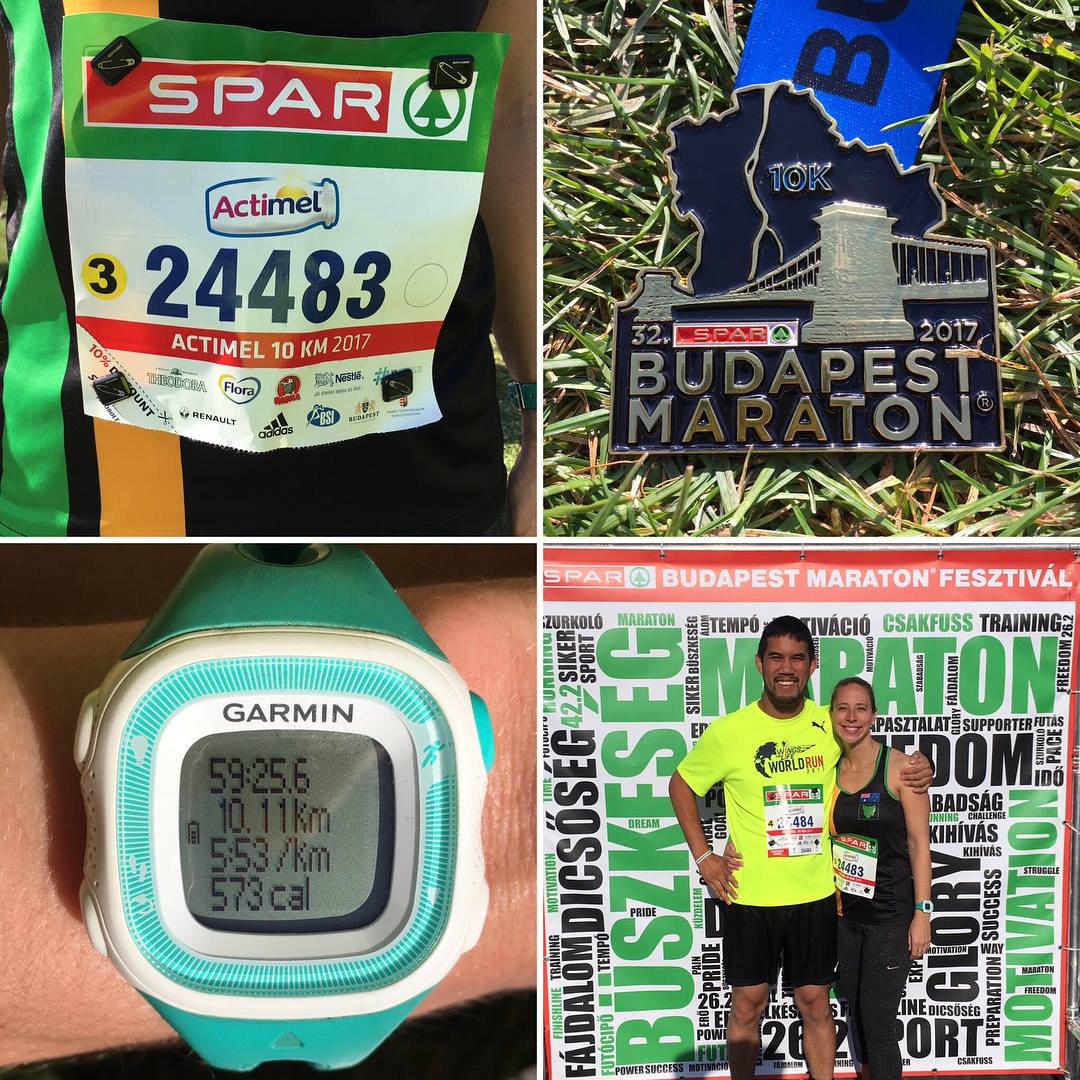
We celebrated the offical finish of our challenge with a holiday and run in one of our favourite cities, Budapest. We had beautiful weather and it was a nice, different way to do a ‘city tour’. The best way to relax all the muscles after the run was a half day soak in the thermal baths and an evening river cruise down the Danube.
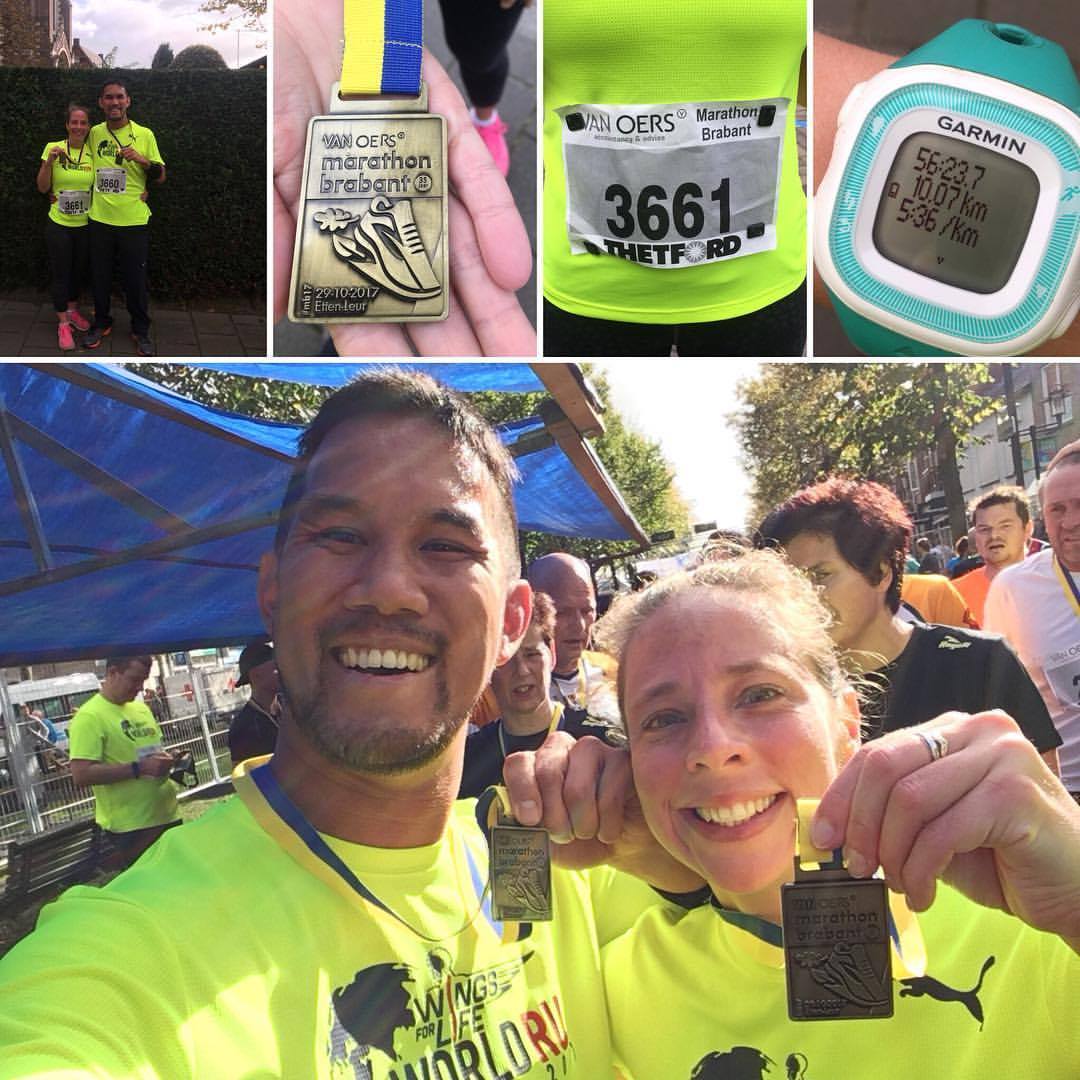
Lucky run number thirteen. Despite our planned big hurrah of a final race in Budapest, we decided that to add a thirteenth race into the mix and wrap up our challenge with an event in our home town. As a recent local the entire run, apart from the start and finish 1 kilometre, was new territory for me. A nice way to see more of my new town. With the wintery weather, we had fantastic luck that we finished the race and got home just 5 minutes before the torrential rain began!
TOTAL
Distance: 174.52 kilometres
Time: 16:49:21
Overall Average Pace: 5:45 min/km
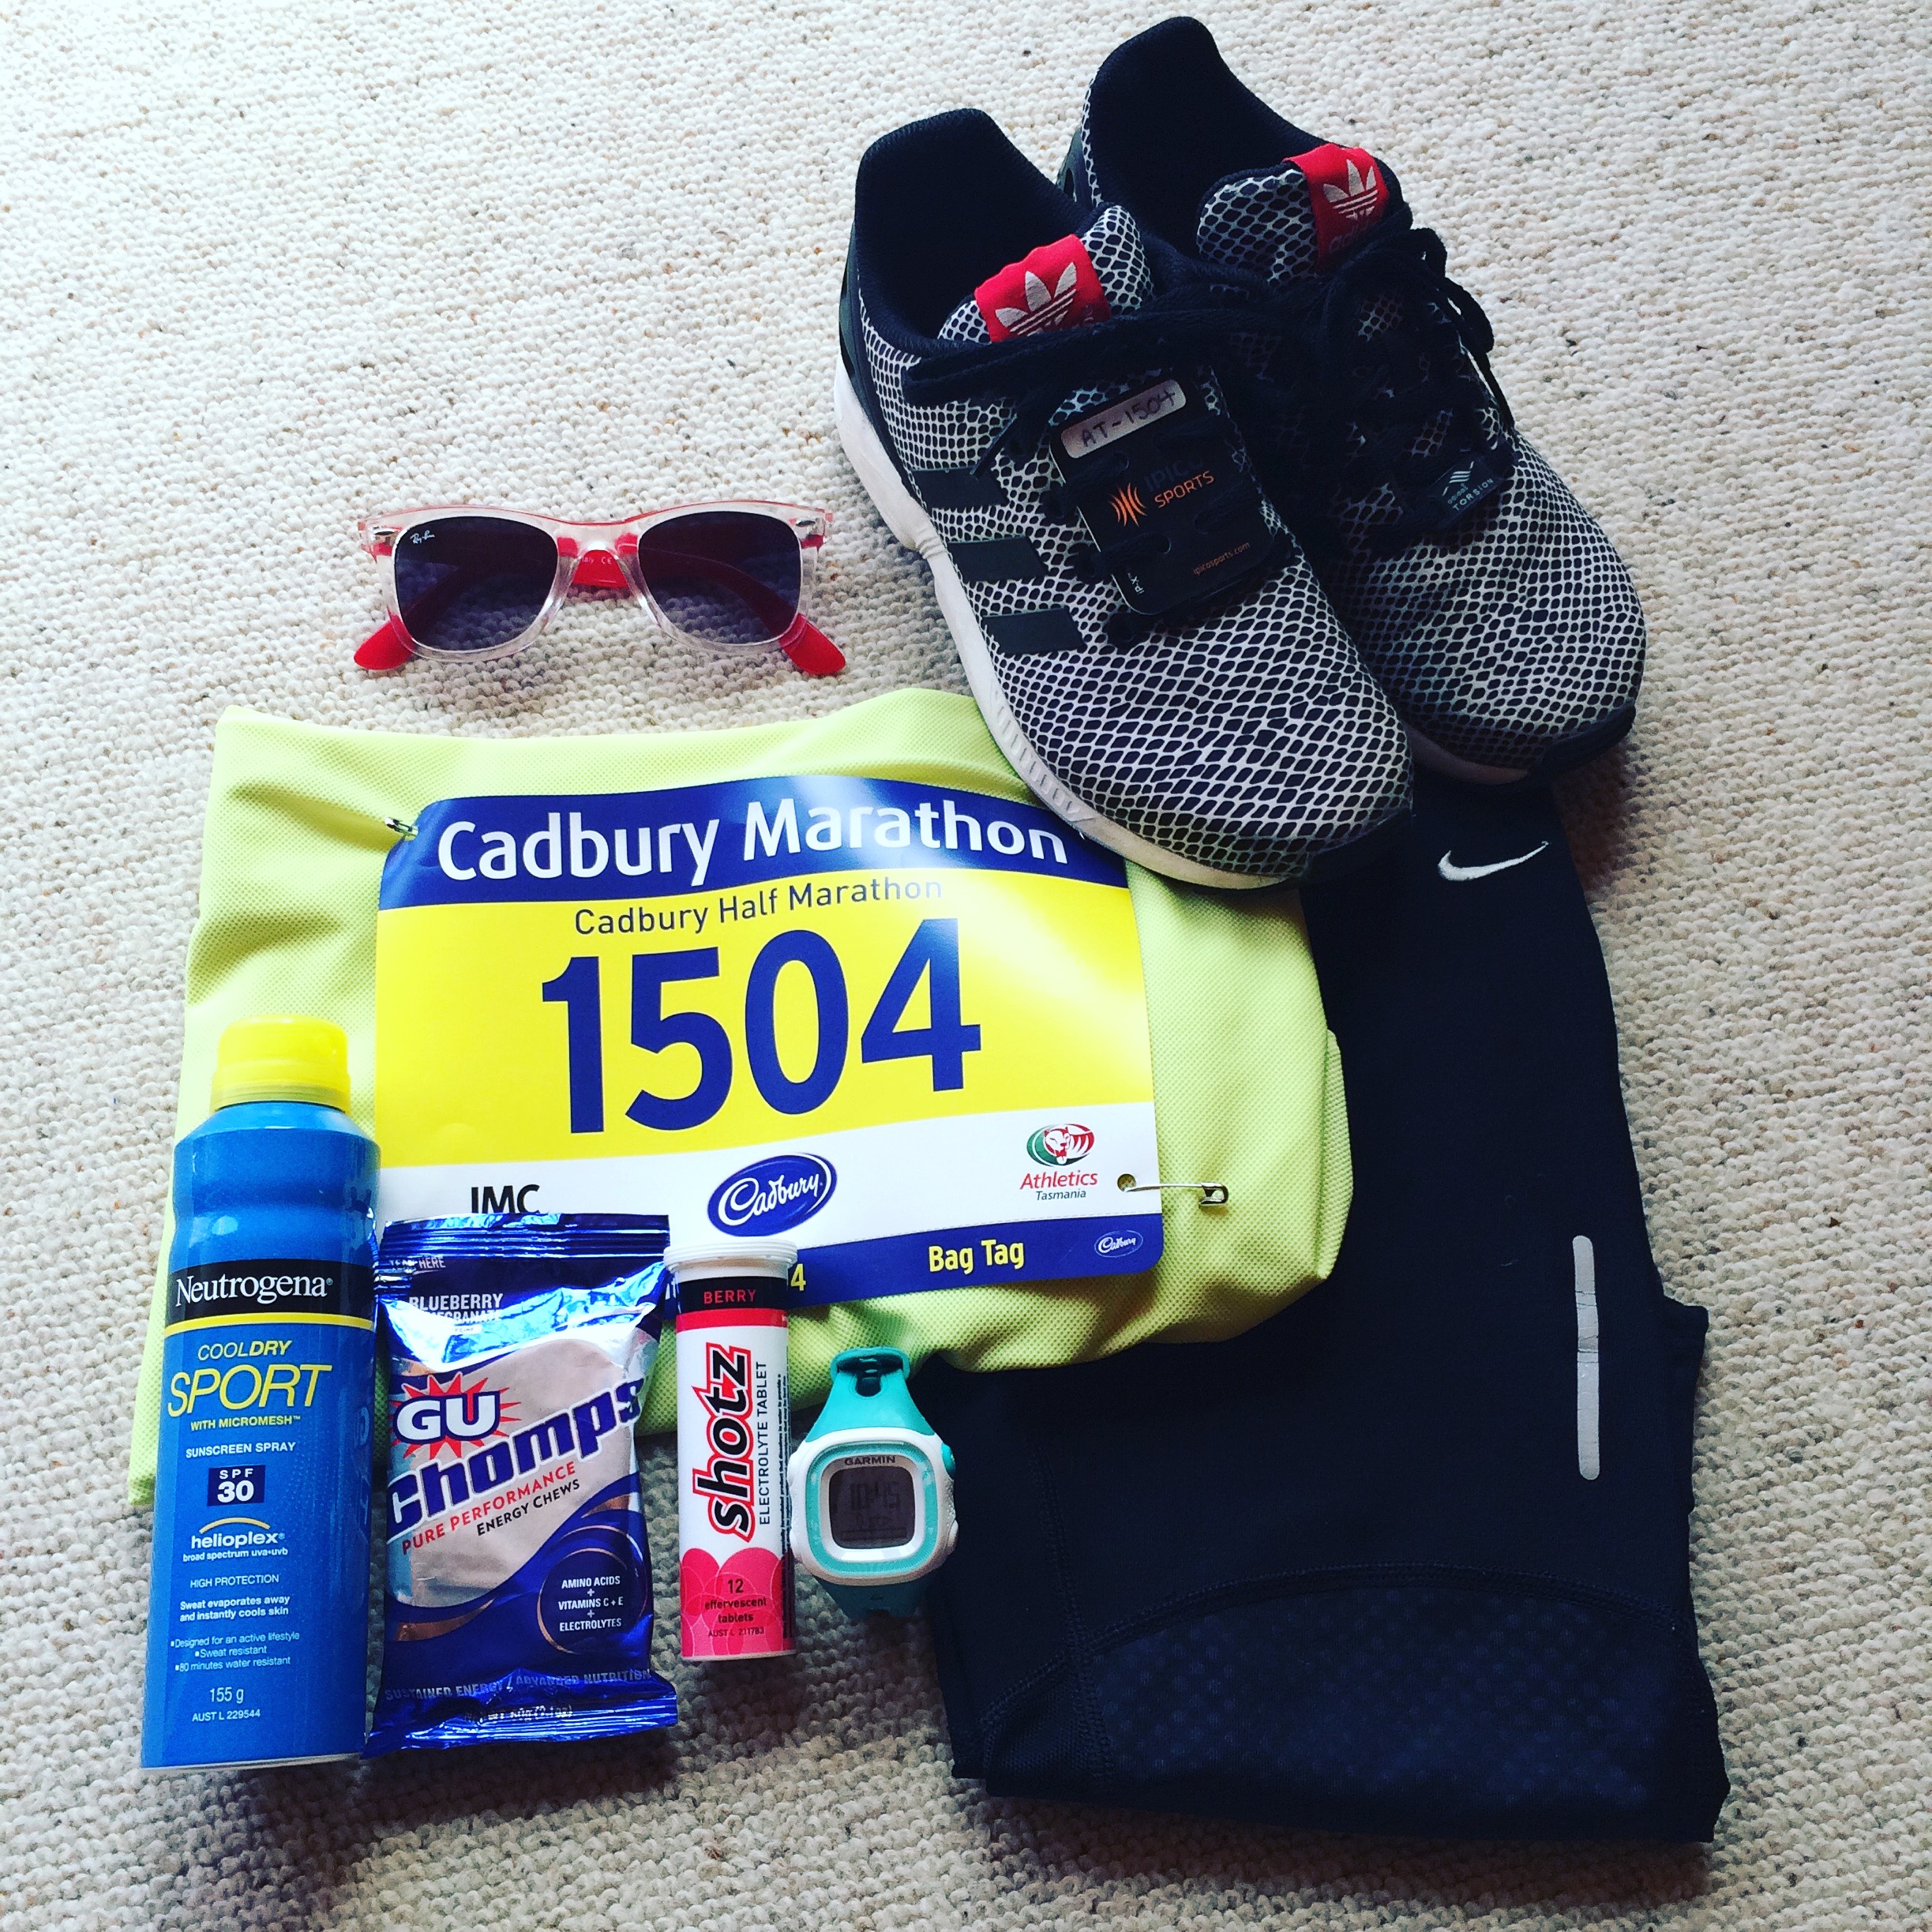
The Gear
Just in case you wanted to know what my standard sports kit includes
GPS tracking with the Garmin Forerunner 15 (it does have a HR monitor strap, but I left that in Australia)
A racerback tank from the Tasmanian Road Runners which I received from a friend. I like that when I run people can see my flag and my state, National Pride!
Cell phone sleeve, as I’m quite small most arm bands are too big and fall off my arm but the fabric sleeve is super snug
I heard that many people had so many concerns about packing for the camino. Since I had been living out of a backpack for 13 months prior to starting the camino, and with friends who had done the walk, I had a pretty decent idea of what and how I wanted to pack.
When it came to actually packing my bag I refined my ideas based on suggestions from my friend Ari, and the packing guides written by travel bloggers Dave and Candice.
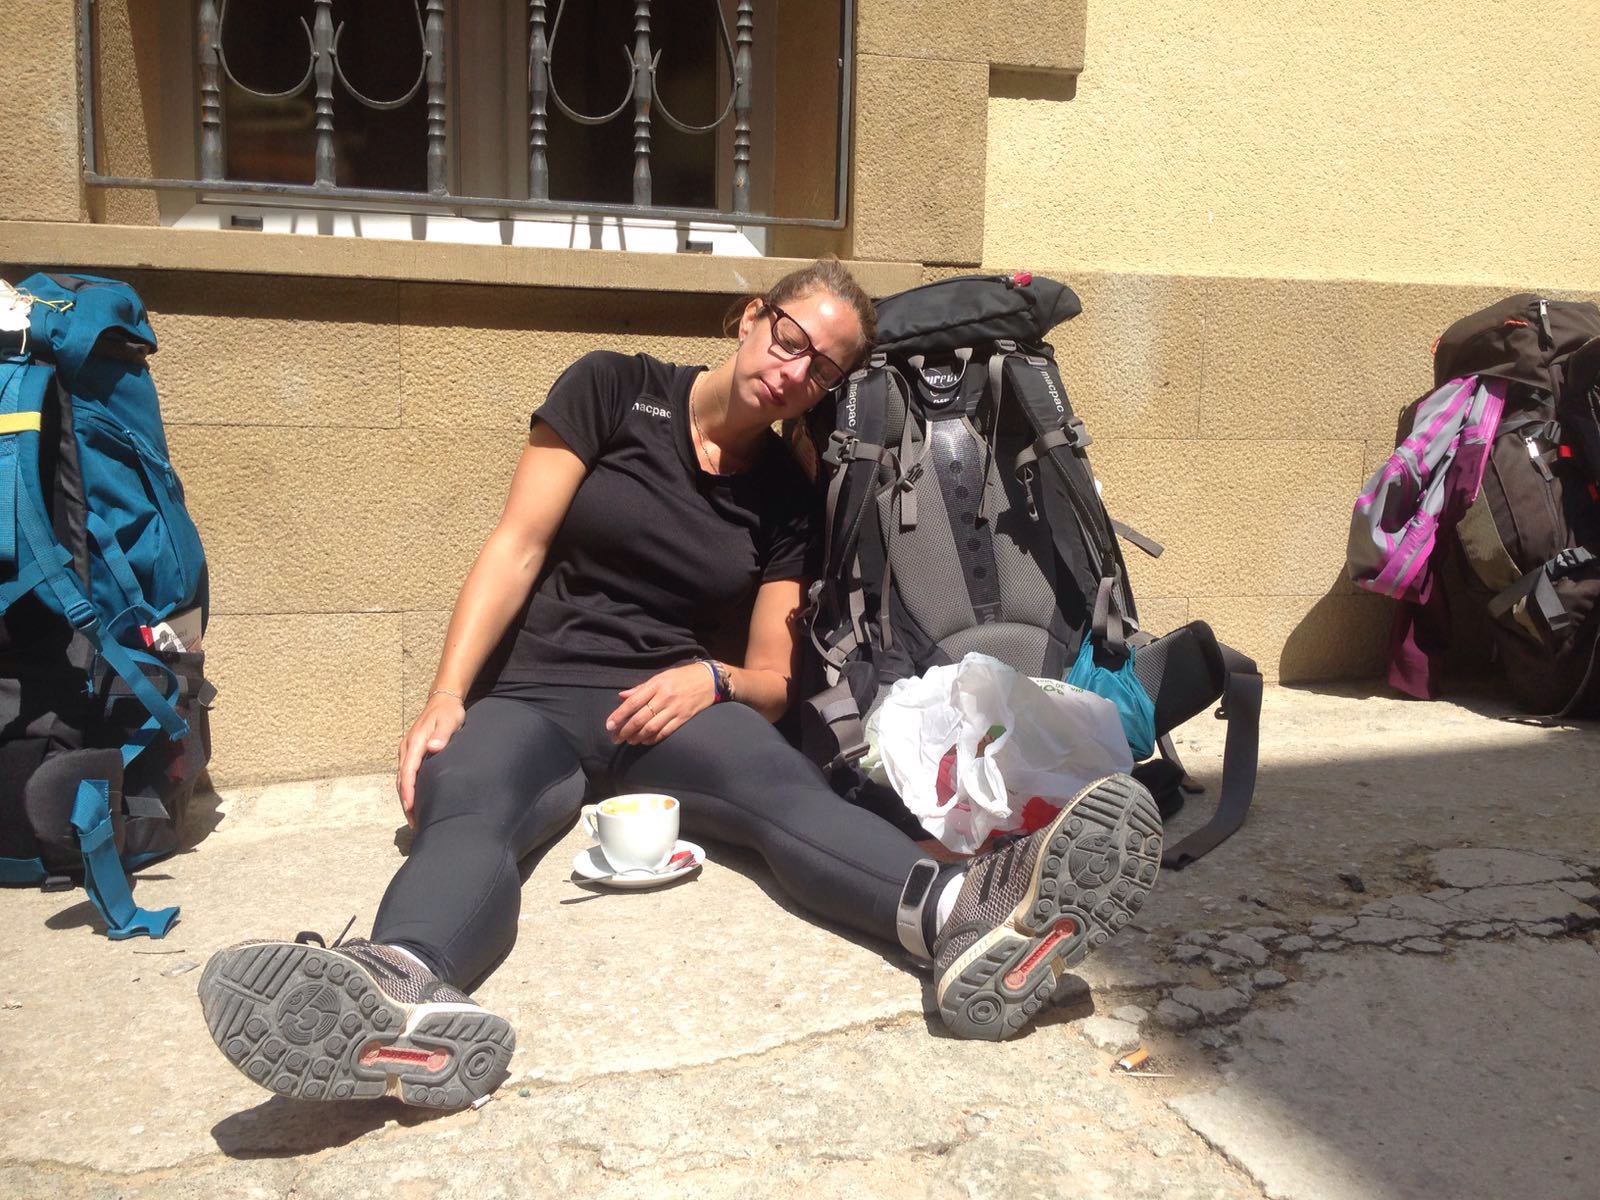
I aimed to stick with the advice of getting the bag down to 7kg, but was unsuccessful. That being said my bag was 9-10kg with food and water and I had no problems with the weight. I had anticipated having back, shoulder and neck problems and was pleasantly surprised not to experience any of those issues at all.
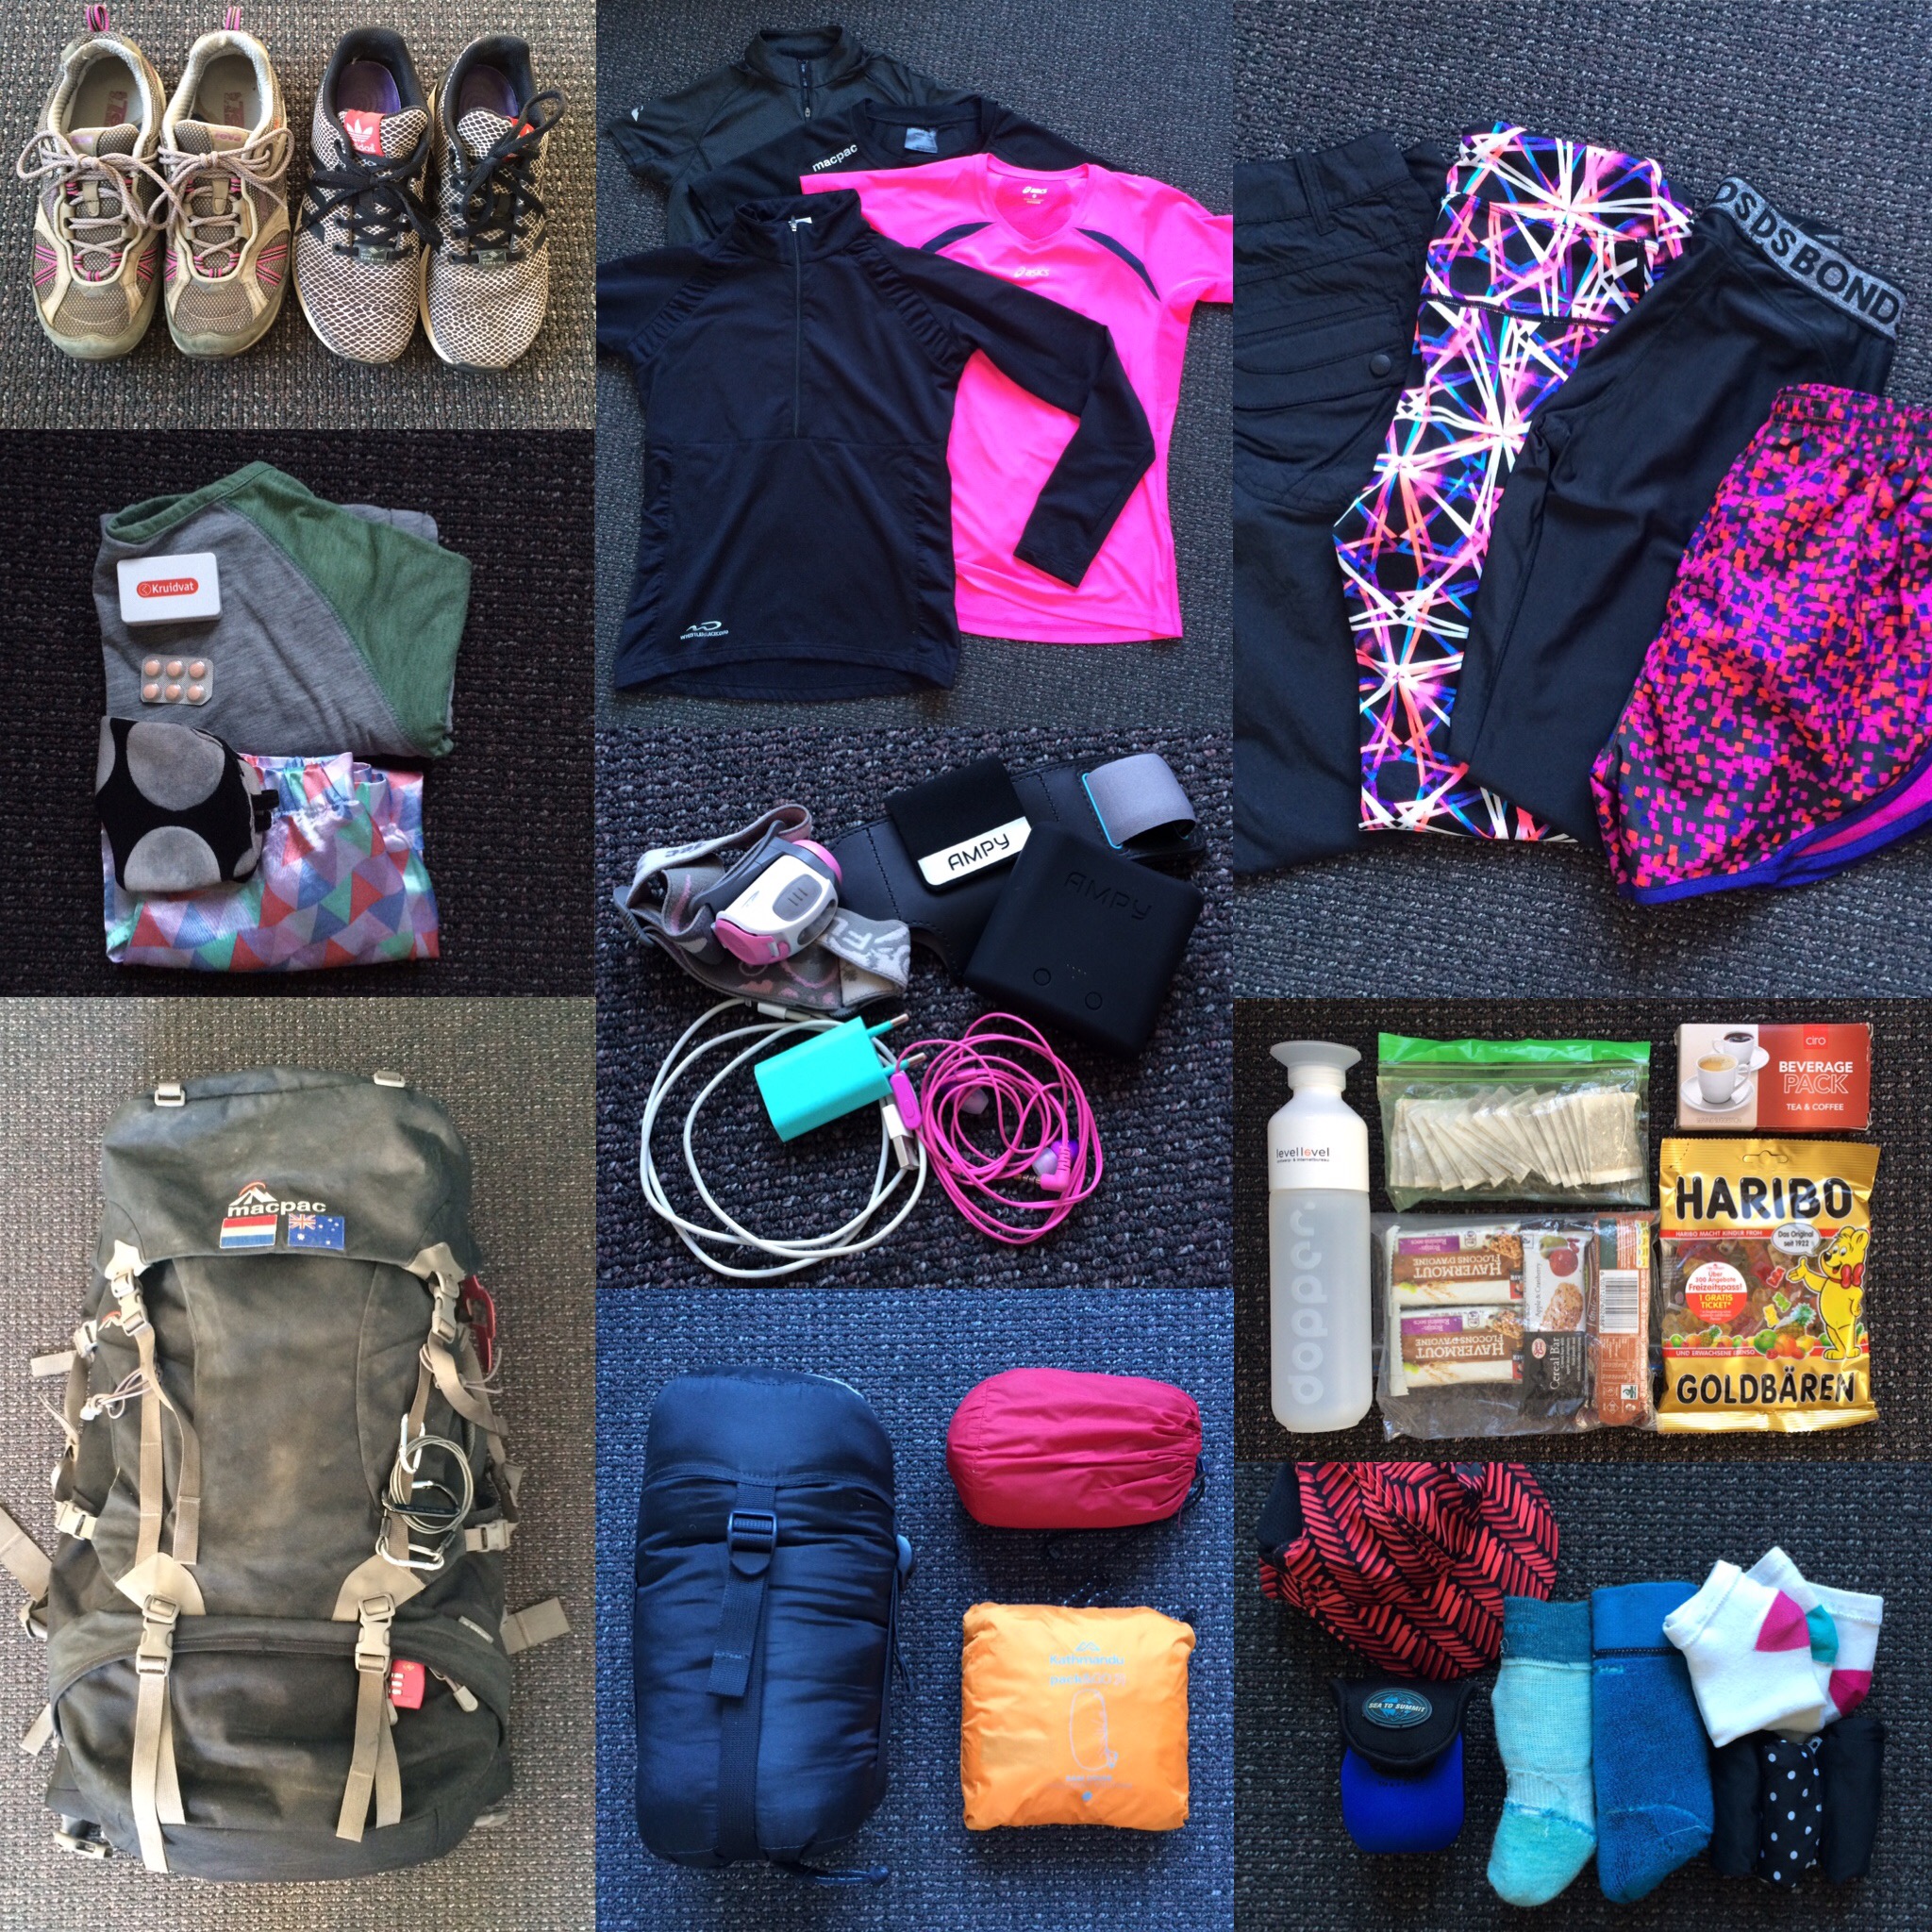
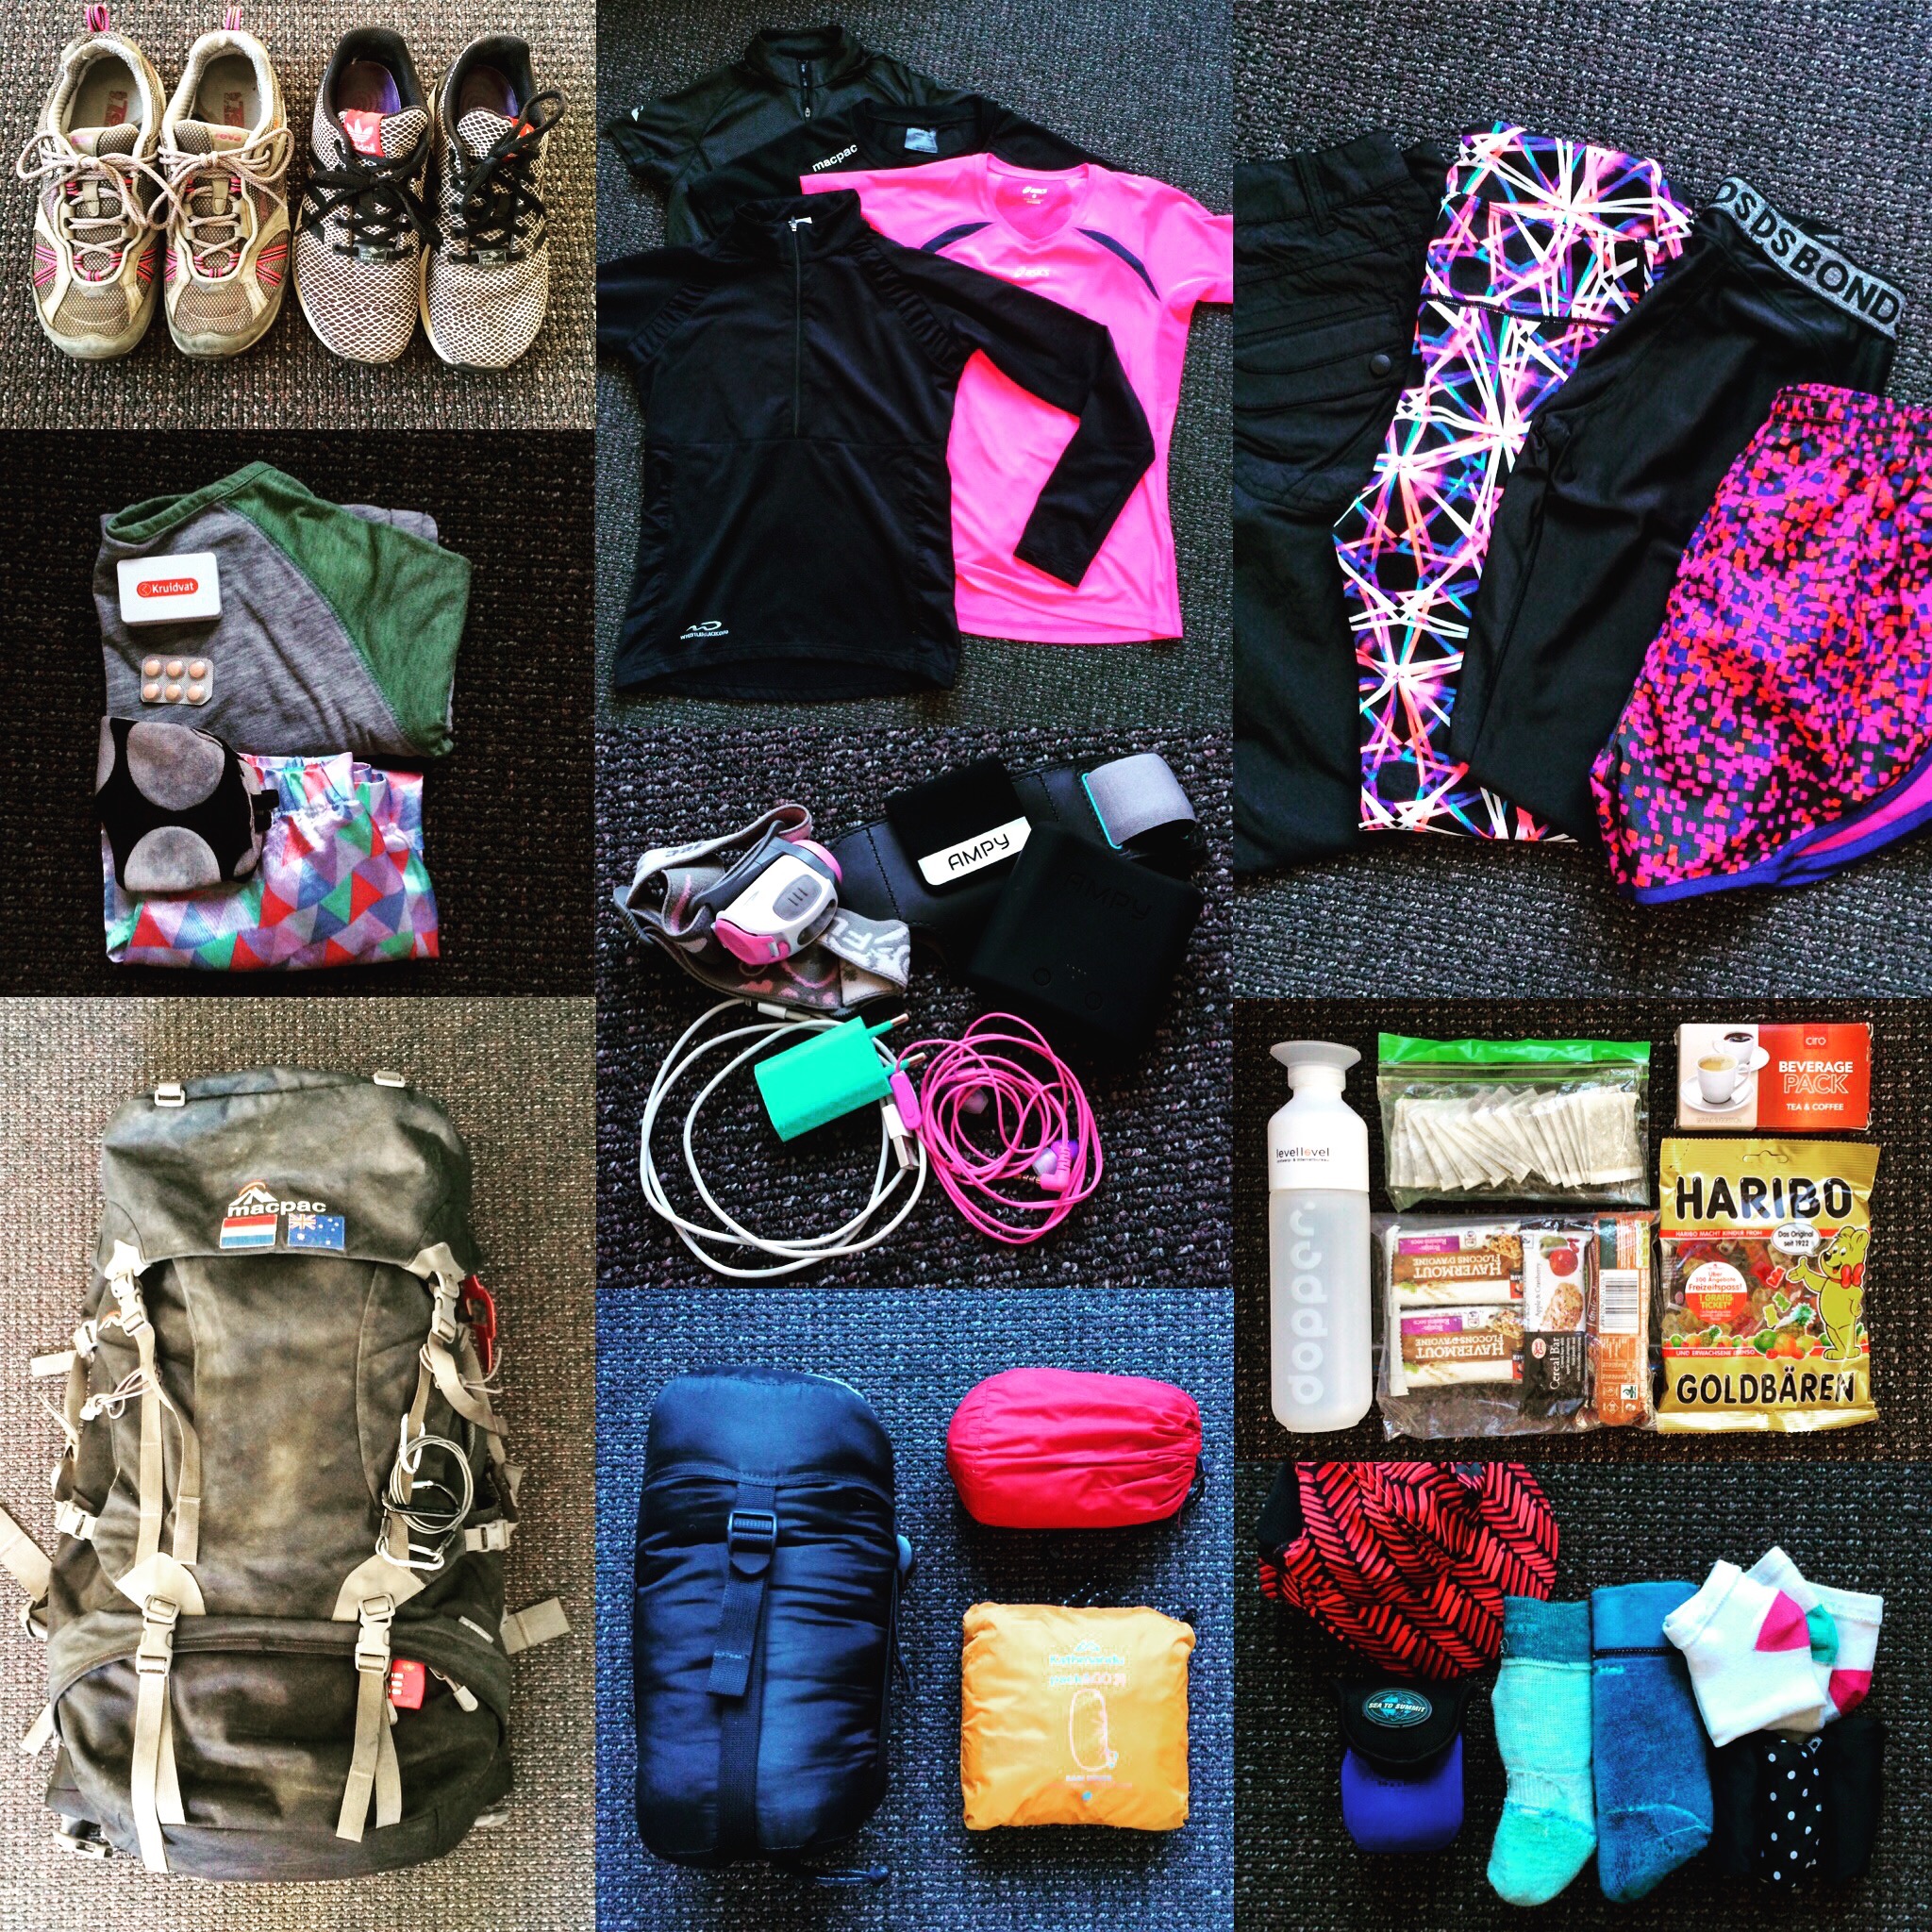
Final Packing List
MacPac Genesis Aztec 55L Travel Pack
Passport, Pilgrims Passport and Money
2x Full Length Sports Leggings
1x Hiking Pants
1x Shorts
3x Tech/Sports T-shirts
1x Sweater
1x Lightweight Raincoat
3x Microfibre Underpants
2x Bras
2x Merino Wool Socks
2x Cotton Ankle Sport Socks
1x Pyjamas (T-Shirt and Shorts)
1x Sleeping Eye Mask and Earplugs (and some sleeping pills for the bad nights)
1x Hat
1x Sunglasses
1x “Buff” Camino pattern neck warmer thing
1x Teva Sky Lake Event Hiking Sneakers
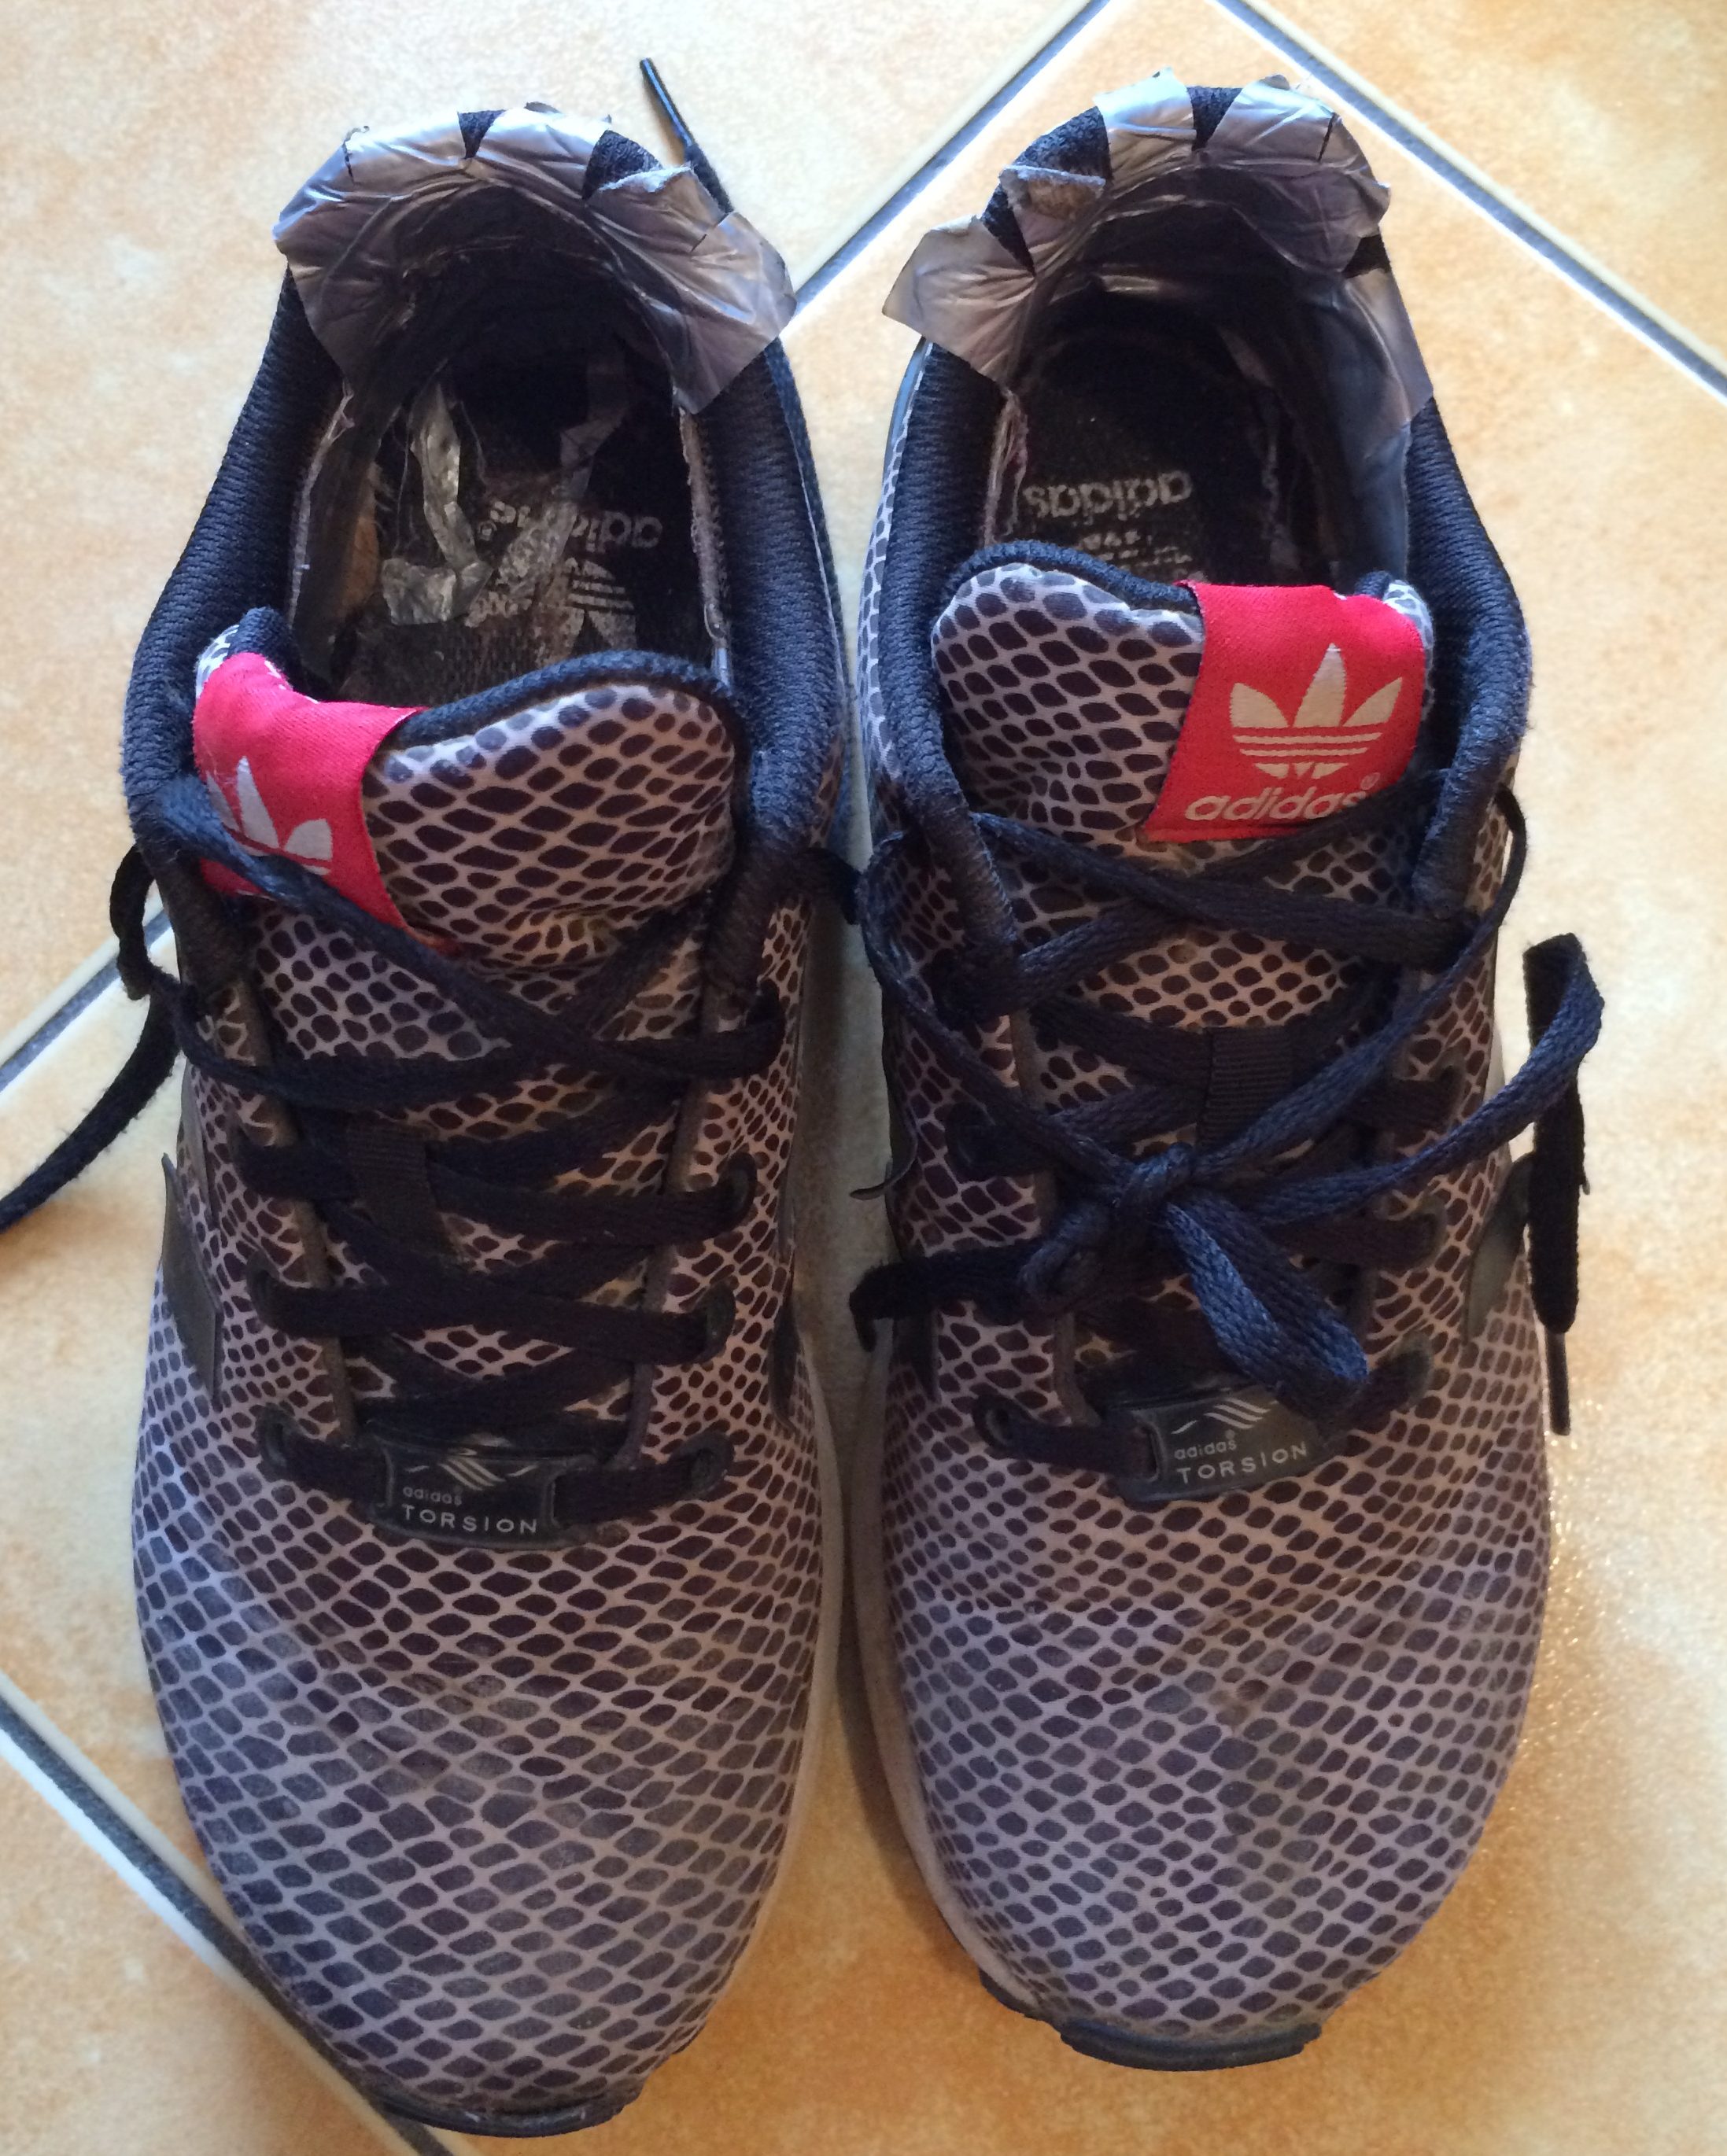
1x Adidas ZX Flux Running Shoes
1x Teva Tirra Sport Sandals
1x Pack Rain Cover
1x One Planet Cocoon 5 Sleeping Bag
1x Satin Sleeping Bag Liner*
1x Cotton Sleeping Bag Liner*
1x Toiletry Bag
1x Travel Towel
1x Medical Kit
1x Mobile phone with charger and cable
1x Headphones
1x Head Torch
1x AMPY kinetic energy battery pack
1x Plastic drink bottle
1x Flexible plastic drink bottle
1x Bag of snacks
I like packing things in packing cells or dry bags so that packing and repacking is much easier. I use the Kathmandu Dry Bags.
I had one dry bag containing all my clothes each rolled up for compression, one dry bag containing all my medical supplies, a toiletry bag with toiletries and of course a sleeping bag.
When I anticipated rain, I put my sleeping bag and sleeping bag liner in a trash bag to keep them dry. Despite having two or three days where I was completely soaked from the rain, nothing inside my pack ever got wet.
My pack cover and raincoat were kept in an easily accessible outer pocket.
Travel Pack
My Macpac Genesis Aztec 55L Travel Pack was not ideal for the Camino, but it was what I had and it worked just fine. The Positives: comfortable harness, easy to pack, lockable compartments, heavy duty weatherproof fabric construction The Negatives: bigger and bulkier than necessary so lots of empty space, heavier overall bag weight
AMPY
The AMPY kinetic energy battery pack was a great idea. In theory you generate energy whilst walking, so that when you get to a hostel you can charge your phone without needing access to a wall socket. The Positives: Clean energy The Negatives: it is reasonably weighty, the movement of walking was not vigorous enough to generate charge
Sleeping Paraphernalia
I have issues with full body sweats at night time, often in reaction to synthetics. I took a satin sleeping bag liner as well as a cotton one. When I was having issues with the satin one, I switch to cotton. It was mildly better but I chose to stick with it.
The bonus of the satin sleeping bag liner was that I could leave it in the sleeping bag when I packed it up each morning. The cotton one didn’t pack as small and had to be packed separately.
Yes, I packed pyjamas, yes I know that was a luxury. Call me a traditionalist if you will, but I enjoy sleeping in pyjamas. Particularly for the fact that they aren’t synthetic active wear. Many people simply slept in their hiking clothes for the following day, definitely a smart thing in some regards, particularly with the very early starts before lights are switched on. However, I wore my hiking clothes multiple times between washes, so I was not keen to do this!
Also the MUST-HAVE items are an eye mask and ear plugs!!!!! My sleeping bag has a little zip pocket in it, so I was able to keep these readily accessible in my sleeping bag.
Sleeping Pills are not for everyone, but I really appreciated having some sleeping pills with me. Some nights the snoring was really bad, my mind was overactive or I was in pain and the sleeping pills helped me to nod off. I only resorted to them twice, but was grateful to have them with me. I use Temazepam, which the doctor described to me as being a pill that will help you to fall asleep but will not maintain sleep, which is perfect for me and it also means you wake up clear headed and functional the next day. Note: Temazepam IS a prescription drug, it can be addictive. You must consult a doctor before taking any pills of this nature.
Bras
Loads of people recommended packing sports bras because you are active and walking so they provide good support. Additionally the straps would be in a different position to the pack straps and thereby reduce rubbing and abrasions on the shoulders. Despite these recommendations I opted to pack normal bras and am glad I did. The benefit of a standard bra is that in the dorms rooms I was able to get dressed/changed without flashing any skin or needed to go to the bathrooms. Having spent a lot of time in dorm rooms I am quite comfortable stripping down to my underwear in order to change. Once in just my bra, I could drop the straps to put on my pyjama shirt before unclipping my bra. In reverse I was able to clip up my bra, take off my shirt, pull up the straps and put on my t-shirt. There is no way I could have done this in a sports bra. In regards to the rubbing of the straps, I had no issues there. My pack harness is very well designed and I adjusted it appropriately so the weight was on my hips and not my shoulders.
Shoes
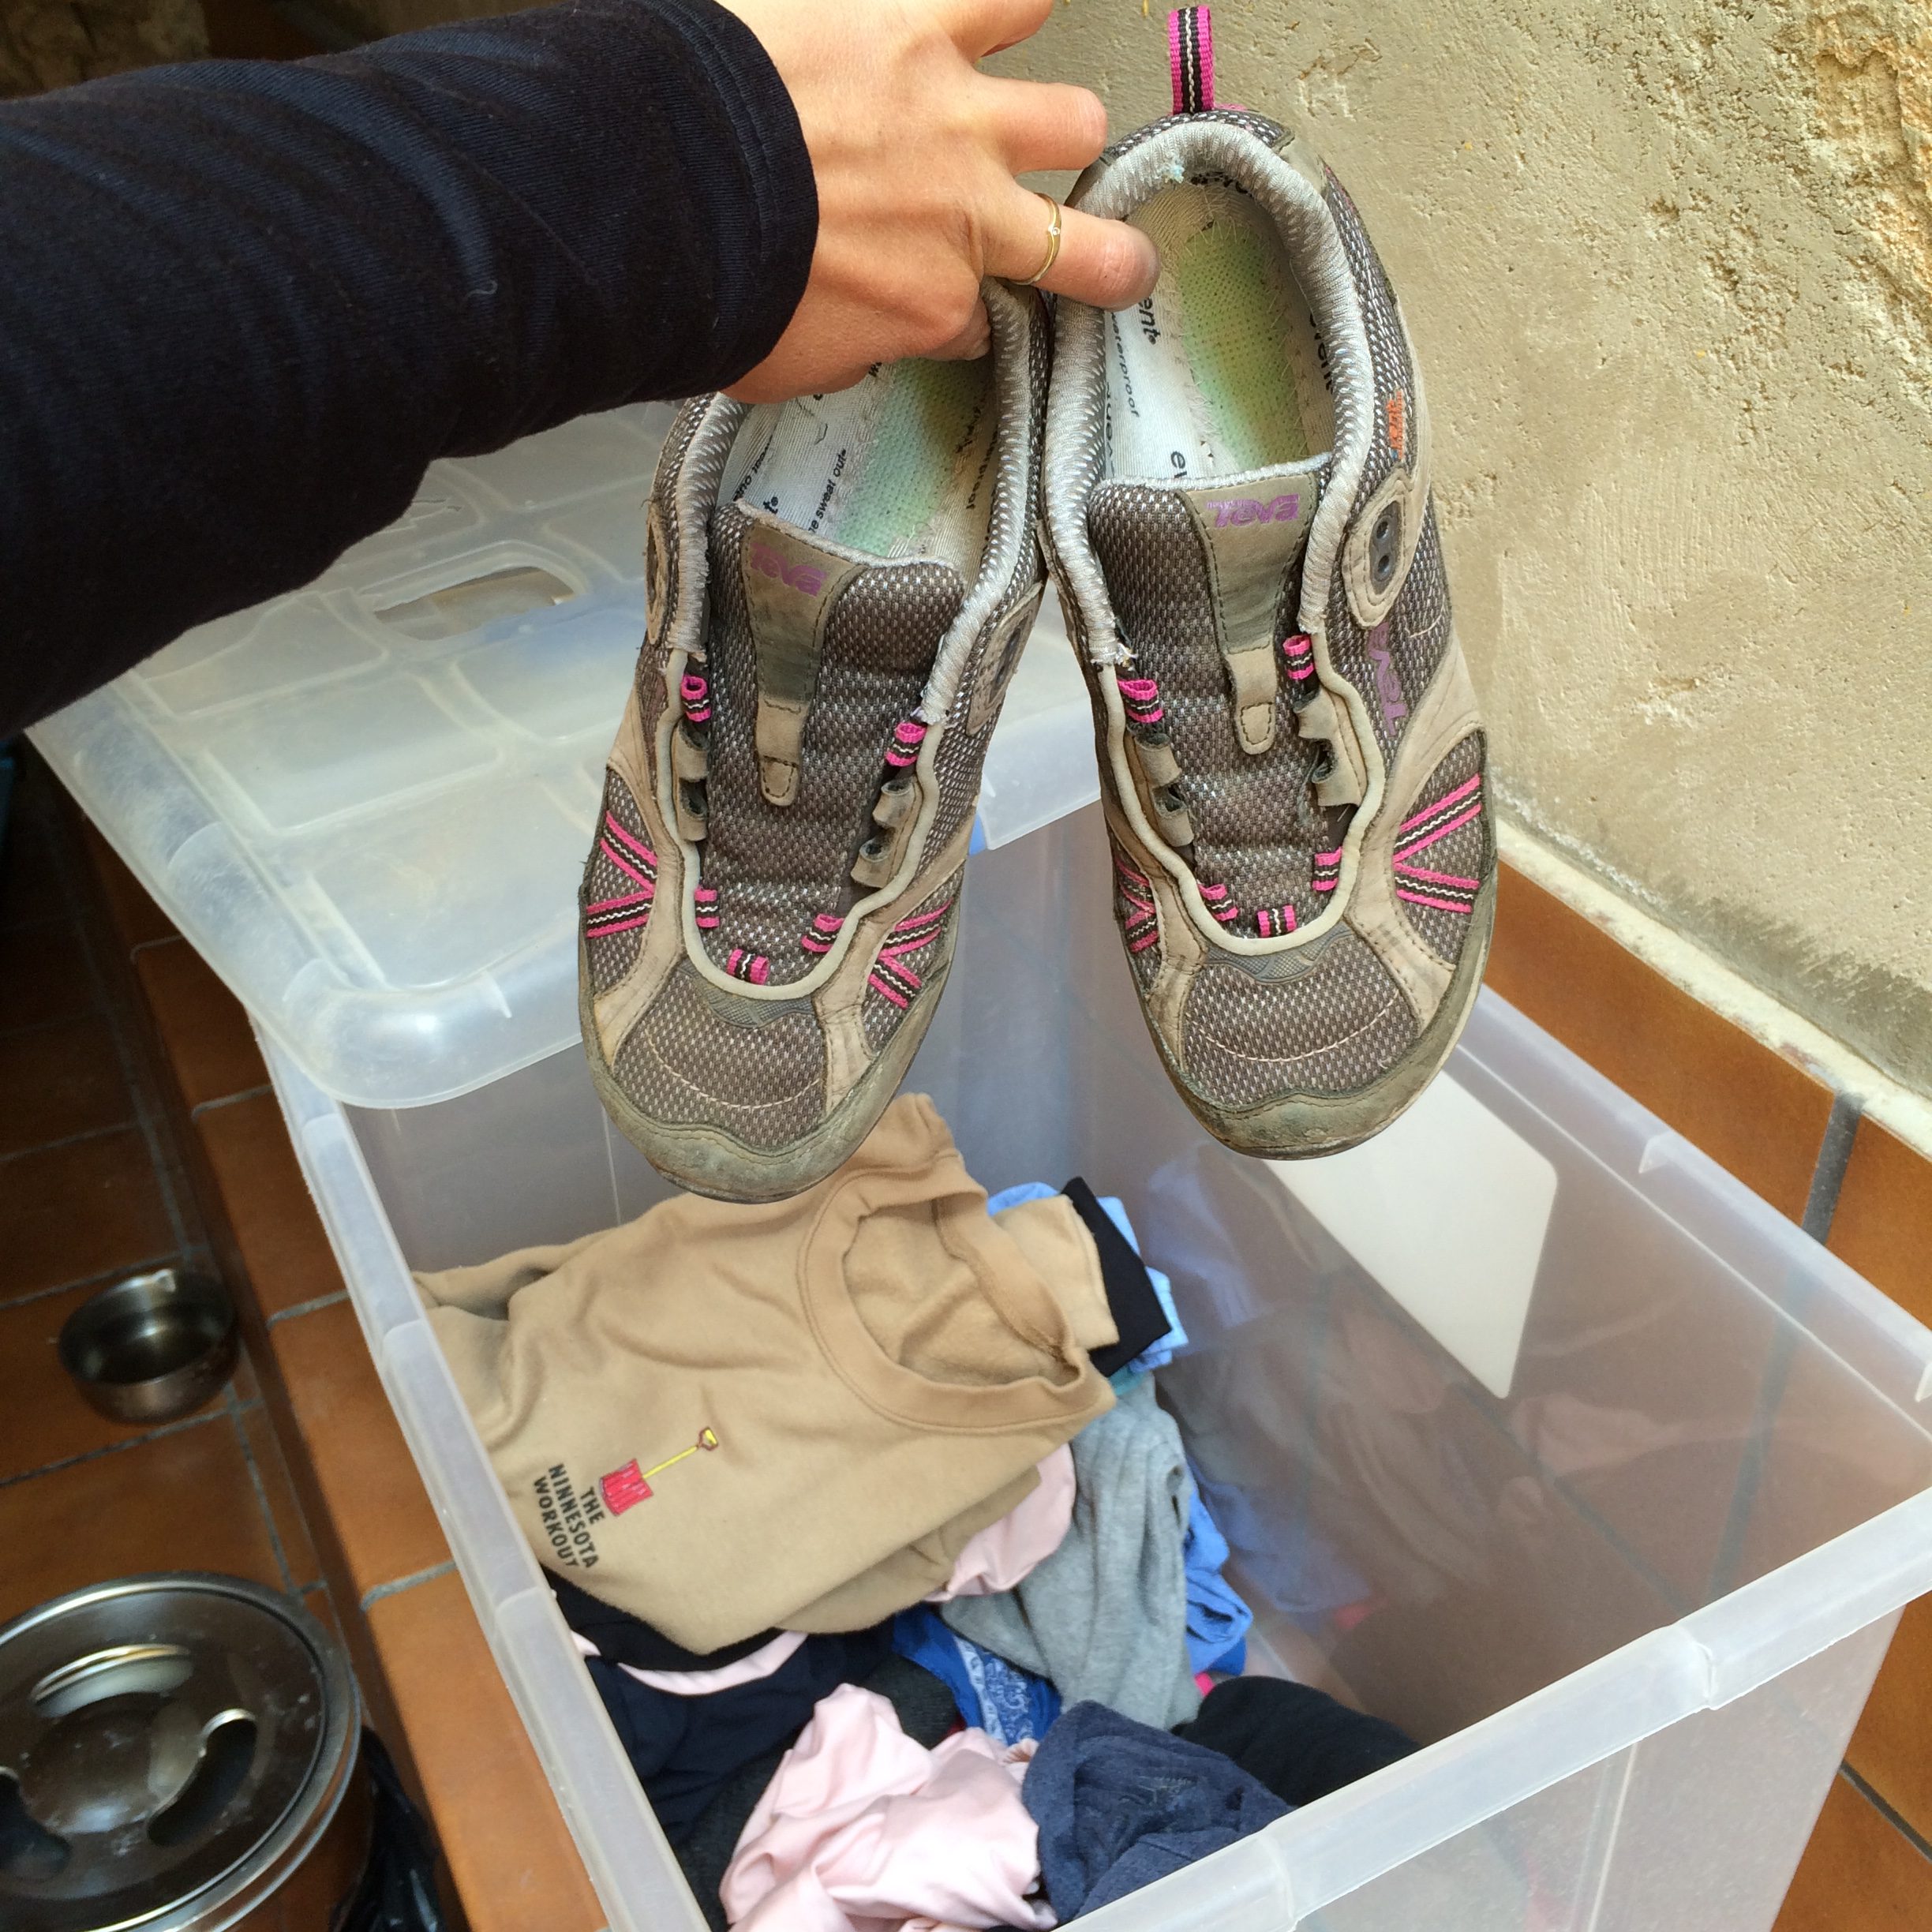
This is where I had some issues. Despite having owned and walked in my hiking sneakers for the last four years with no issues, on the camino I had issues from the start.
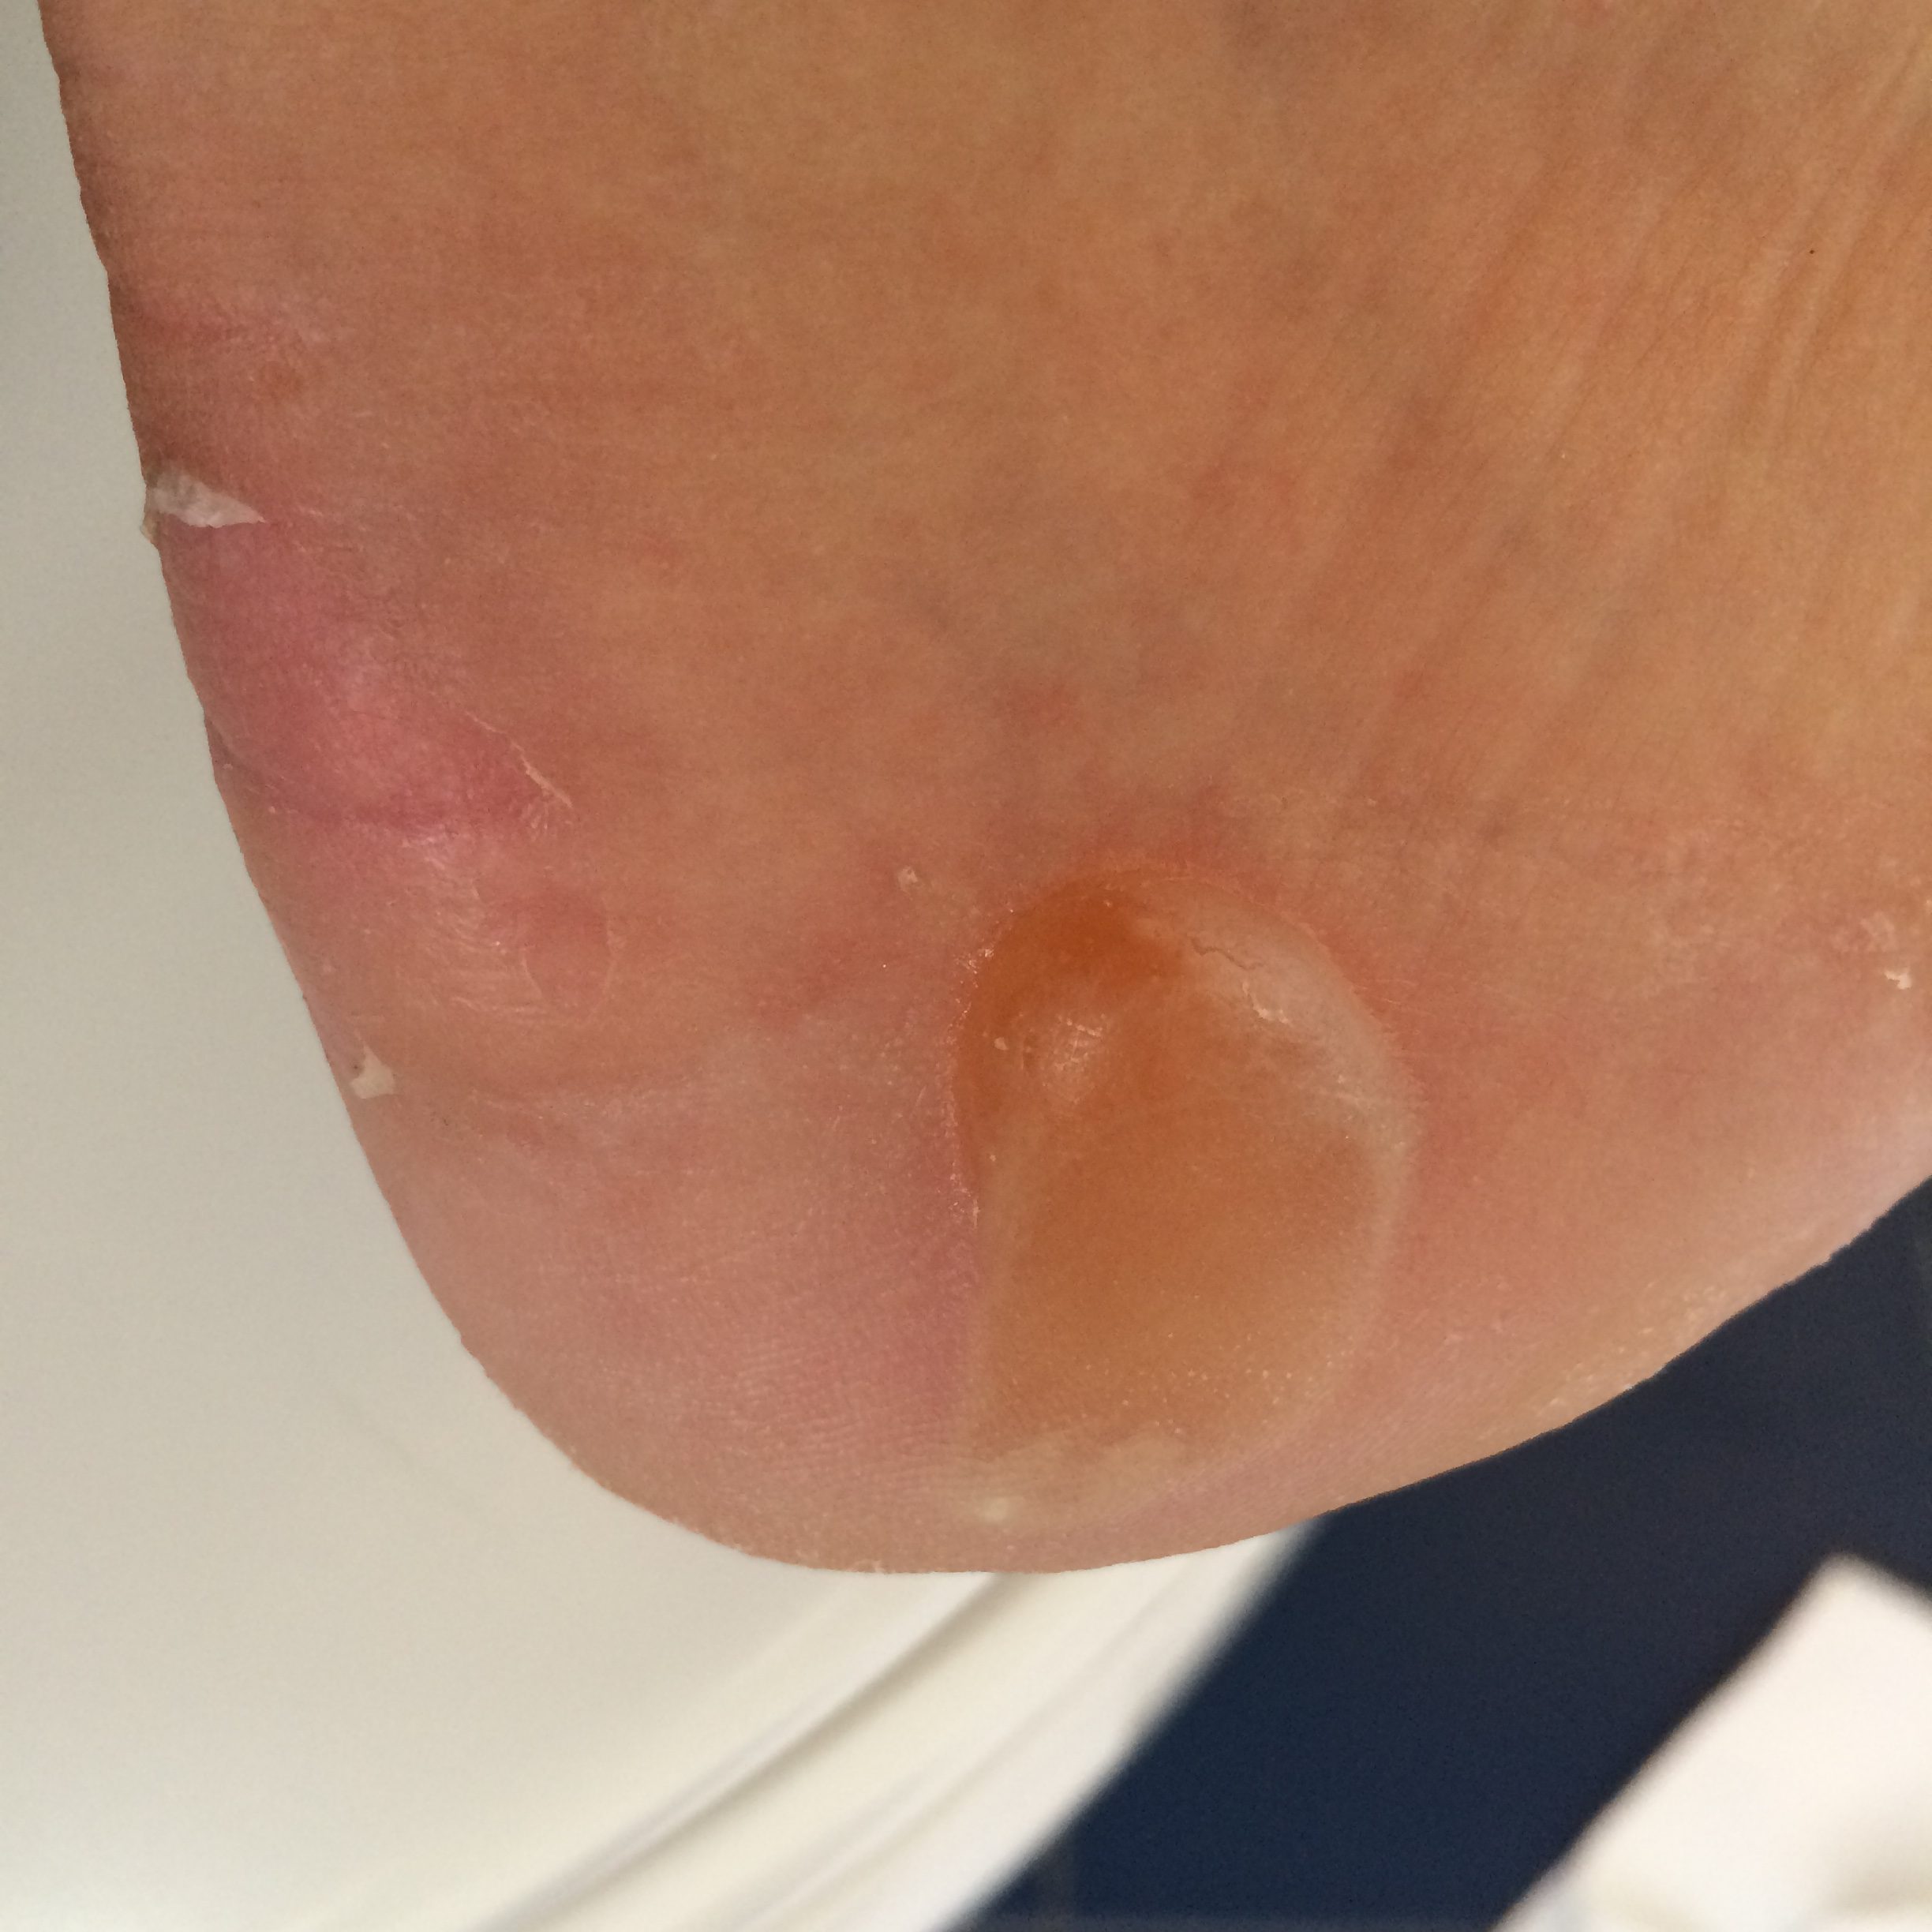
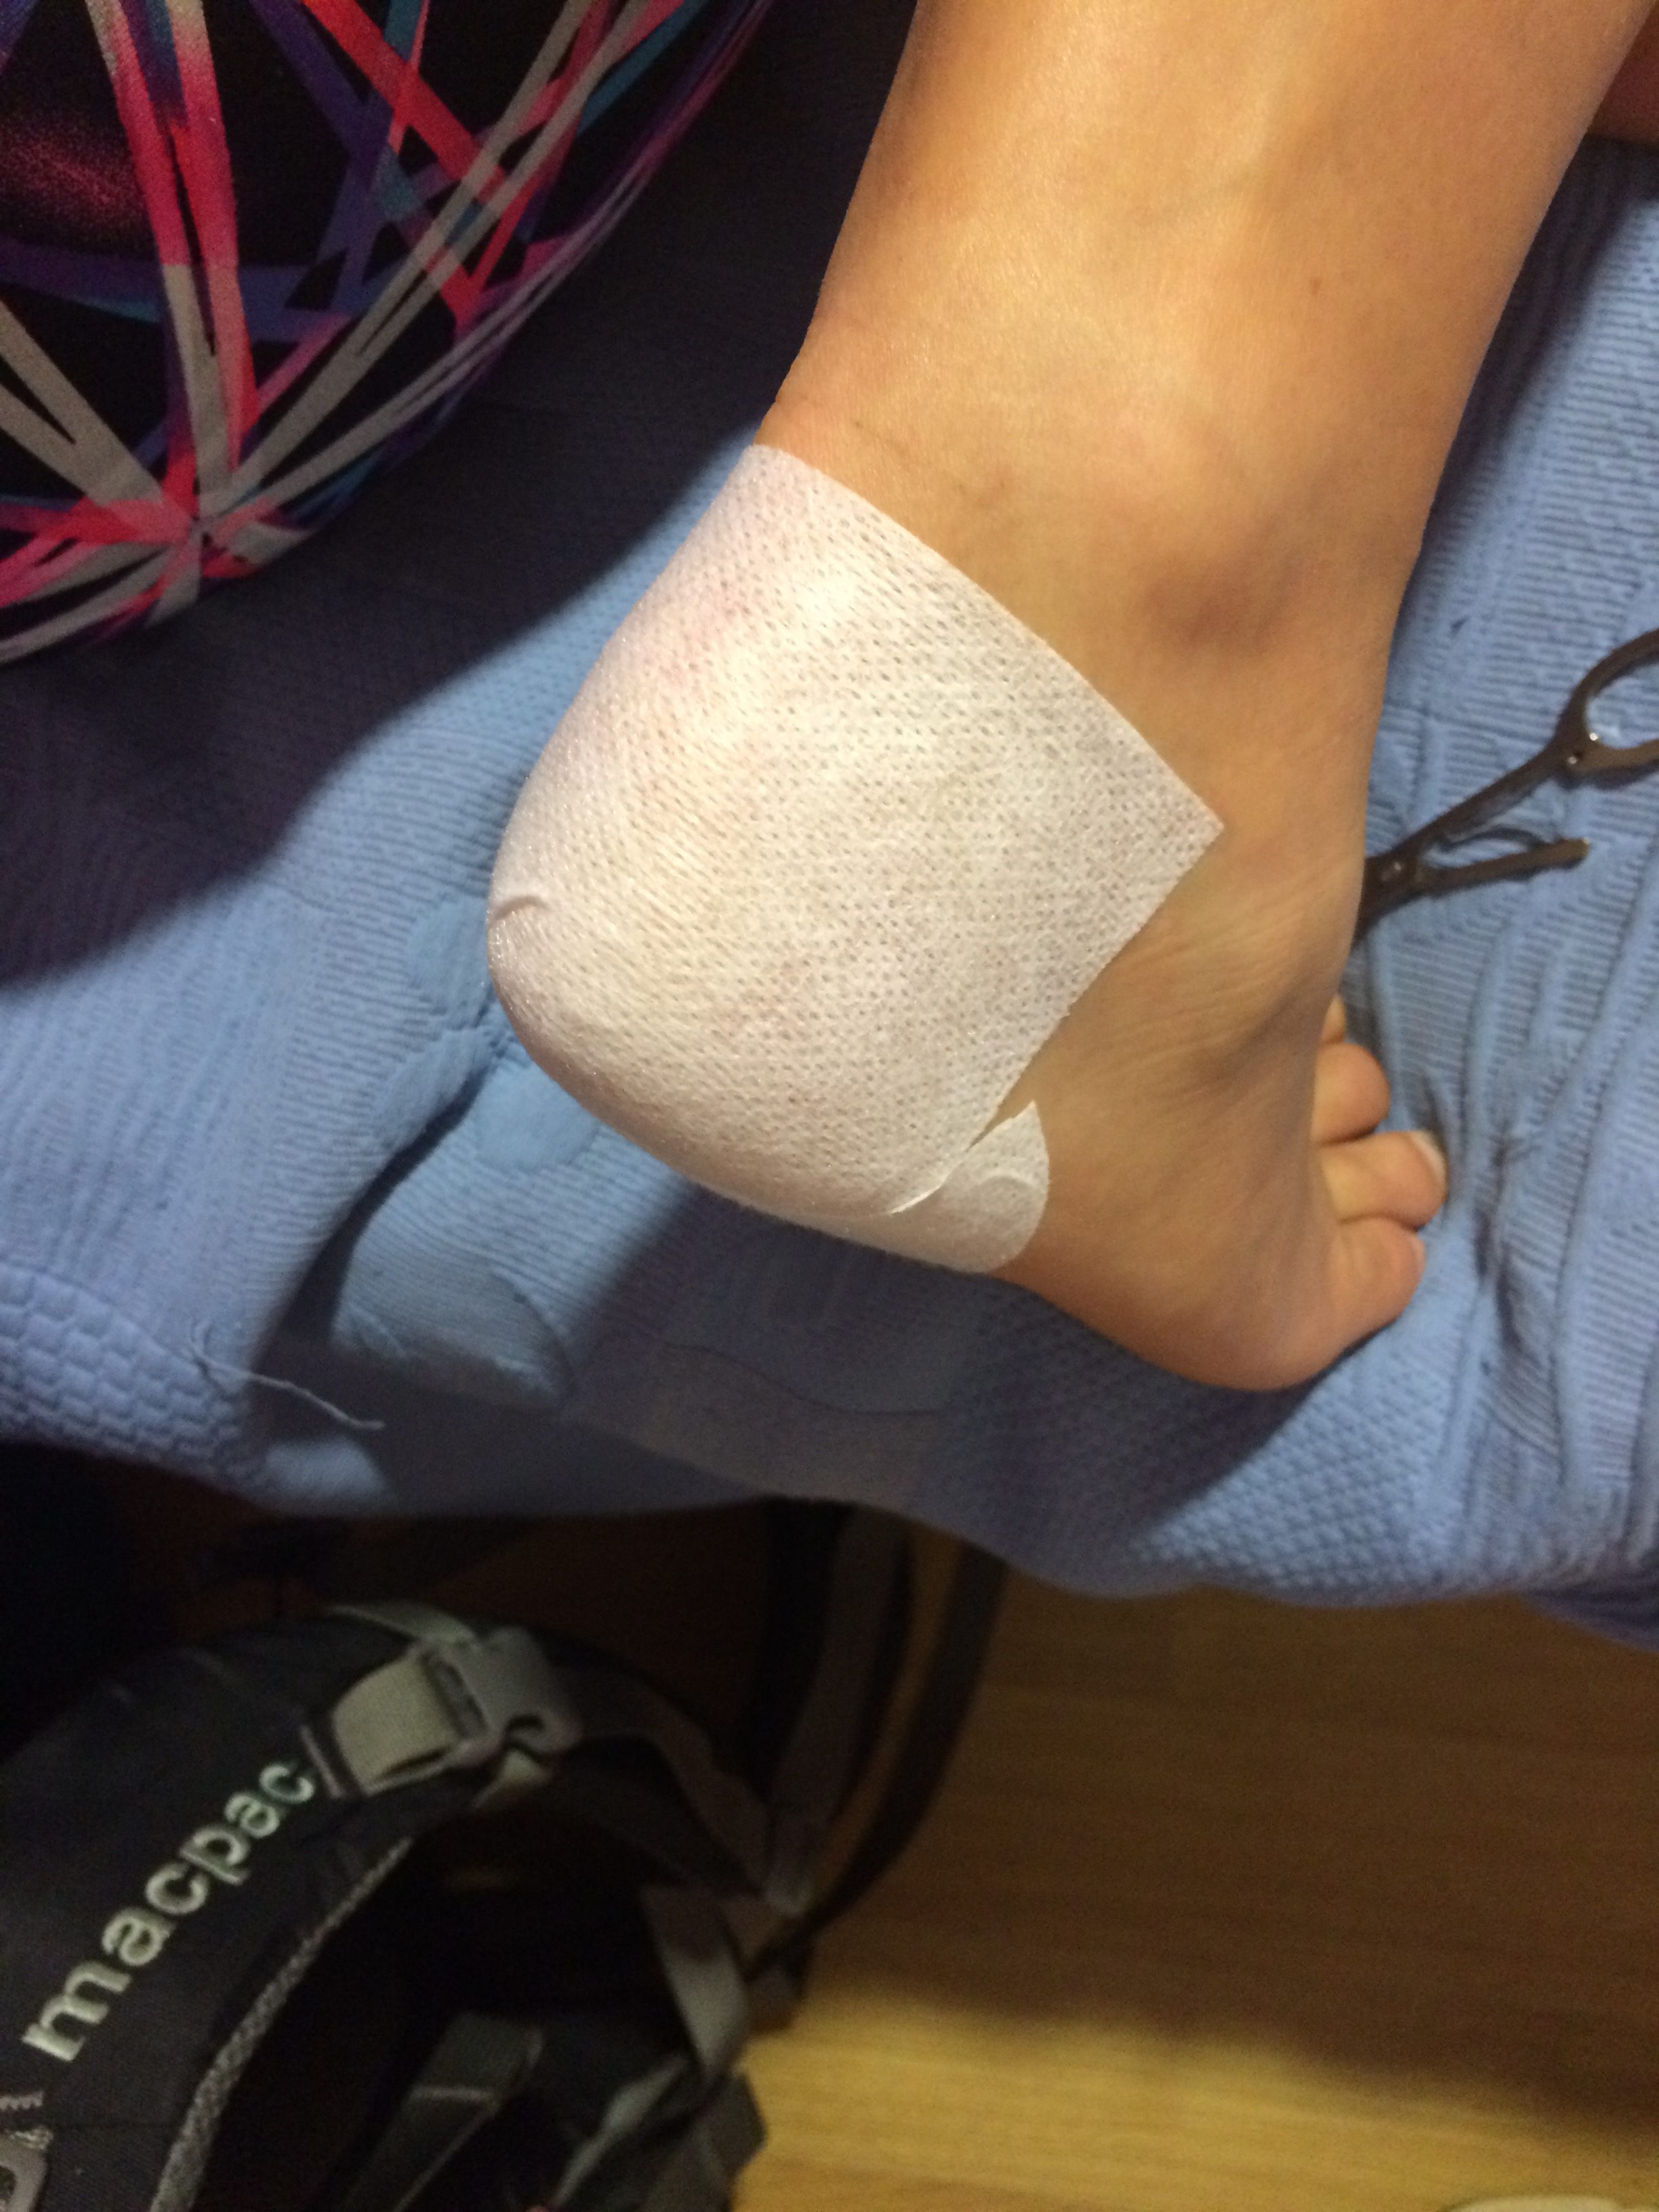
I developed huge blisters on both my heels which made walking excessively painful, then when walking downhill my toes continually hit the end of the shoes and both my big toenails were damaged so badly they were about to fall off. So my feet were destroyed on day one. I tried walking in my hiking shoes only one other time, and again experienced excessive pain. Within a short amount of time I decided to throw my shoes away and left the in a box at a hostel that was labelled “Take what you want, leave what you don’t”.
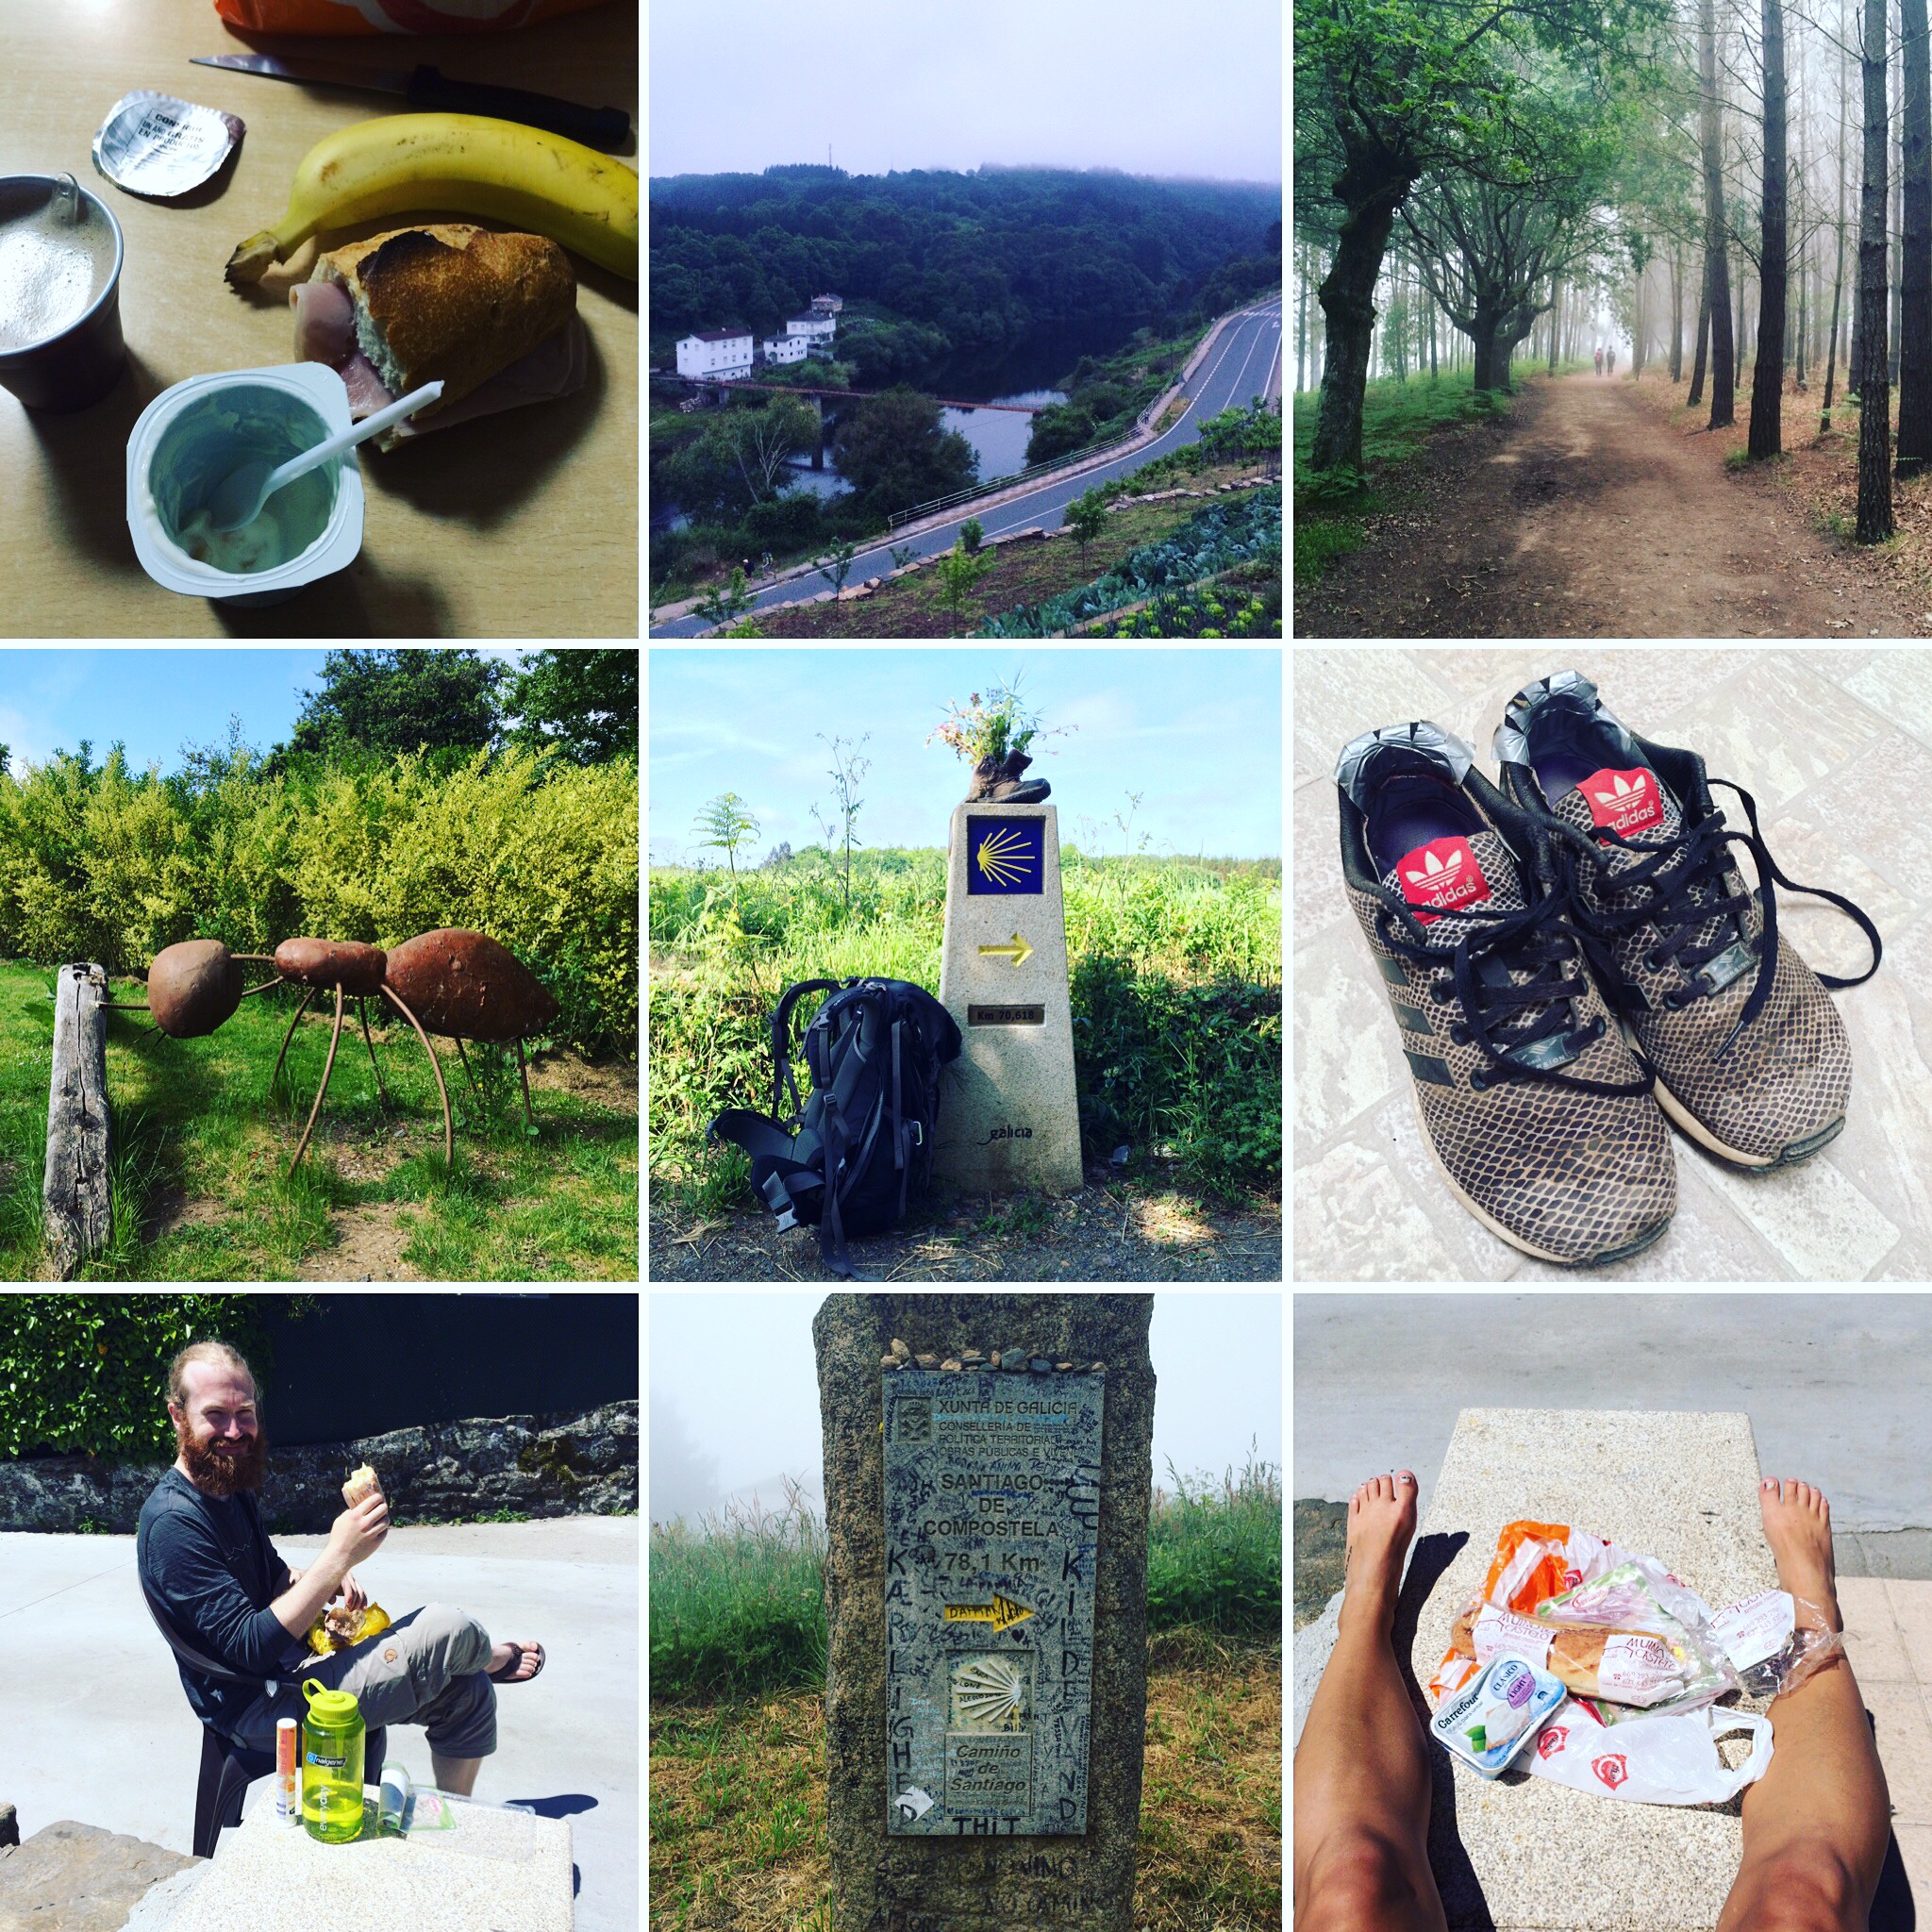
I walked 29 out of 31 days in my running shoes. This was not ideal as the soles as a bit too thin for long term hiking. I tried to minimise this with the use of a sports gel insole, but the soles of my feet still became excessively sore as though bruised. Even so, the comfort level was much better than my hiking sneakers. The running shoes were larger overall with more space in the toe box and while I still experienced some blisters, none of the pain of day 1. After a few weeks, the padding in the heels started to wear out and for the last two weeks I stuck them together with duct tape and was able to nurse them to the finish line.
Once I was down to one pair of shoes, I bought a pair of sports sandals to wear for comfort in the afternoons. They were very pricey but a purchase well worth it! My feet were incredibly grateful! Note: I was surprised at just how much my feet swelled up during the day, I think close to a full shoe size. The swelling didn’t go down until three days after I had stopped walking.
Medical Kit
In my medical kit I had a few items I used regularly and a couple of items I never used.
Items that I regularly used:
Needle
Compeed
Hypafix
Scissors
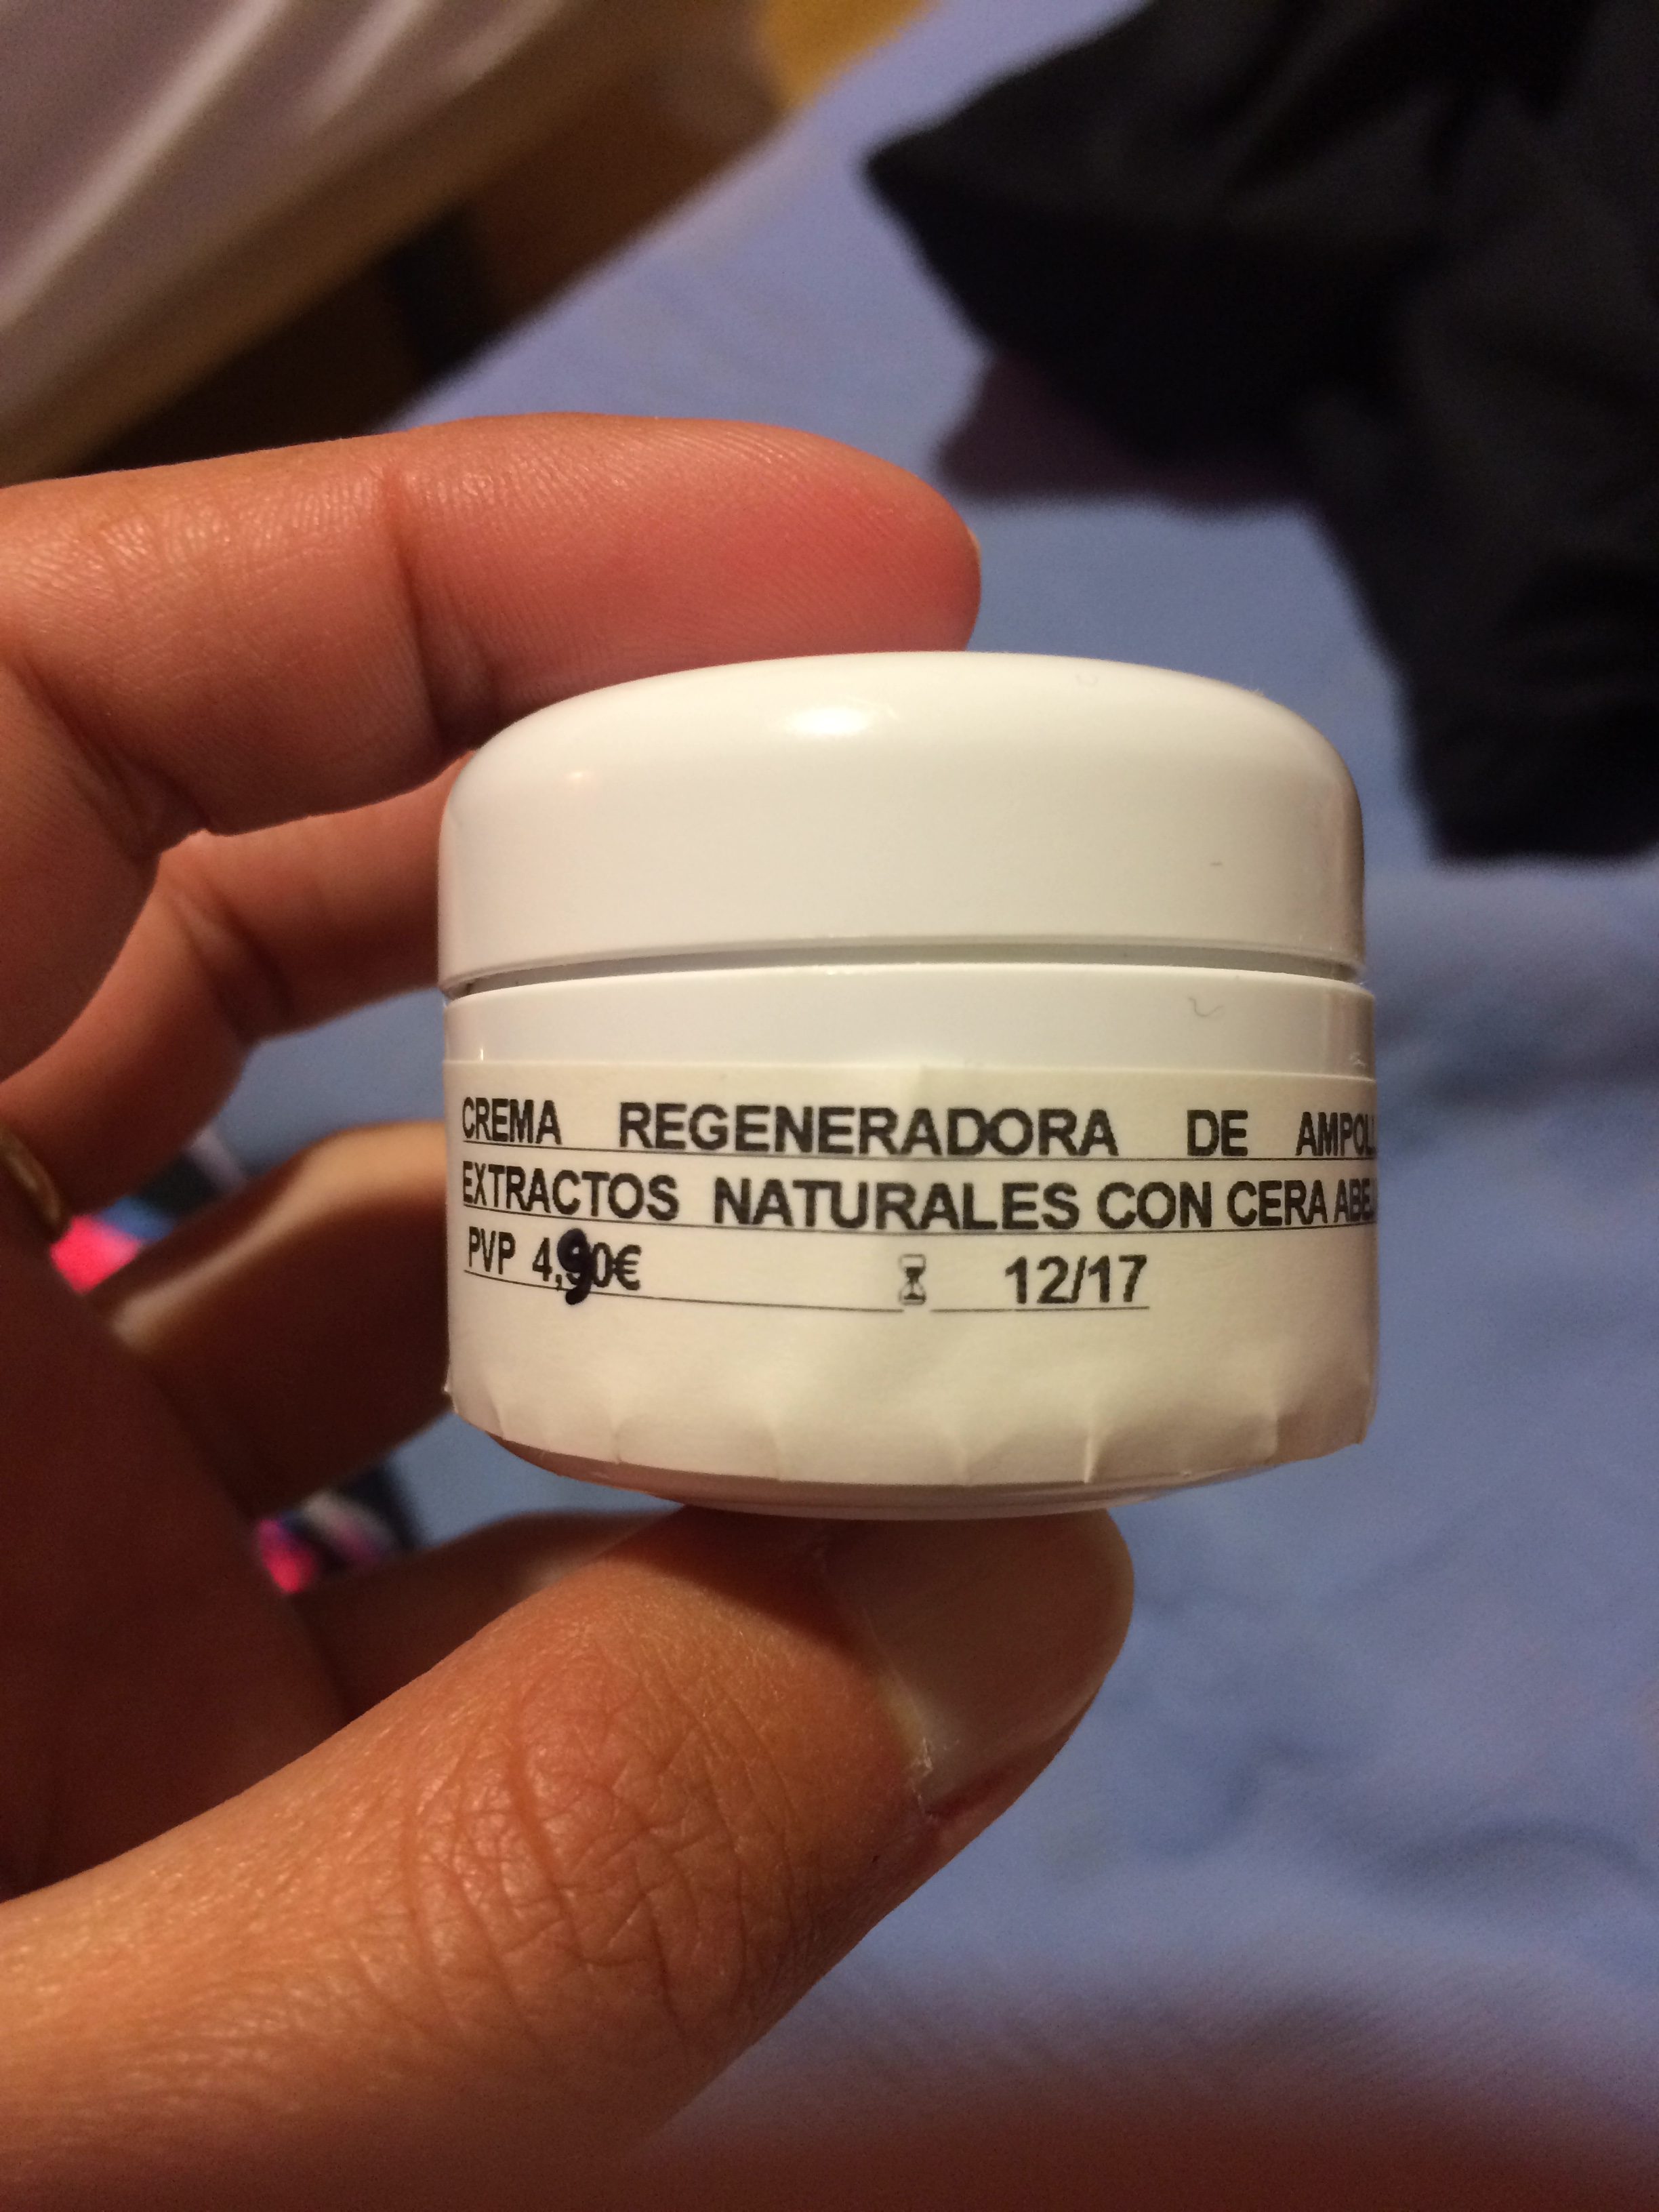
Blister cream from the pharmacist in Fromista
Ibuprofen Gel
Ibuprofen Tablets
Knee Brace
Items I did not use:
Antiseptic Cream
Bandaids
Ankle Brace
For some tips on blister care and dealing with foot and joint pain, check out my discussion in my final post about the Camino experience: Everyone walks their own Camino
Things I posted home:
AMPY: didn’t work as effectively as I had hoped
Head Torch: never used it
1x Merino Wool Socks: with the thick socks and swelling in my feet I couldn’t get my shoes on.
Rain Pants: never used it
Satin Sleeping Bag Liner: opted to use the cotton one
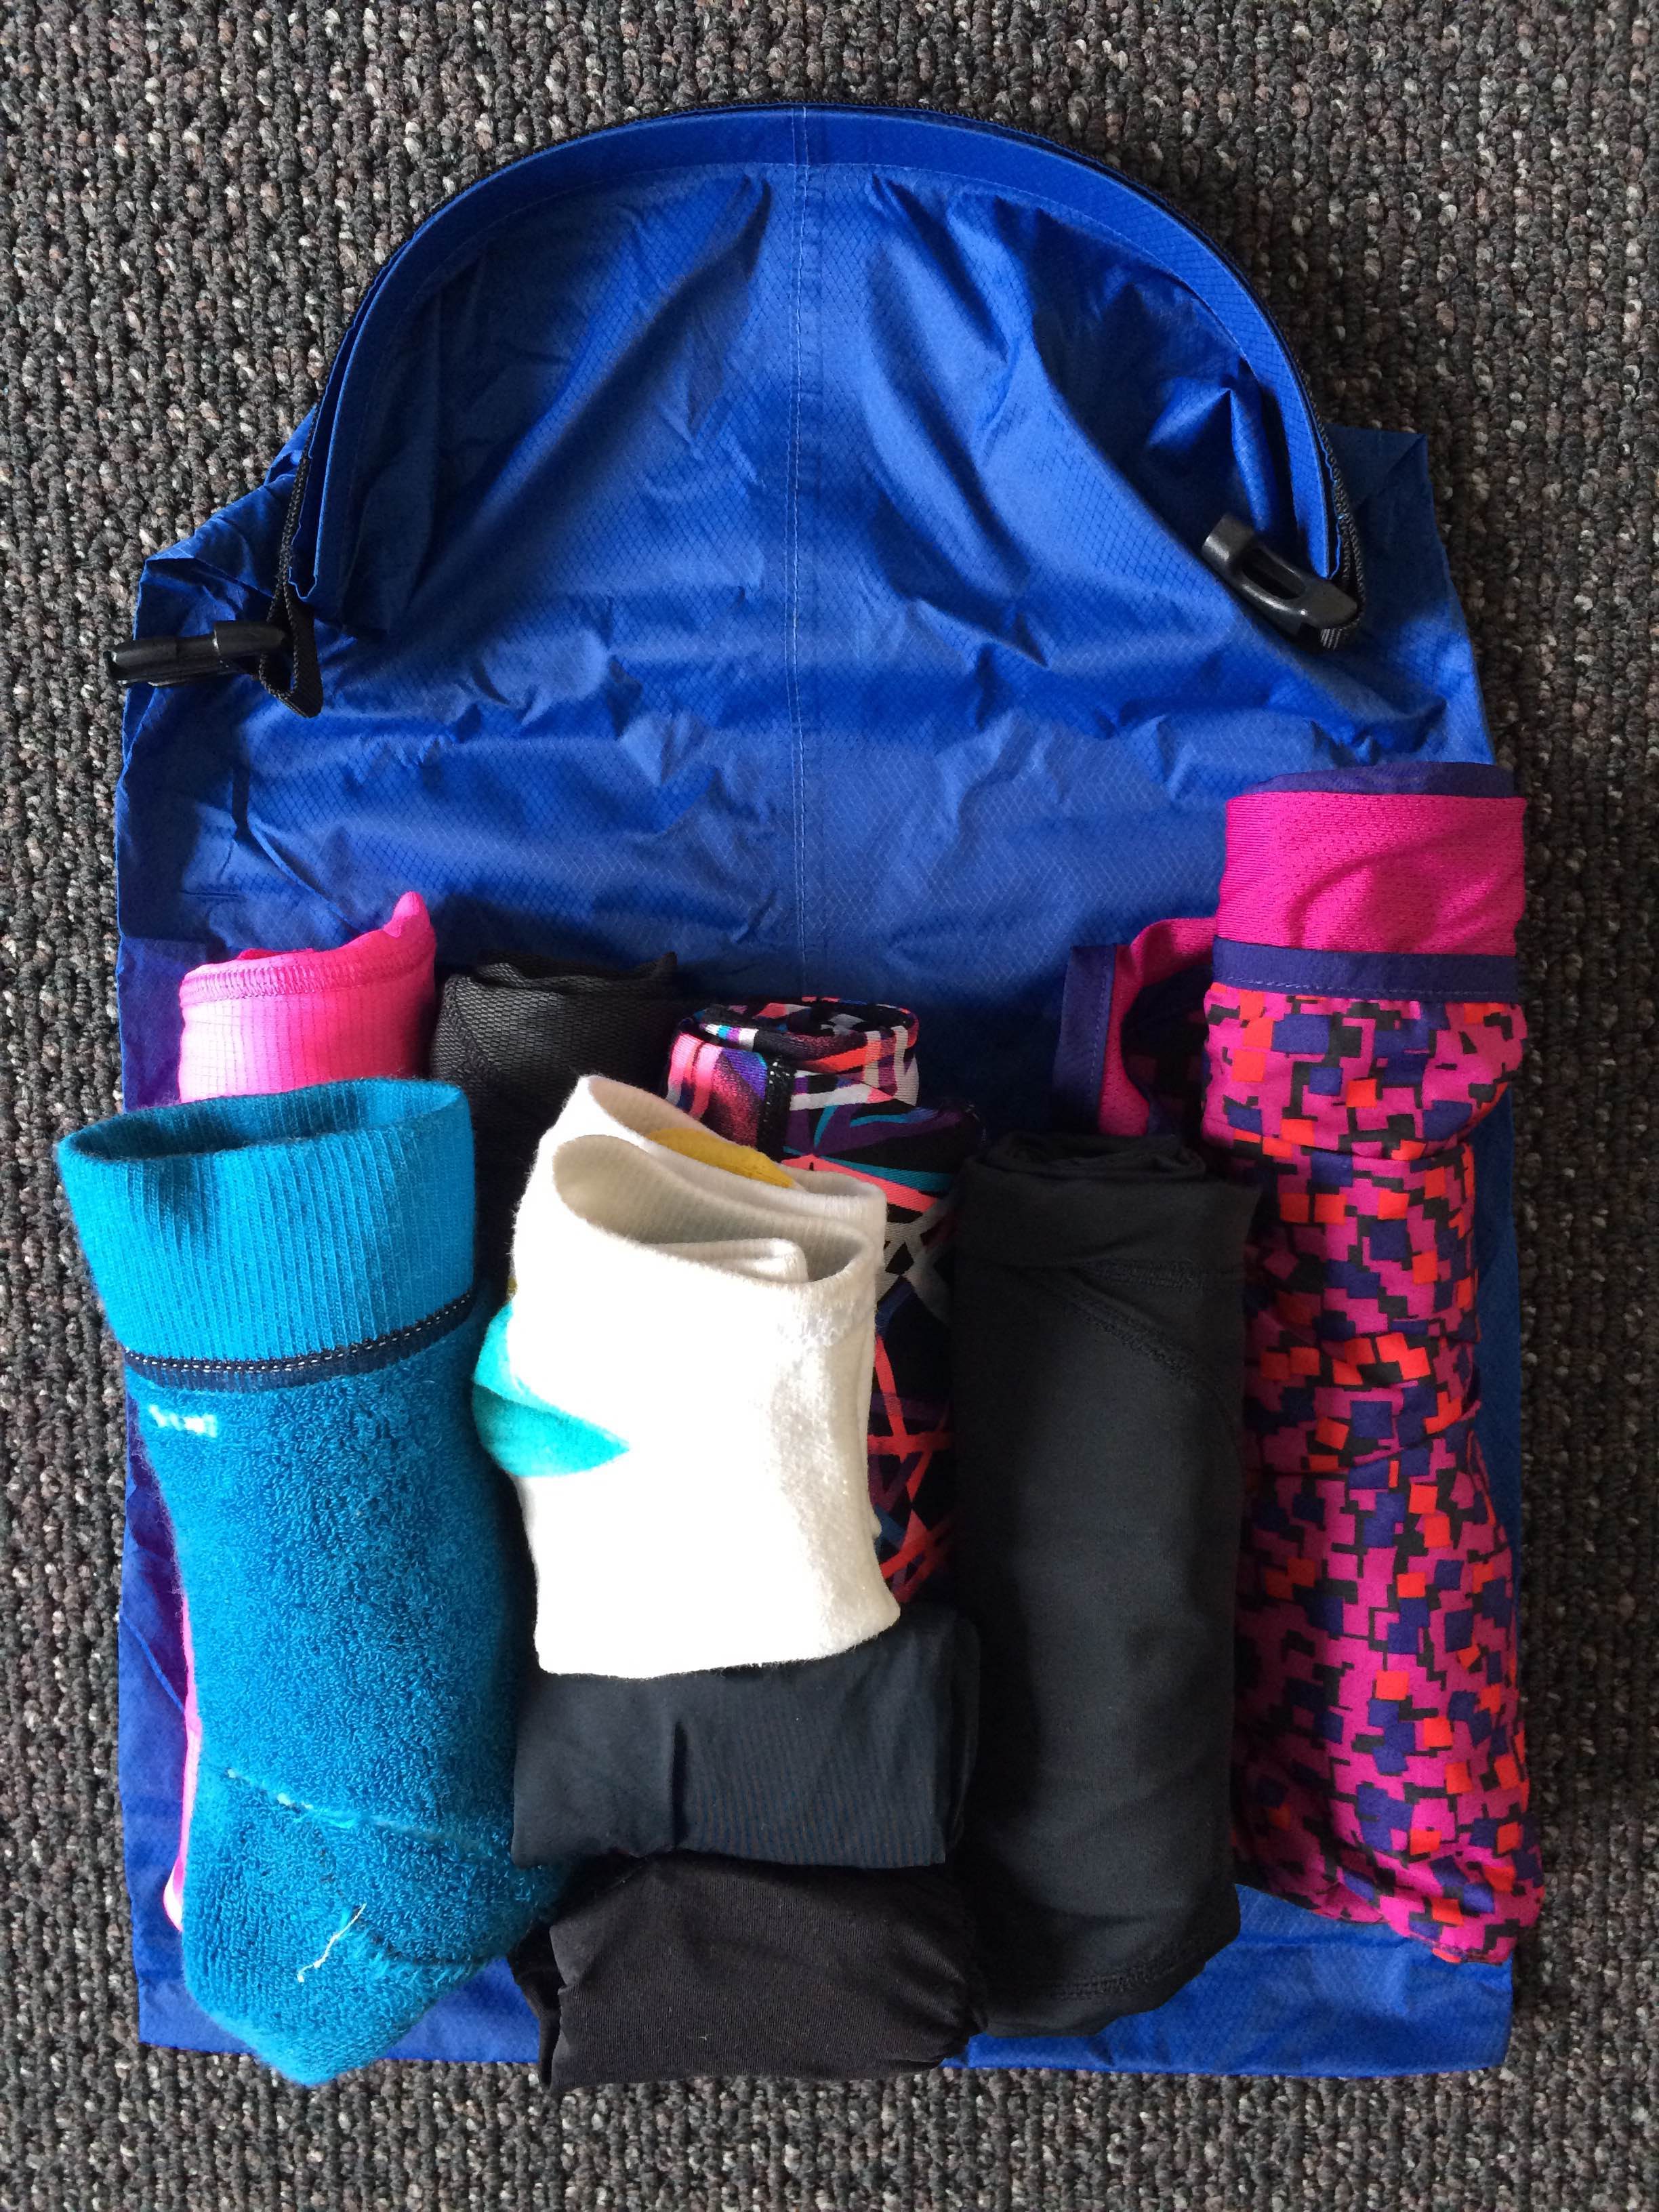
How to pack a bag effectively
Once you have decided what to pack, another important thing is knowing how to pack your bag effectively for weight distribution to minimise the negative impacts on the body when carrying it for a long time.
The important considerations are to keep things centred and to keep the heaviest items as close to your body as possible, preferably around the middle of the back.
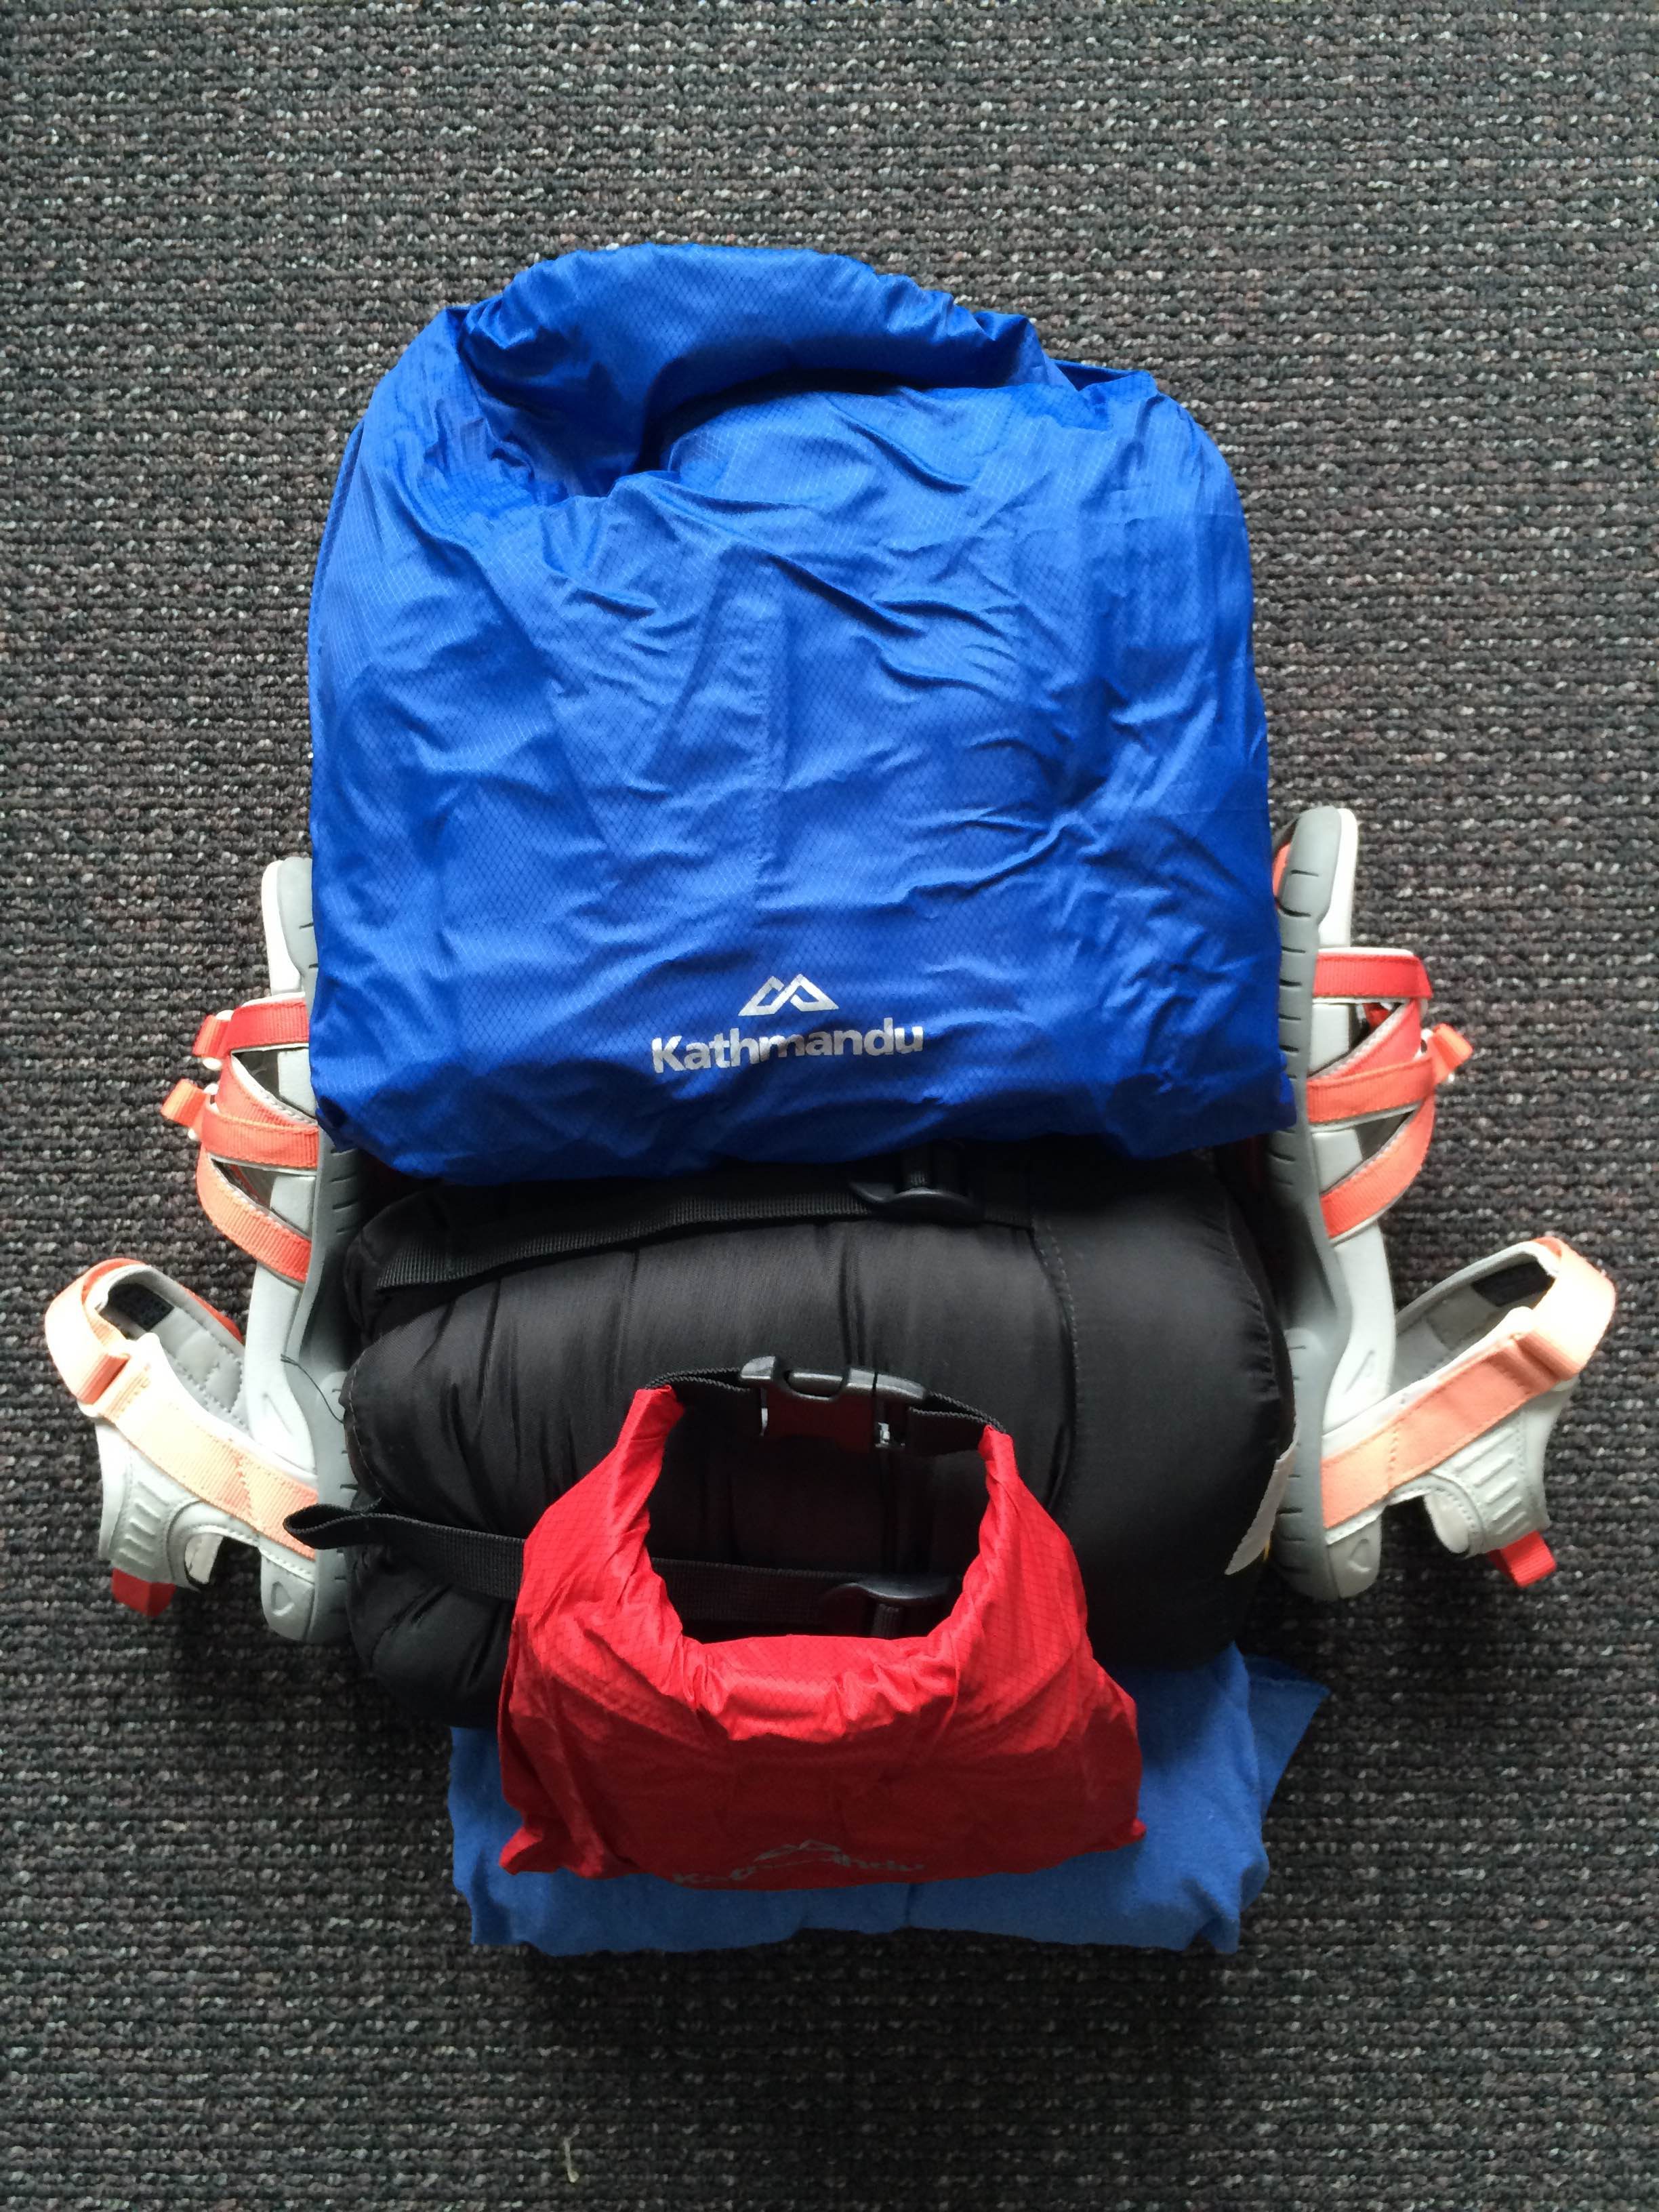
My style, put the sleeping bag and sleeping bag liner down the bottom, centred. Put the toiletry bag on top but against my back, put clothes bag in front of that. Put shoes and/or sandals to each side of the packed items. Squish the medical kit into whatever gap remains.
Front view of items as they would be packed
Side view of items as they would be packed
On top of these items would be a shopping bags with all my lunch items: bread, meat, cheese and piece of fruit. The two external side pockets of the bag each contained a water bottle. My hat was clipped to the front of the pack. The front zippered pocket contained the pack cover and my raincoat. The hood pocket had my passport, pilgrim passport, money, and sunscreen. I had a tiny dry bag which I attached near my waist containing my phone and headphones.
Once your pack is filled with your necessary items, make sure to adjust it appropriately so the waist strap is nice and tight so that your hips hold the packs weight. Ensure the shoulder straps are tight enough that the pack is snug to your body and the weight of it is not pulling you backwards.
A well fitted, well balanced and properly packed bag shouldn’t cause you too much hassle for the long haul. My pack might not have been the ideal bag for the camino, but you make do with what you have and I was really happy with it.
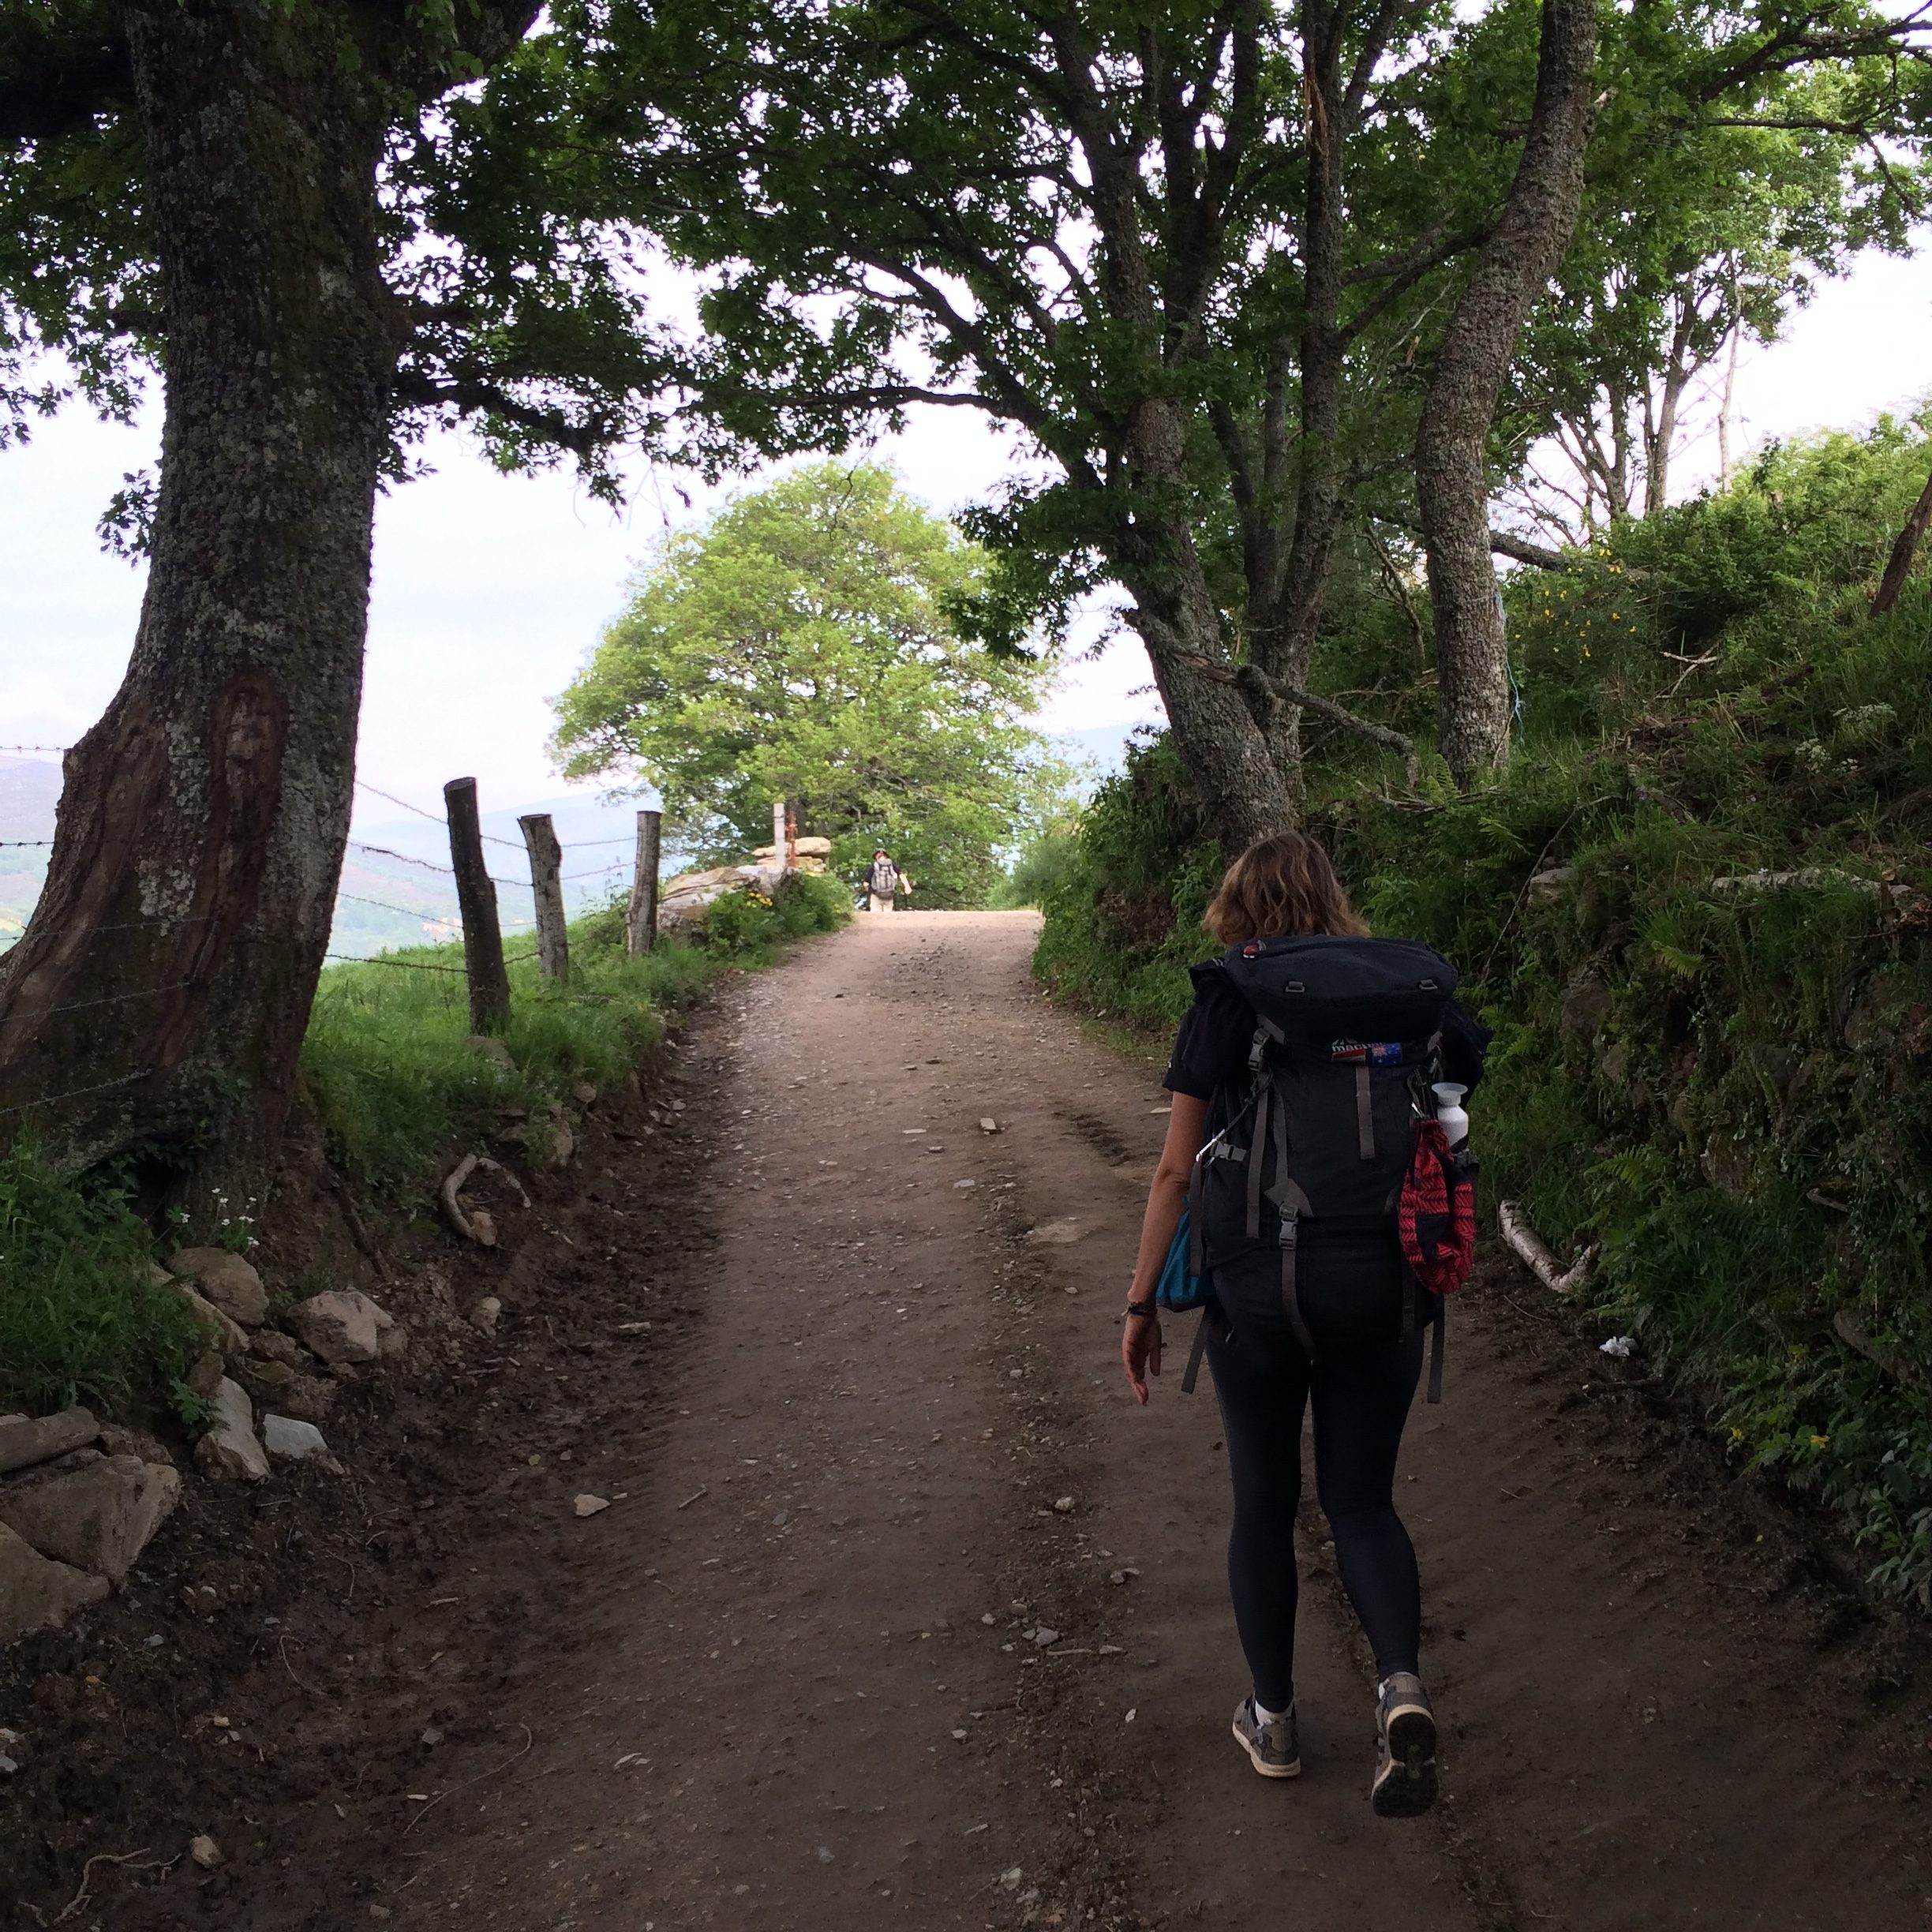
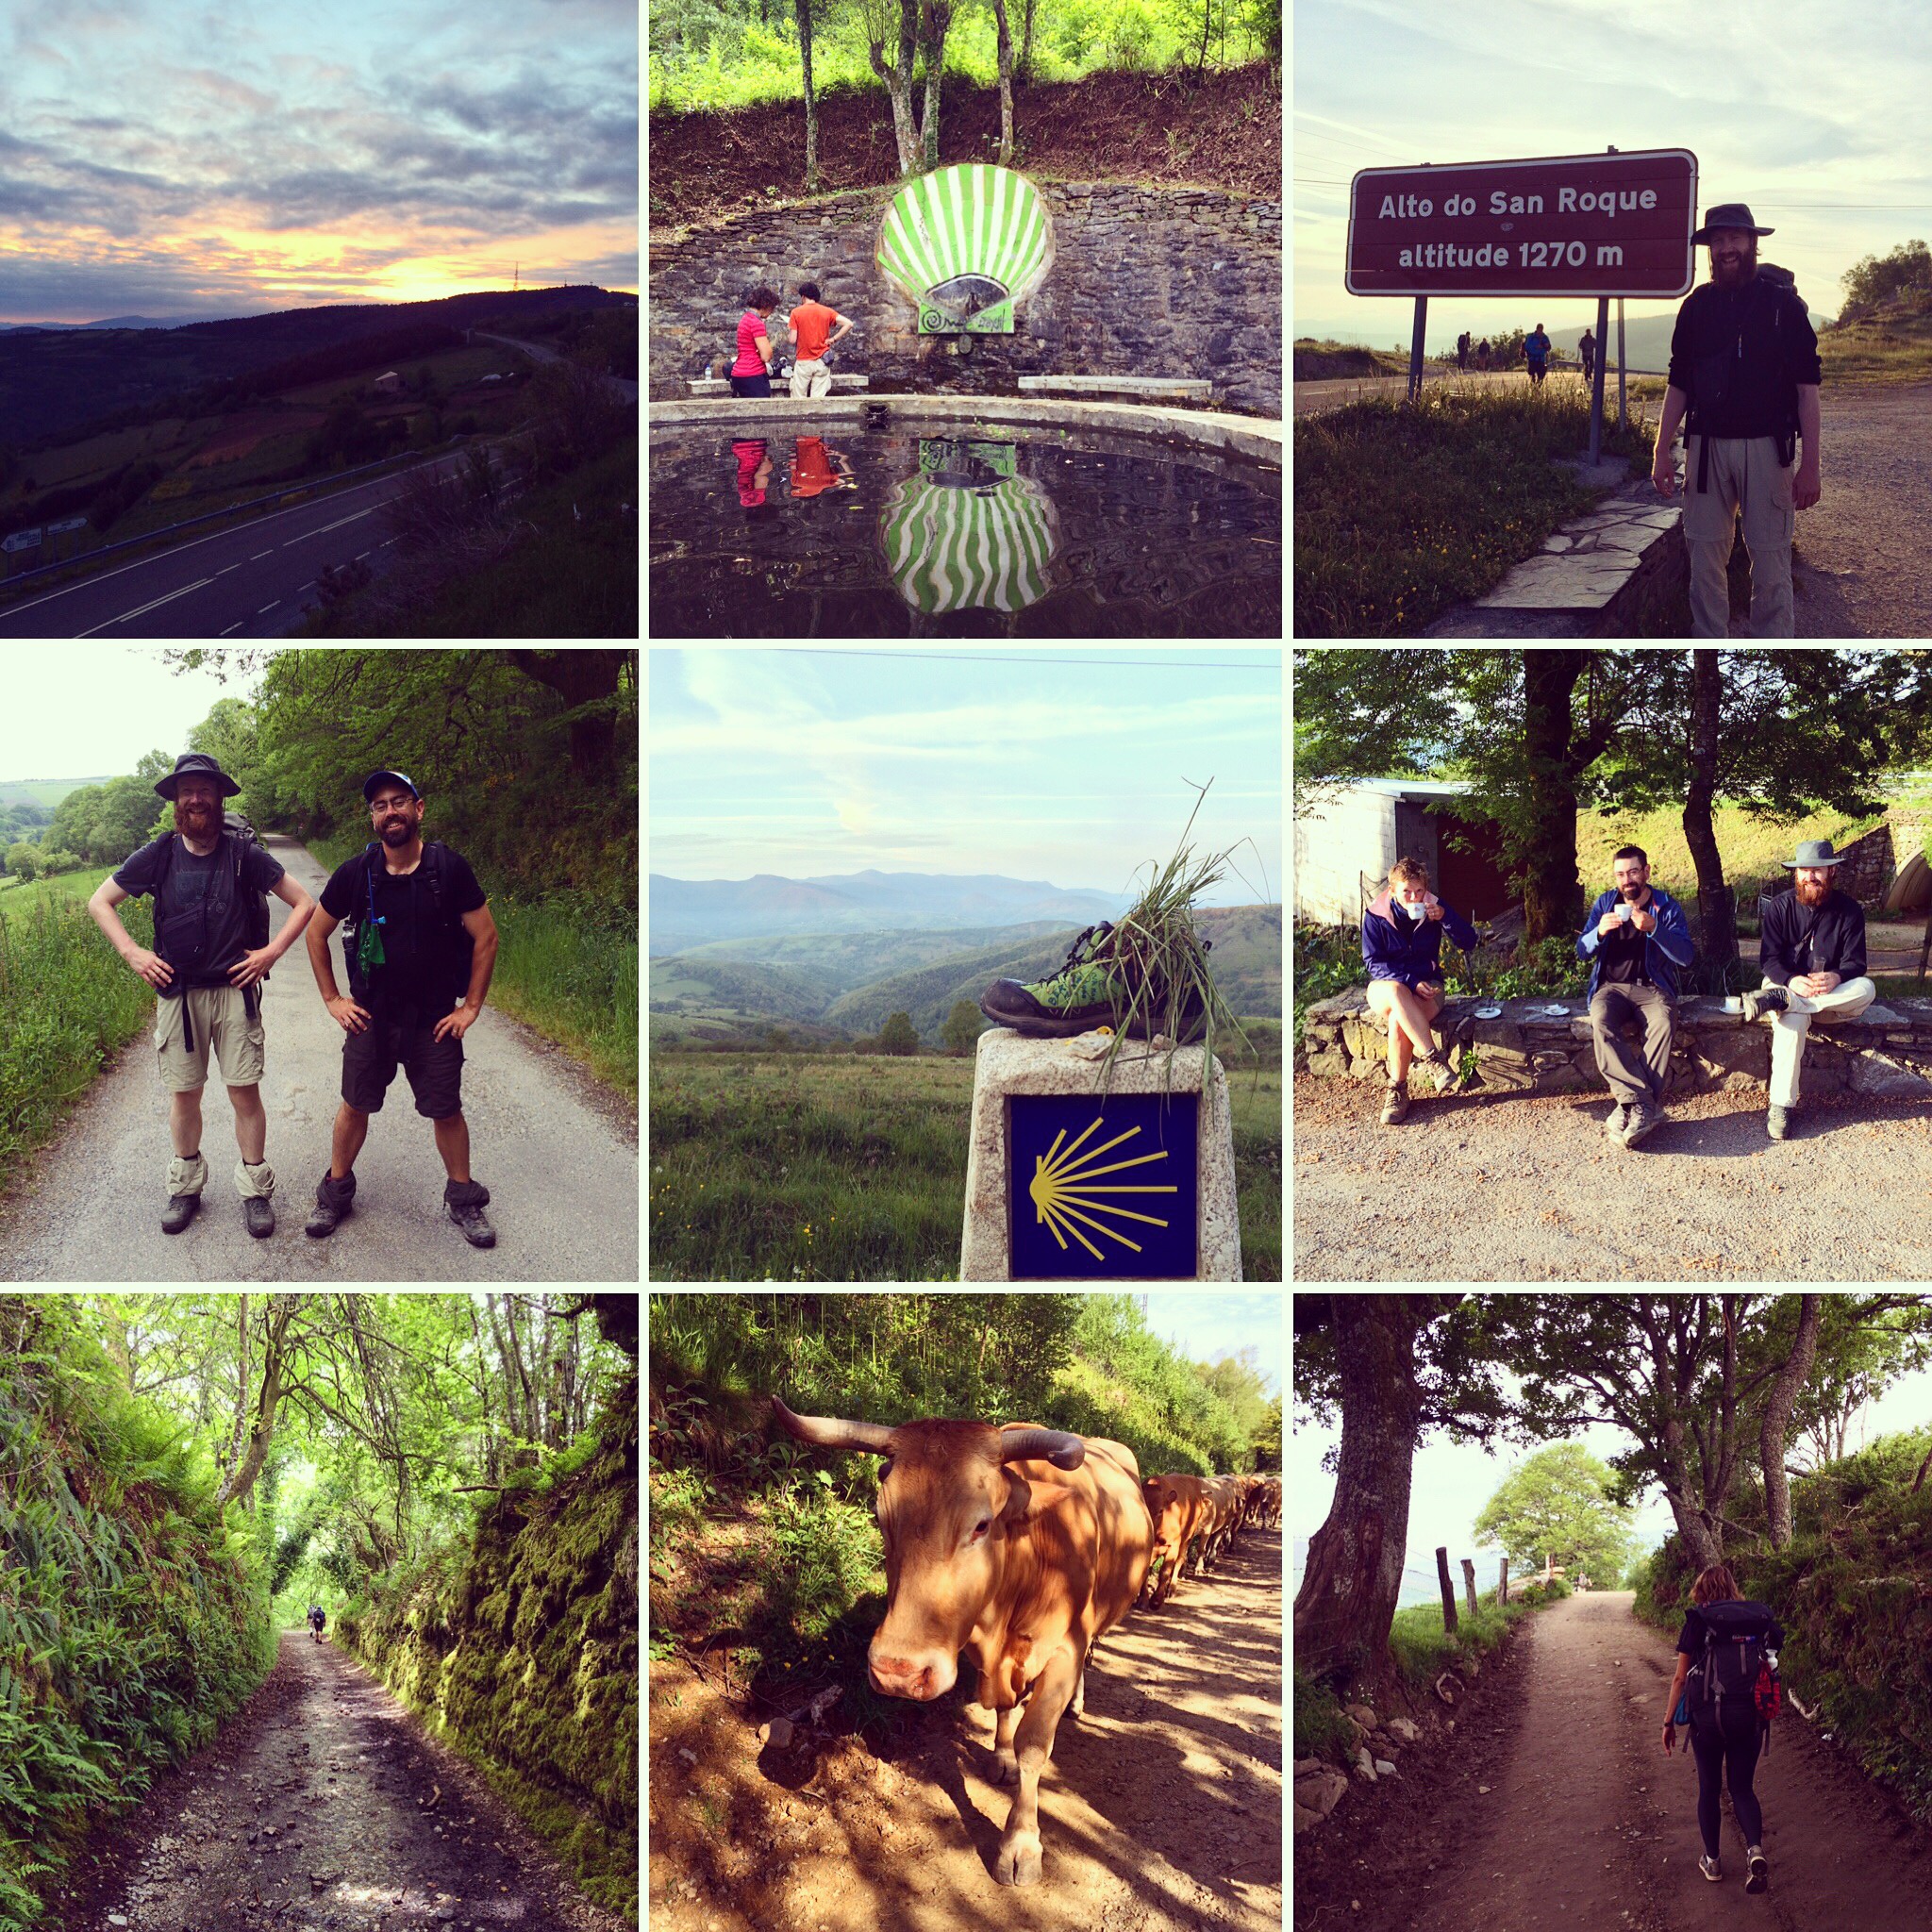
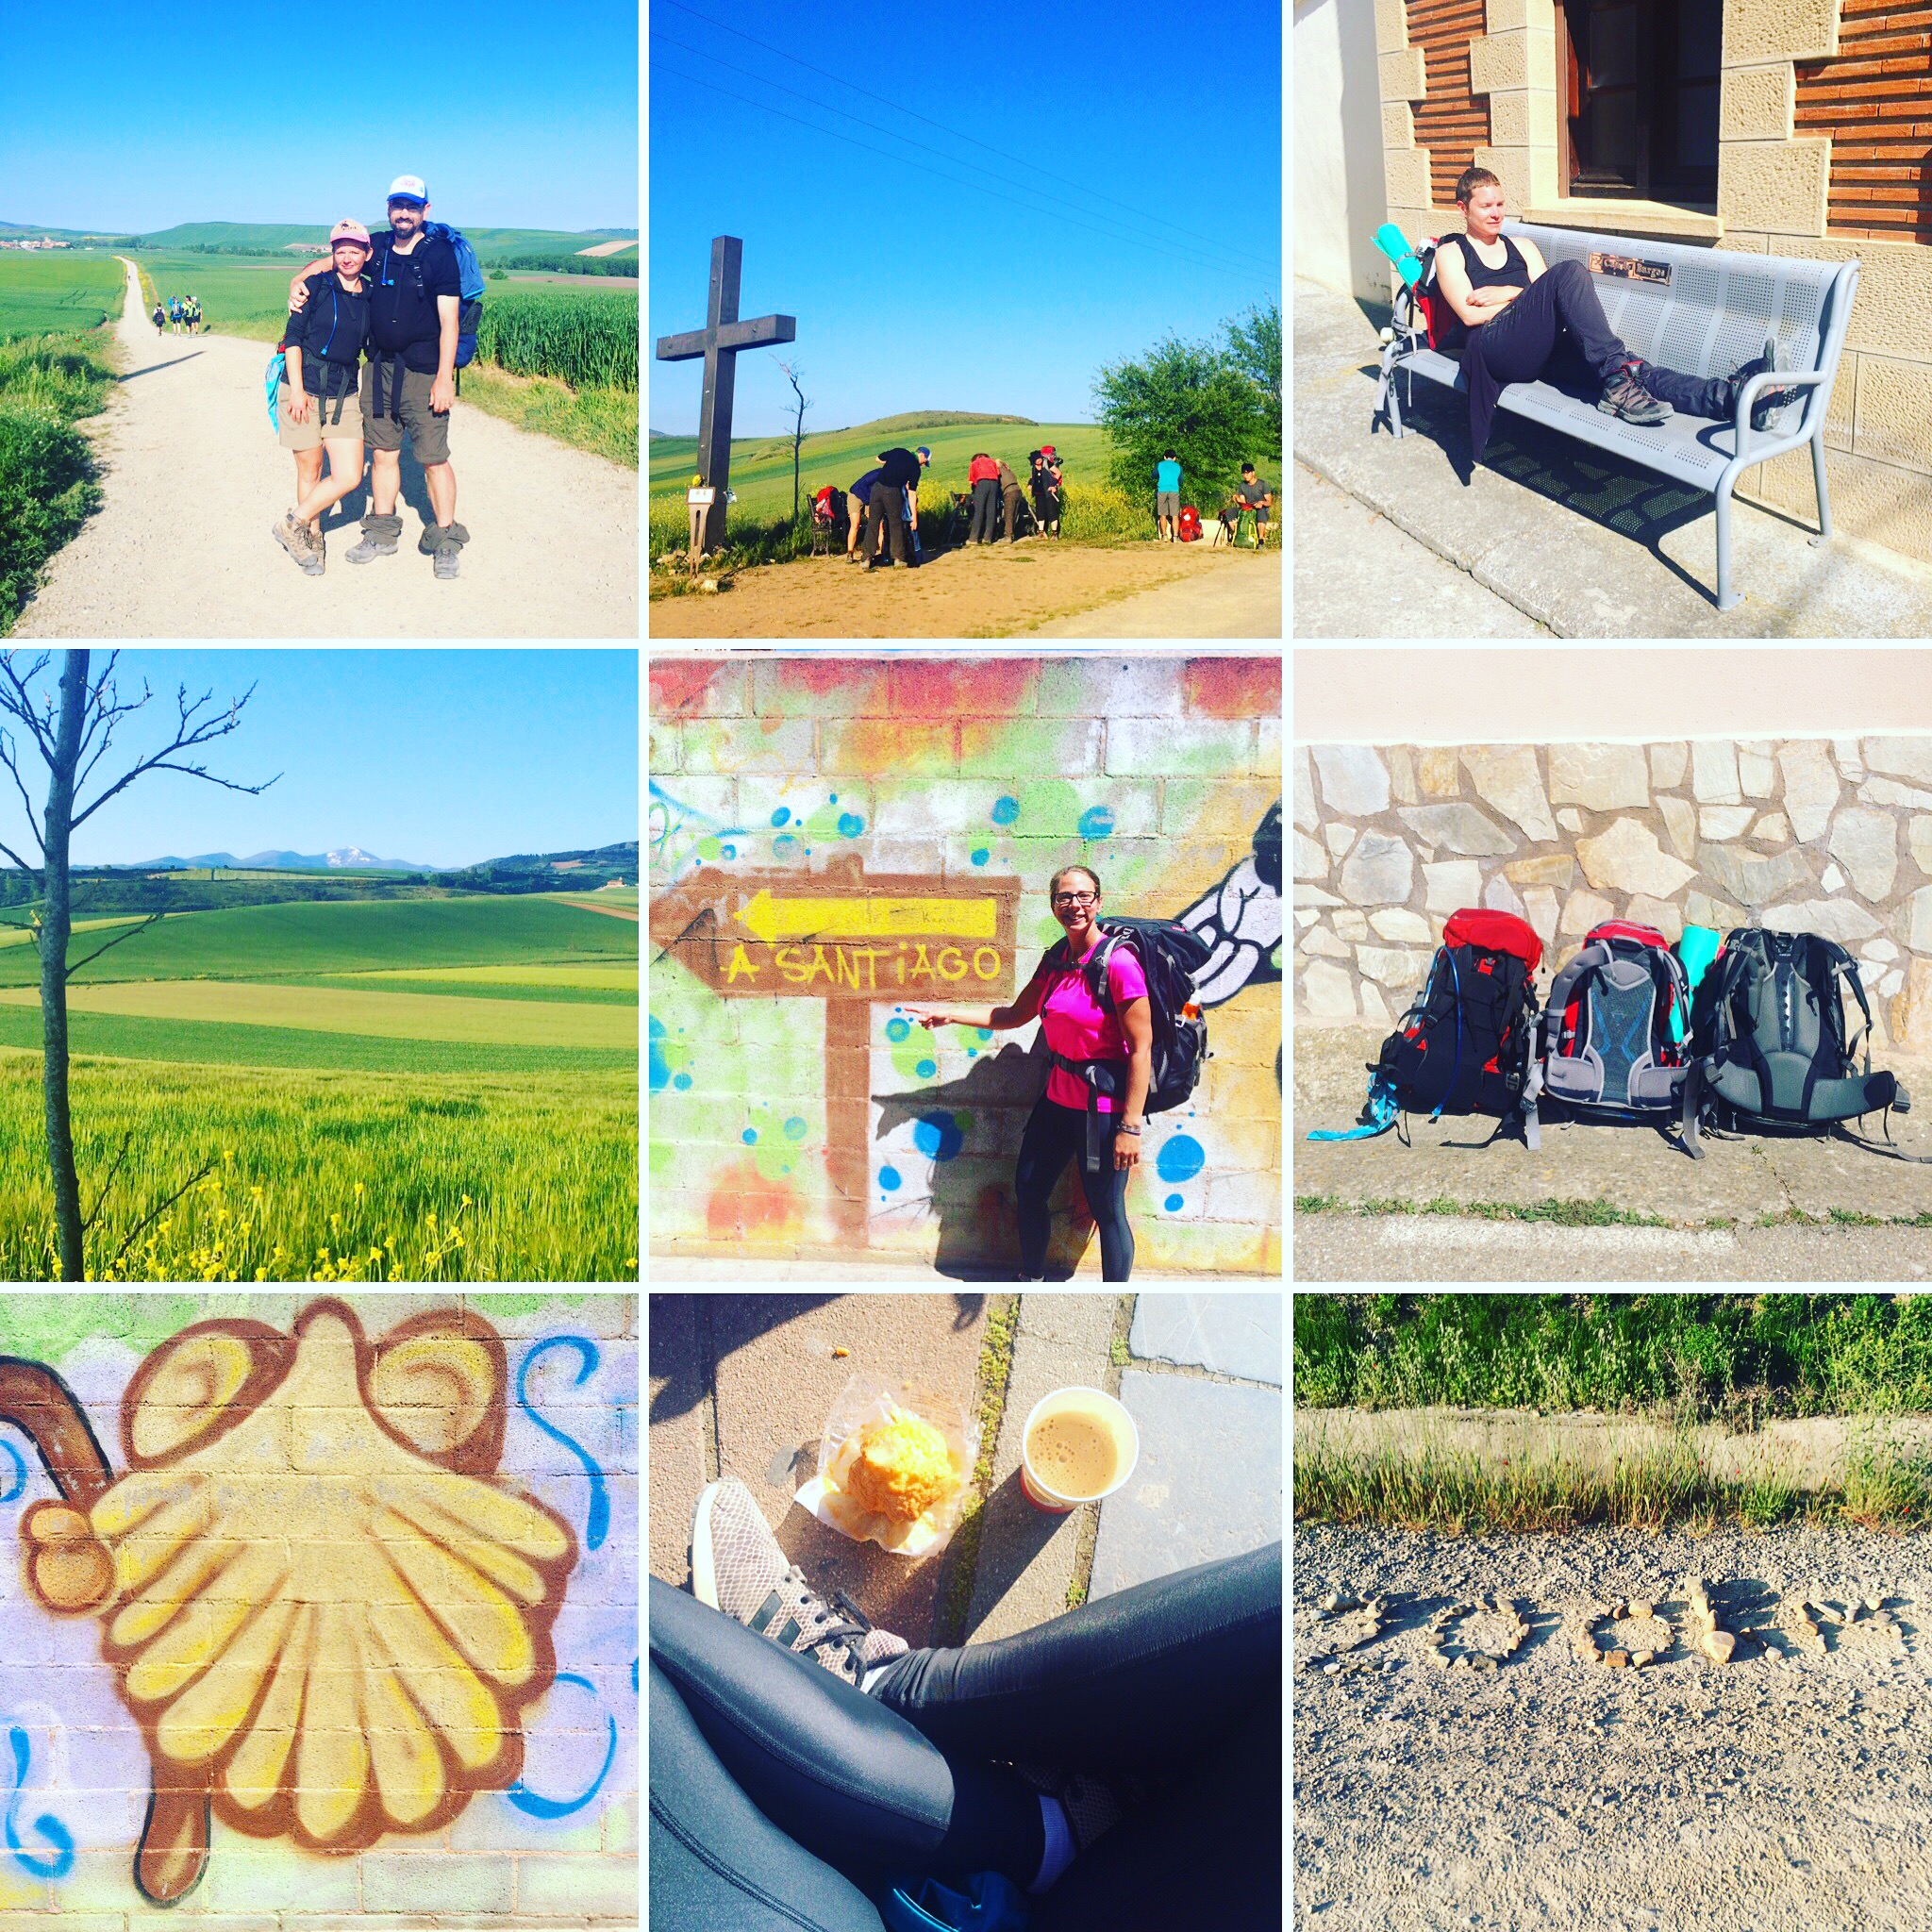
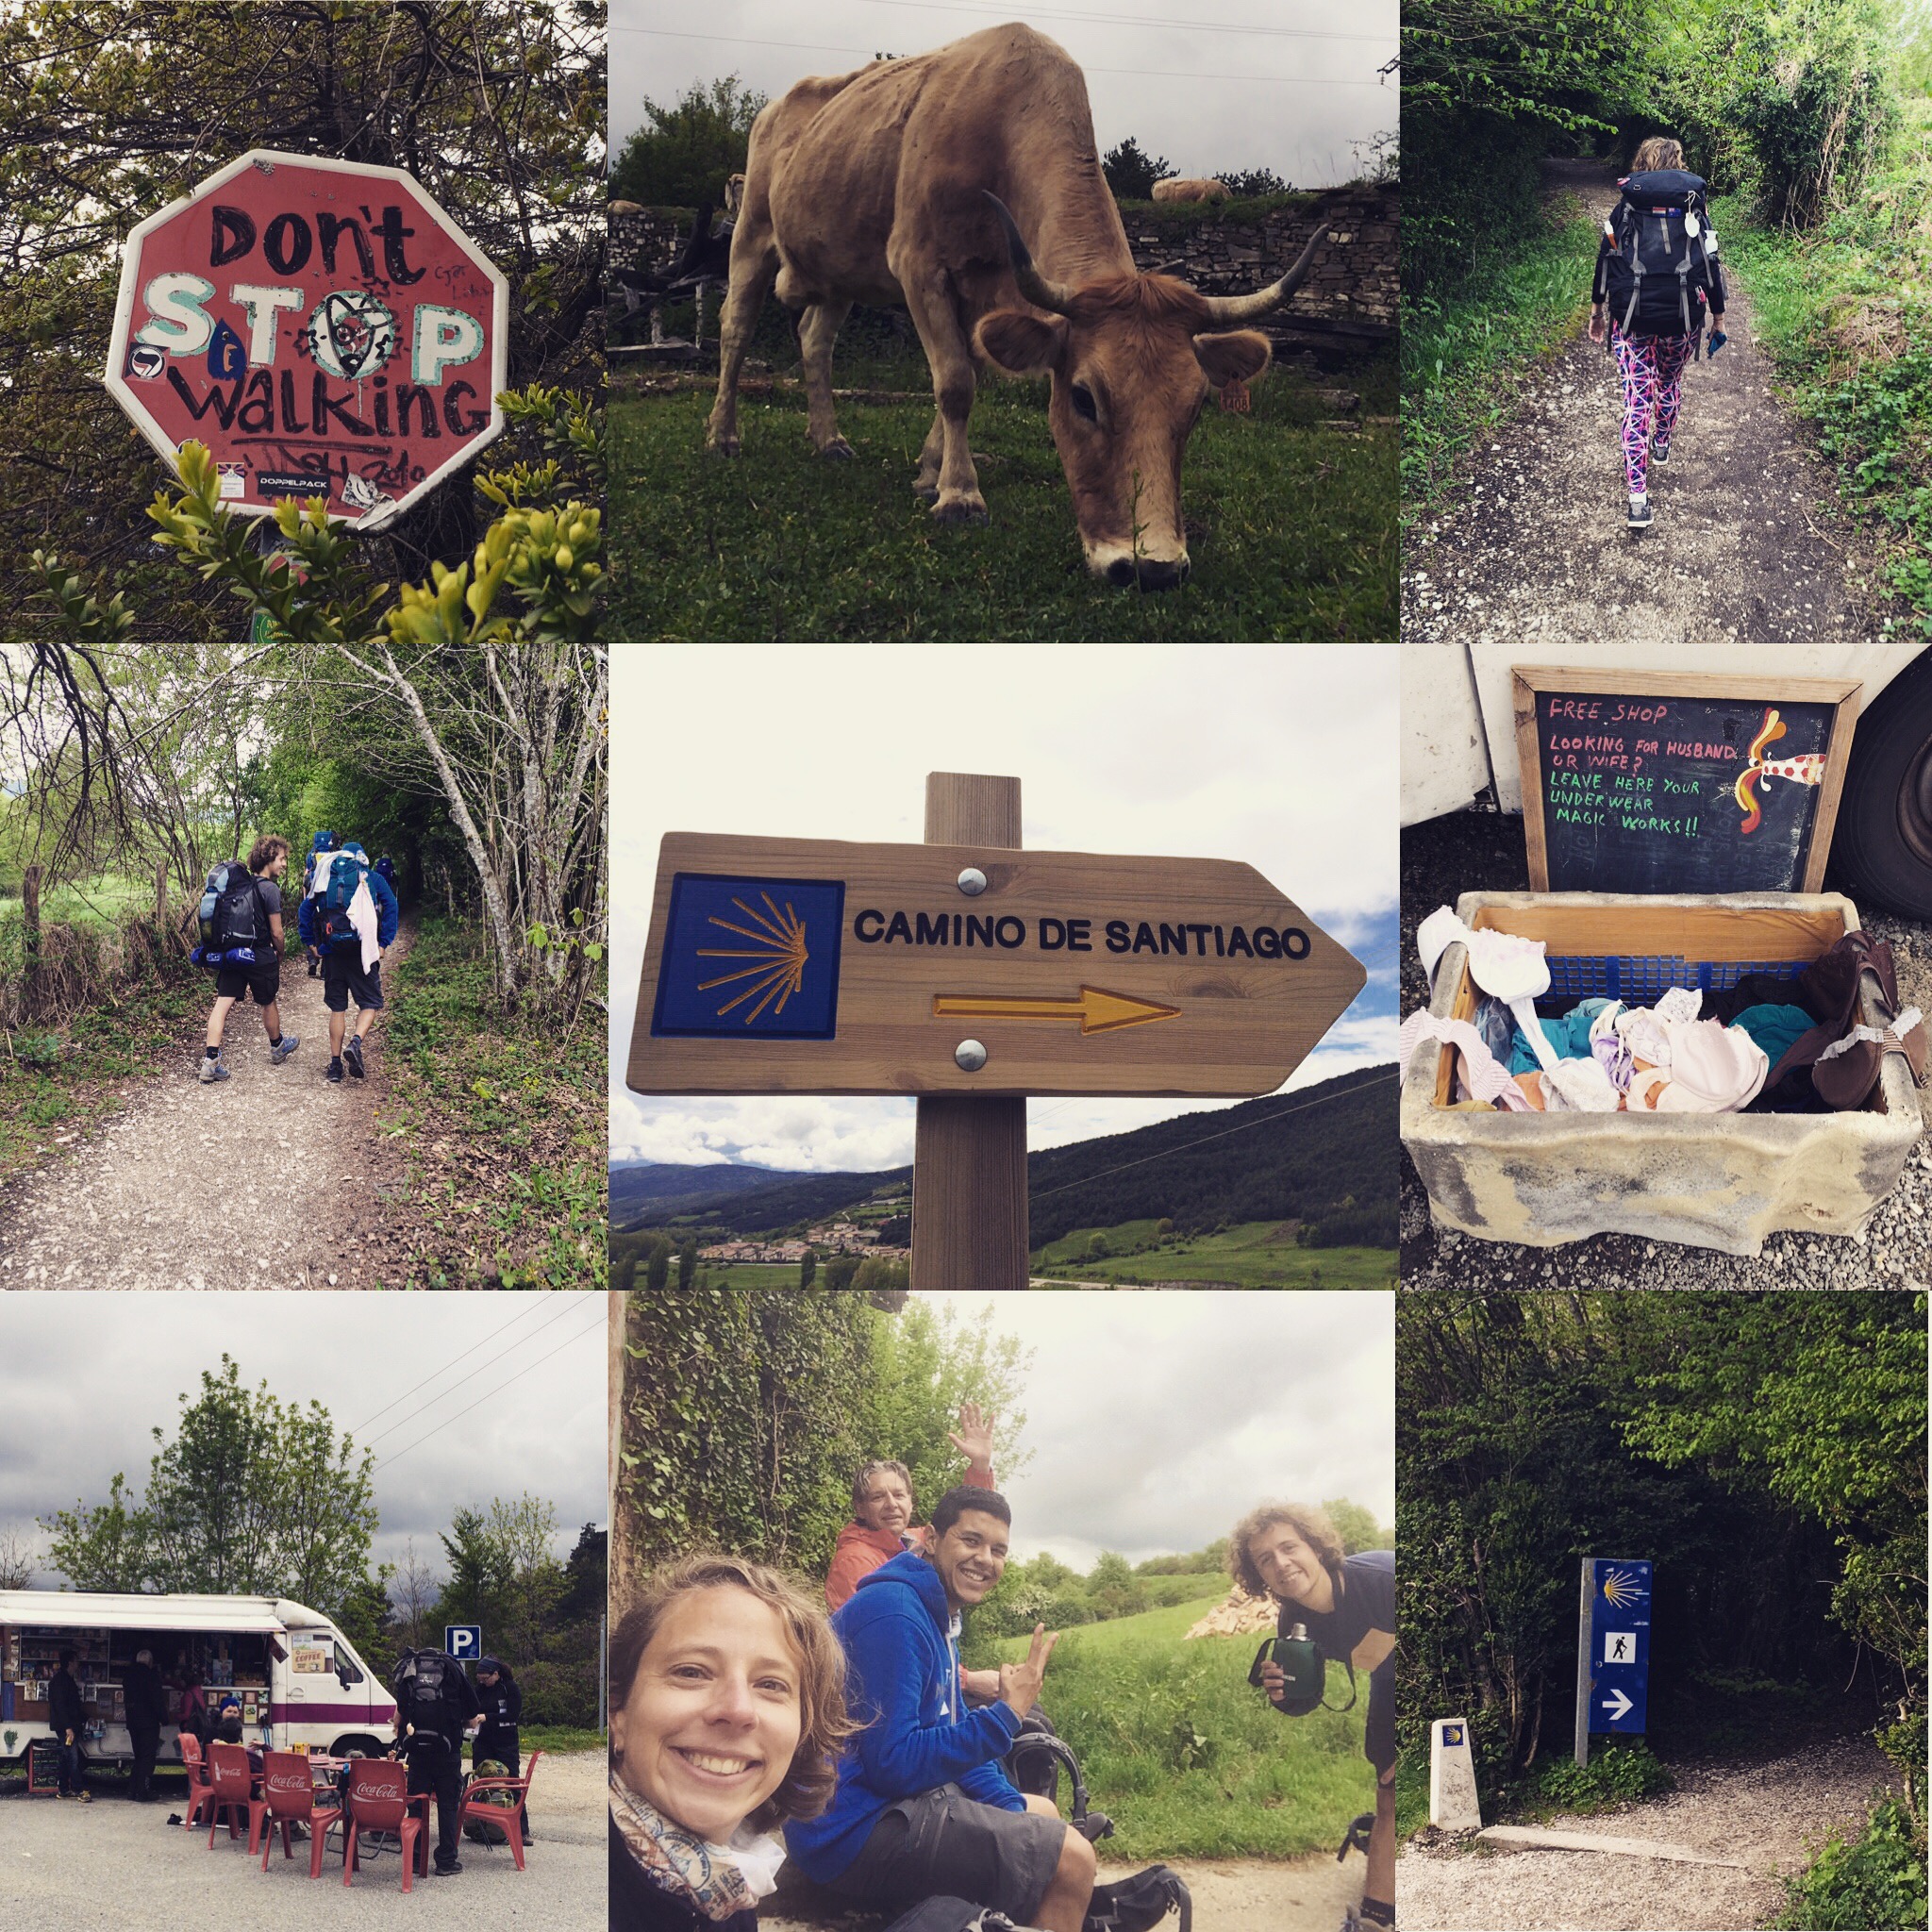
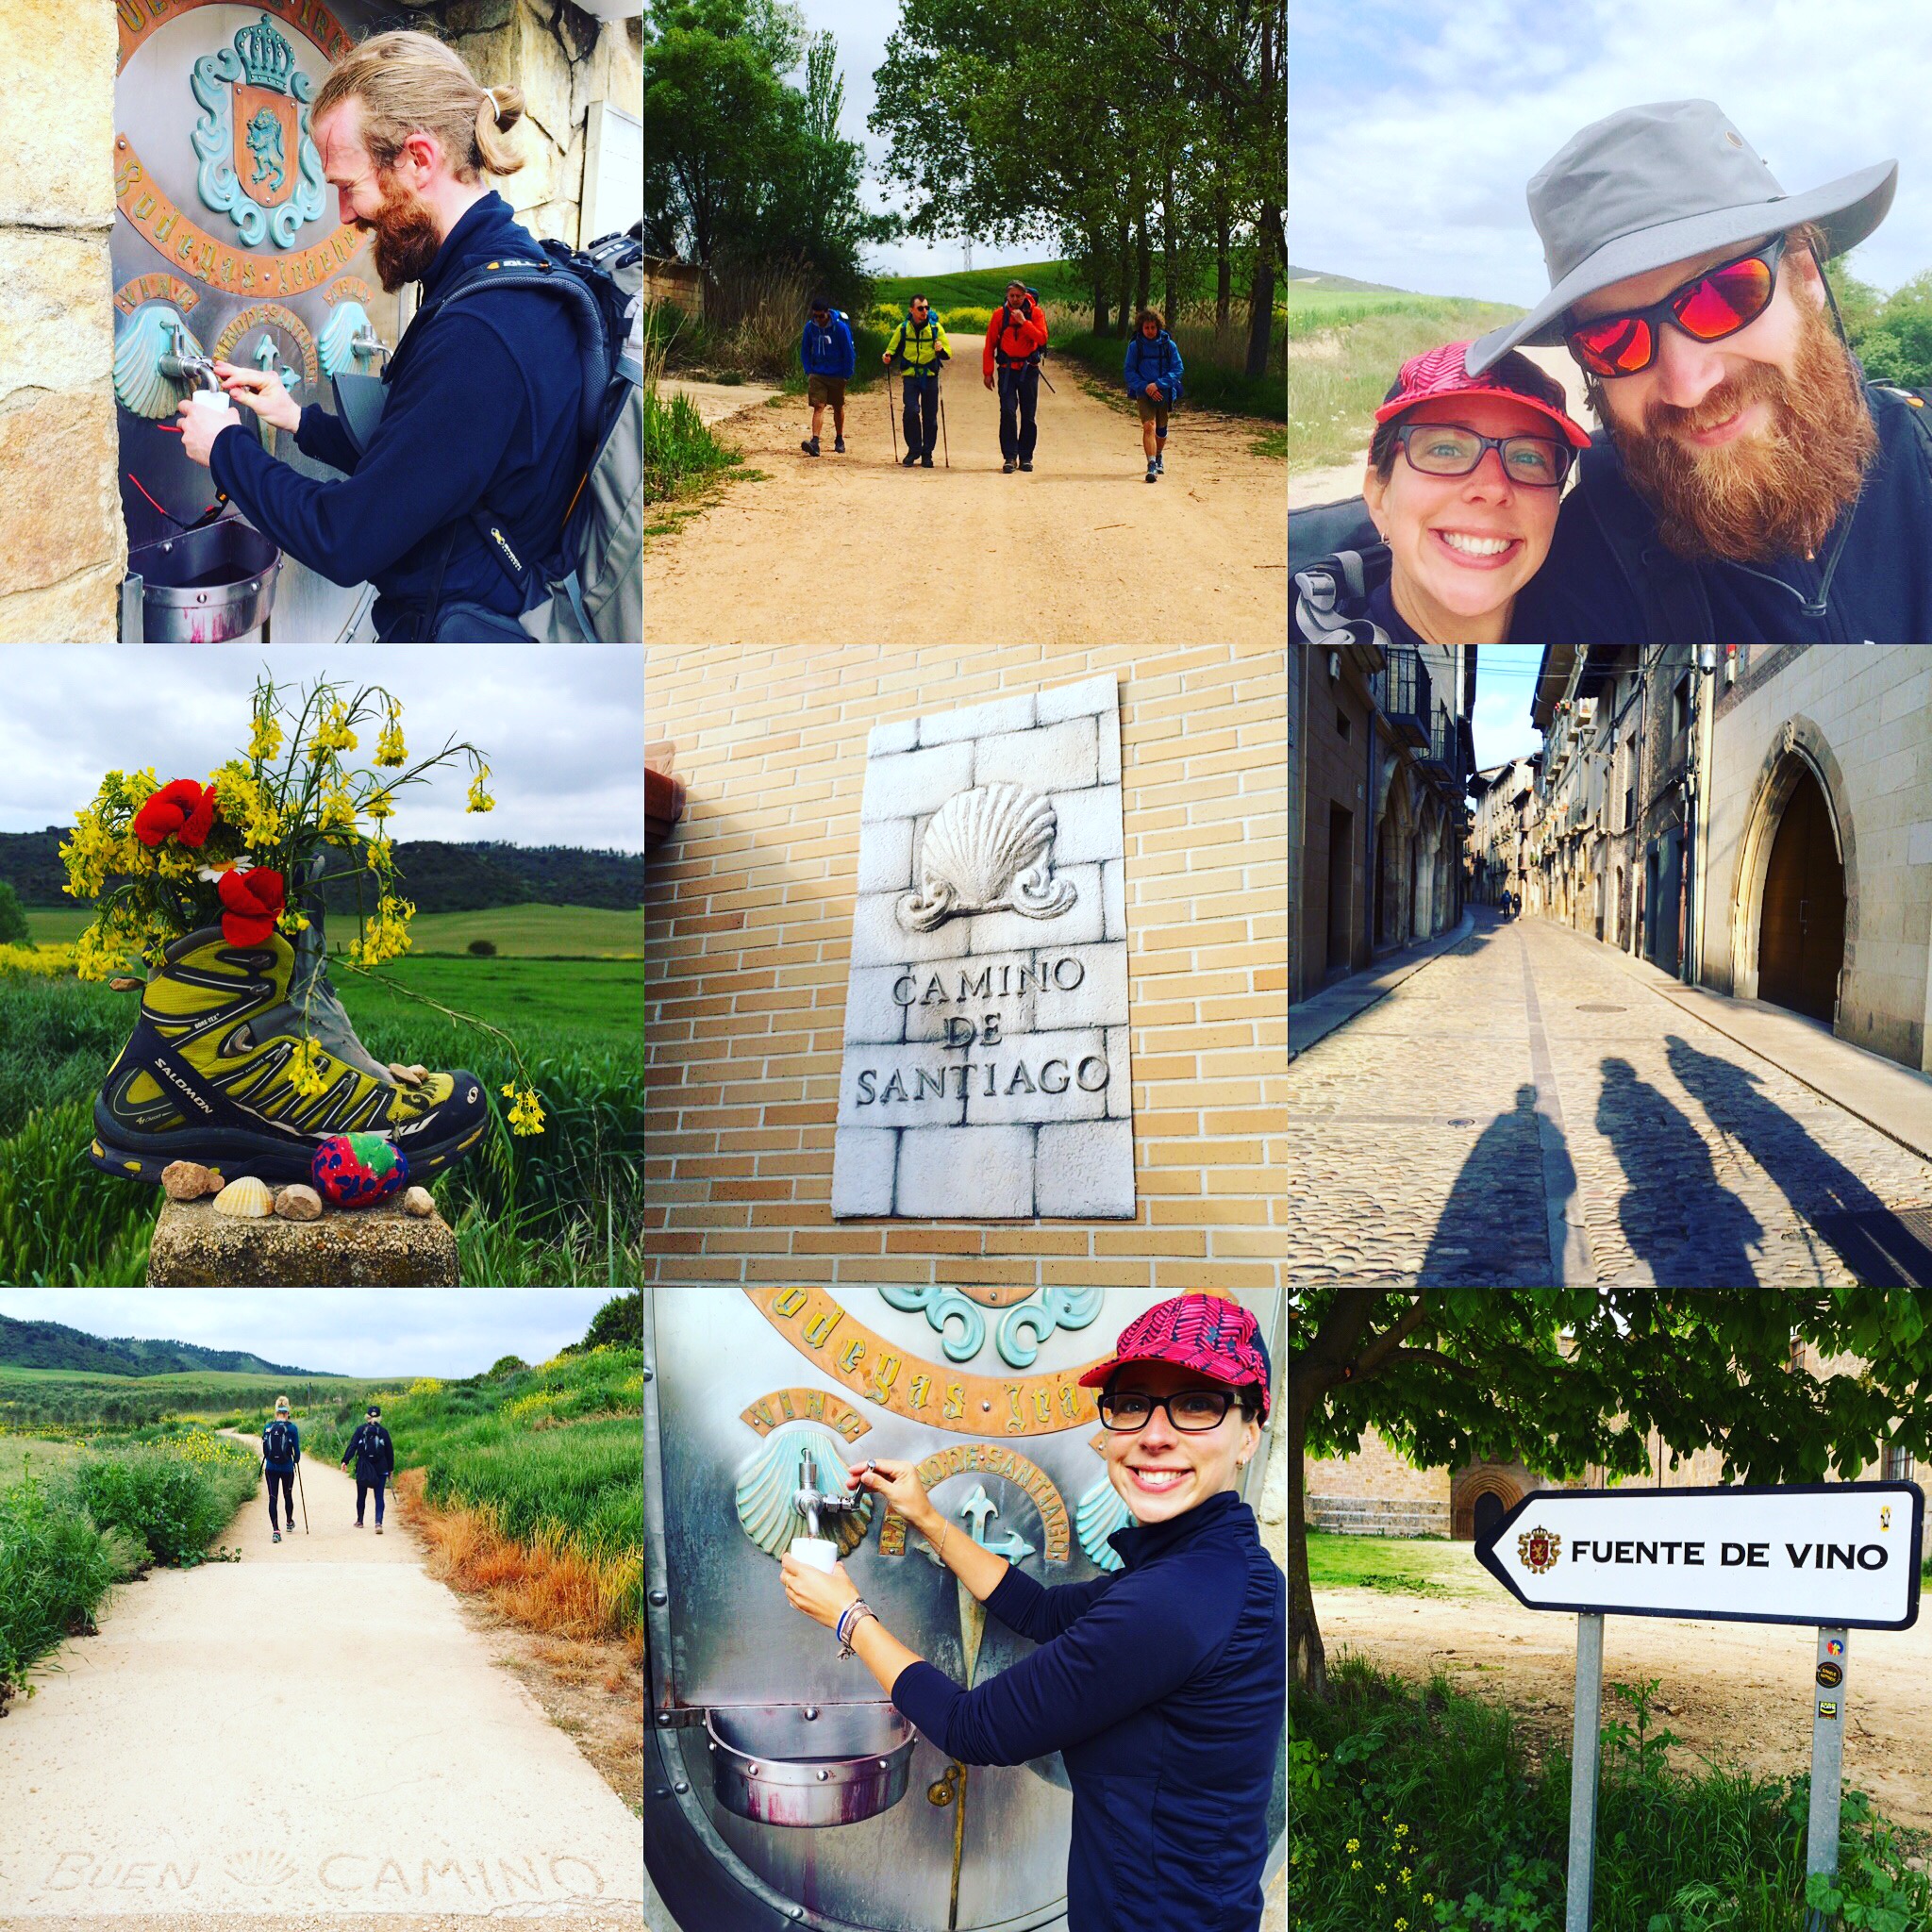
El Camino de Santiago de Compostela: the official distance is 775kilometres from Saint-Jean-Pied-de-Port to Santiago de Compostela. The most physically challenging and rewarding experience of my life.
I knew that with enough determination I would be physically capable of walking the full distance. Once I have set my mind to something and publicised my intentions, I can be an awfully determined and stubborn person. While my family and friends continually told me I could do it, I suspect they wondered why I would bother and whether I would quit. With shouts of pride and wonder they were all very impressed when I finished!
So without giving myself too much of a pat on the back for kicking Camino butt, I do want to tell you about the experience in a way that is factual and informative for anyone considering doing it themselves, as well as giving interesting information about the experience as a whole.
Attached is a Spreadsheet of Camino Stats and Costs listing my walking days: start, finish, steps, distance, time taken and costs for the day. In addition to the stats of all 31 days of walking, it tallies all costs from my departure in The Netherlands to my return in The Netherlands and everything in between.
(The steps and distance were calculated by use of the Apple Health app on the iPhone – it obviously won’t be 100% accurate, but it’s not too far off)
Everyone walks their own camino…
I want to start by saying this: Everyone walks their own camino.
This is the most important thing to remember about the camino. It is yours and yours only. You may chose to share your experience with others, but you are there for yourself.
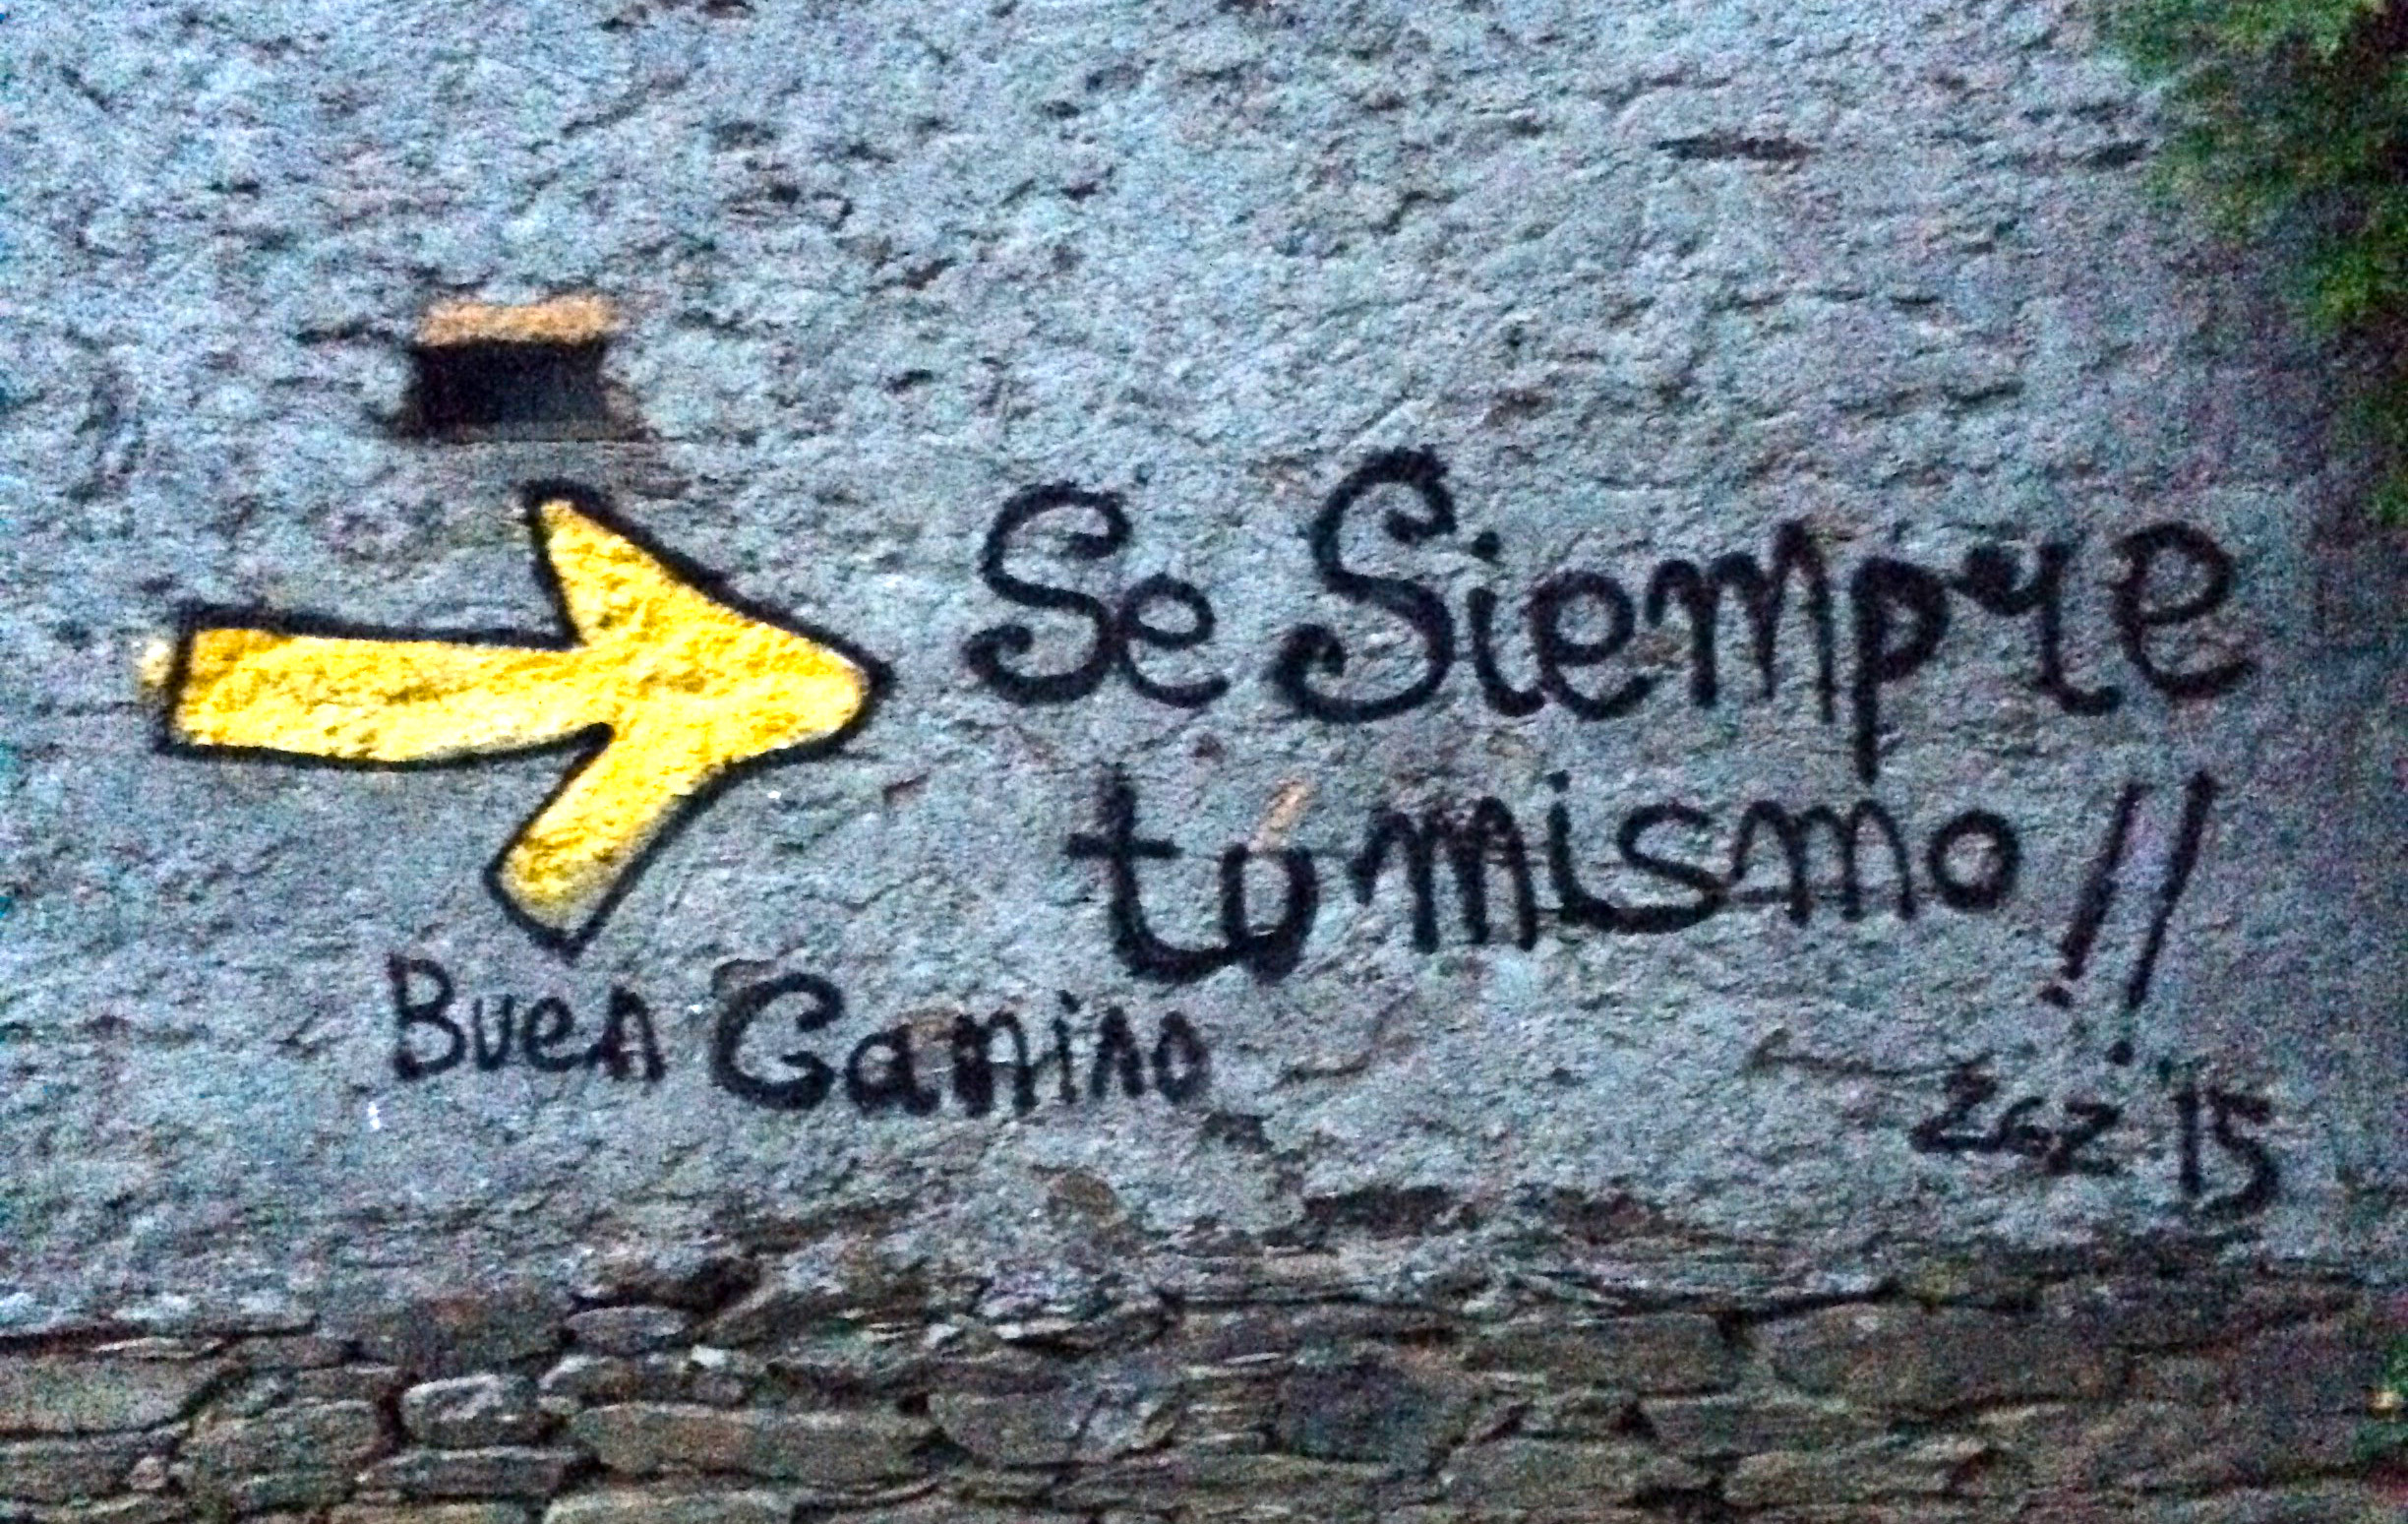
Be Always Yourself
It is up to you to choose how you walk it: fast or slow; alone or with others; in silence, in conversation or listening to music; with rest days or without; collecting many stamps or a few; carrying your bag or sending it on each day; camping, staying in albergues or in hotels.
It is important to have an idea for how you want to walk your camino, but remain open-minded about how this may or may not change as you make friends and your priorities or situation change. Some people had to catch a bus or taxi for a section when they became unwell, there was no accommodation available or they didn’t want to walk a particular section. Some people sent their bags ahead each day because they physically couldn’t carry it, didn’t want to carry it or they suffered an injury meaning they could no longer carry it.
Whatever choices you make for yourself, do not try to convince others to do the same or change what they are doing (it made me angry to hear someone trying to convince others to change what they were doing).
No matter what, remain true to yourself and feel comfortable in the knowledge that you will be respected by others for making your own decisions. There is no judgement on the camino.
Some Facts..
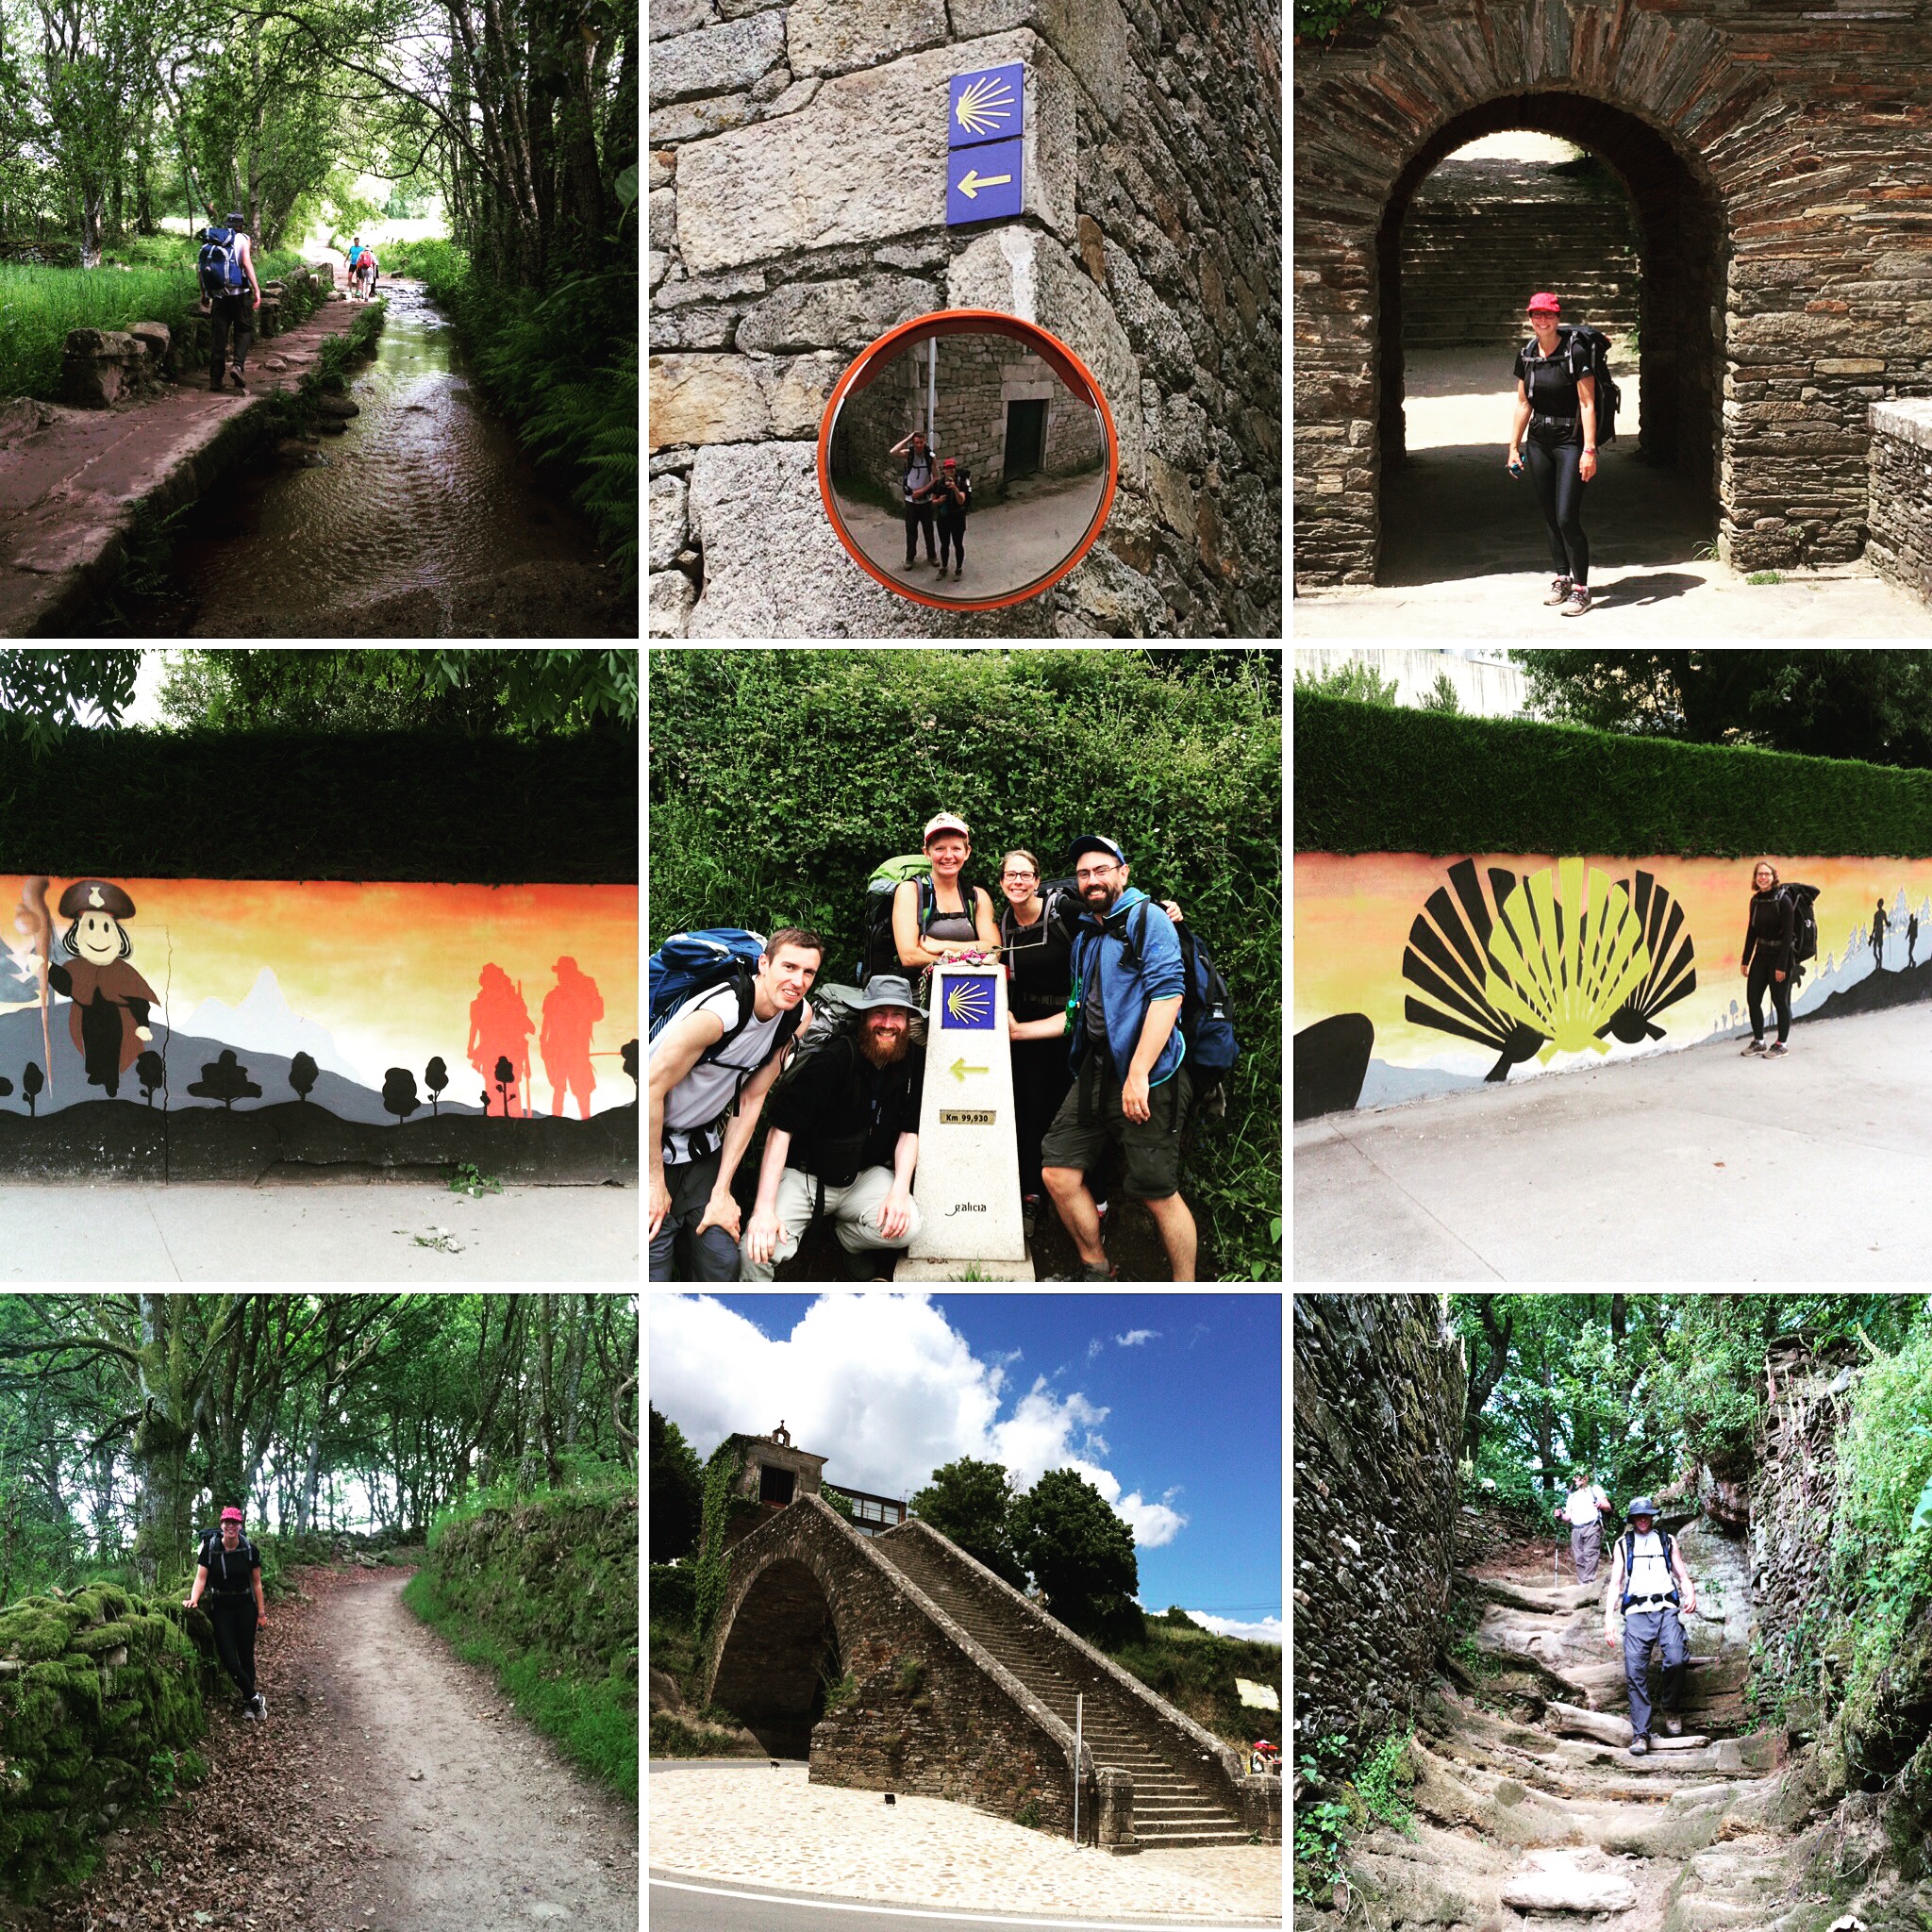
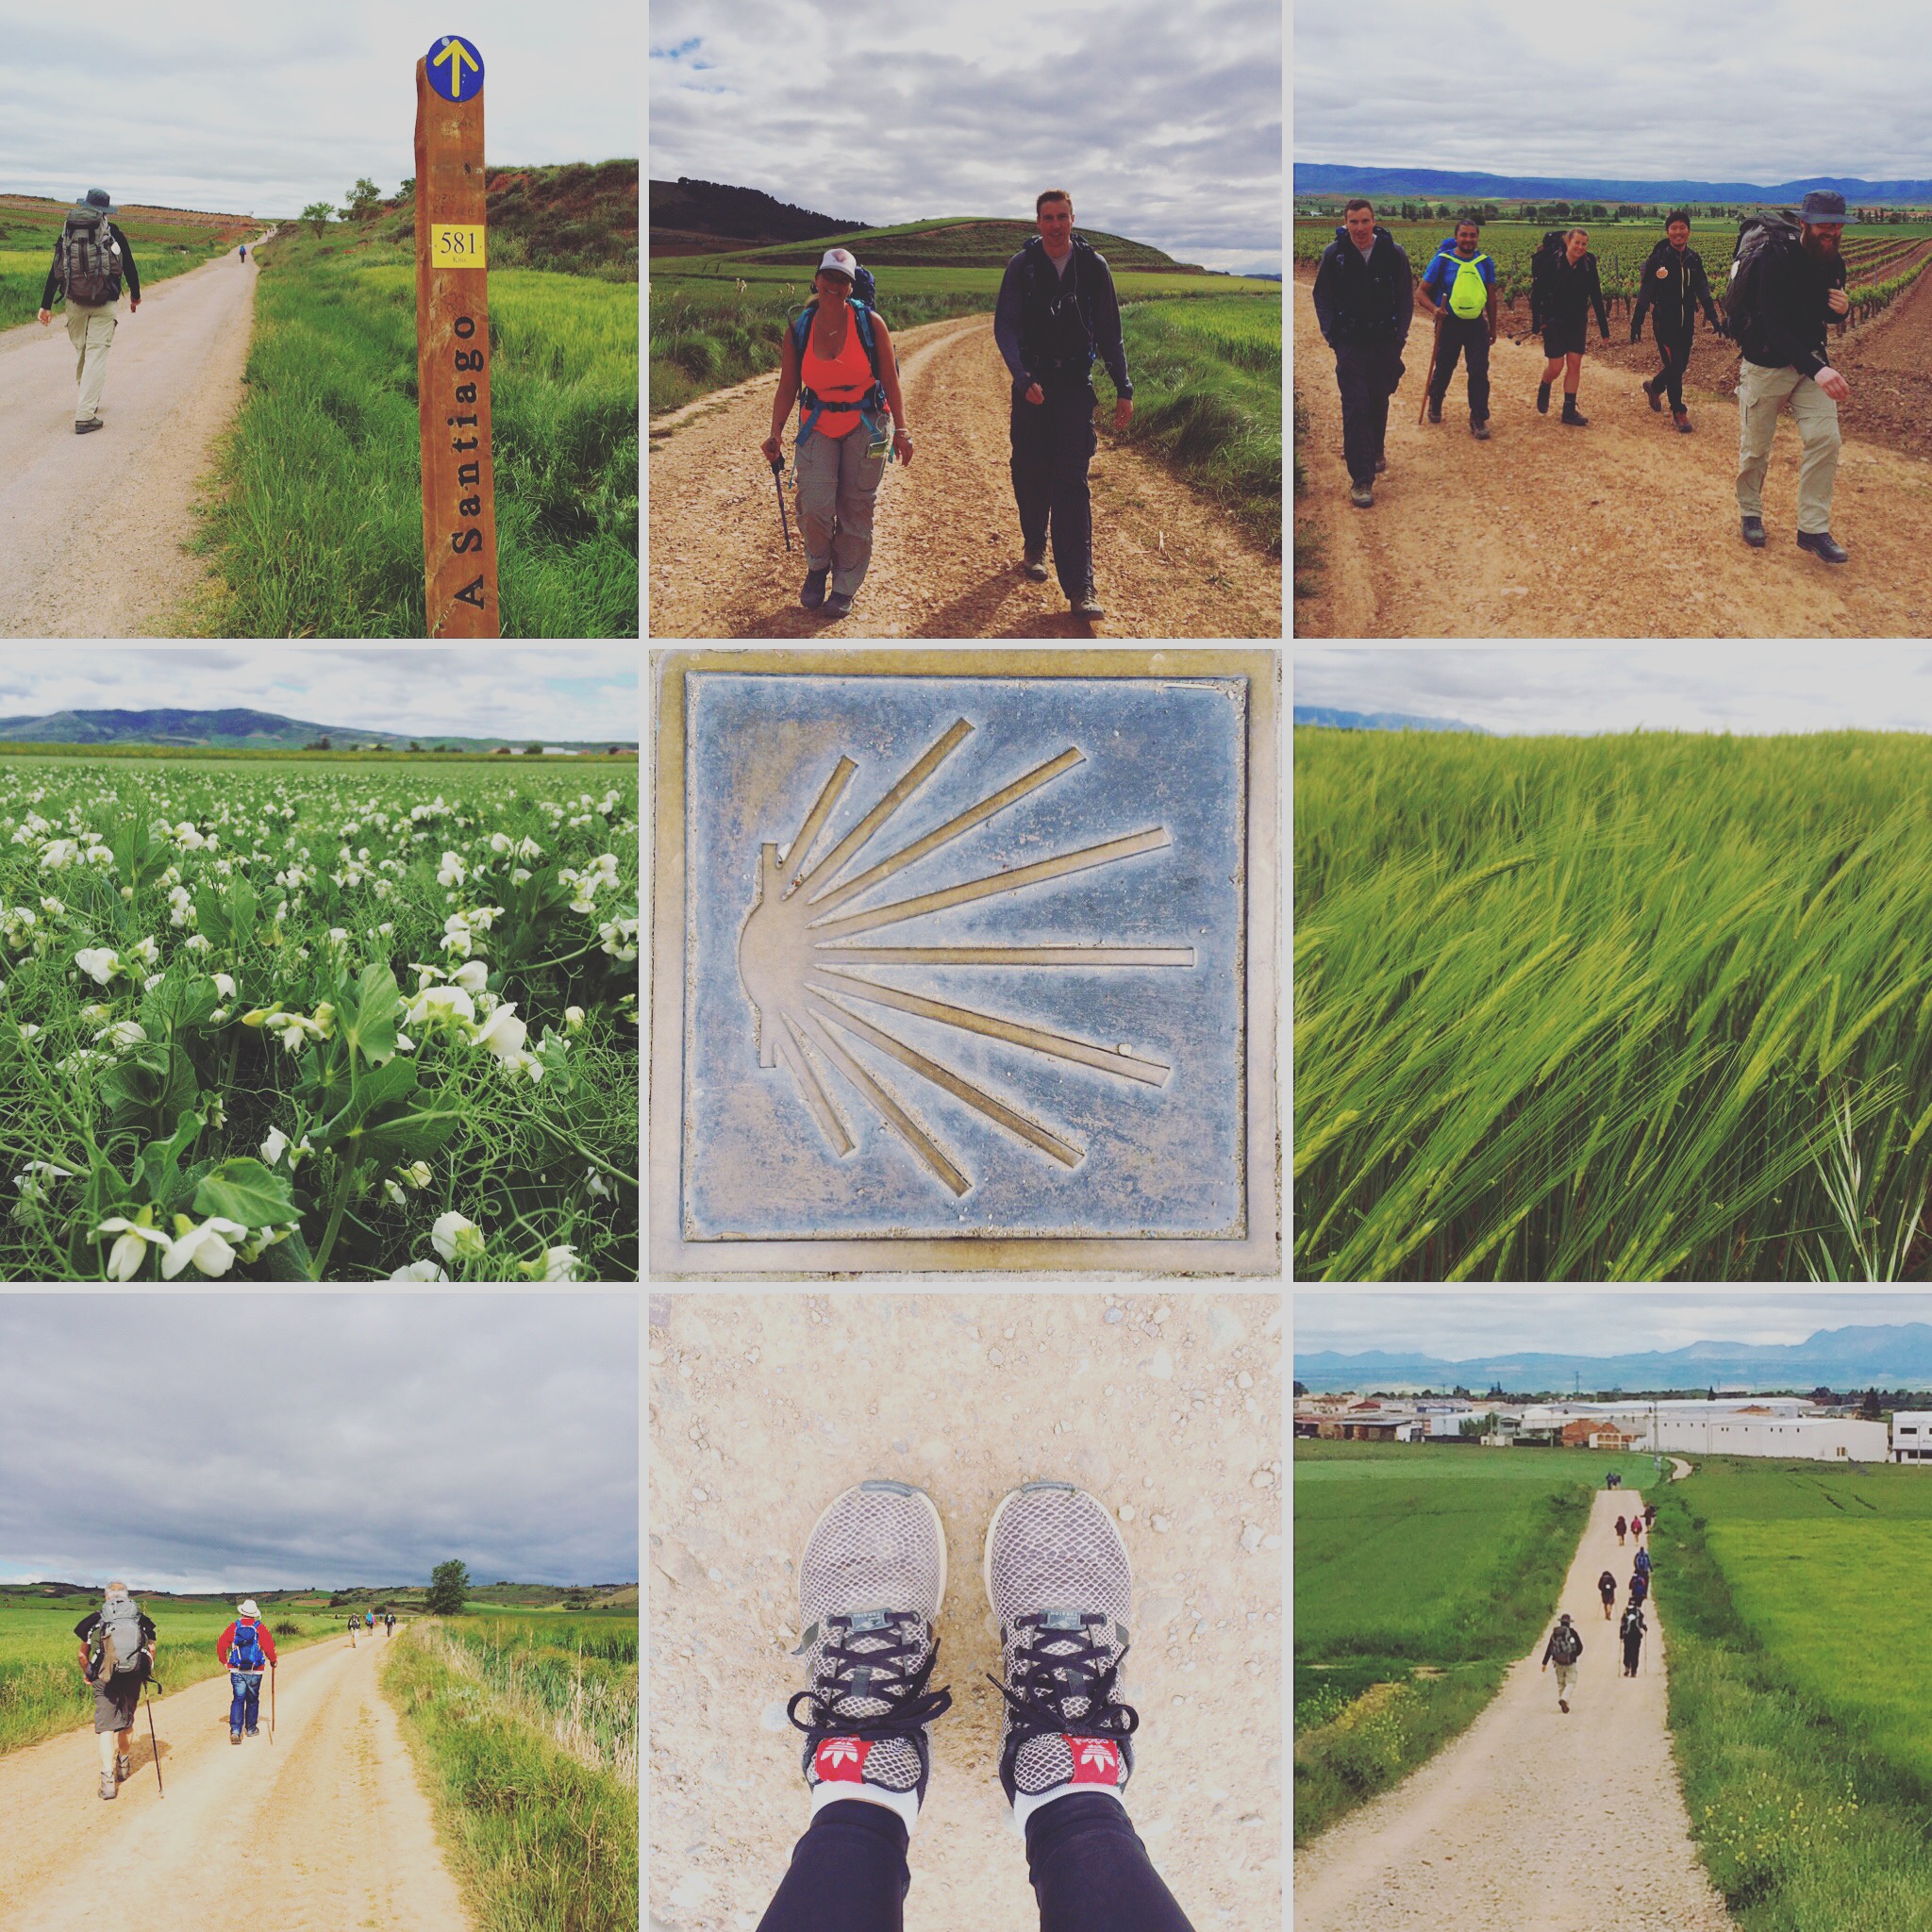
The most traditional starting point of the Camino Frances, or Way of St James, is Saint-Jean-Pied-de-Port in France. You can however, start wherever you like along the route. To achieve a compostela at the end, you must walk at least the final 100 kilometres to the finishing point of Santiago de Compostela in Spain.
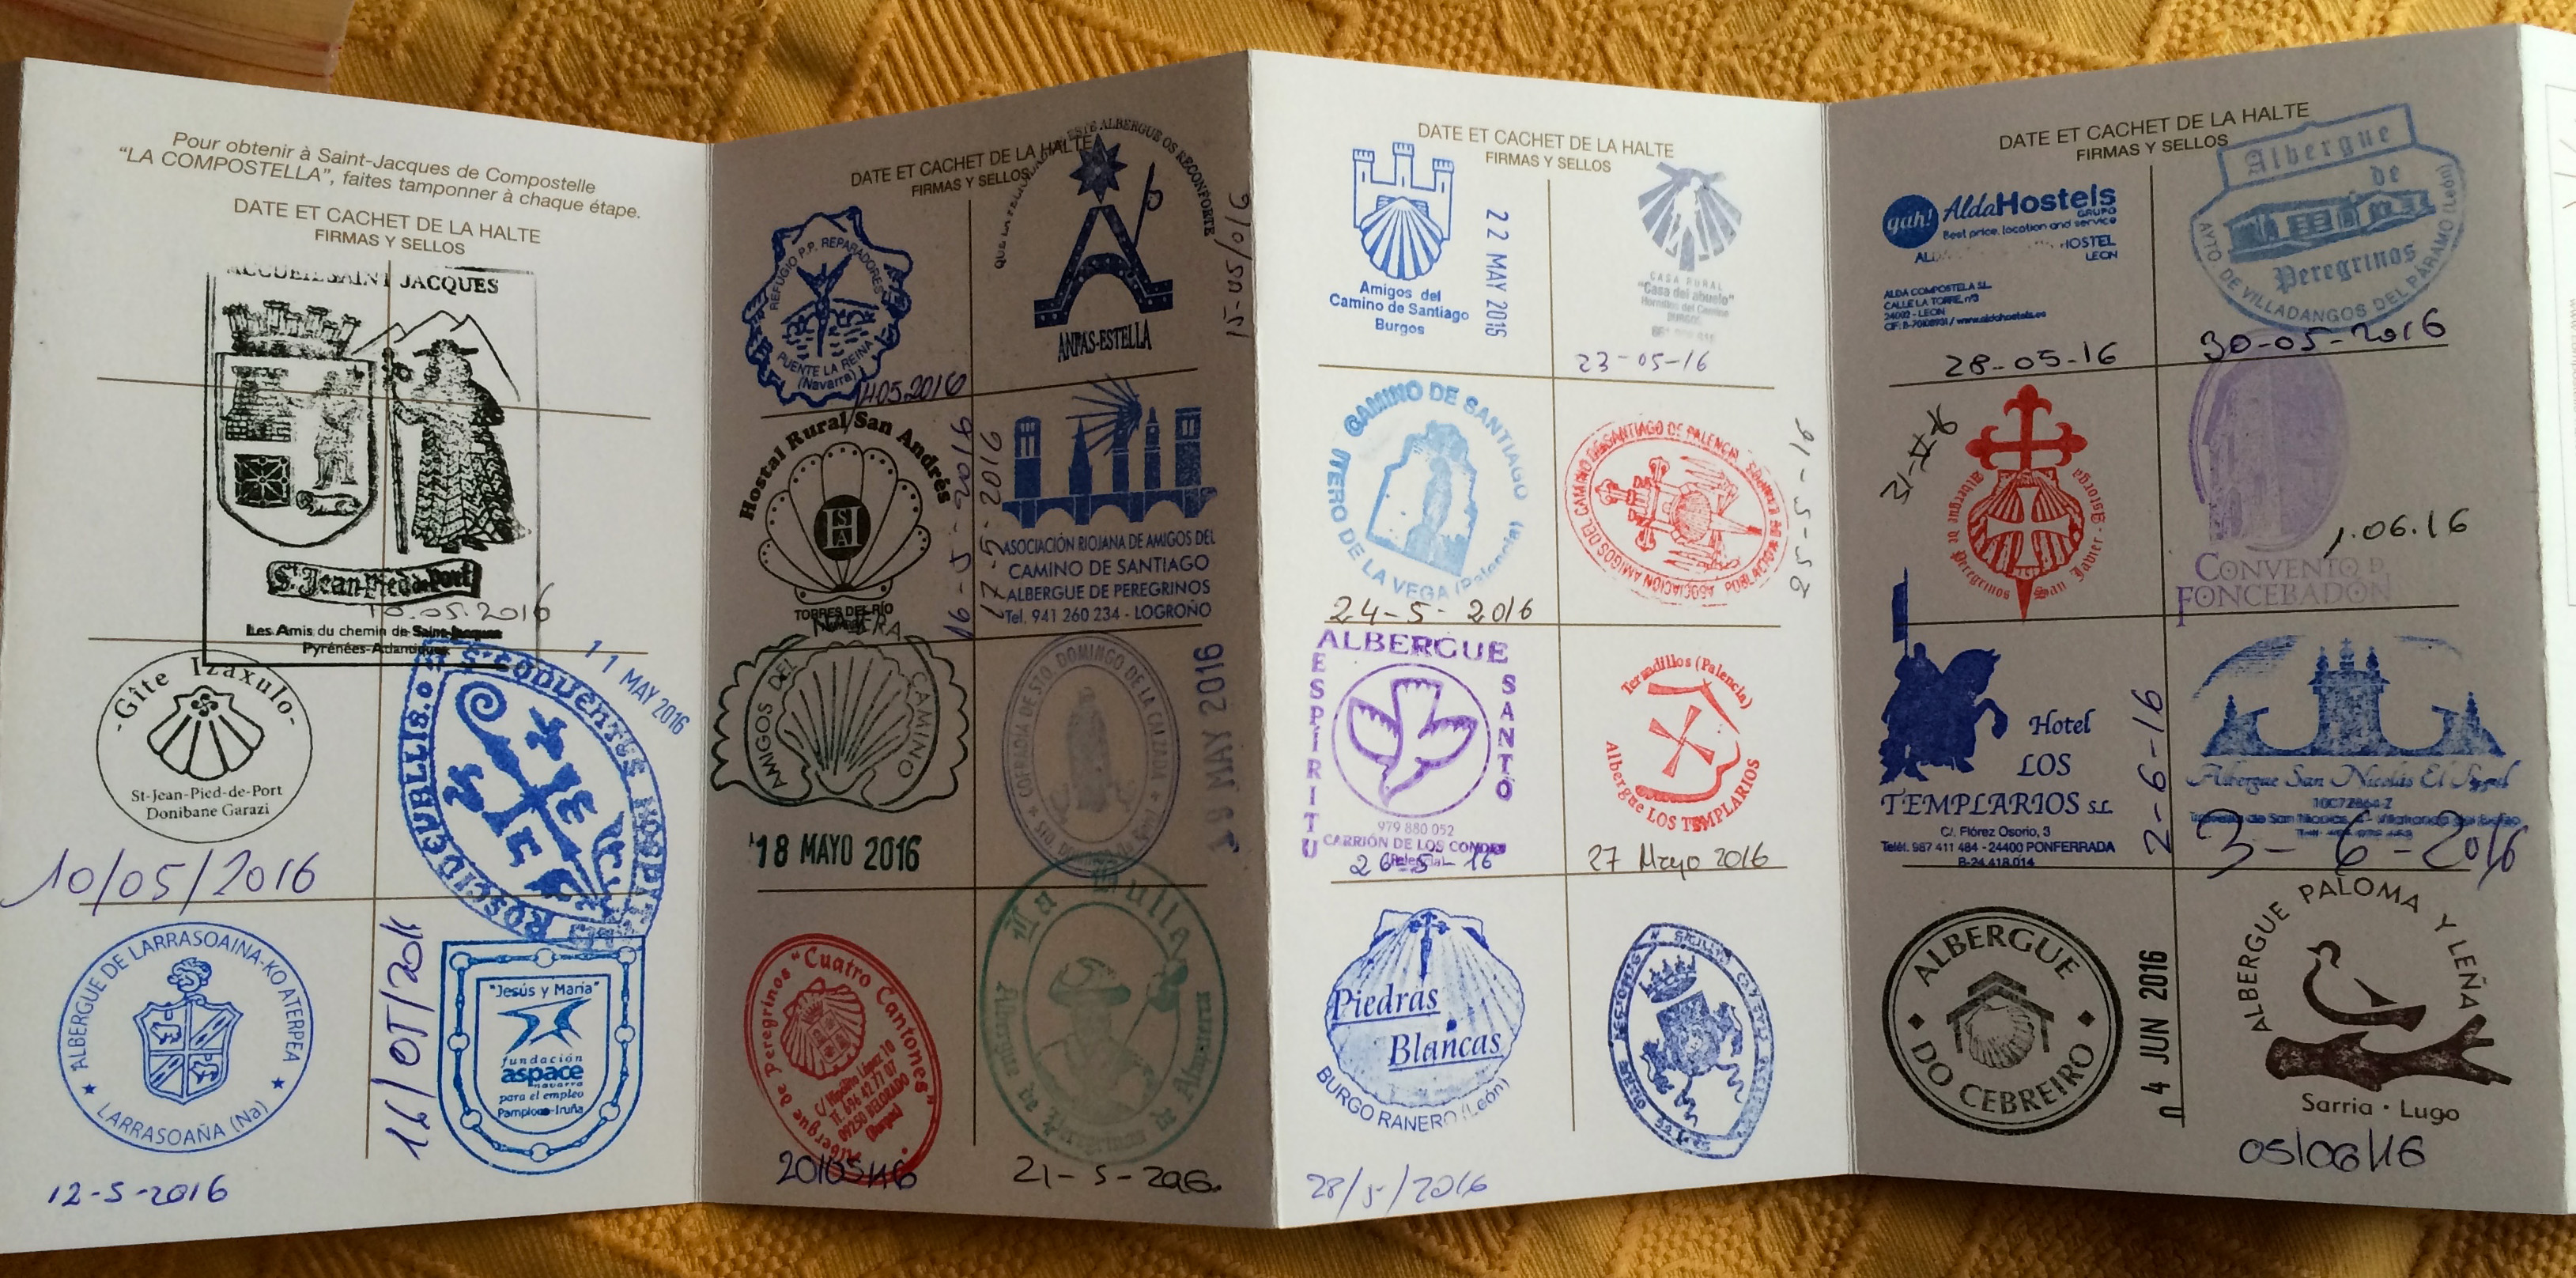
One of the things you need when you begin is a pilgrims passport, known as a credencial. You can buy one online, at your hostel or from the local pilgrims office. I got mine from the pilgrims office in St-Jean.
In your credencial you collect stamps from the pilgrims albergues (hostels) where you stay as well as churches, cafes, bars and other memorable locations. If you walk the entire camino from St-Jean then you need at least one stamp per day. If you only walk the last 100km, you require a minimum of two stamps per day as evidence of walking the distance. It is up to you which stamps you collect, my choice was to only get stamps from the places I stayed. Some friends got churches and notable places and others got as many as they possibly could.
The full distance from Saint-Jean-Pied-de-Port to Santiago de Compostela is 775 kilometres. There are no rules as to how far you should walk each day or how many days you should take. Many of the guide books provide a suggested 34 day plan that you can follow if you choose to. No matter how you walk your camino, the distance you walk each day will vary daily.
I took 31 consecutive days to complete my Camino, this means I would have averaged a distance of 25 kilometres per day. In reality my longest walking day was 42 kms and my shortest was 15 kms.
You are not required to walk consecutive days; many people take rest days when they are tired, unwell or there is a city they wish to explore. Whether you take rest days or not is simply your own choice. However, if you are staying in a pilgrims’ albergue you need to be aware that they have a one night rule. To stay a rest day you will need to book a private albergue or hotel.
A typical day on the camino
A vague outline of a fairly standard day on the camino, times are obviously approximate and dependent on the distance walking in the day, the temperature, level of exhaustion and pain etc. The times in this outline would be around 25-28kms walking.
Time
Activity
0600
Get up, get dressed, pack
0630
Make and eat breakfast with groceries purchased day before
0700
Start walking
0900
Stop for second breakfast and a coffee, after walking between 10kms
1130
Stop for coffee and a snack, after walking 20kms
1300
Finish walking for the day and check in to an albergue
1330
Shower
1400
Wash dirty clothes
1430
Find a supermarket to get food supplies and dinner ingredients if the albergue has a kitchen
1500
Sit down and chill out for a wee while
1830
Cook OR find restaurant offering a pilgrims meal
2100
Go to bed
We typically broke our days into blocks of 10 kilometres. A 22km day we would aim to break into two chunks of around 11kms. A 30 kilometre day we would aim for three block of 10kms.
At the albergue’s or nearby cafes and restaurants there are breakfast and dinner options. Due to the high level of physical activity and early starts, we typically ate four meals per day: Breakfast, Second Breakfast, Lunch and Dinner.
I found that for variety, quantity and cost effectiveness, buying food from the supermarket for most meals was the best option for me.
Over the full 31 days of walking, I spent €435.11 on food. The most expensive individual meal was €15 for an amazing seafood paella and beer. My average daily spend on food was €14.04.
Breakfast, Second Breakfast and Lunch
Pilgrim breakfast ranges from €3 – €4 and is typically a glass of fresh orange juice, a coffee and two pieces of toast with butter and jam. There was not always a pilgrim breakfast available at the time we would start walking for the day. Aside from this I thought it was overpriced and not enough food for long walking days. So I would make my own.
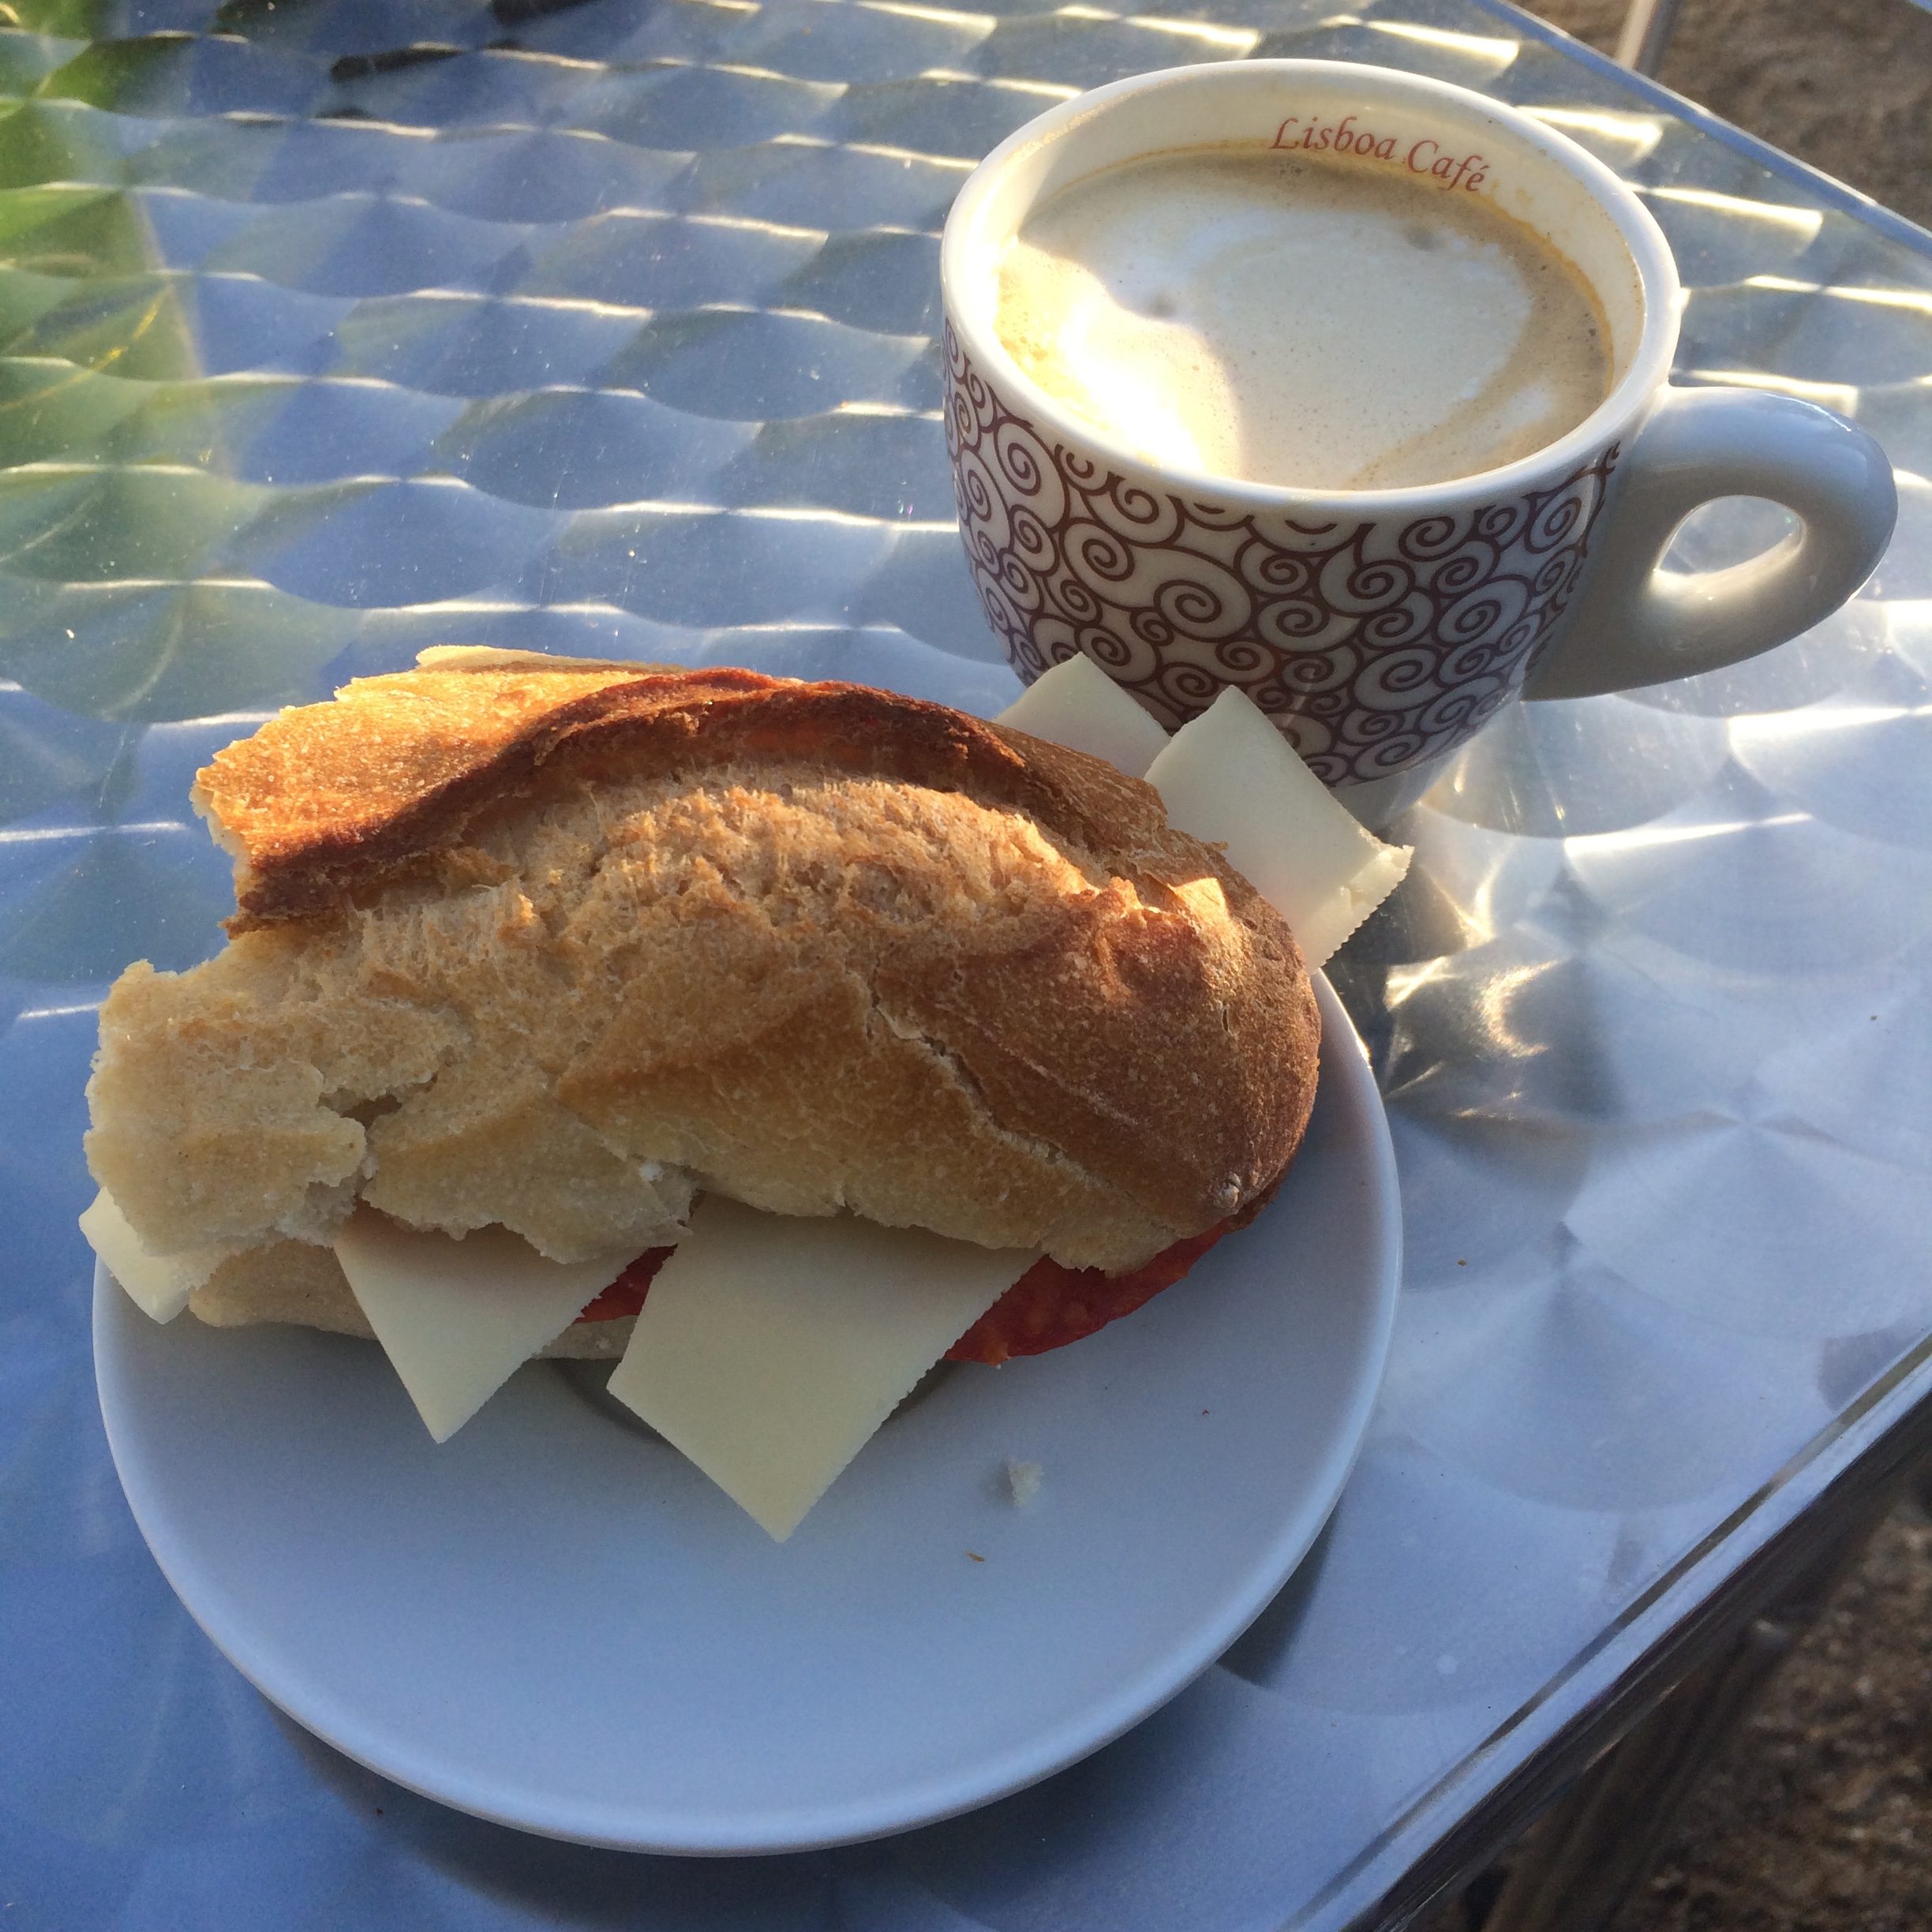
For the first three meals of each day I would typically make myself a bocadillo using the cheese and meat I purchased from the supermarket. I would accompany this with a piece of fruit and often for breakfast a small tub of yoghurt.
Sometimes I splashed out and bought a pastry or tortilla to go with my regular stops for a “CCL” (Cafe Con Leche – coffee with milk).
Dinner
Most restaurants offered a pilgrim meal for €10 – €12 (they were always 10 or less until we got to Santiago and beyond, where the price increased to 12).
A pilgrim meal has entree, main, dessert, bread and red wine (or water and sometimes you can ask for beer instead). In terms of quantity, the pilgrim meal is a pretty good deal, but in terms of variety you will very quickly find you diet lacking in vegetables! (We began to supplement with daily multivitamin tablets)
Some pilgrim meals are fully set menus and other provide a few options for you to choose from. A typical entree selection would include pasta with a tomato sauce, mixed salad or soup. A main would typically be some form of meat and hot chips.
Again my preference, when we had access to a fully equipped kitchen was to chip in for groceries and cook. Shared meals were really enjoyable, healthier and much cheaper. Often we ate for €4 per person!
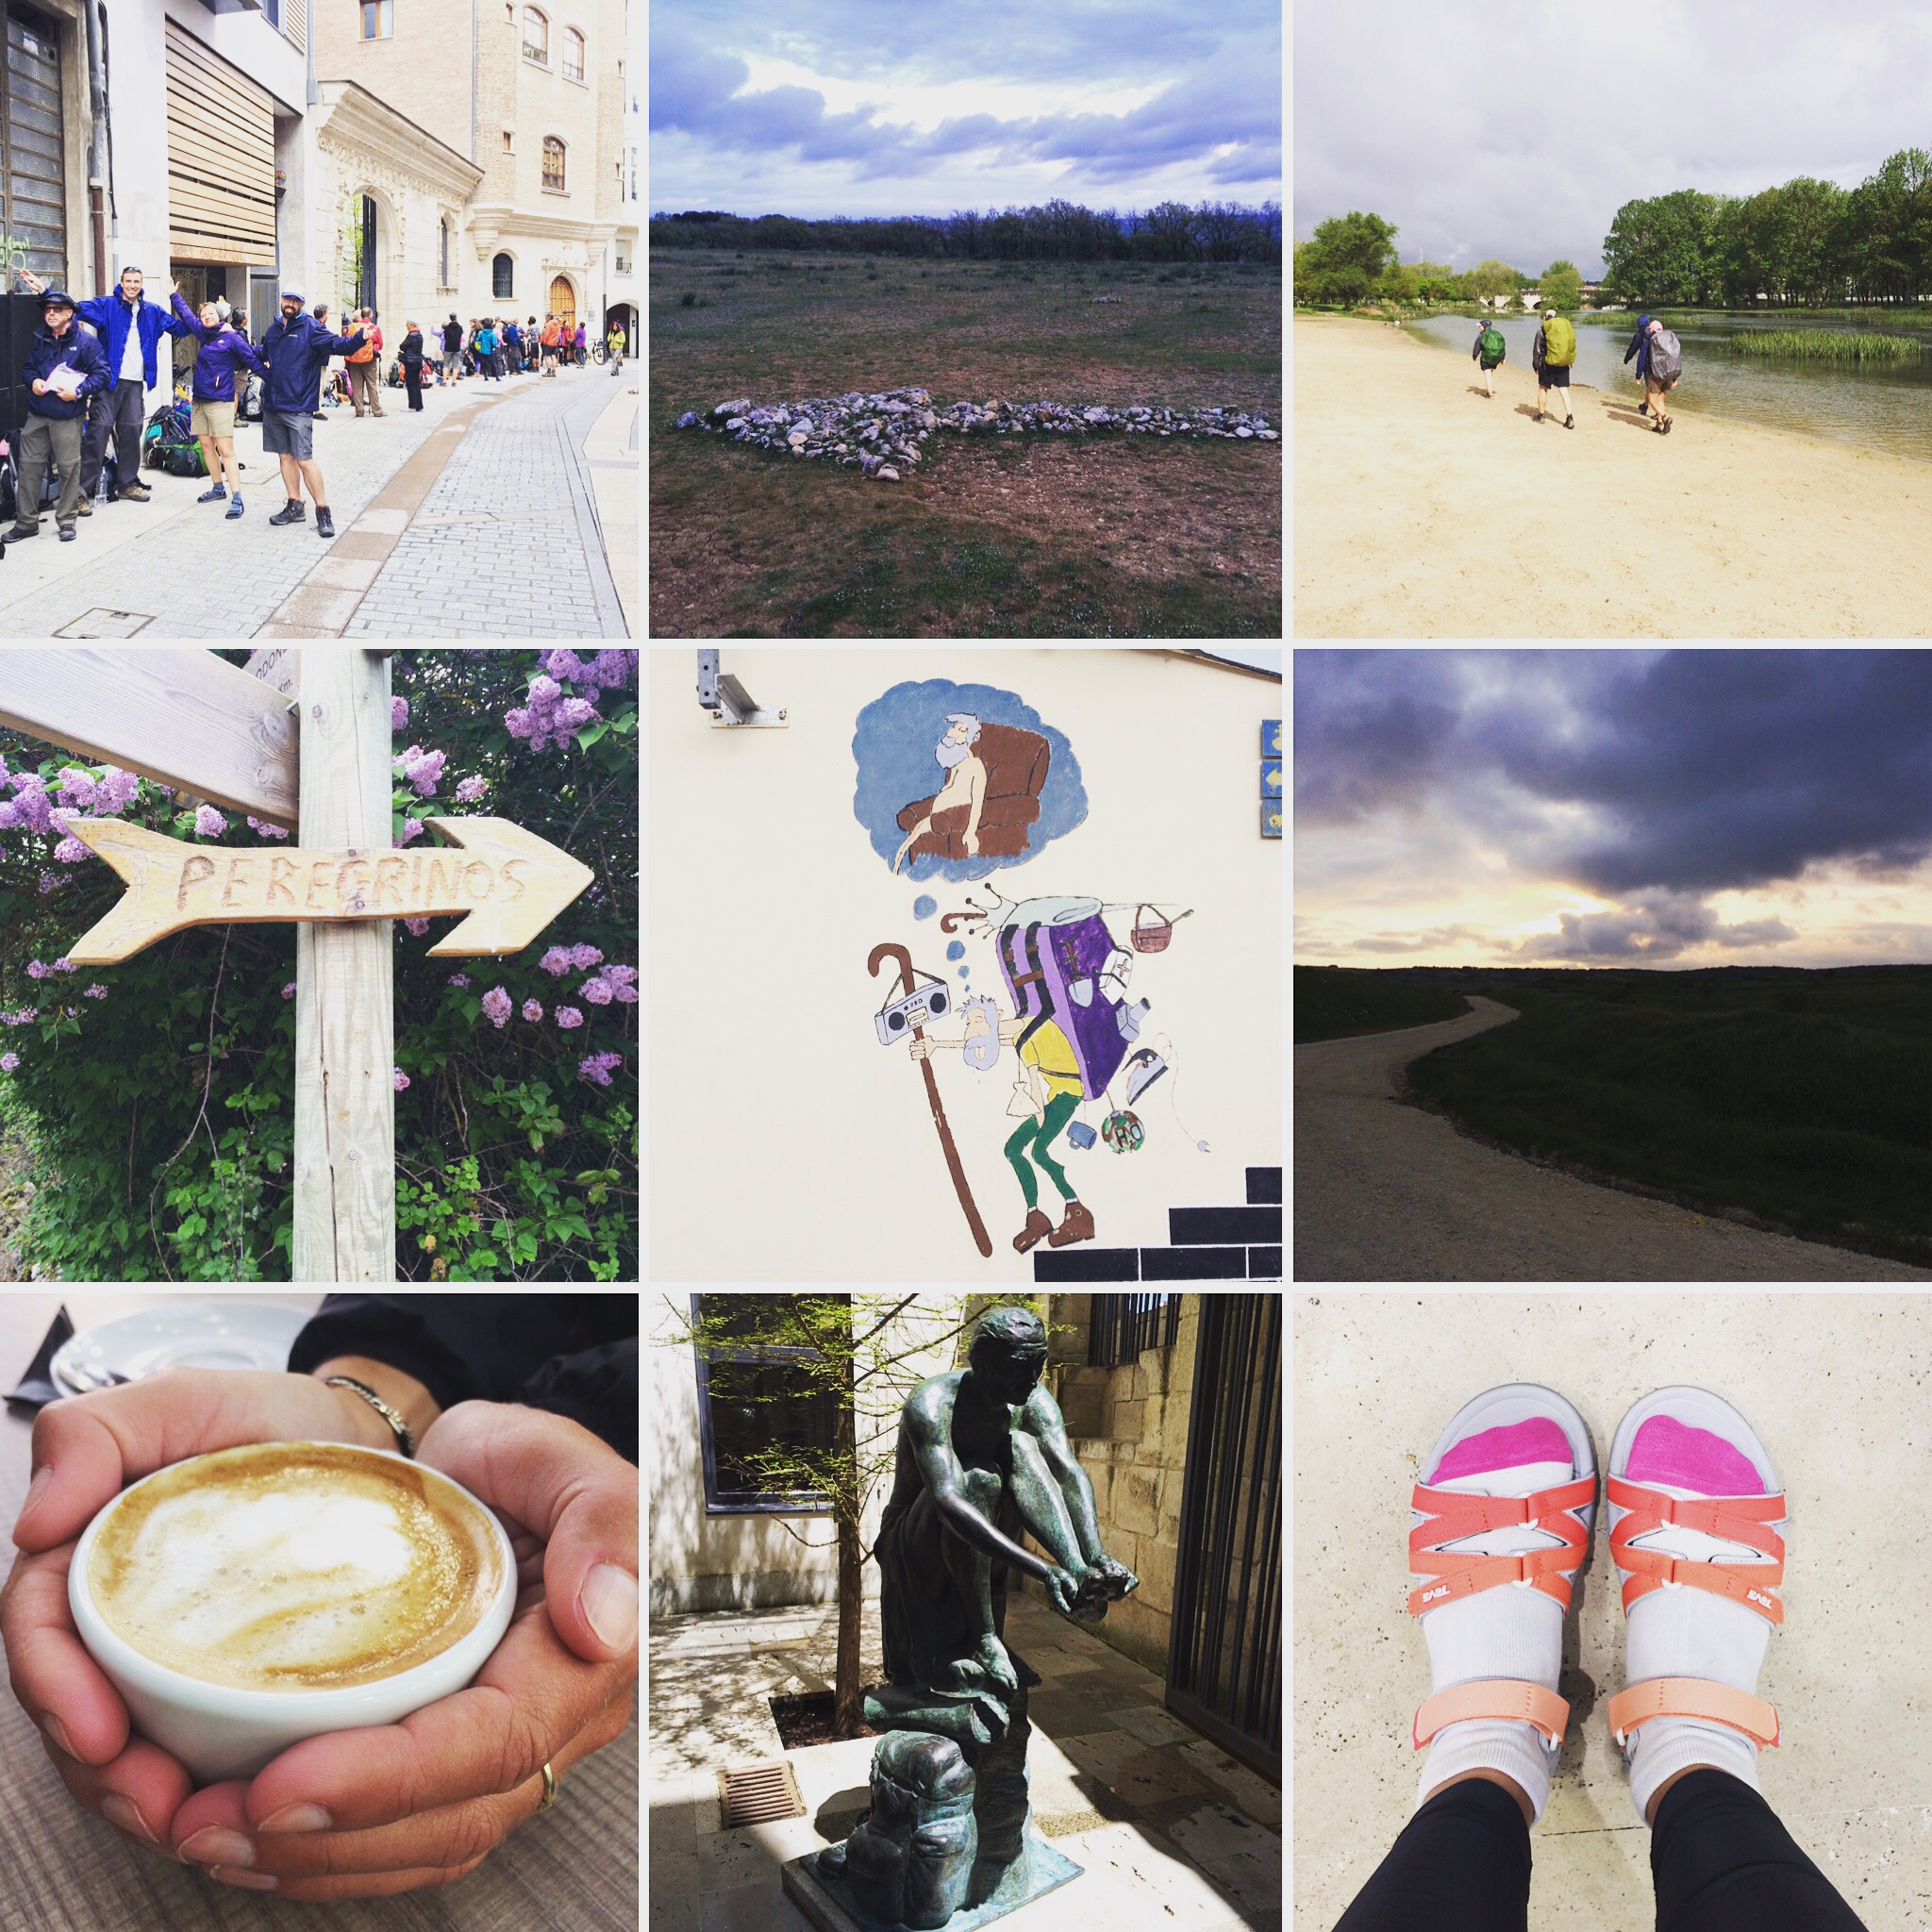
Accommodation
There are several accommodation options on the Camino: Pilgrim Albergue, Monastery, Convent, Casa Rural, Hotel Rural and Hotel (these last three are essentially all hotels). Accommodation is traditionally in pilgrim albergues.
Where you stay is completely your choice. I typically opted for the municipal albergue in the town I chose to stay in. Occasionally I splashed out on private rooms. On one occasion Hannah, Will and I walked in El Burgo Ranero soaked to the bone and got a private room just so we could warm up, dry out, be comfortable and quell our misery.
Over the full 31 days of walking, I spent €323.42 on accommodation, the cheapest hostel bed was €5 and the most expensive private hotel room was €30. I averaged €10.43 per day.
Pilgrim Albergues
There are municipal, private and xunta albergues; convents and monsateries also tend to fall into the albergue category.
To have a bed in an albergue you are required to provide evidence of being a pilgrim, your credencial. This entitles you to stay in the albergue for one night. Prices for municipal albergues range from €5 – €10. I paid up to €15 for a private albergue.
It is important to be aware of standard albergue rules. Never put your bag on the bed. Shoes go on the shoe rack, which is basically never in your dorm room – thankfully! Doors are locked between 10-11pm and if you are locked out, bad luck. No noise before 7am, you must be out by 8am.
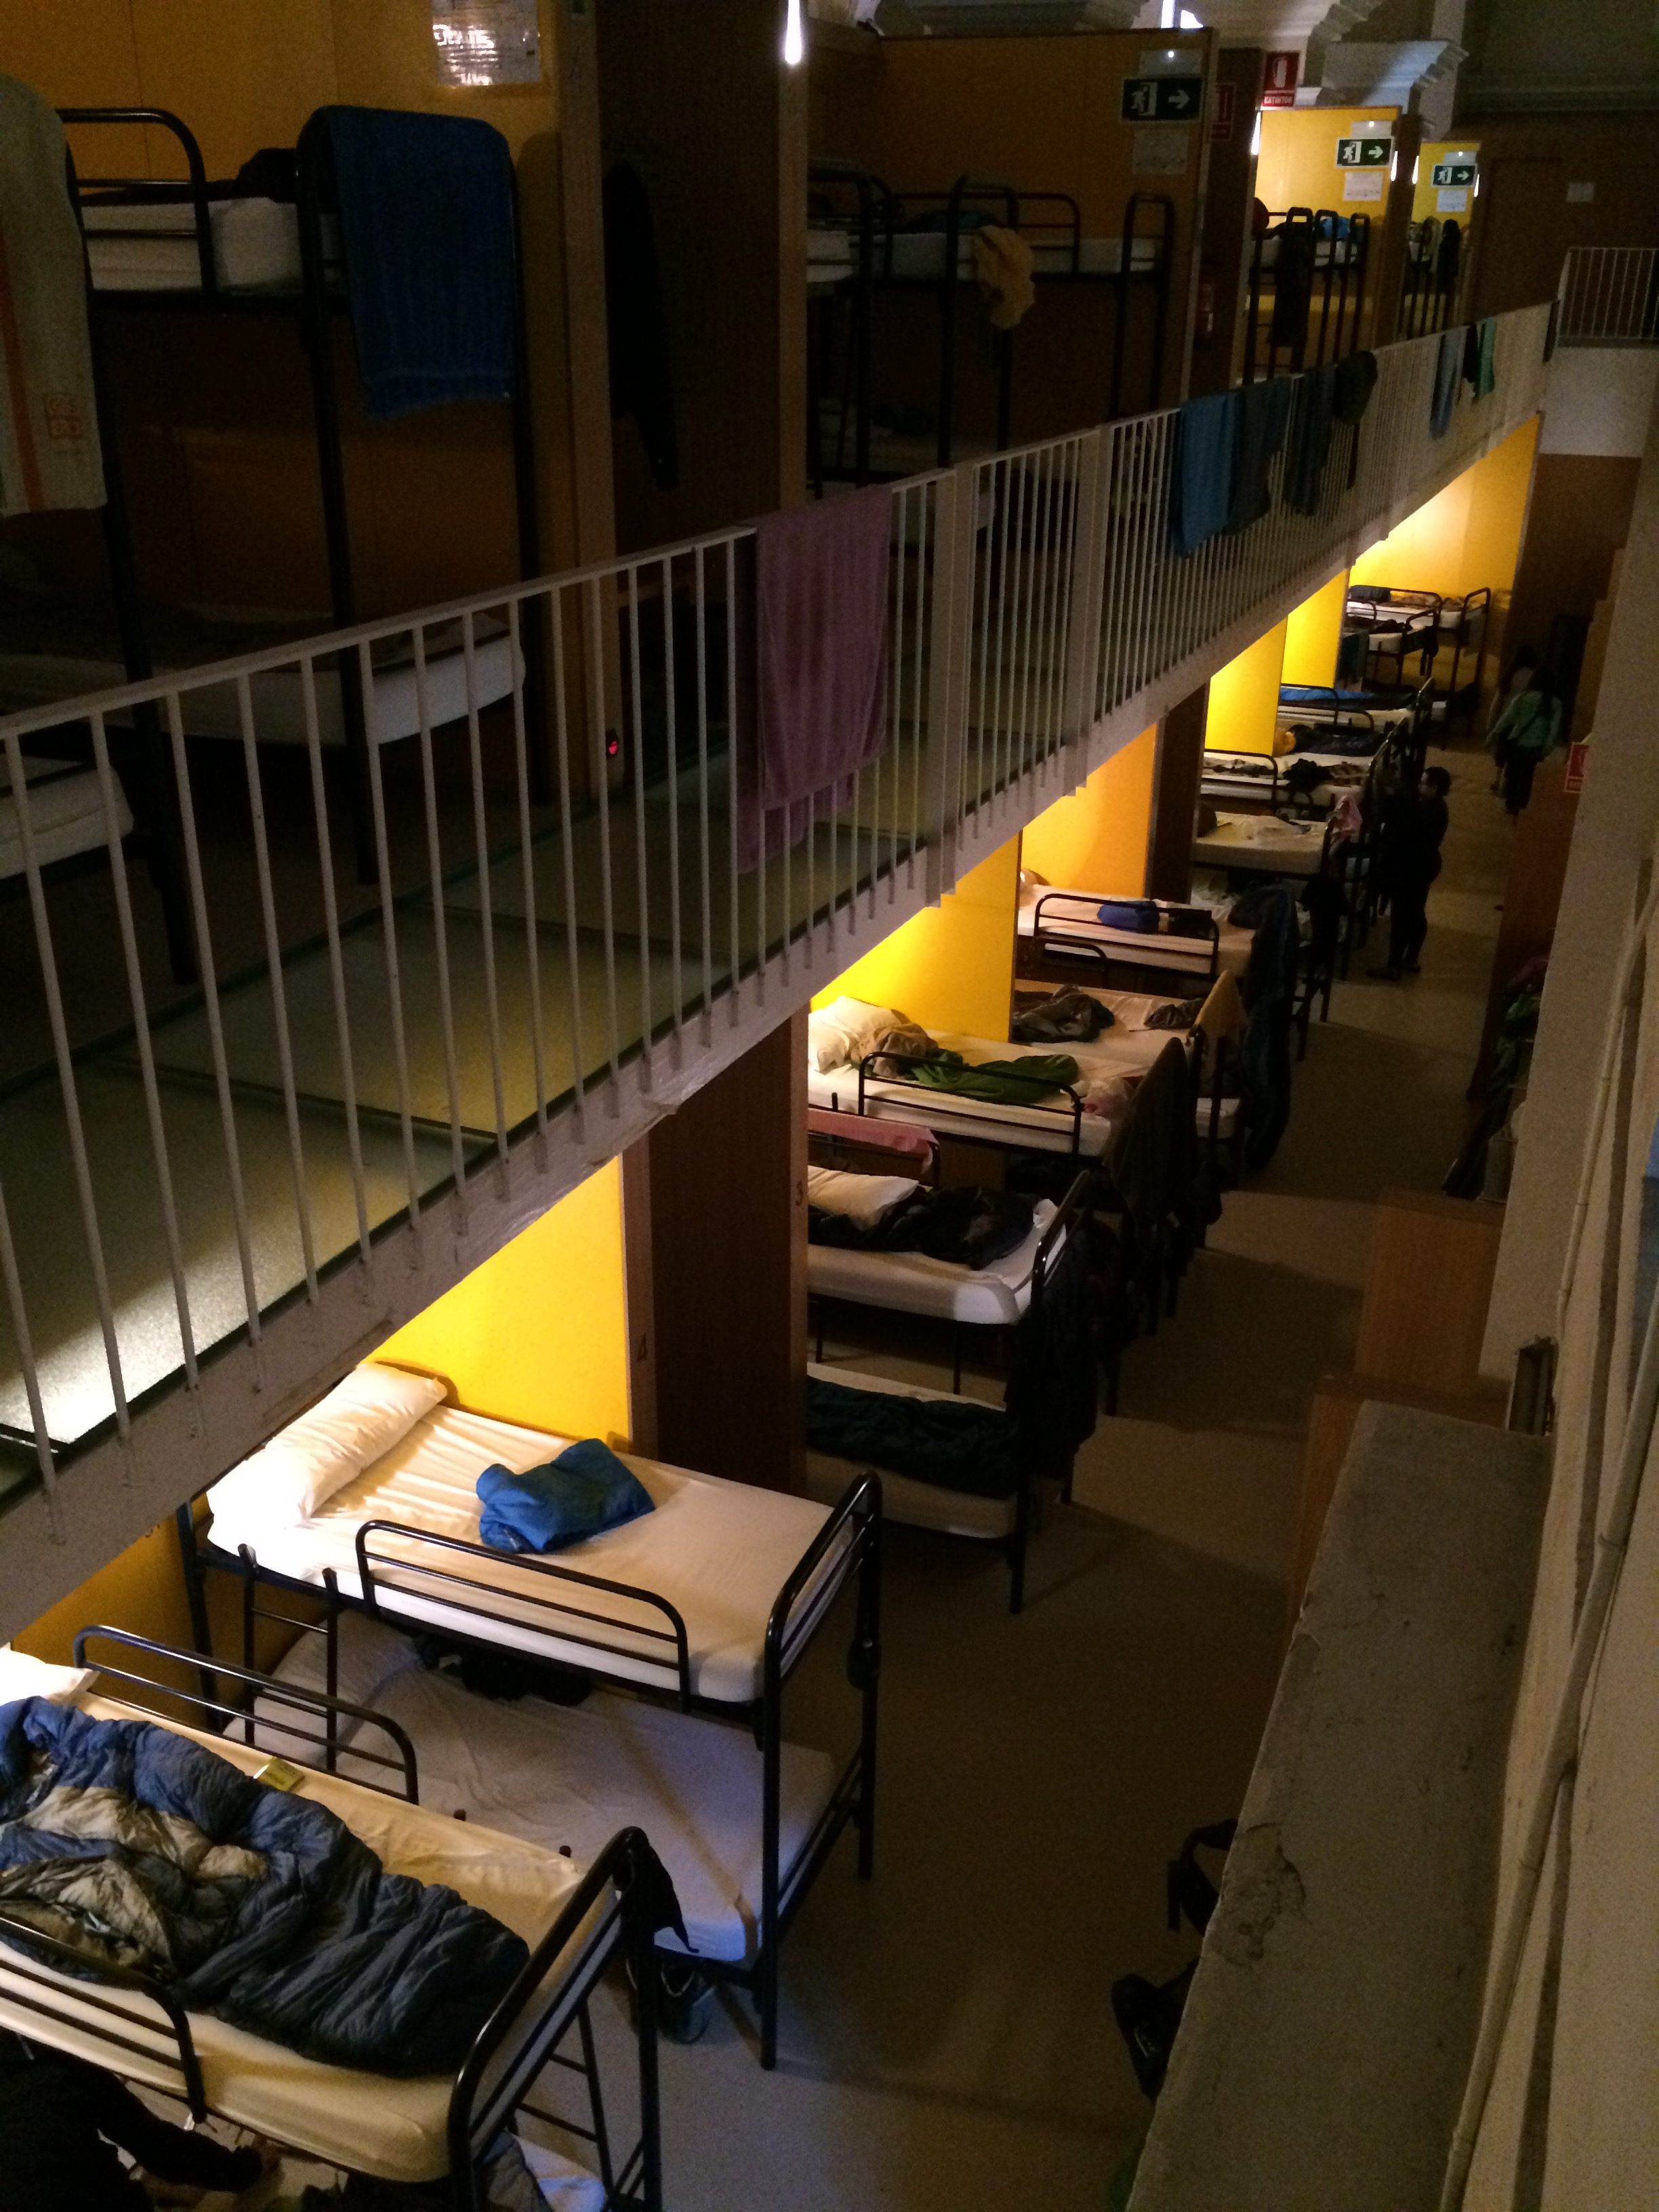
Albergues vary in size, from 10 -150 beds. Those beds may be separated into small rooms with as few as 4 beds per room and others are huge halls of beds.
Bathrooms are shared, most are quite private. Occasionally when bathroom are single sex privacy appears to be missing, along with the shower doors. With so many pilgrims in each albergue, be aware that everyone is also competing for hot water. I was caught out with cold water on a few occasions.
My two favourite Albergues were both private family owned and run. They were Cuatro Cantones in Belorado and Paloma y Leña in San Mamed do Camiño. They were both only €10 and provided a €10 pilgrim meal – food and accommodation were both AMAZING!
Bed Bugs
I am ridiculously grateful not to have encountered these evil little critters, but that being said, I took some precautions along the way.
In Saint-Jean-Pied-de-Port I paid an obscene amount of money for Bed Bug repellent spray, which I dutifully sprayed over all of my stuff inside and out (sleeping bag, sleeping bag liner, hiking pack, clothes etc) every two to three days. Many people had their belongings pre-treated with a bed bug killer and/or repellant. I never knew such a thing existed, so certainly didn’t do it.
Additionally, many hostels give you the option to purchase disposable bed sheets for €1 – €1.50. I would highly recommend doing so, it just provides an extra protection between your stuff and the mattress. (Many albergues have plastic covered mattresses, which I think is a huge help in preventing bed bug problems)
Laundry
Almost every albergue will provide hand washing facilities and washing lines. Some also have washing machines and clothes dryers, these typically have an additional cost of€3 – €4 per load, per device.
I typically hand washed my socks and underpants every day. Every few days or once a week I would pool dirty laundry with some friends and we would all chip in for the cost of using a machine. It was nice to have everything ‘proper’ clean every so often.
Packing
I had way too much to say about packing, that it doesn’t fit in this blog post. Check out my blog post on packing for the Camino.
Pain and Exhaustion
When researching the Camino there are so many comments about how wonderful it is and that it’s a life changing experience, which it is, but they seem to skip the part where you experience pure exhaustion and extreme physical pain.
Exhaustion: When sleeping in dorm rooms, you rarely get a good solid night sleep due to noise and snoring. In addition to which you have very early starts to the day. The alarm is typically set for 6am, but people start rustling around in the dorm room at 5:15am. I’m not a great sleeper, so this meant I was awake very early each day.
You typically spend 5-10 hours in the day walking, including stops. Despite feeling completely exhausted upon reaching the hostel, we always had things to do and even if we didn’t, I seem unable to nap. The first two weeks of adjusting to this schedule had me so exhausted I literally passed out the minute my head touched the pillow every night. But by week 3 you are generally fairly used to it. While still exhausted, you don’t have that ‘pass out’ level of tiredness at the end of every day.
The exhaustion is manageable, but the pain is just crazy! The pain also kept me up at night. My hips were so sore that attempting to sleep on my side was excruciating. My heels were throbbing in pain when they were resting on the mattress, the only way to get the pain to a manageable level was to sleep on my stomach with my toes hooked over the end of the bed.
So I talk about pain, but what do I mean?
Muscle Pain: I experienced quite a lot of muscle pain in the first week or two, simply because my legs were not used to walking so much, together with carrying the weight of a pack and ascending and descending mountains. The muscle pain was the most manageable, and you adapted to it very quickly.
Toe Pain: On day one, descending the mountain in shoes that were too small resulted in both my big toes ramming the end of the shoe. This pushed the nails back towards the nail bed, and caused so much damage it would result in my toenails falling off. For the first week this meant that my big toes around the nail were very tender. However, despite the nails taking a very long time to die, after that first week I did not experience any more pain. (7 weeks on from day one the nails are still attached at the base but not the sides, and are completely dead, white and hollow underneath)
Joints, Bones and Soft Tissue: With the continual walking often on a hard surface, carrying your own body weight and the weight of your pack, your joints, bones and soft tissue take a bit of a beating. My hip and knee joints often became quite achy at carrying the extra load. I spent a week or two wearing a knee brace for additional support. The soles of my feet had it the worst. Because I threw out my hiking shoes (because they were too small once my feet had swollen), I walked the full camino (less two days) in my running shoes with an additional gel sports insole. Running shoes don’t have a sturdy enough sole for this type of walking and do not provide enough support. So the soles of my feet came to feel bruised, so badly bruised that I still wonder if I have stress fractures in many of the little bones of the feet. When standing after periods of rest, I could barely put weight on my feet, I almost couldn’t walk and steps were taken very tentatively. It took a little while to get going after each break, but then I numbed to the pain and could push through. For a number of us many days started and finished with Ibuprofen pain tablets. I would also use ibuprofen gel on my knees each night.
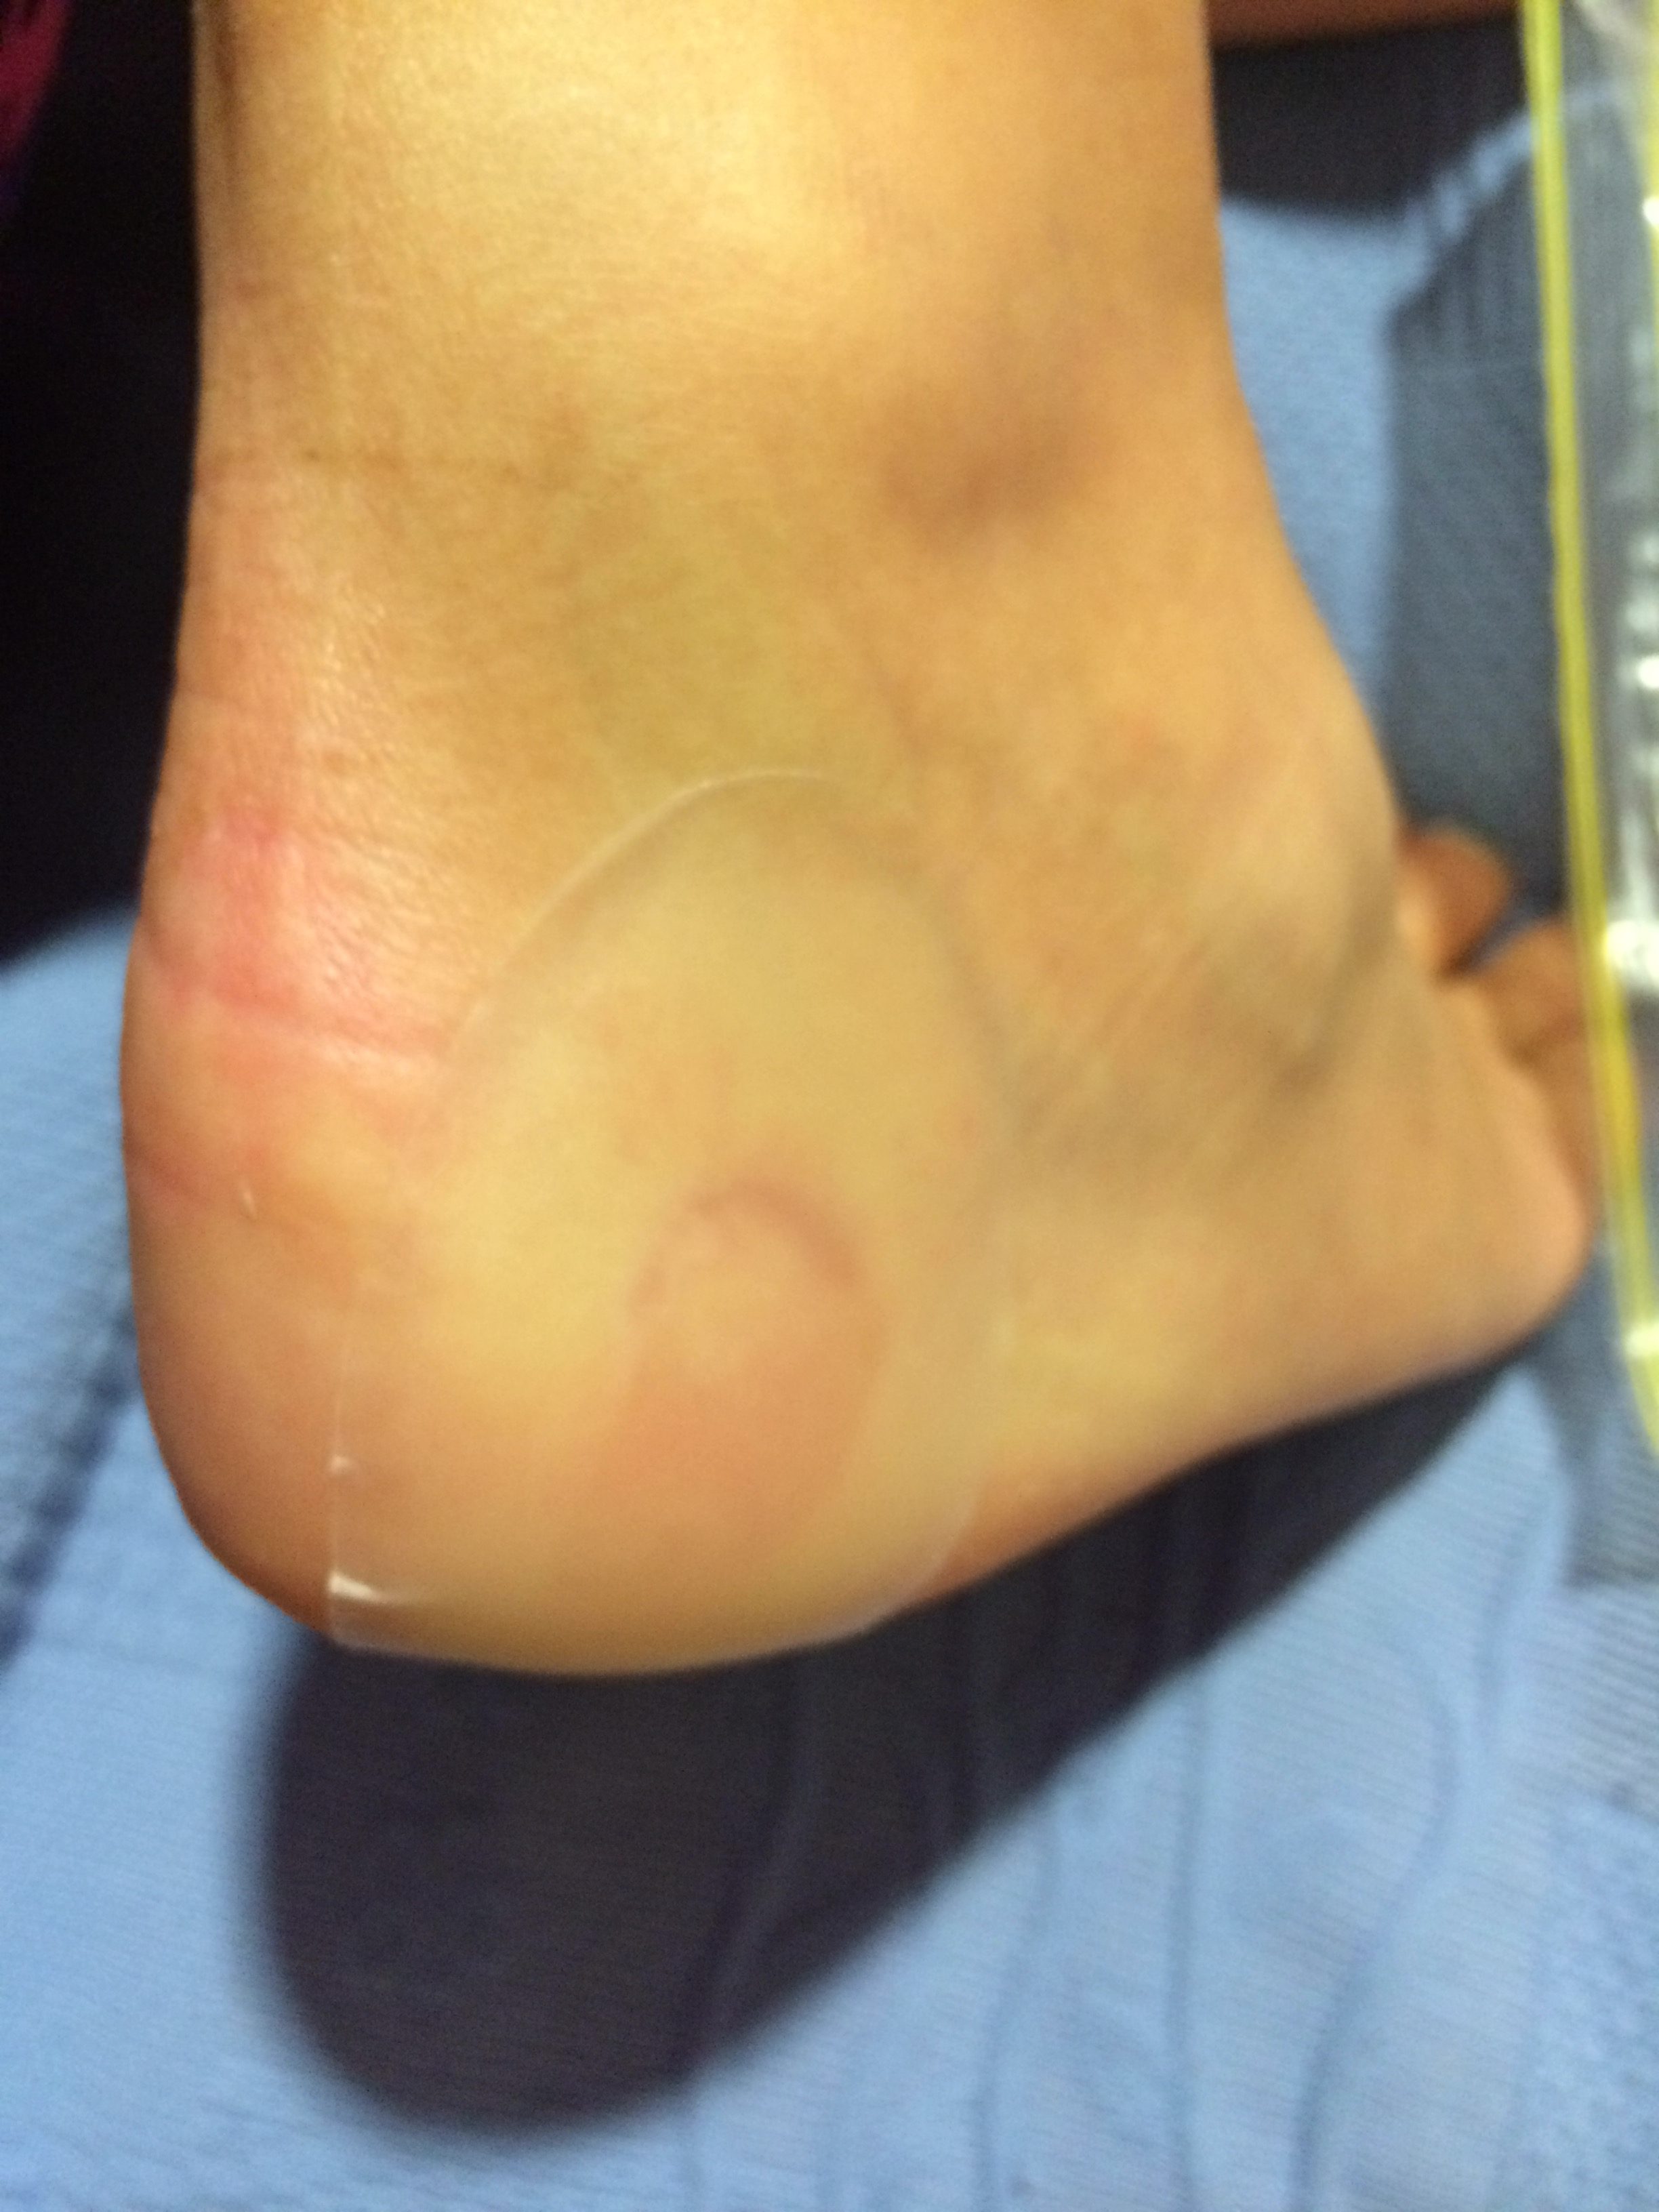
Blisters: Last but most certainly not least, blisters, the bane of most people’s Camino. I had epic blisters on both heels instantly on day one, taken to the extreme where I wanted to scream each step I took. Once I took proper care of those blisters and switched shoes the pain dropped to a manageable level. I later got blisters in other places, like the right side of the heel on my right foot when the padding inside my shoe wore away, under the arch of my foot as my insoles disintegrated, on the ball of my foot near my toes probably from grit in my socks on a rainy day and the right side of my left heel as the padding on the other shoe wore through. Eventually where the gaps in padding appeared in my shoes, I filled them and then covered them in duct tape (I walked with duct taped shoes for 2.5 weeks!) Believe it or not the most painful blisters I experienced were the two on the side of the heels, at the point where the soft skin turns to hard skin near the sole of the foot – I suspect there are a whole collection of nerve endings there, because the tiniest blisters were the most obscenely painful things I ever experienced!
So as you imagine I have some brand new knowledge about how to best treat blisters on a big walk like the camino. I tried a few different things but came up with a process that worked really well for me. Firstly, the key to handling a blister effectively is do whatever you can to prevent the roof of the blister tearing off as it increases pain level and drastically increases chance of infection.
If the blister occurs in the middle of your walking day, skip step 2. After walking for the day drain the blister by piercing it with a needle, many people choose to run thread through it to keep it open as it drains. I just pierce it and squish out the liquid into tissue.
After showering and giving the blister time to dry, smother it in the home made whizz bang amazing blister repair cream from the pharmacist in Fromista (HOT TIP: The pharmacist in Fromista is AWESOME, if you need any supplies, stop there! When you cross over the road in town, there a couple cafes to the right, and the pharmacist is to the left)
If you don’t have the super awesome cream, possibly put on some antiseptic cream, I don’t know if it helps the blister heal but it does protect against infection.
In the morning, make sure the blister area is dry and that it remains drained.
Heat up a piece of compeed with your hands and then stick it over the blister.
Cut a large-ish sheet of hypafix, stick that over the whole area including the compeed. It’s stretchy, so make use of that to get a nice tight clean fit. My blisters were mostly around the heel area, so I would make a full heel with hypafix.
Why cover the compeed with Hypafix I hear you thinking…when you walk a really long time, the compeed heats up and loses its grip on where it’s been stuck, this means it starts to move and pull the skin with it making the blister much worse. The hypafix somehow reduces some of the friction on the compeed and keeps it nicely in place.
Do not remove any of these layers until you absolutely have to. By keeping it all covered you reduce risk of infection. Also the compeed it sticky and will tear the top off the blister if you try to take it off. My day-one foot coverings remained on for 1.5weeks. When I took everything off, I gave them an afternoon/night of air, and then put hypafix back on them to maintain a protective layer to prevent the new skin from irritation and further damage.
Note: If your blisters become red and angry, go see a pharmacist or doctor as soon as possible to treat any infections.
It took roughly one to two weeks to get used to the constant walking, high pain levels and to learn the most effective way to deal with blisters. The pain never went away, but it became familiar and tolerable. It ends up as just being a part of the walk.
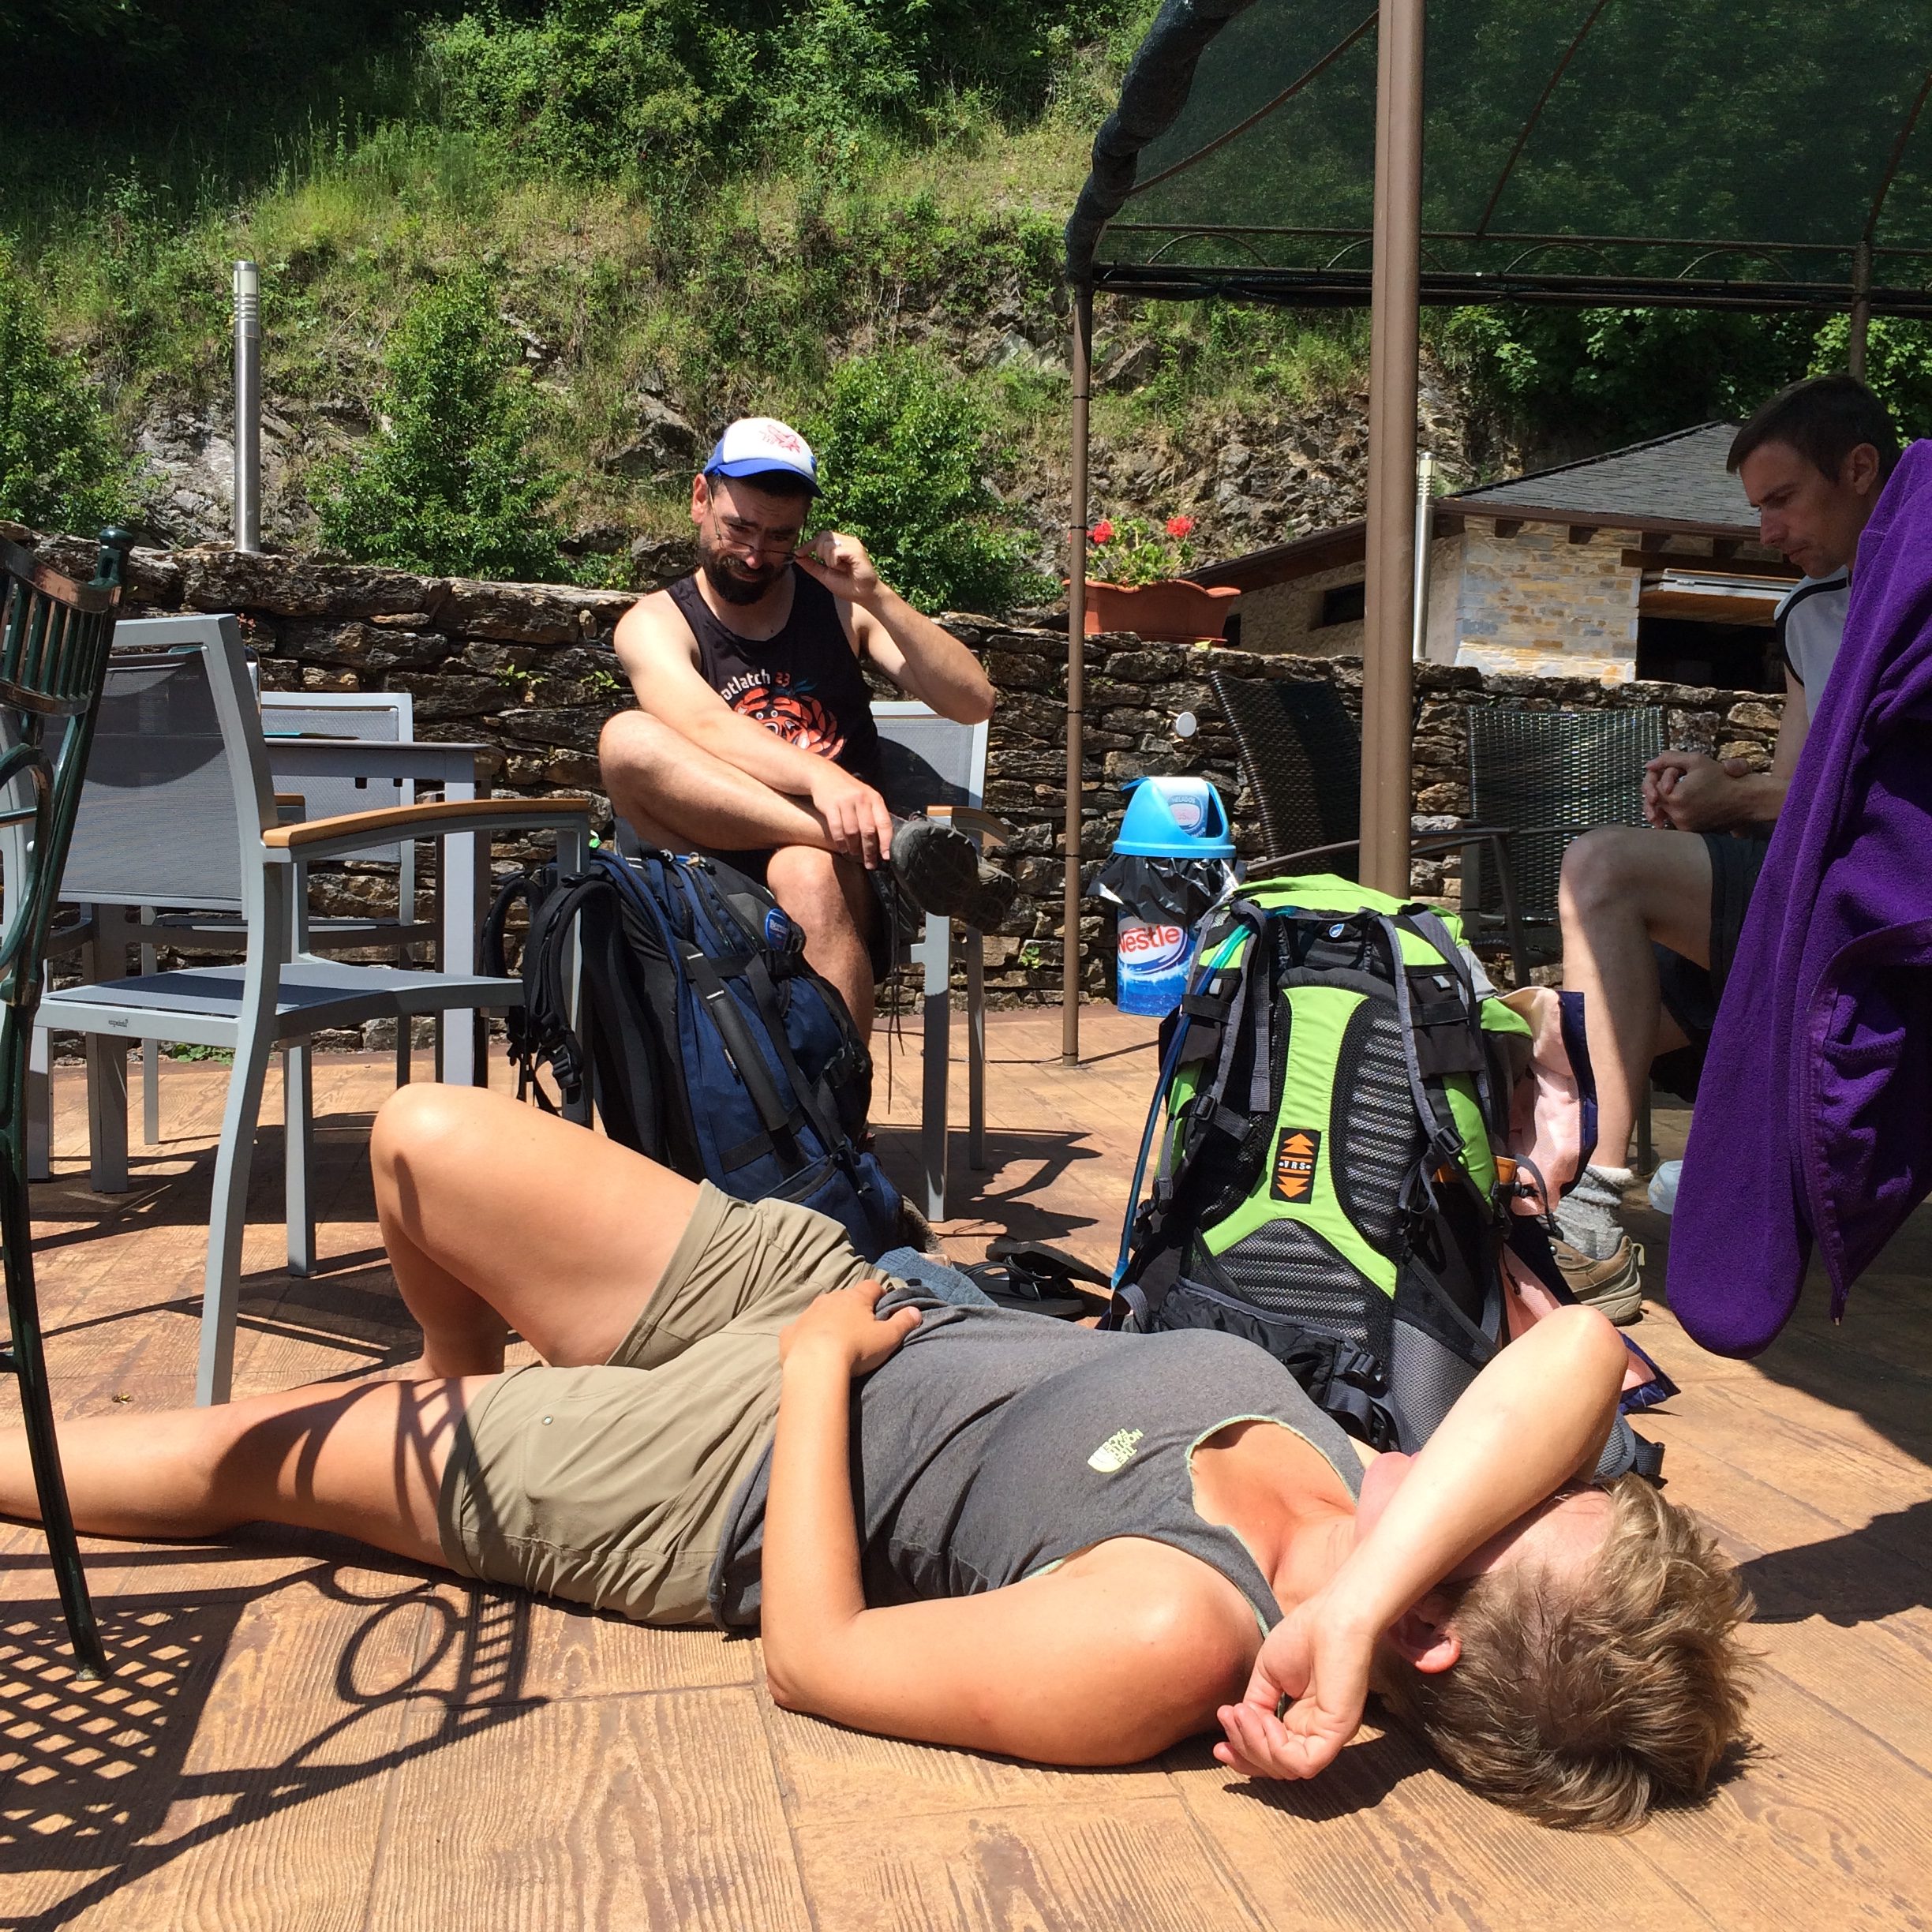
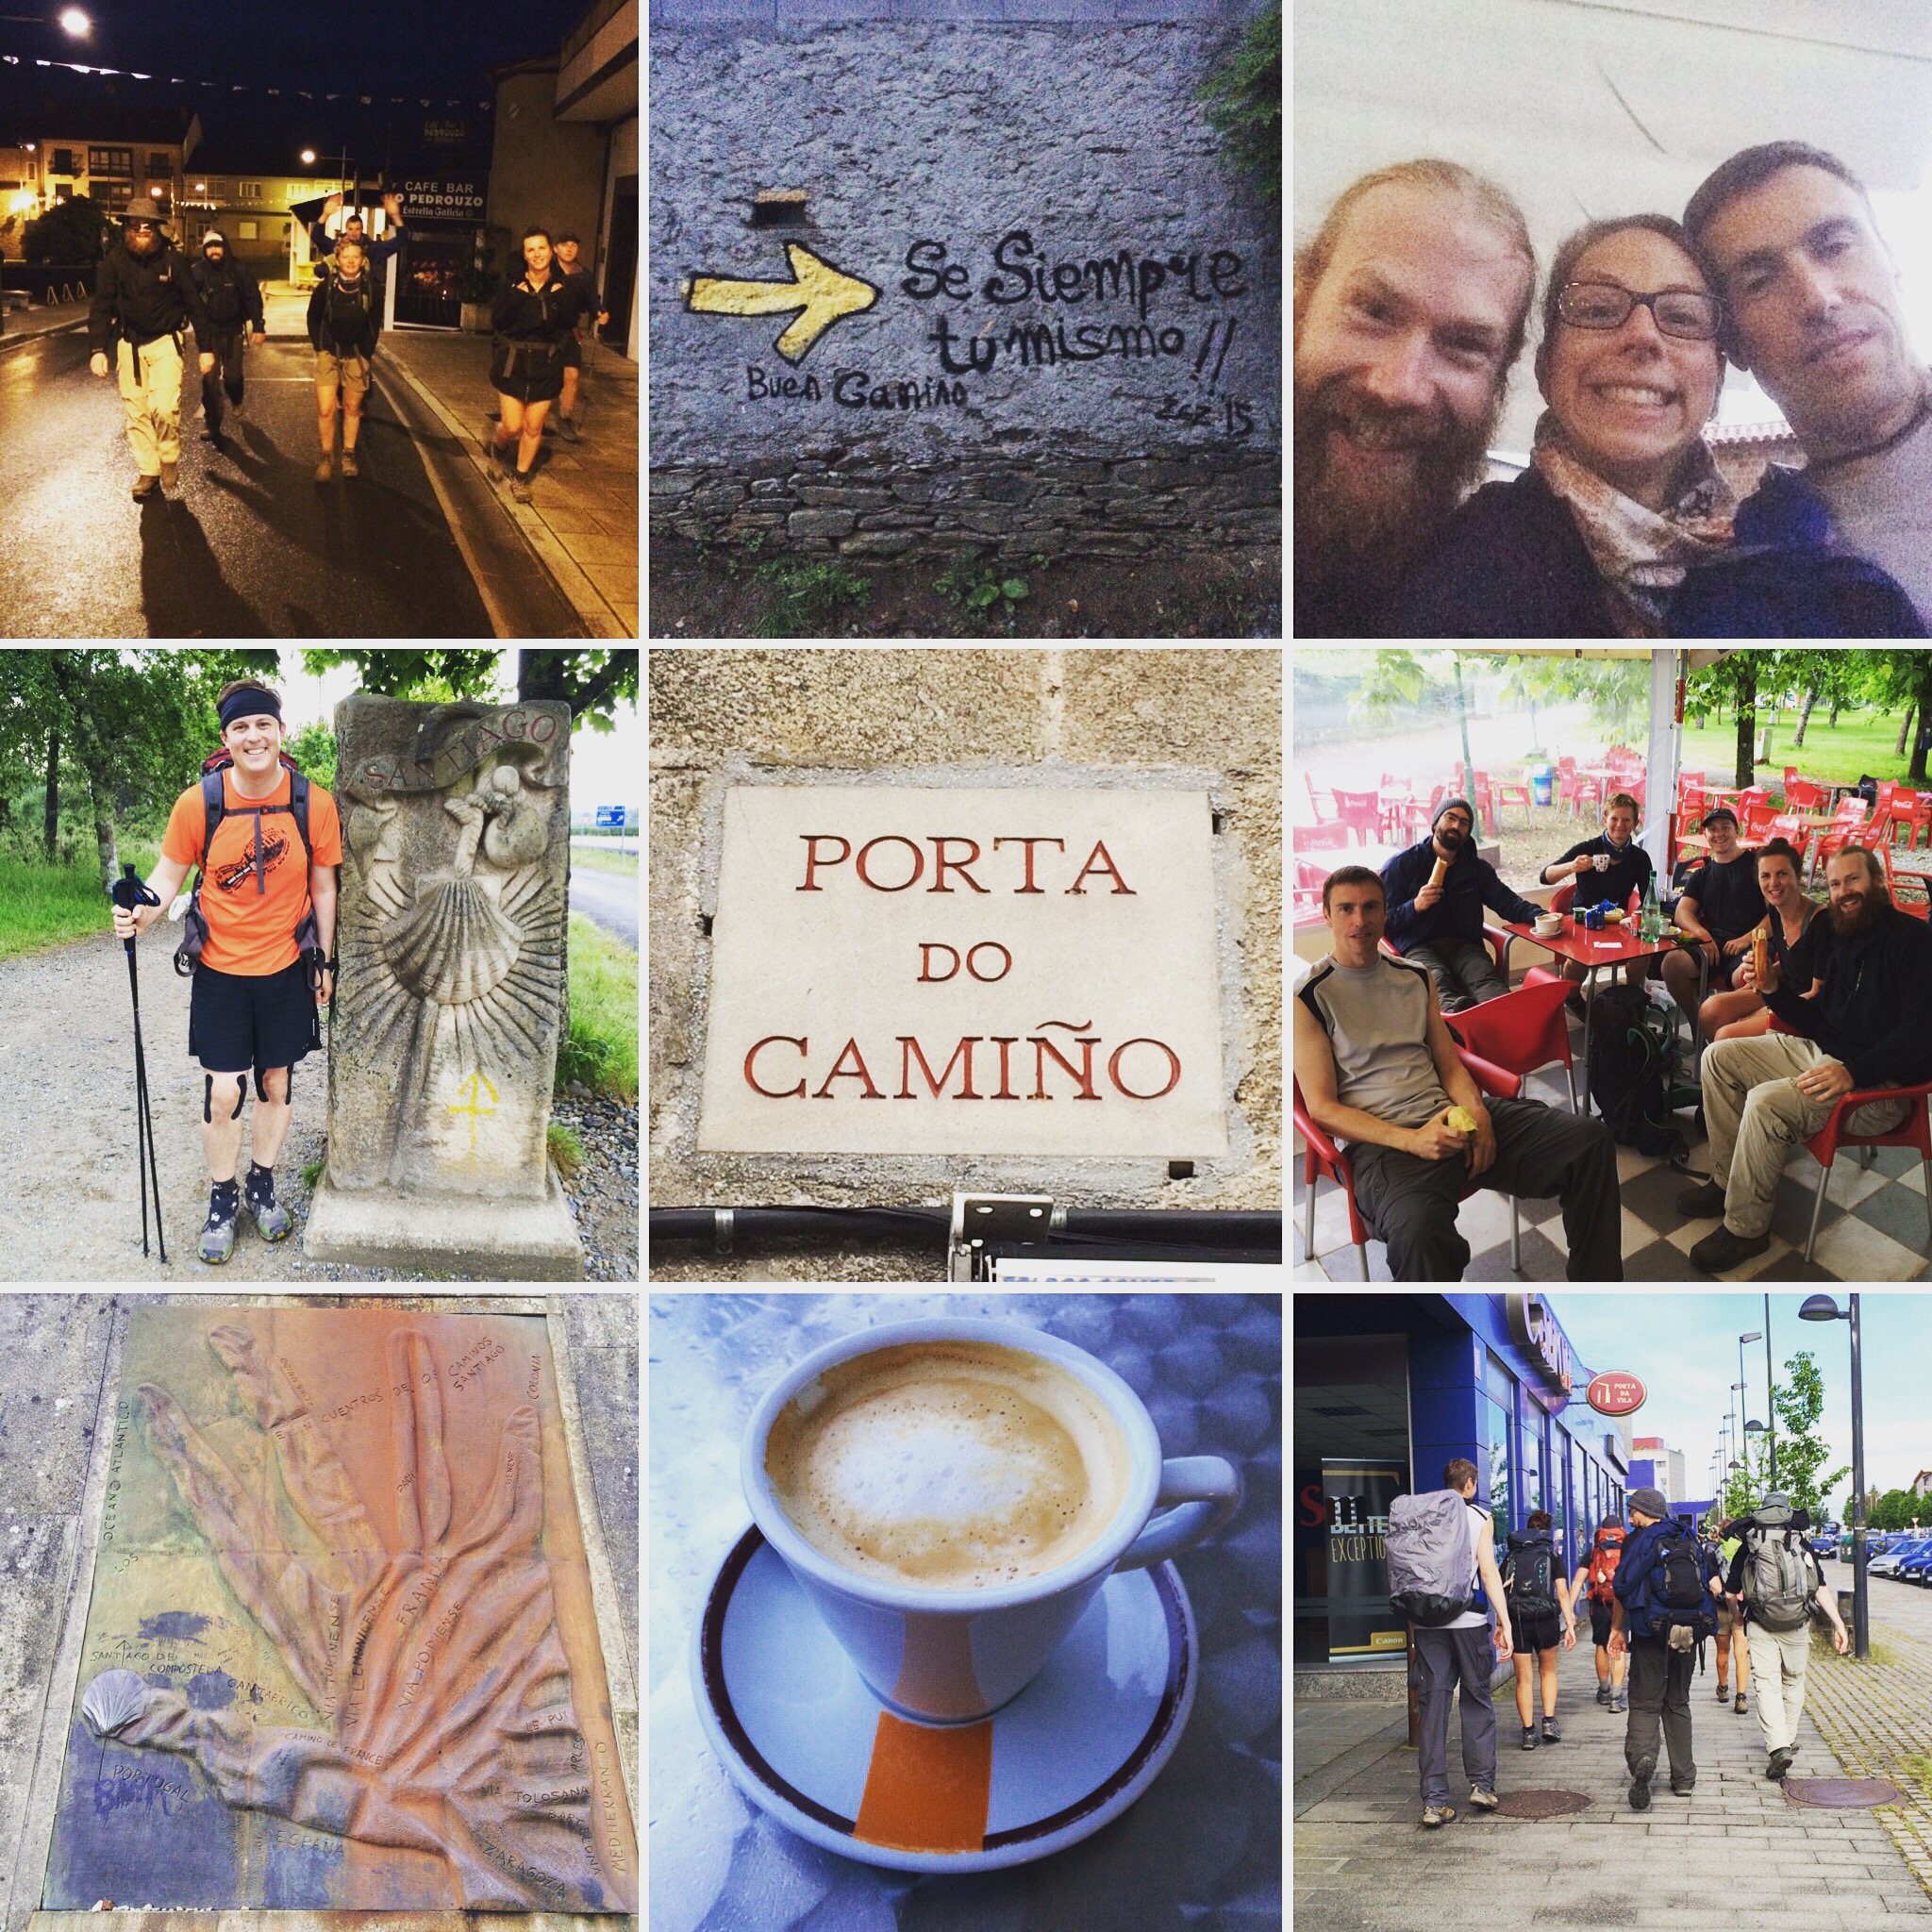
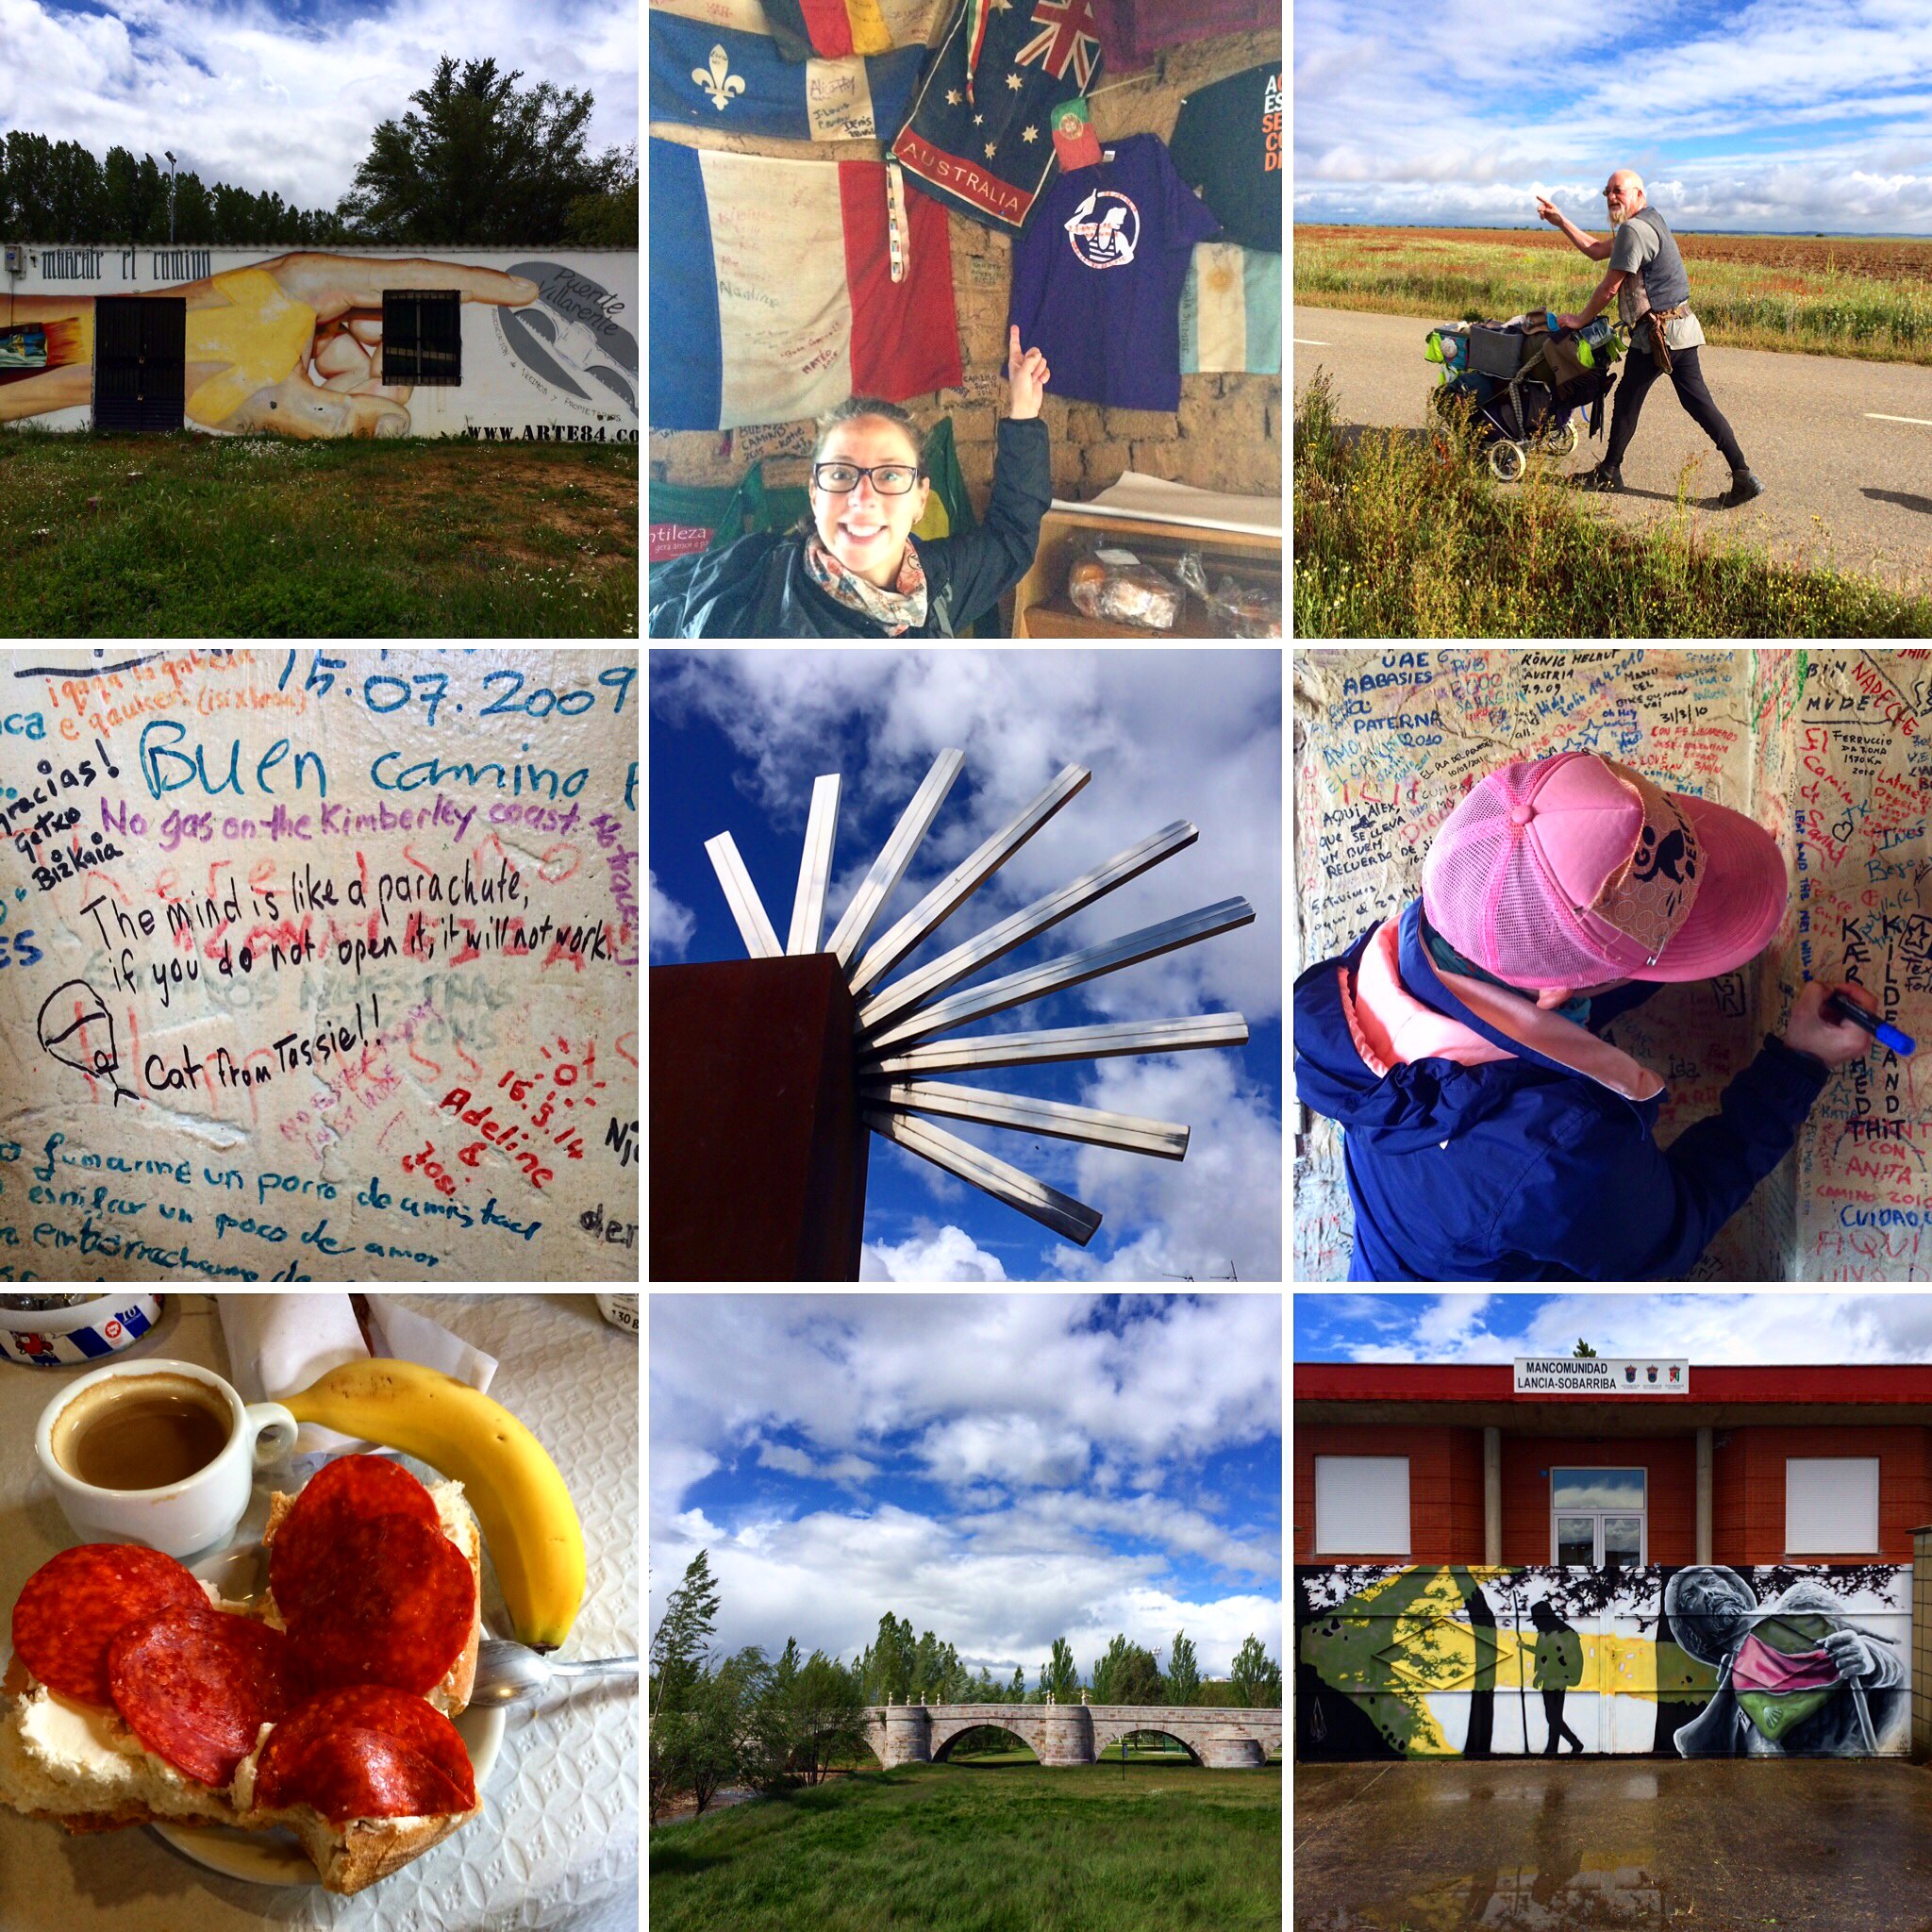
The People
I met so many weird, wonderful and amazing people along the way. I met some in passing; others I bumped into regularly; and others who I spent many days walking with who will be life long friends.
In discussion with the people I met along the way, I found that all the people walking the full Camino Frances were unemployed. We are all between jobs, changing careers or retired. Everyone was at some kind of crossroads. So for many of these people, they had the time to complete the Camino and it allowed them to mentally work through any issues they had and make some decisions for what they wanted to do in life. For some, like me, it was more about the physical challenge as well as the opportunity to travel at a slower pace and live a simple life for a while. For others it was religious reasons, and for some, particularly those who just did the 100km, it is for their CV (apparently it can be challenging to get a job in Spain if you don’t have a compostela)
The ages of people walking the Camino range from 12 years old with parents, through to people in their 70s and from a huge varieties of countries including: Australia, New Zealand, the United States, Canada, England, Ireland, The Netherlands, Germany, Denmark, Italy, Finland, Spain, France, Switzerland, Croatia, Slovenia, Poland, Brazil and Korea.
Some people walk the whole Camino from Saint-Jean-Pied-de-Port like I did, others started before that (I met a guy who had walked from Le Puy in France, I met him 100km before Santiago and he had already walked 1400km), and others start later. Some people walk the camino in stages, 100-150km per year until they have completed it.
Aside from the families and couples, basically everyone I met had started out solo. Very quickly you have conversations at the breakfast table, on the trail, at a coffee stop or perhaps in the afternoon commiserating over sore feet. You form friendships, some of which involve conversations each time you pass each other, other times it means walking together in a group. A group that sticks together is usually referred to as a Camino family. From day 1 I had a camino family, formed over breakfast before we all set out. We walked together for the first week or more, when I started to branch off so that I could maintain my own pace and daily schedule. Pretty soon, I walked with a friend, still seeing my old walking partners, then eventually I melded into another group. Often we walked together, but other times we would choose our final destination and meet there so I could walk my own faster pace.
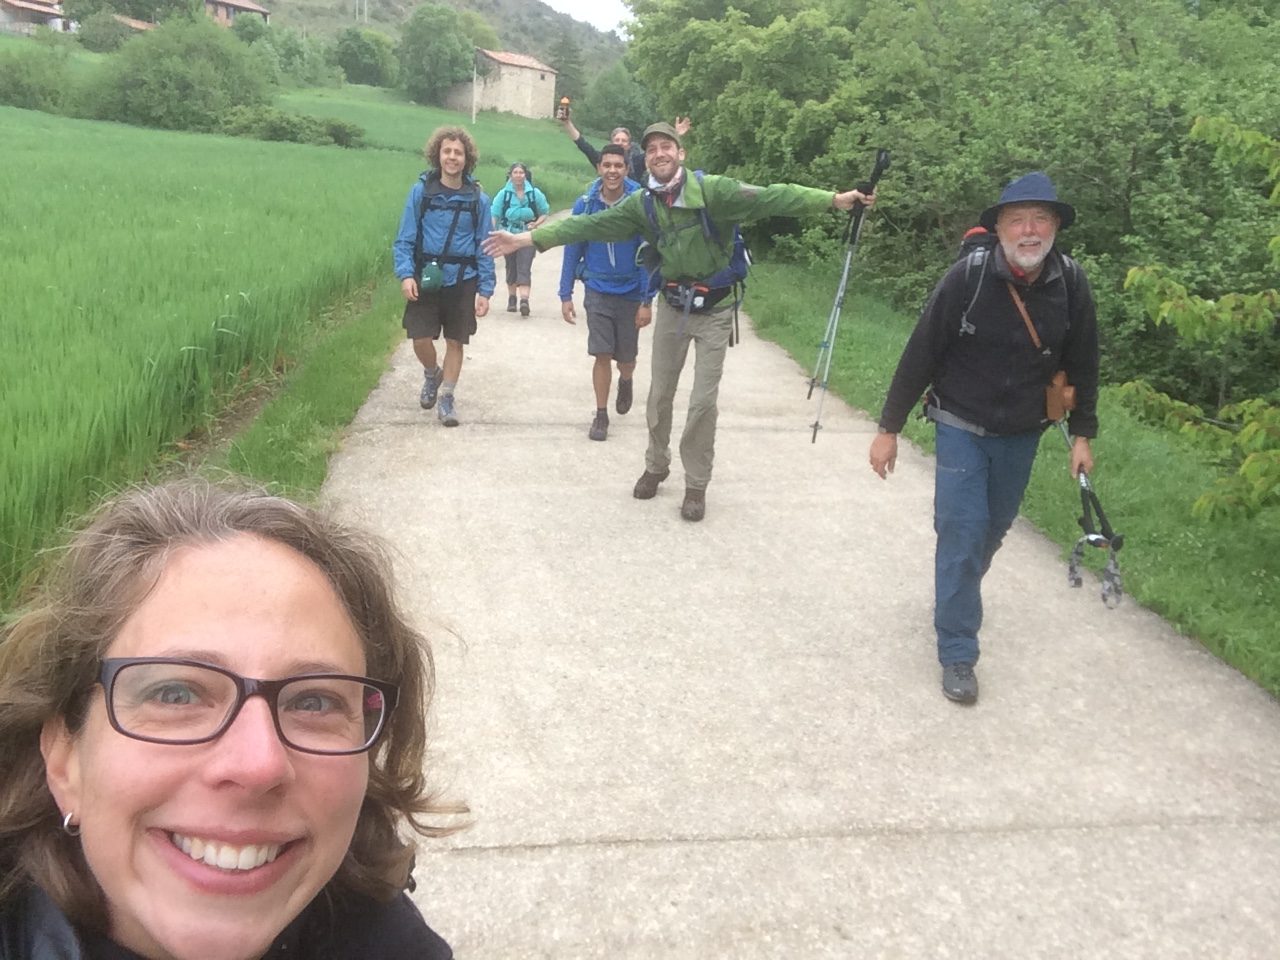
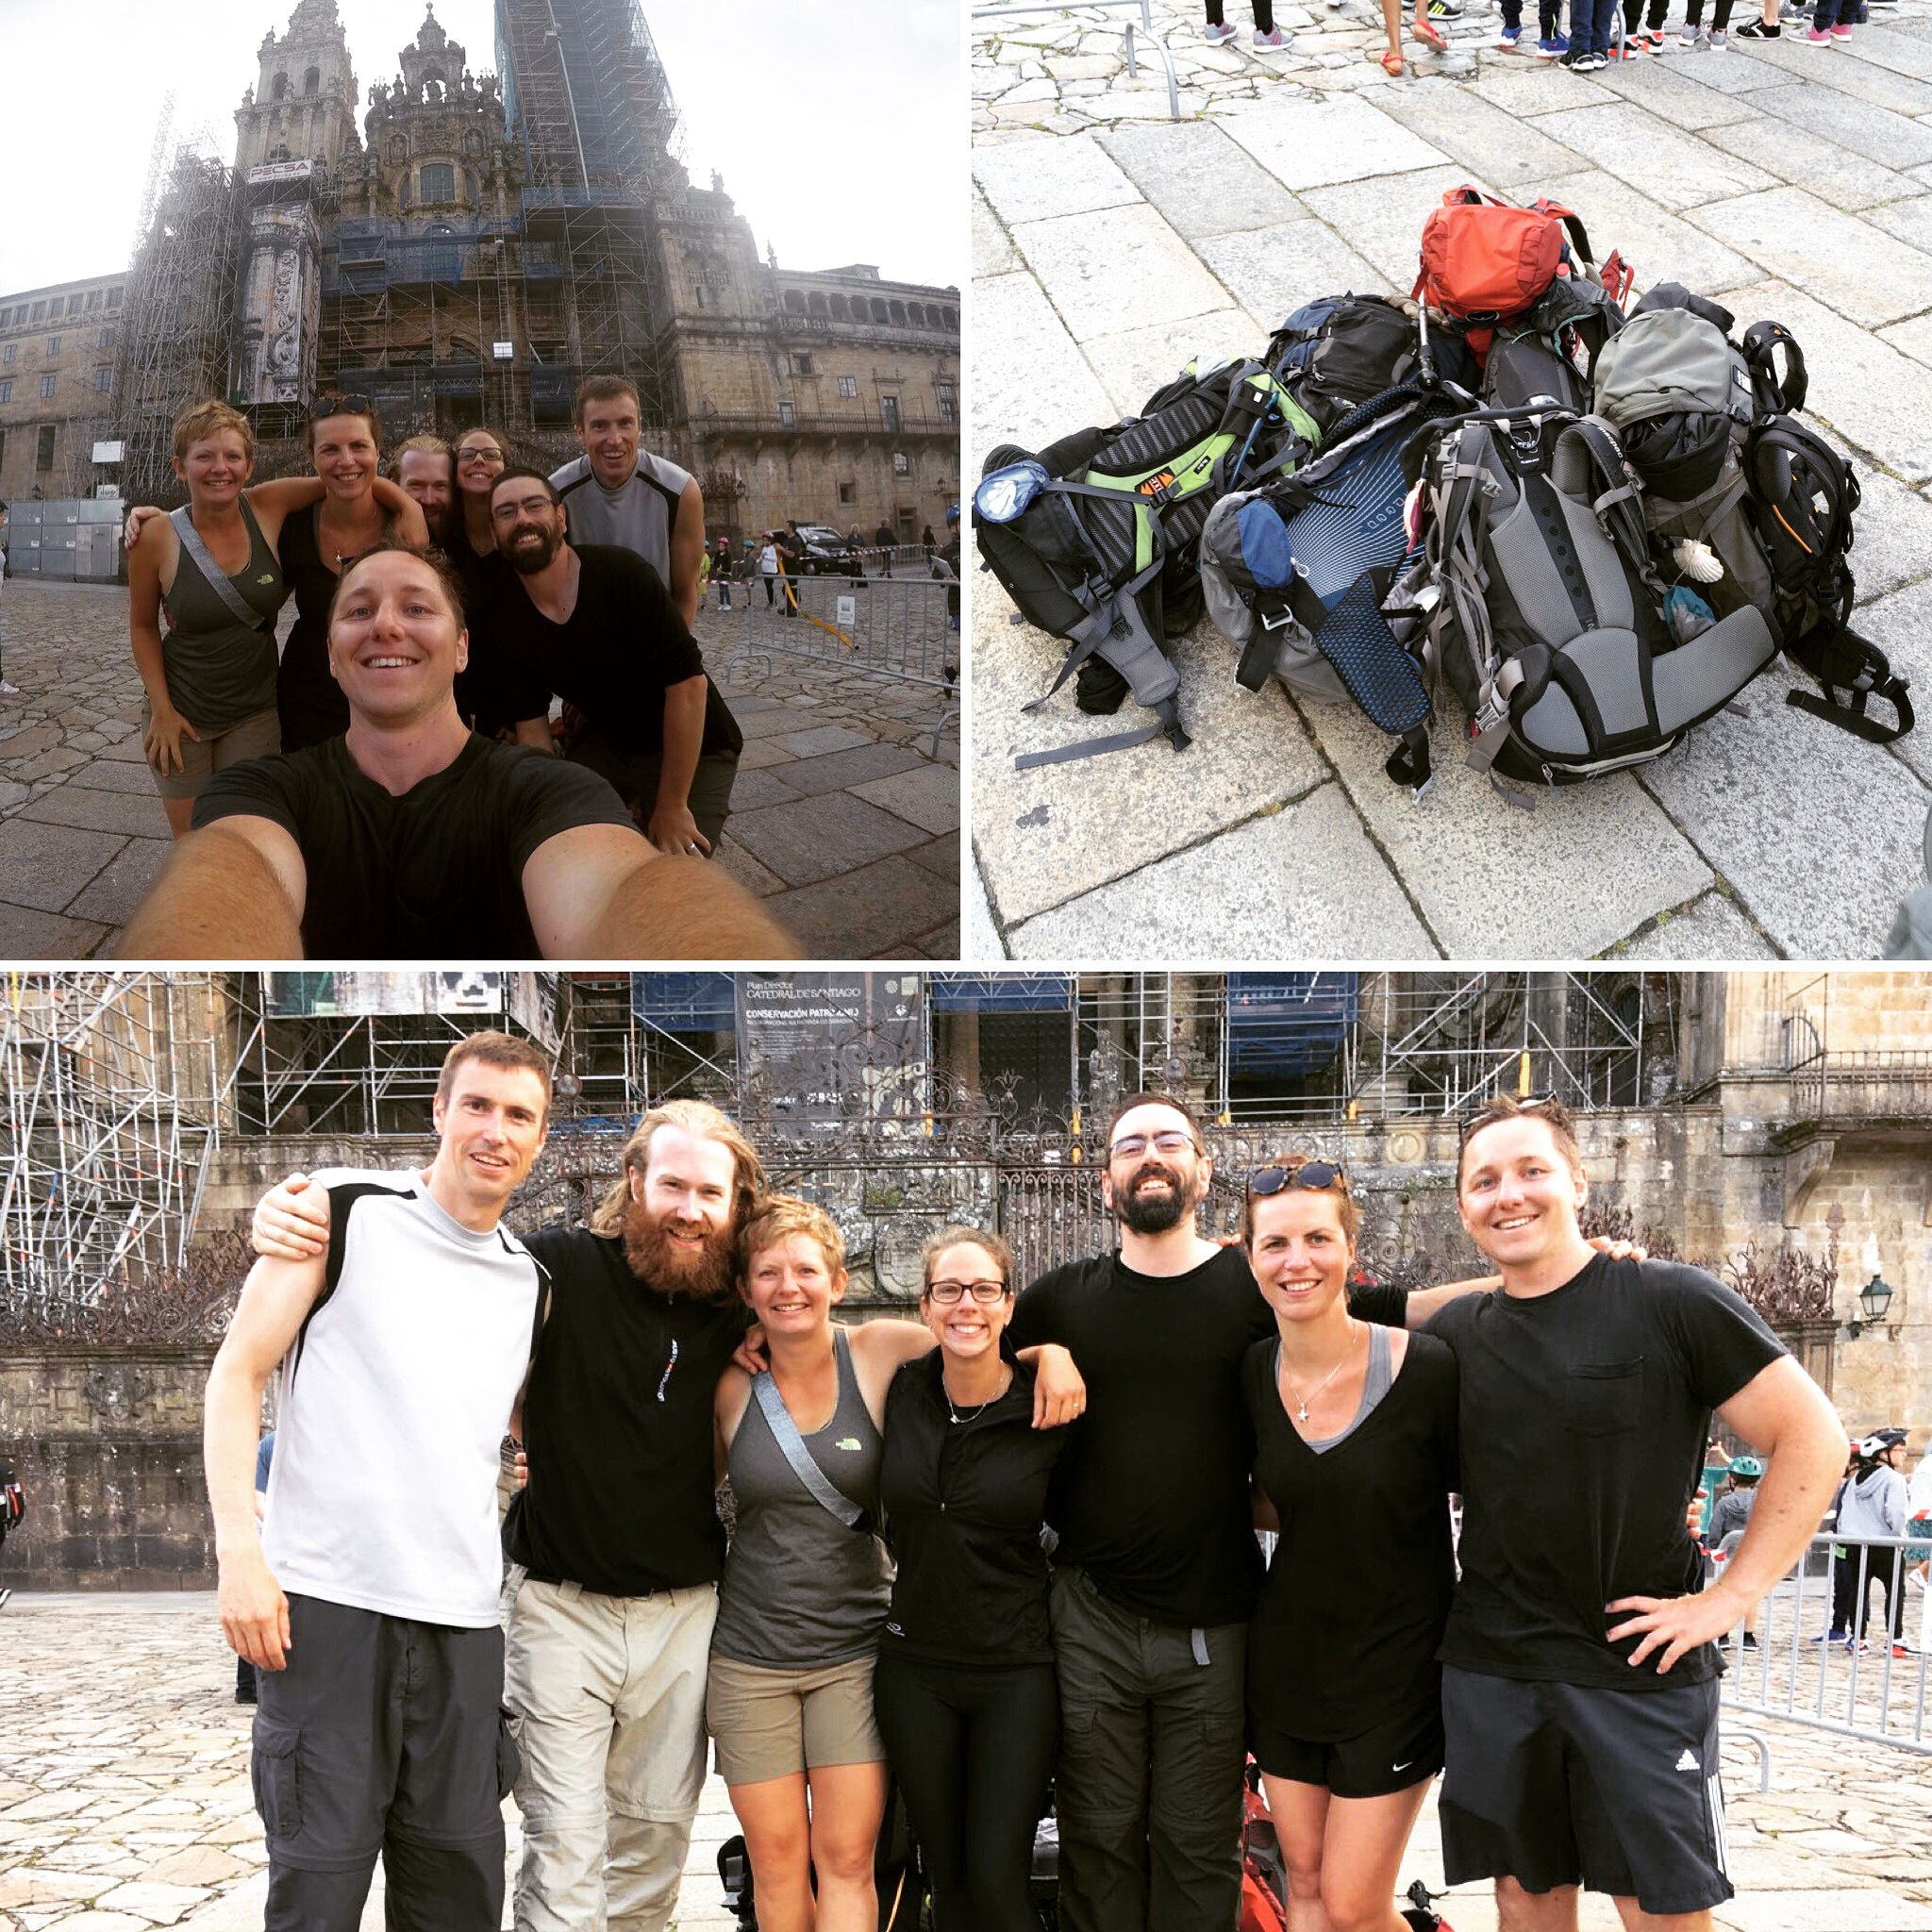
The second family I formed was the group I finished with: Allan from Denmark, Will and Hannah from Seattle, Steve from Boston and in the last week we also picked up Jake and Laura from New Zealand.
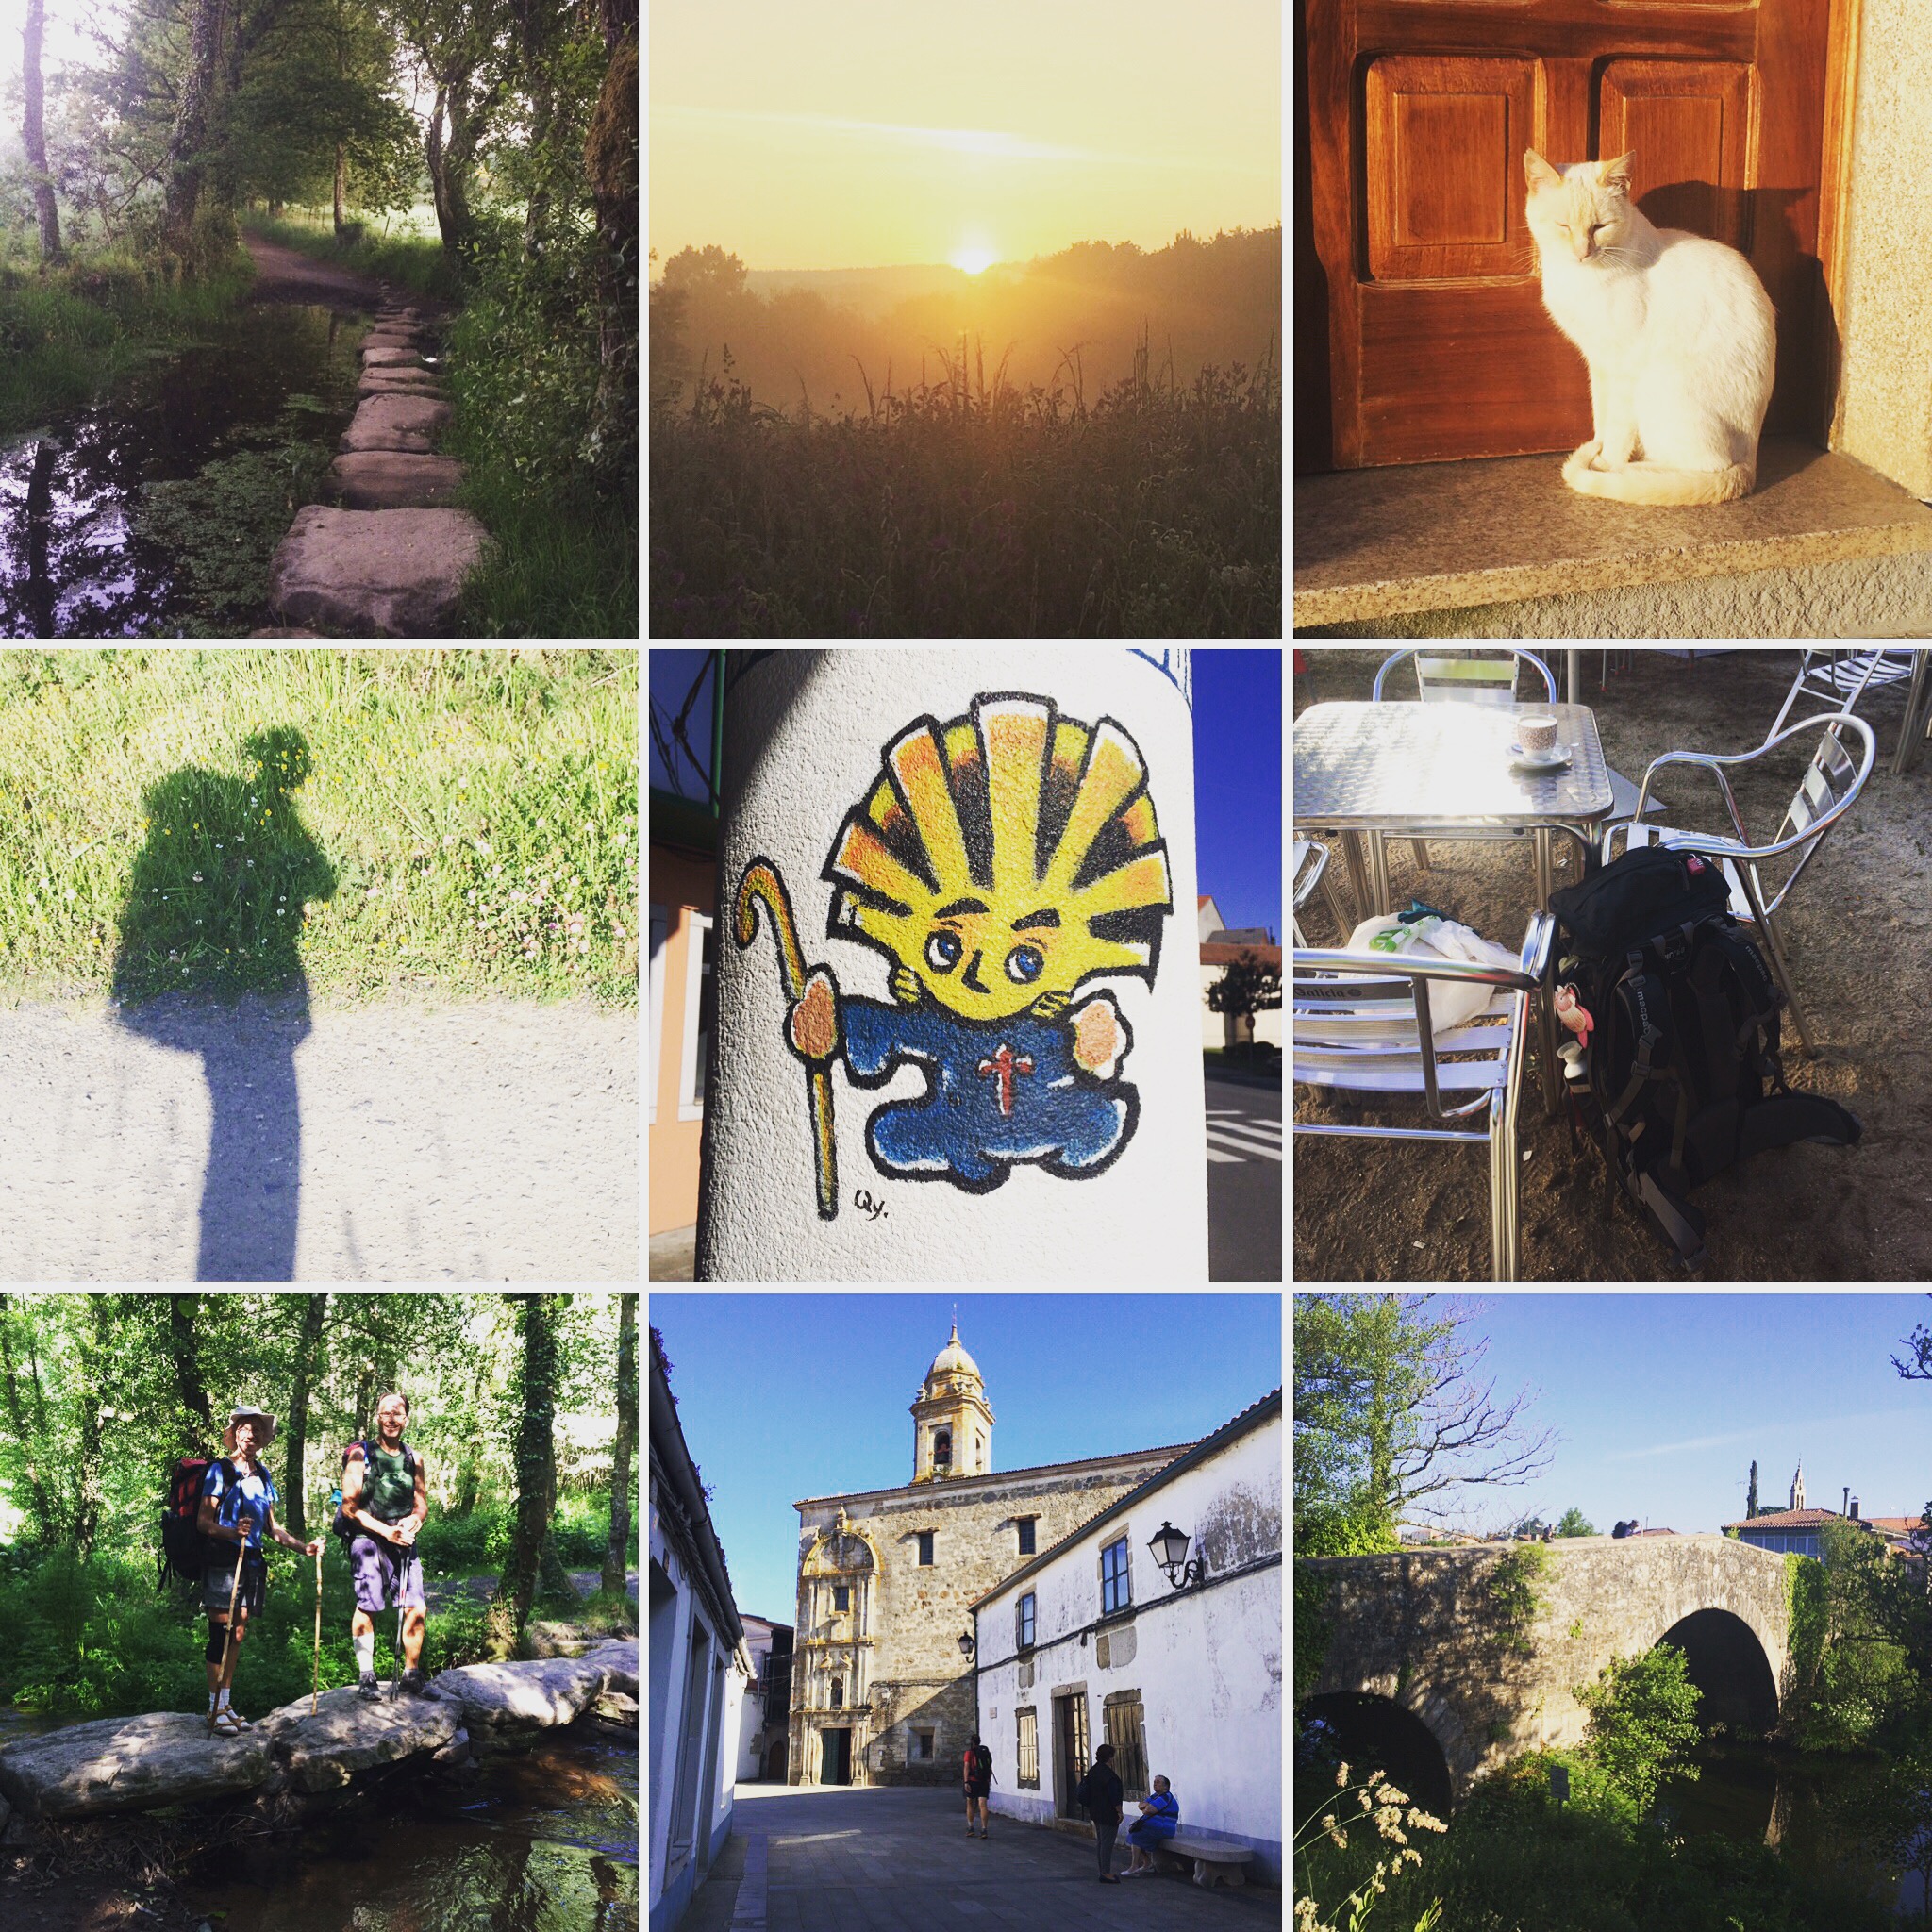
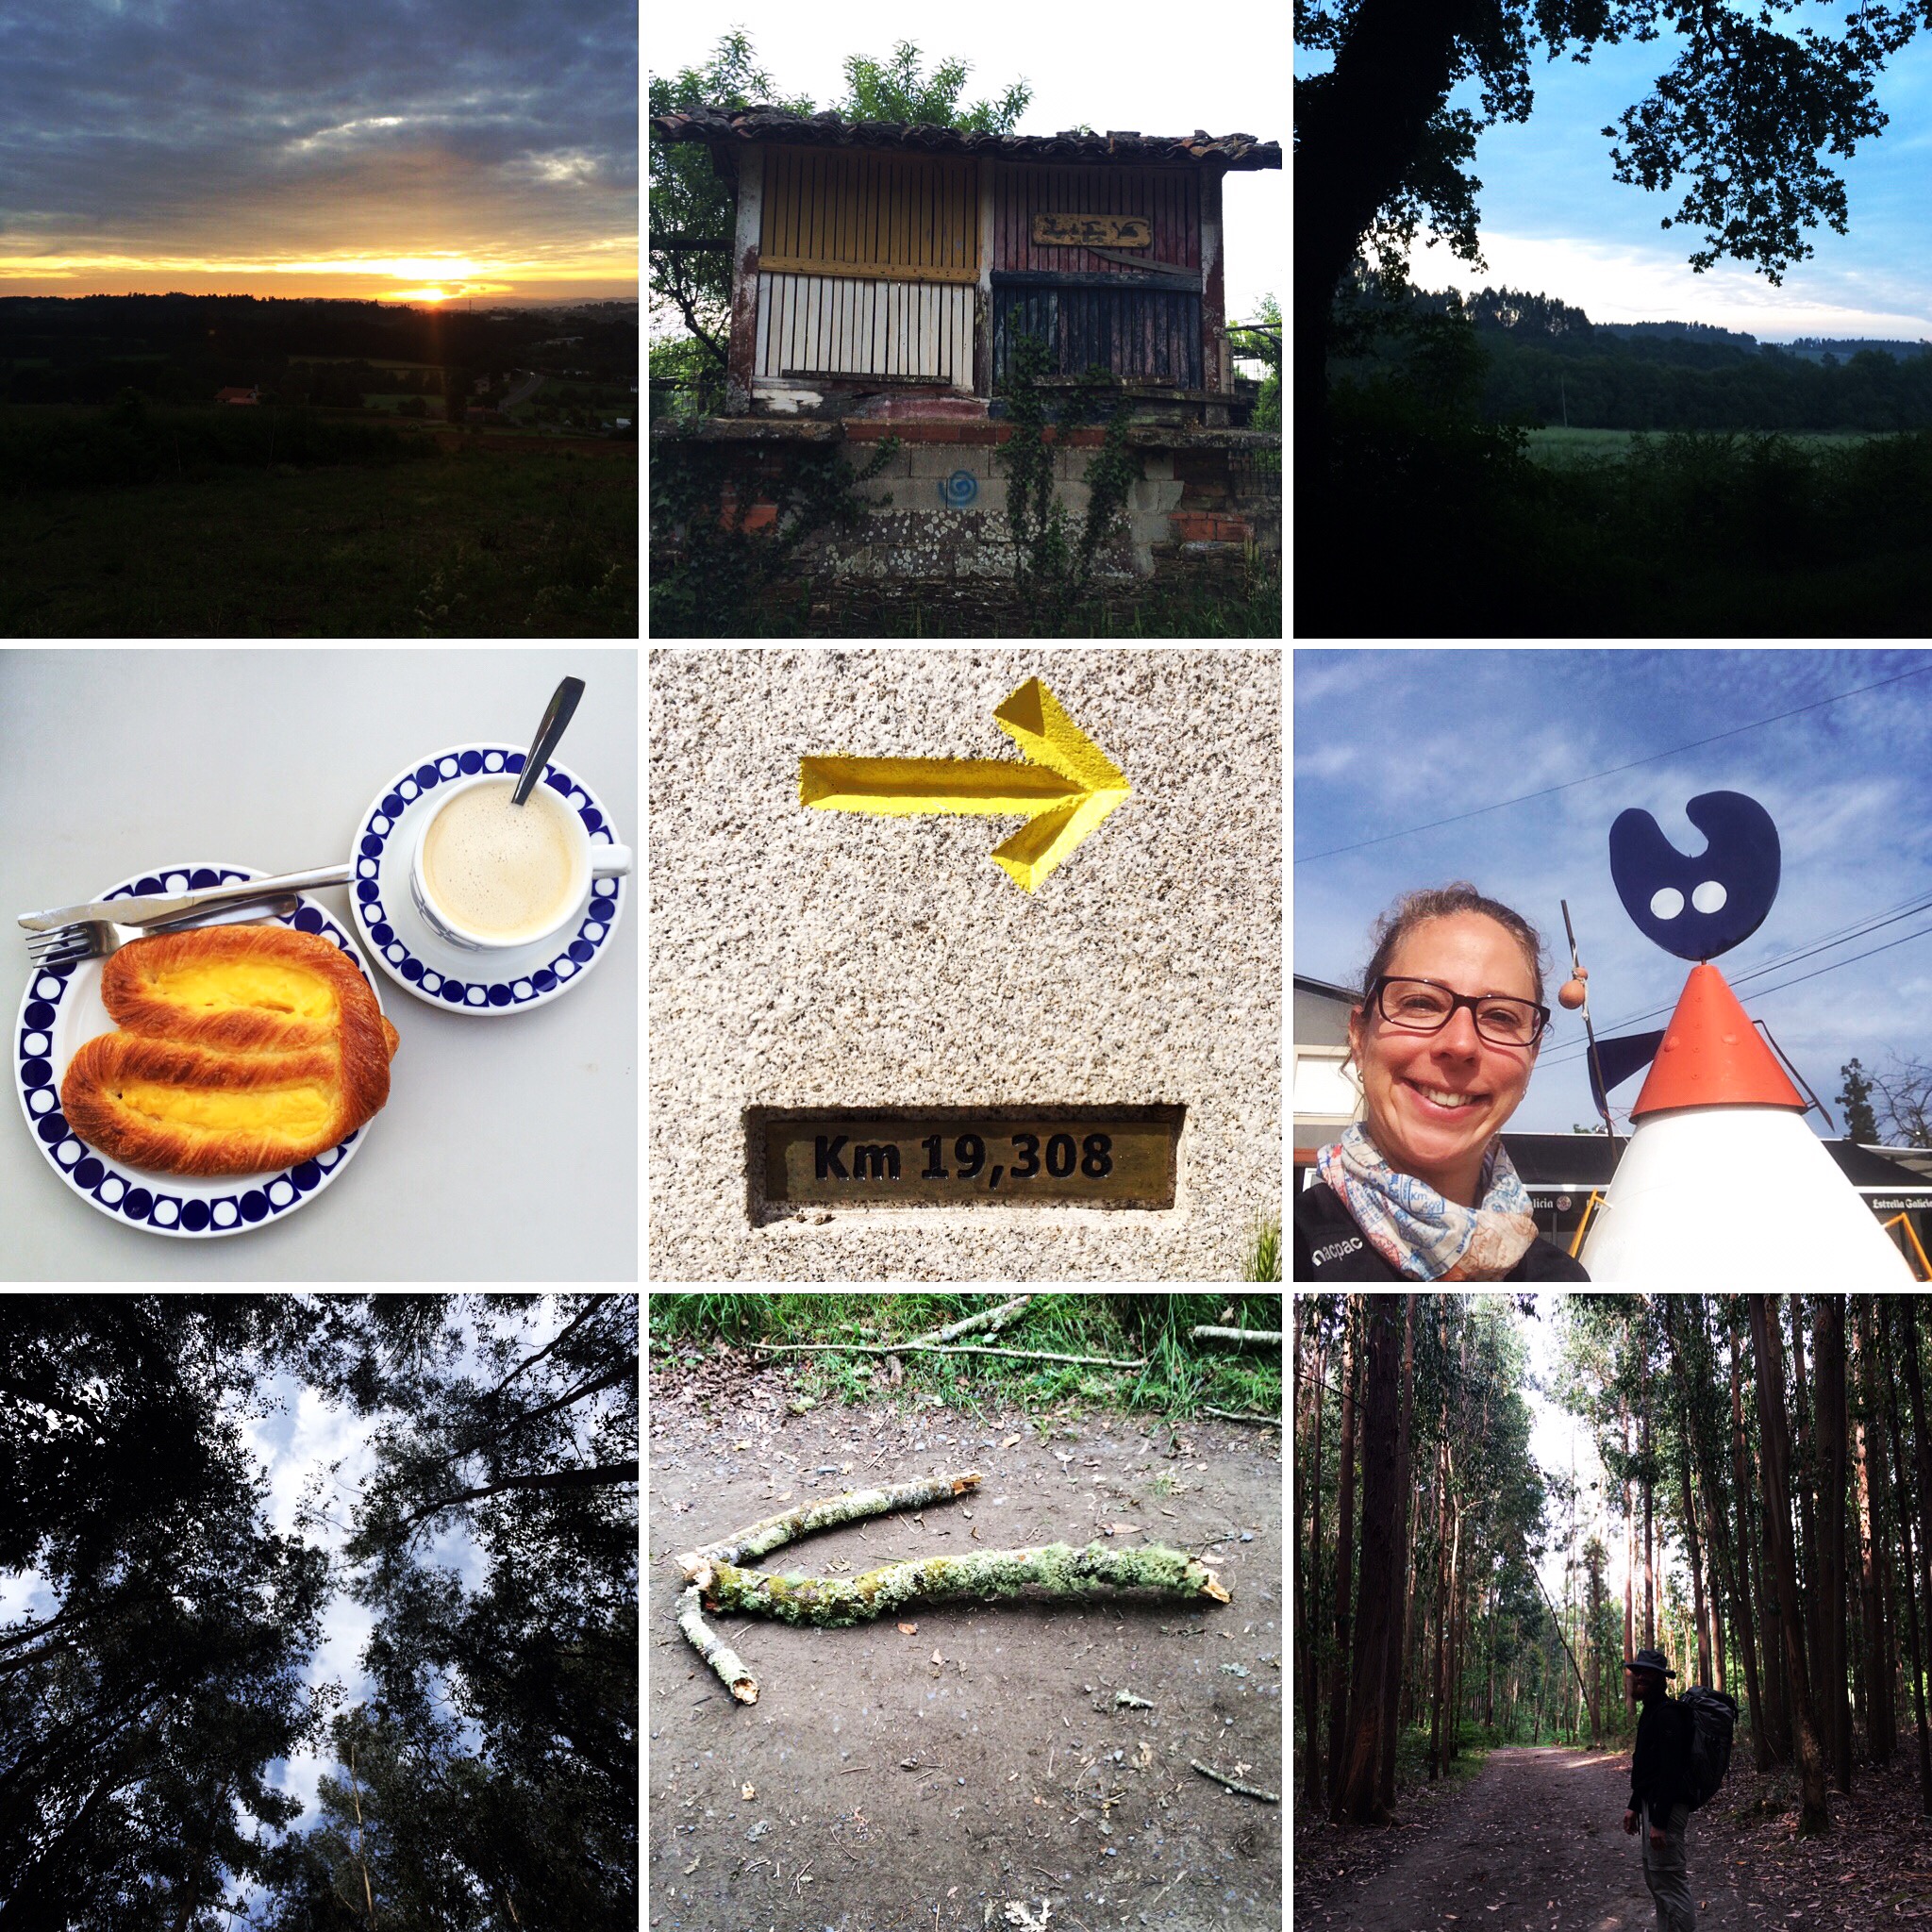
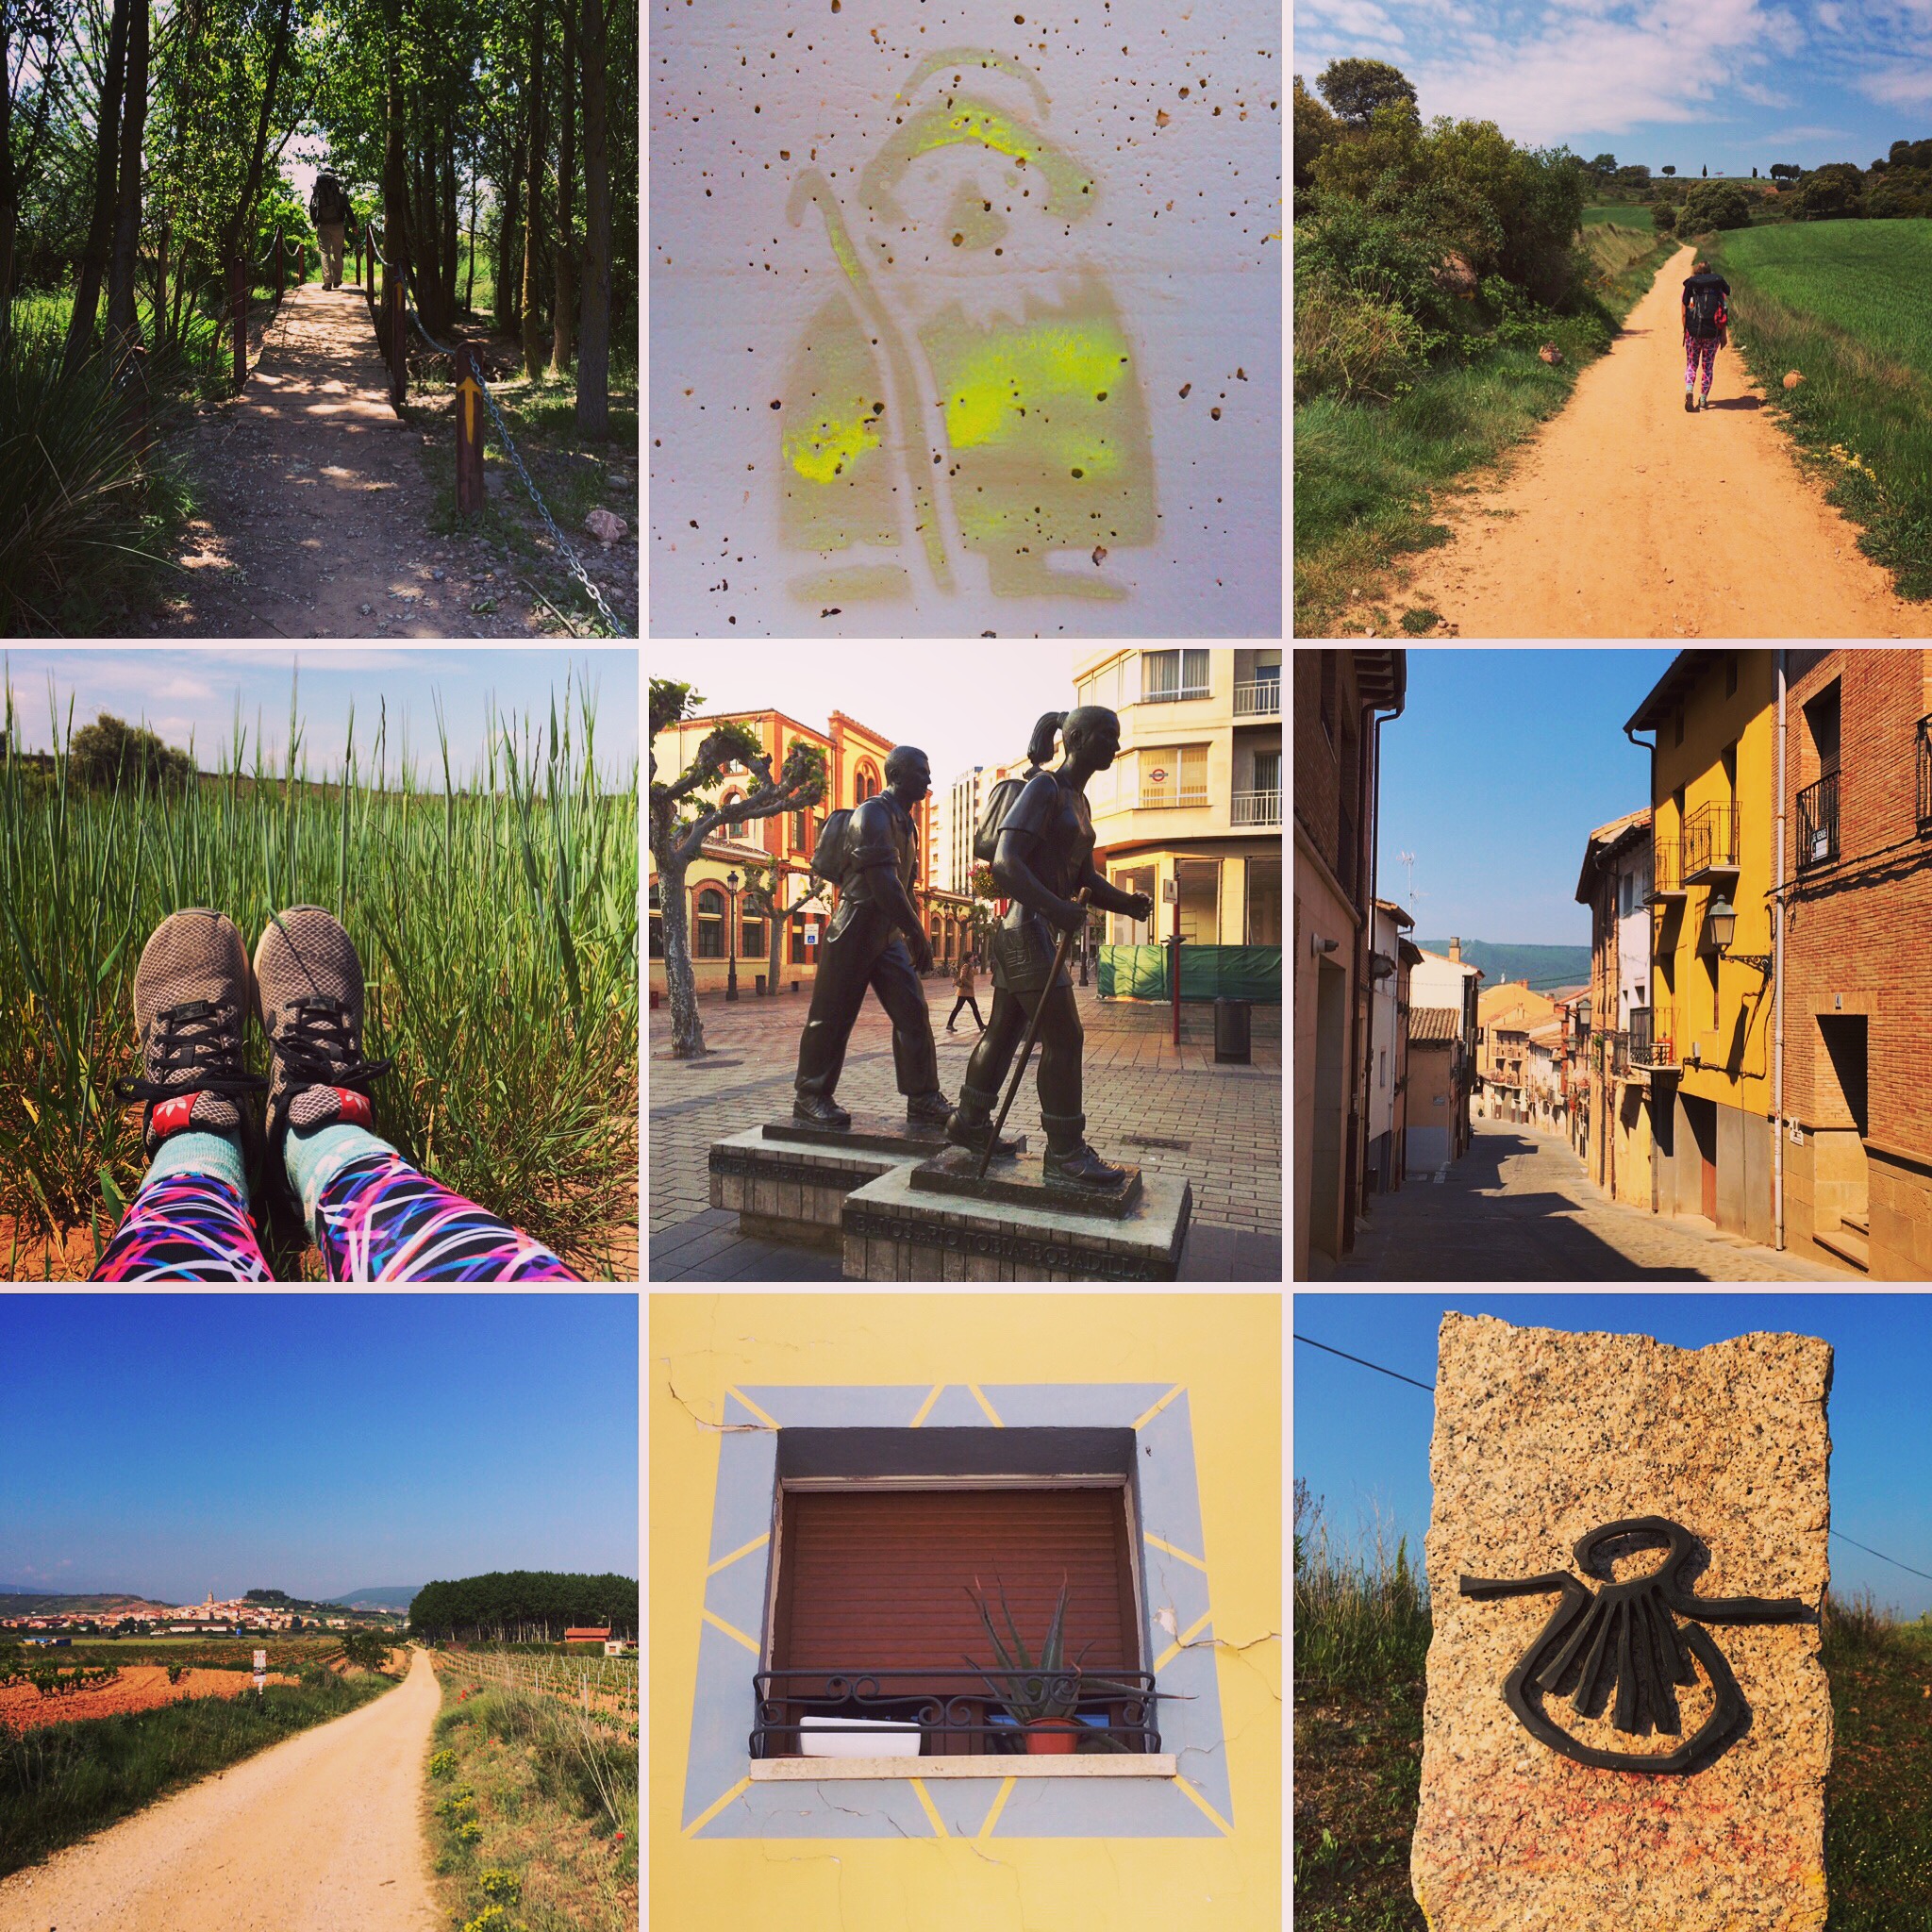
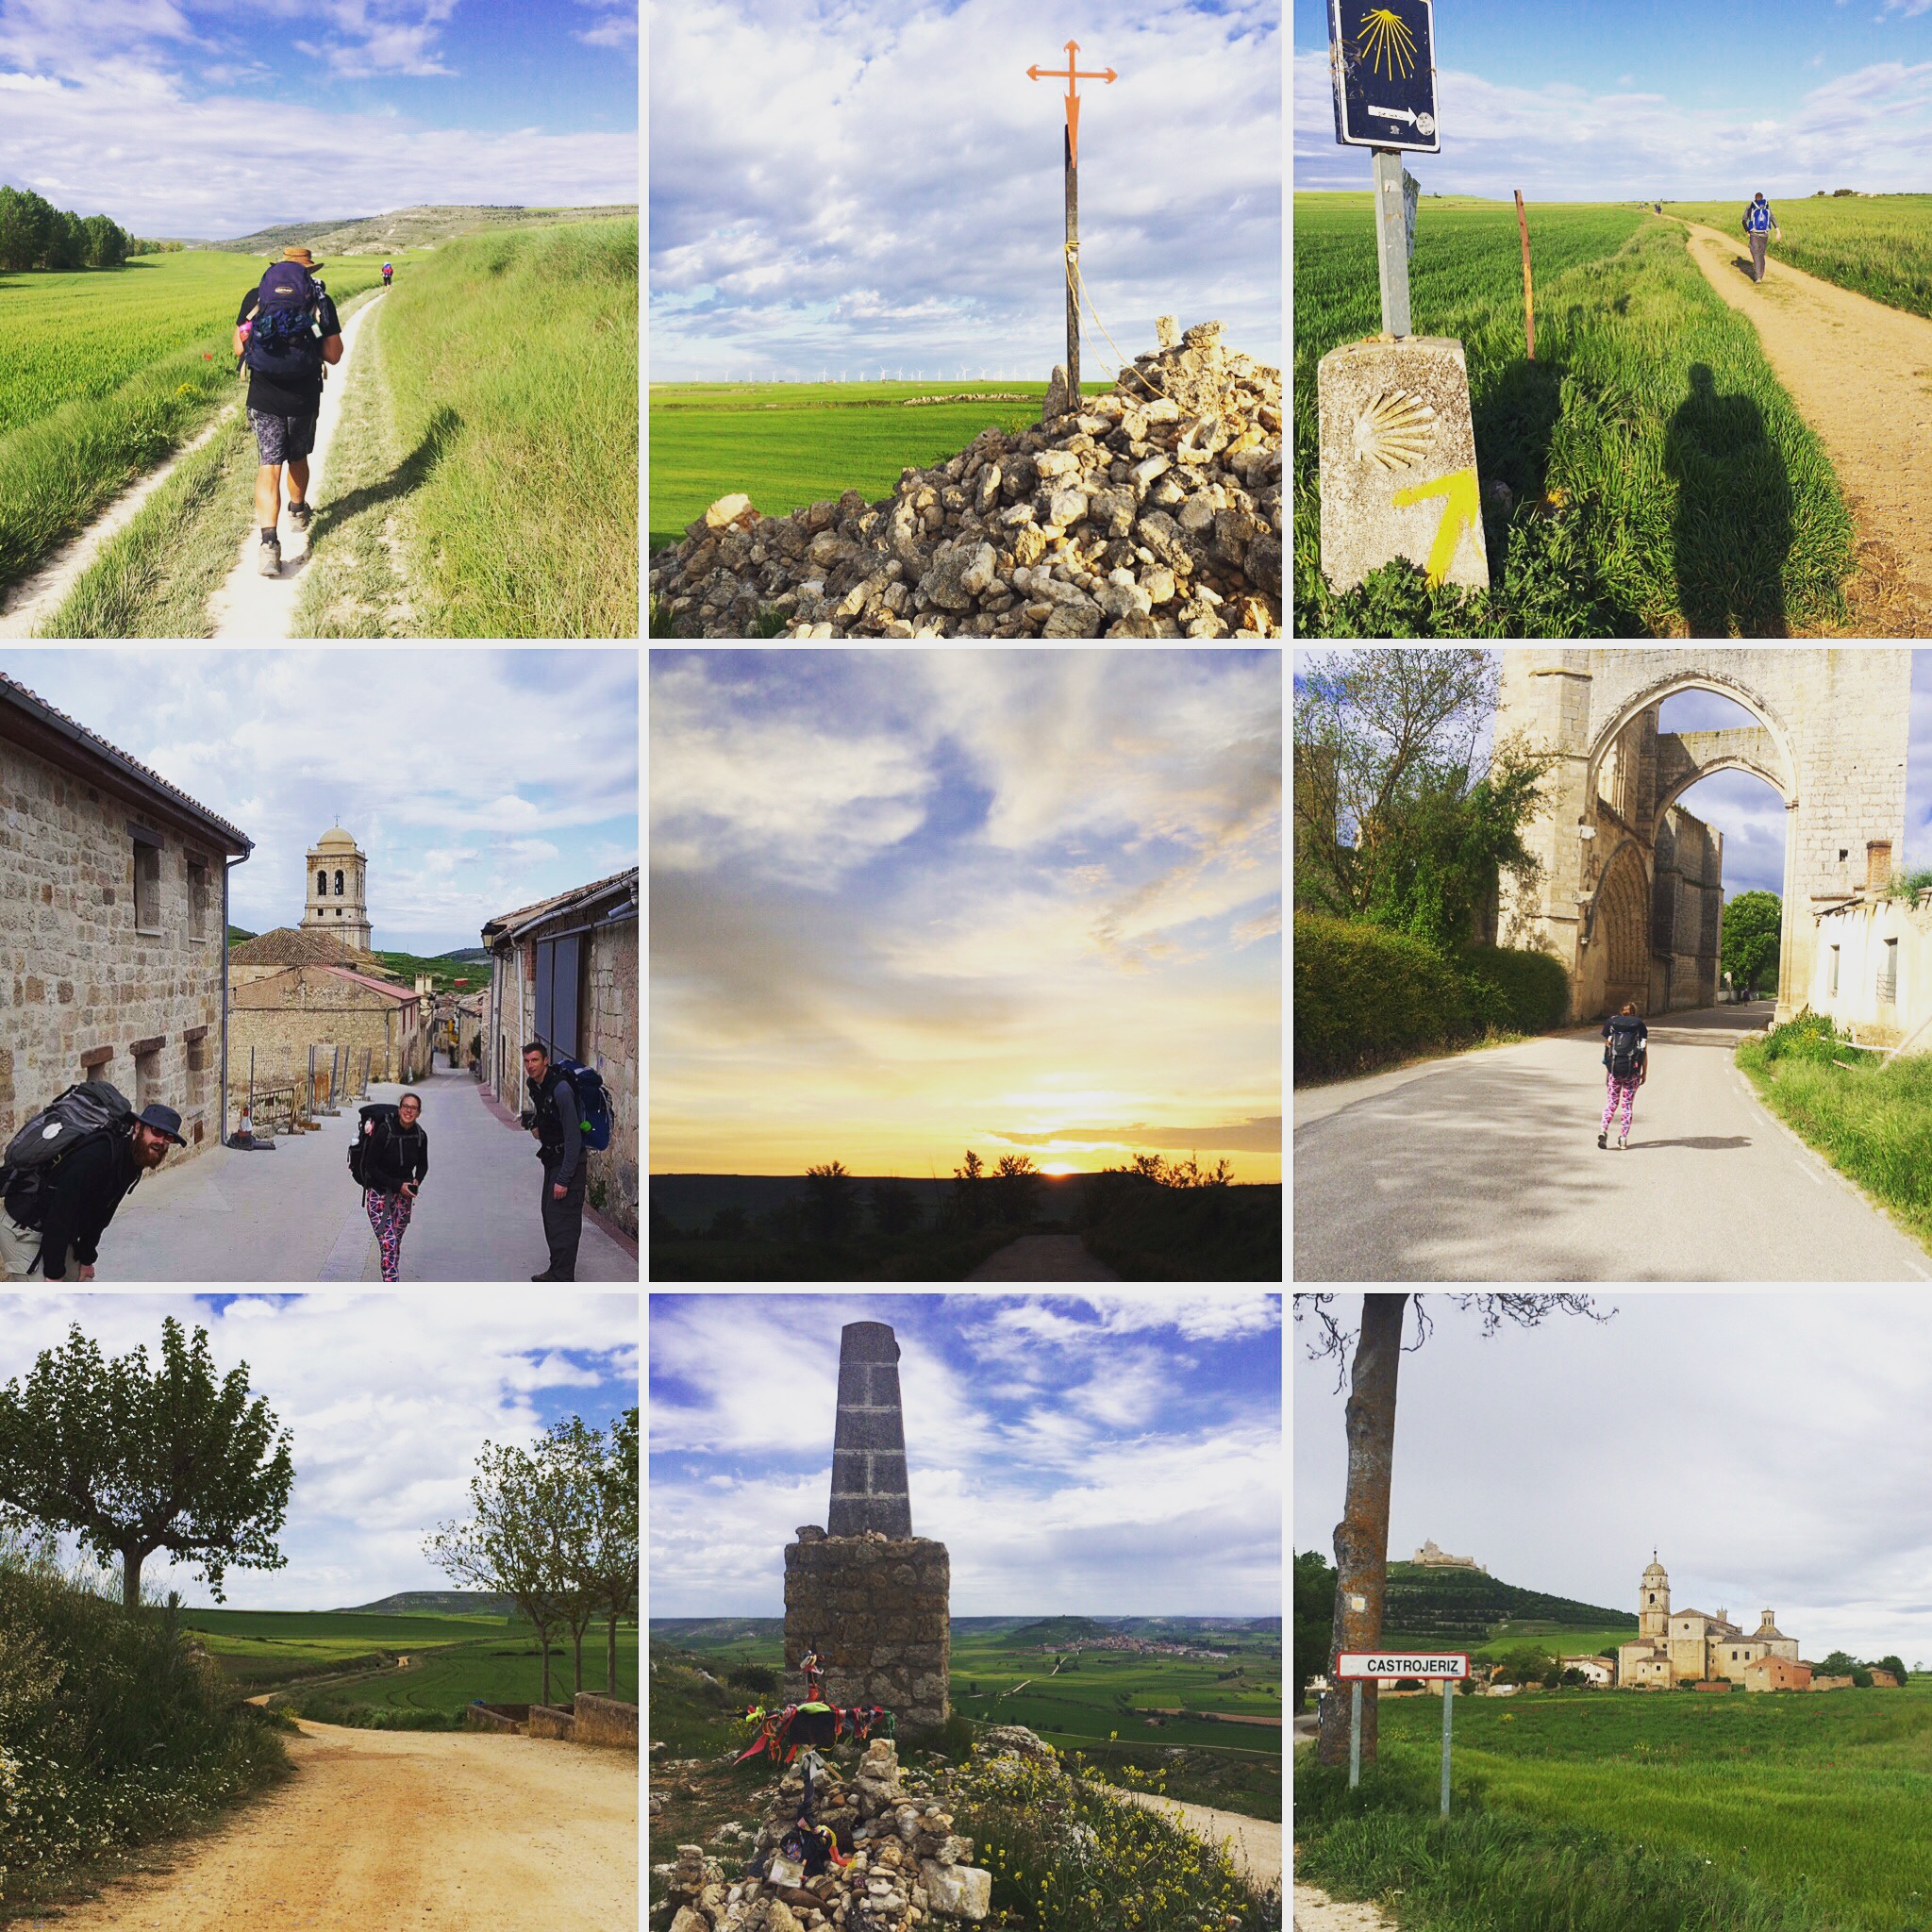
Walking
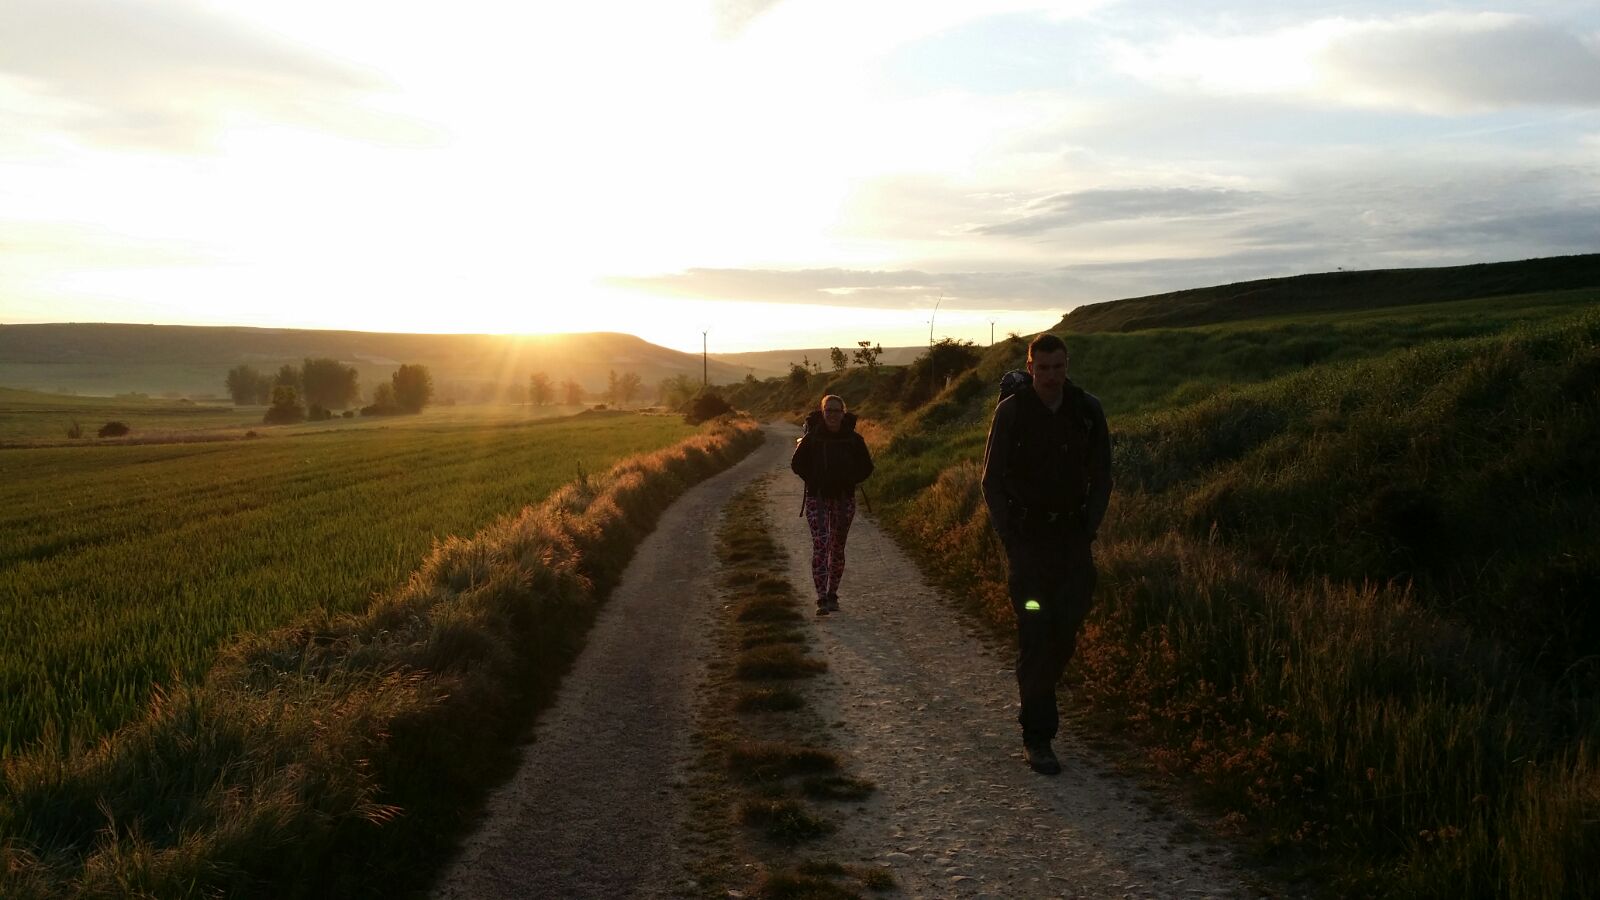
Starting out every day was a real challenge, but once my foot pain had dulled to manageable, I liked to take in the scenery, the sunrise and the sounds of nature as I walked. I really enjoy silence, so I would often walk ahead or start early so that I could walk solo and with nothing but the sounds of my own footsteps. This gave me time to think: ponder life, work, family, the camino, the next adventure etc.
I spent most of my time walking with others, this time was usually spent in conversation, sometimes in comfortable and companionable silence and other times playing word games (Will and Hannah had a particularly fun repertoire of word games and we spend a good deal of every day in stitches. In fact almost every day Hannah and I got to the point where we laughed so much we cried)
Sometimes when walking with the group or even without the group, it was nice to have other things going on. Occasionally I listened to Spanish podcasts to work on my Spanish language or listened to music. I love good dance beats, so when I wanted to walk at a fast pace and was struggling with the pain, I would put on some good tunes and it made the time and distance pass quicker and in a much more pleasant way.
The pace of everyone varies; it is really nice when you walk with a group of a similar pace. My first family was slower and enjoyed frequent long breaks that left me frustrated. But my second family had a reasonably similar pace to me so we often walked together. However, I started to find as the group got bigger the pace slowed a little. With a slower pace I felt time dragging and the pain in my feet was less tolerable. I also found that I had spent so much time in a group I wanted to have a few days solo for reflection. So certainly in the last week I mostly walked ahead at my own pace, often joined by Allan who marches along equally quickly and enjoys silence as much as I do, and we got through the walking day as quickly as we could. As strange as it sounds, I felt less pain by walking faster. (I think Allan was just in agony and did it to get the walking over and done with).
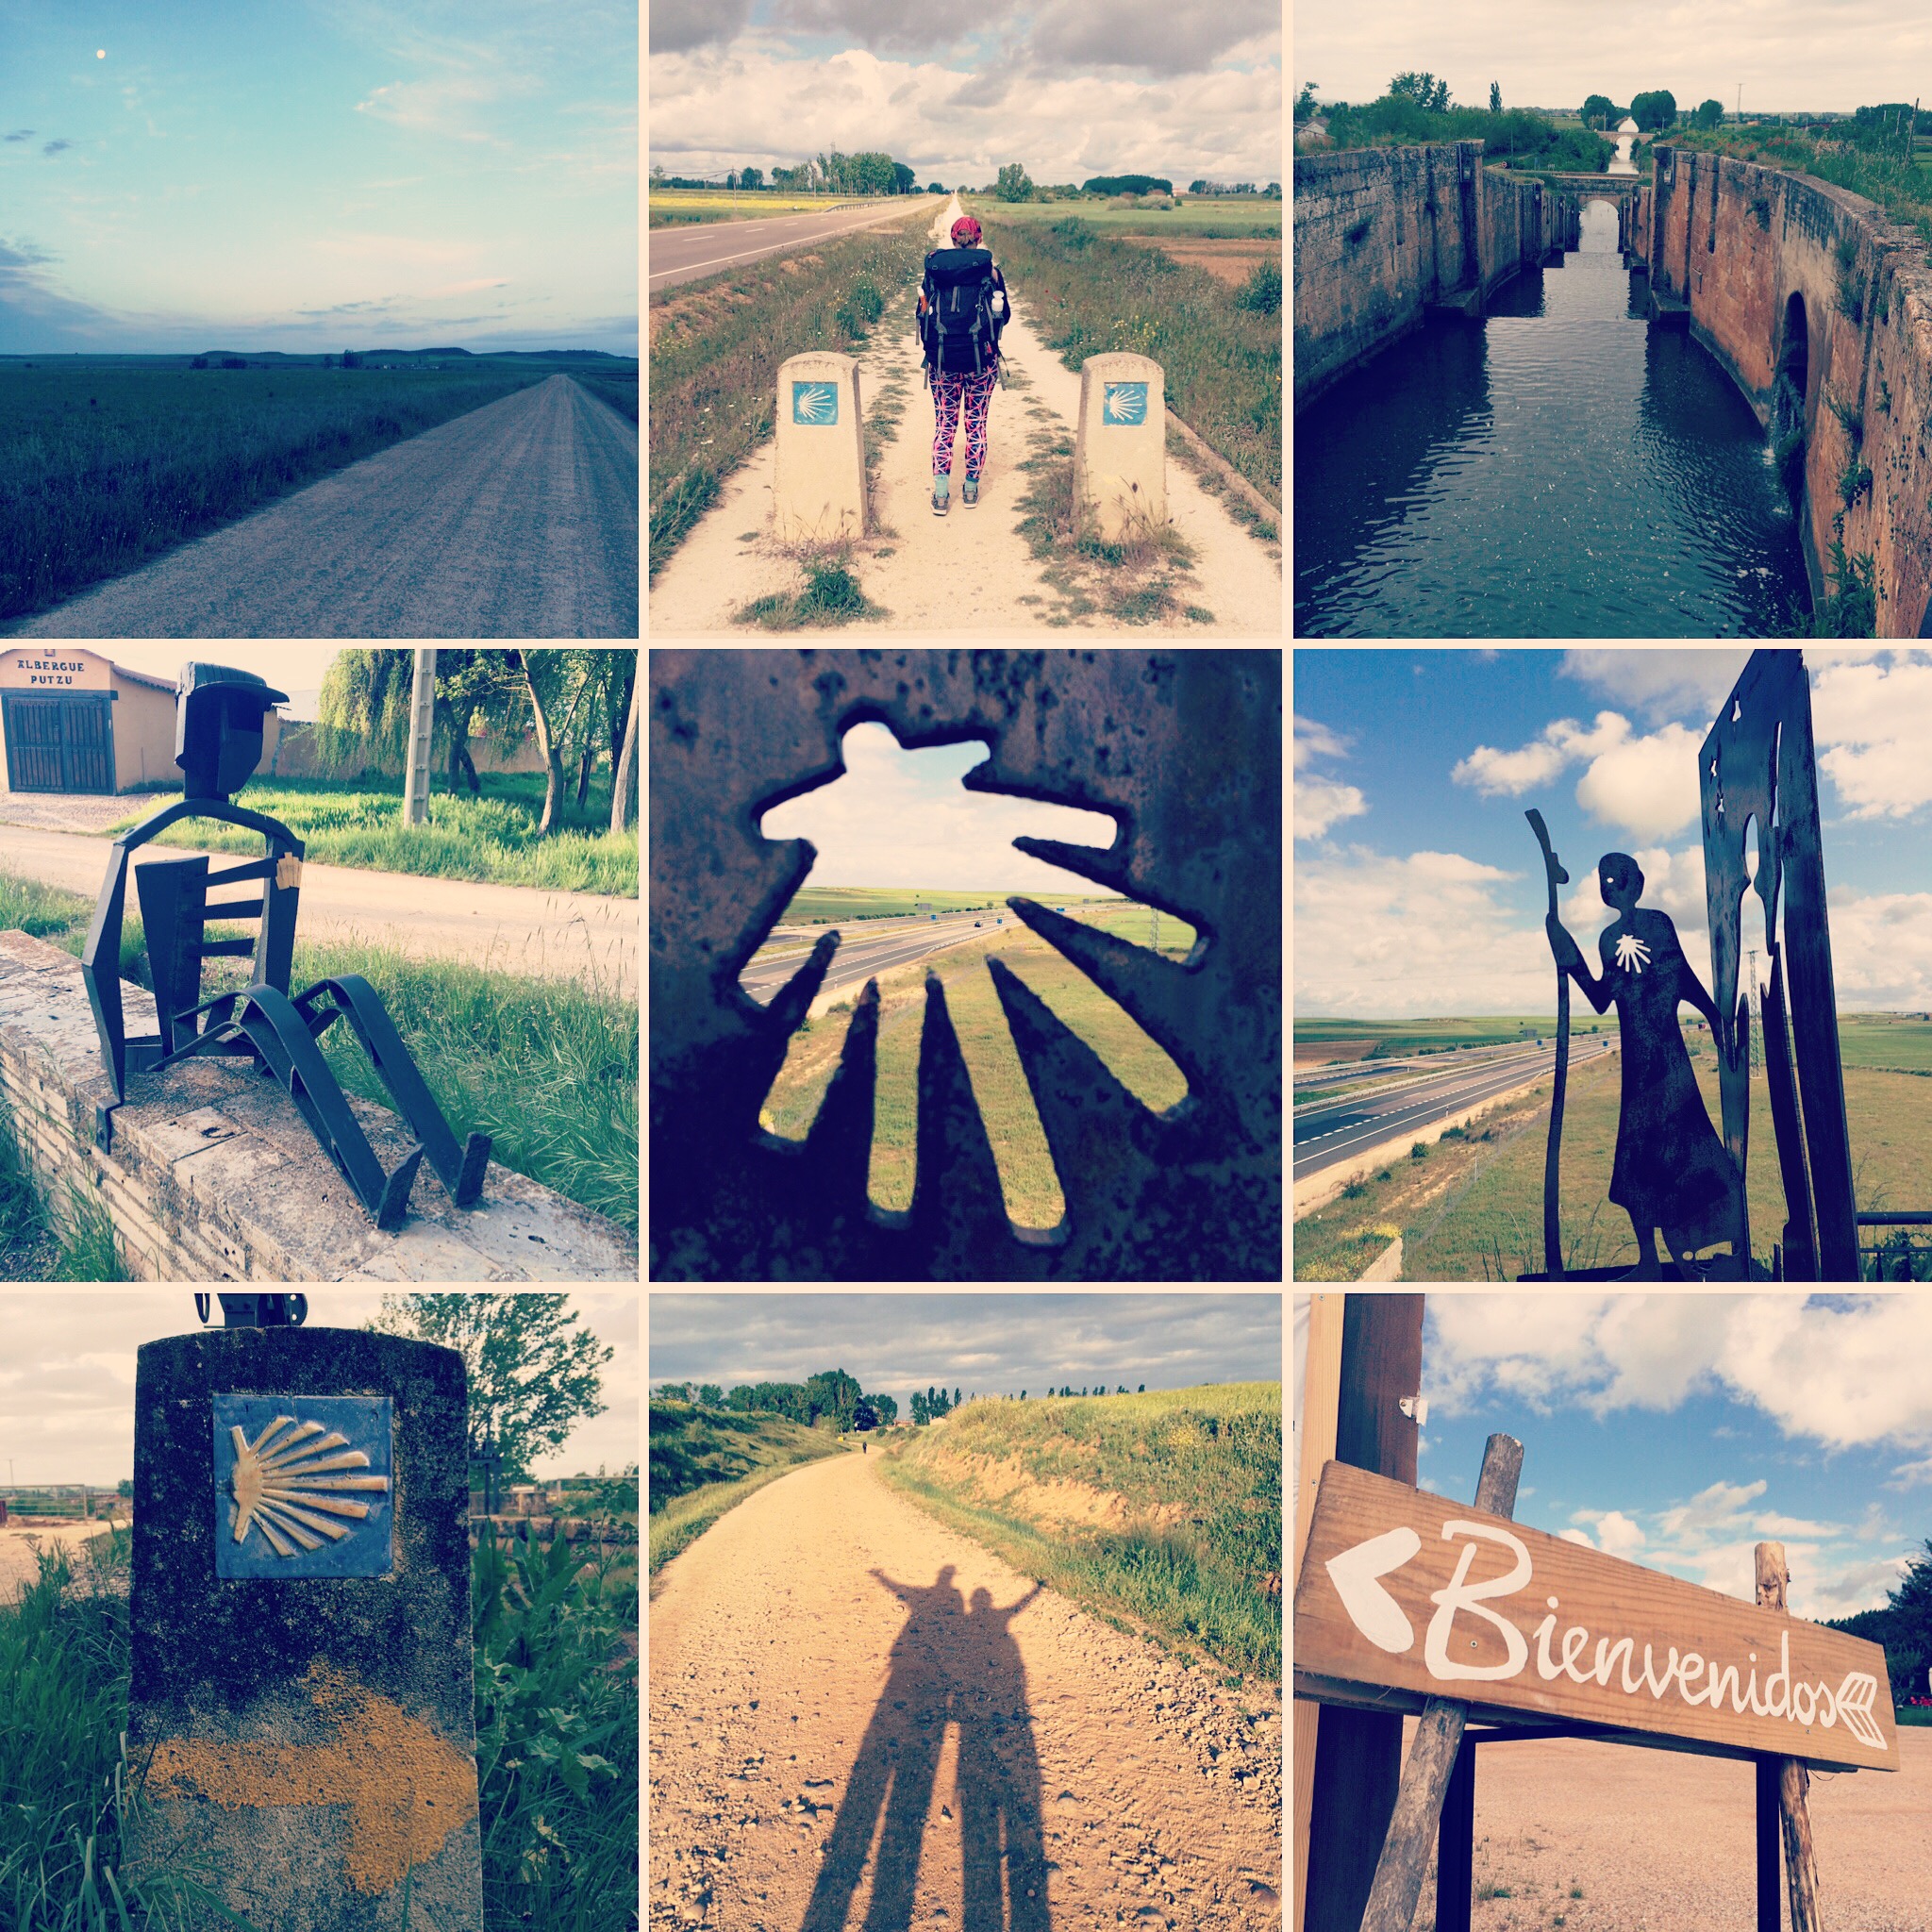
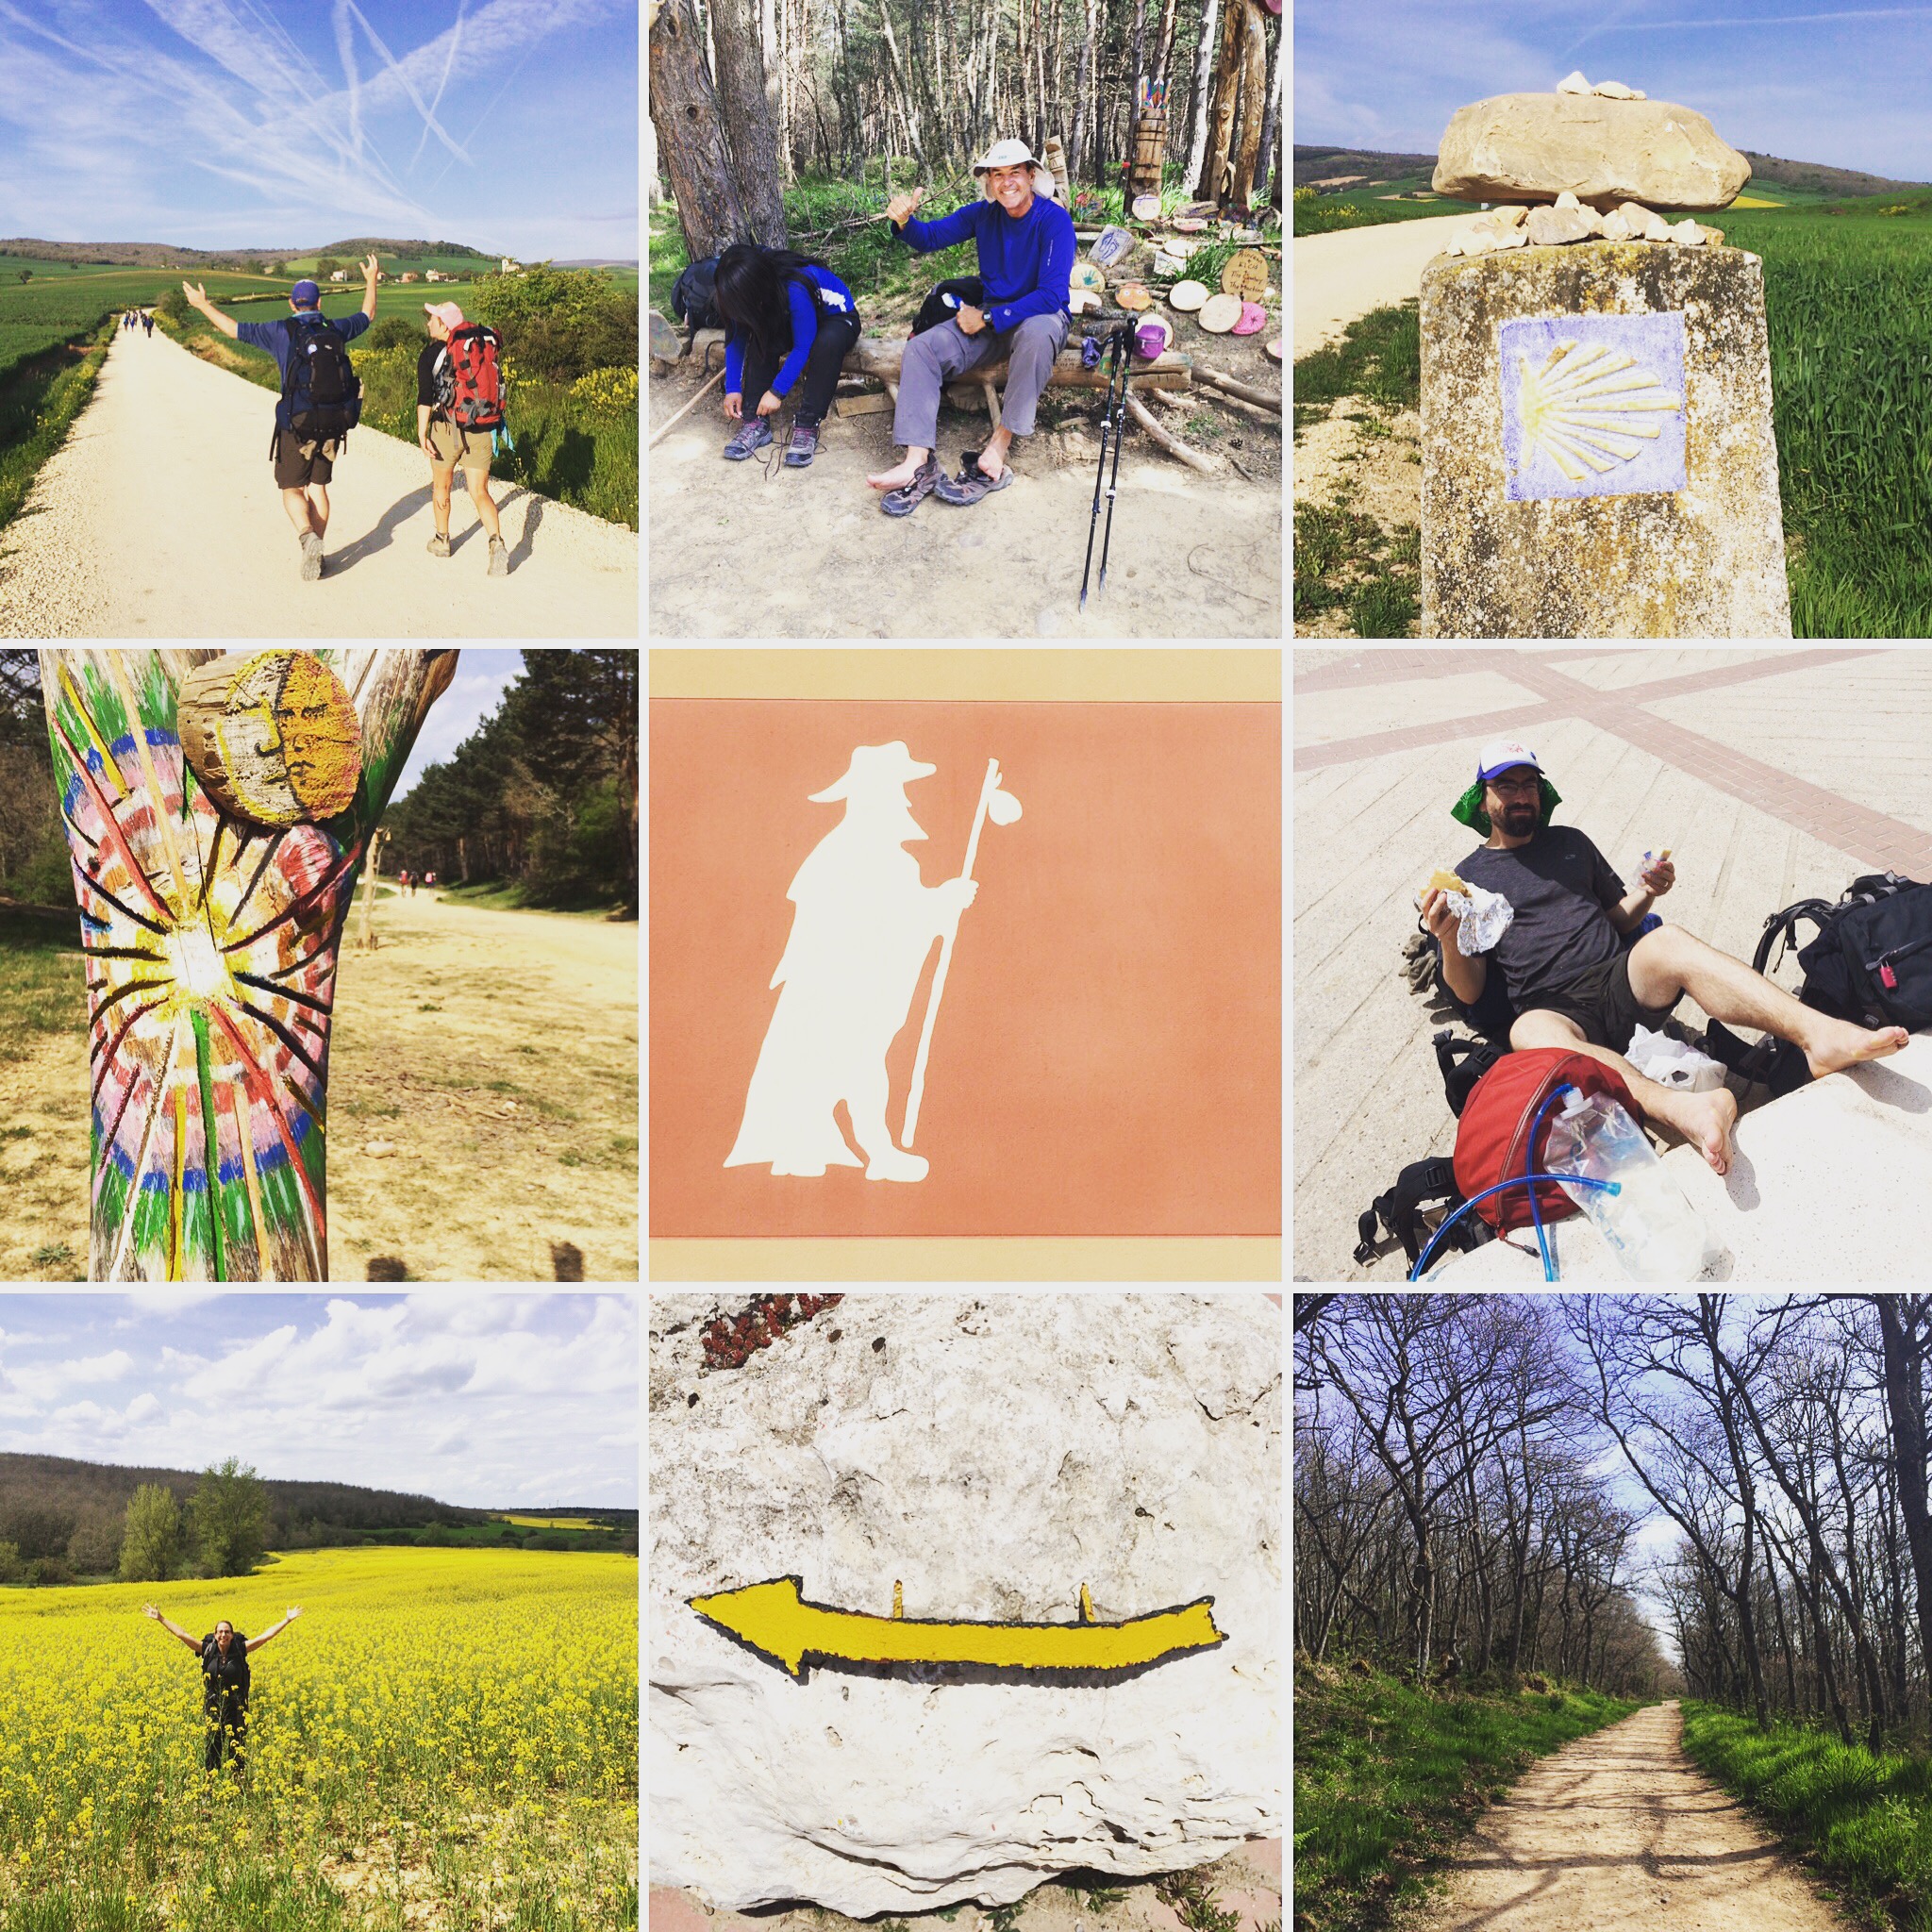
The Trail
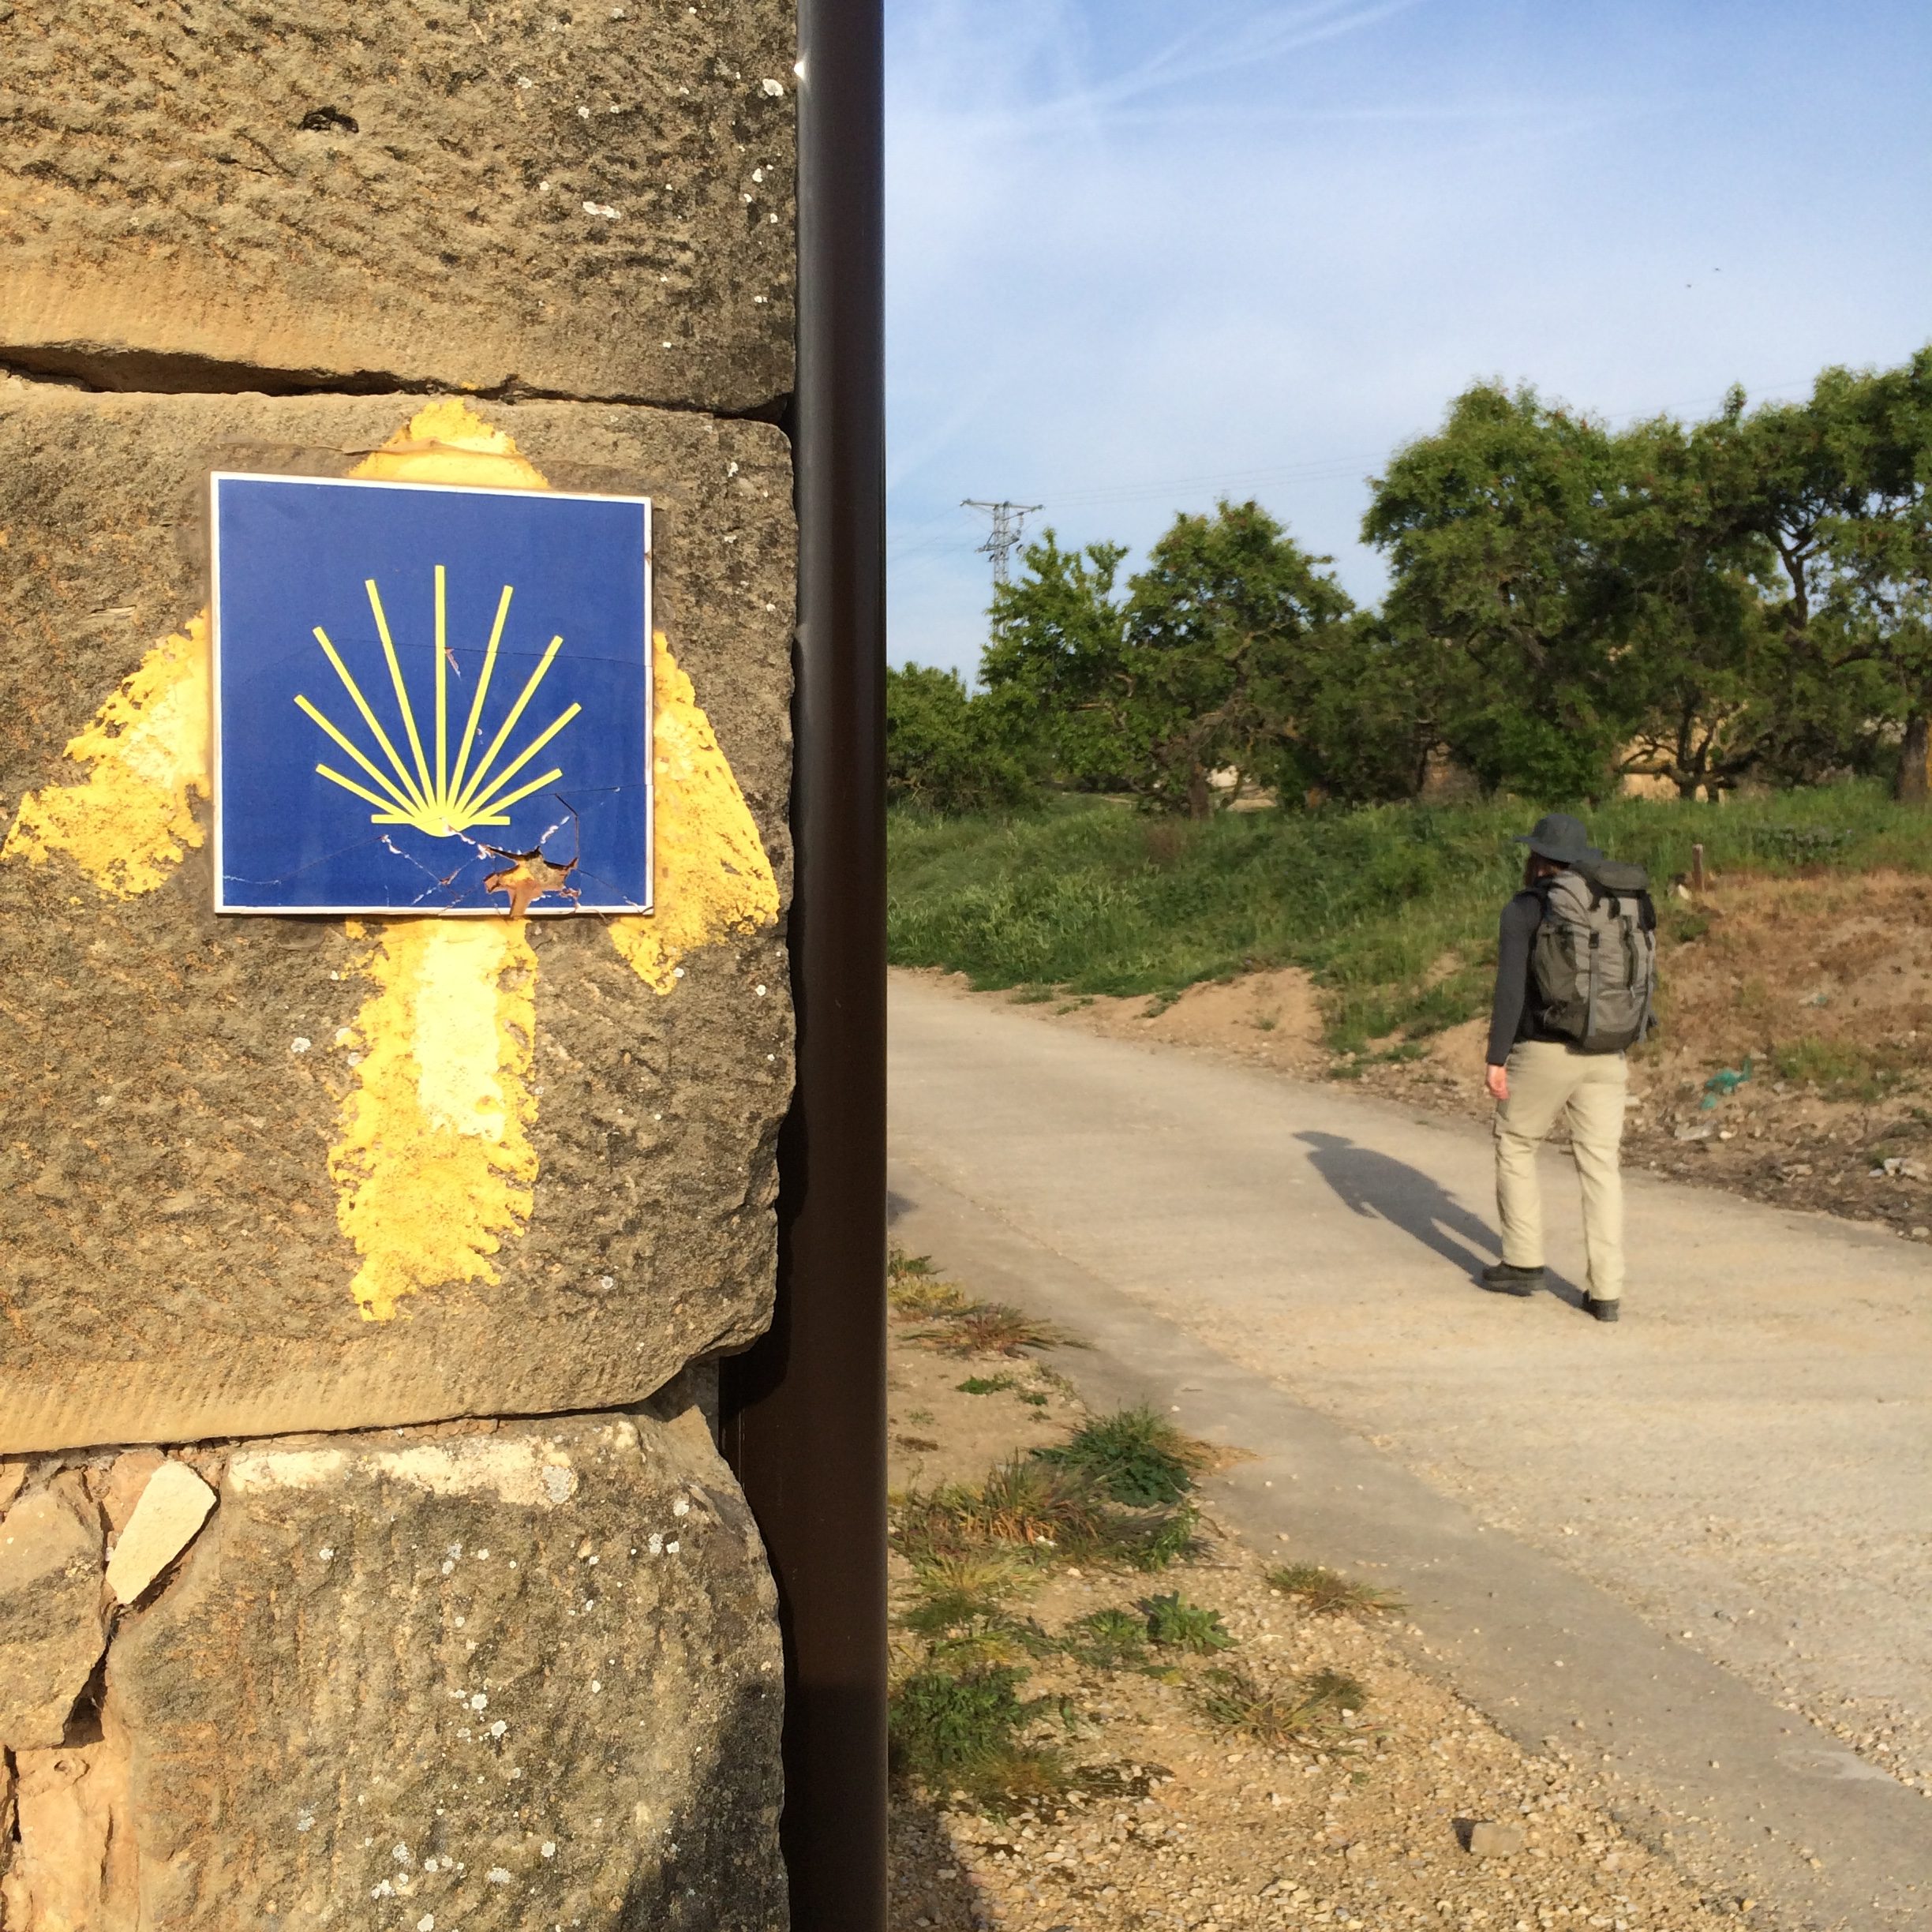
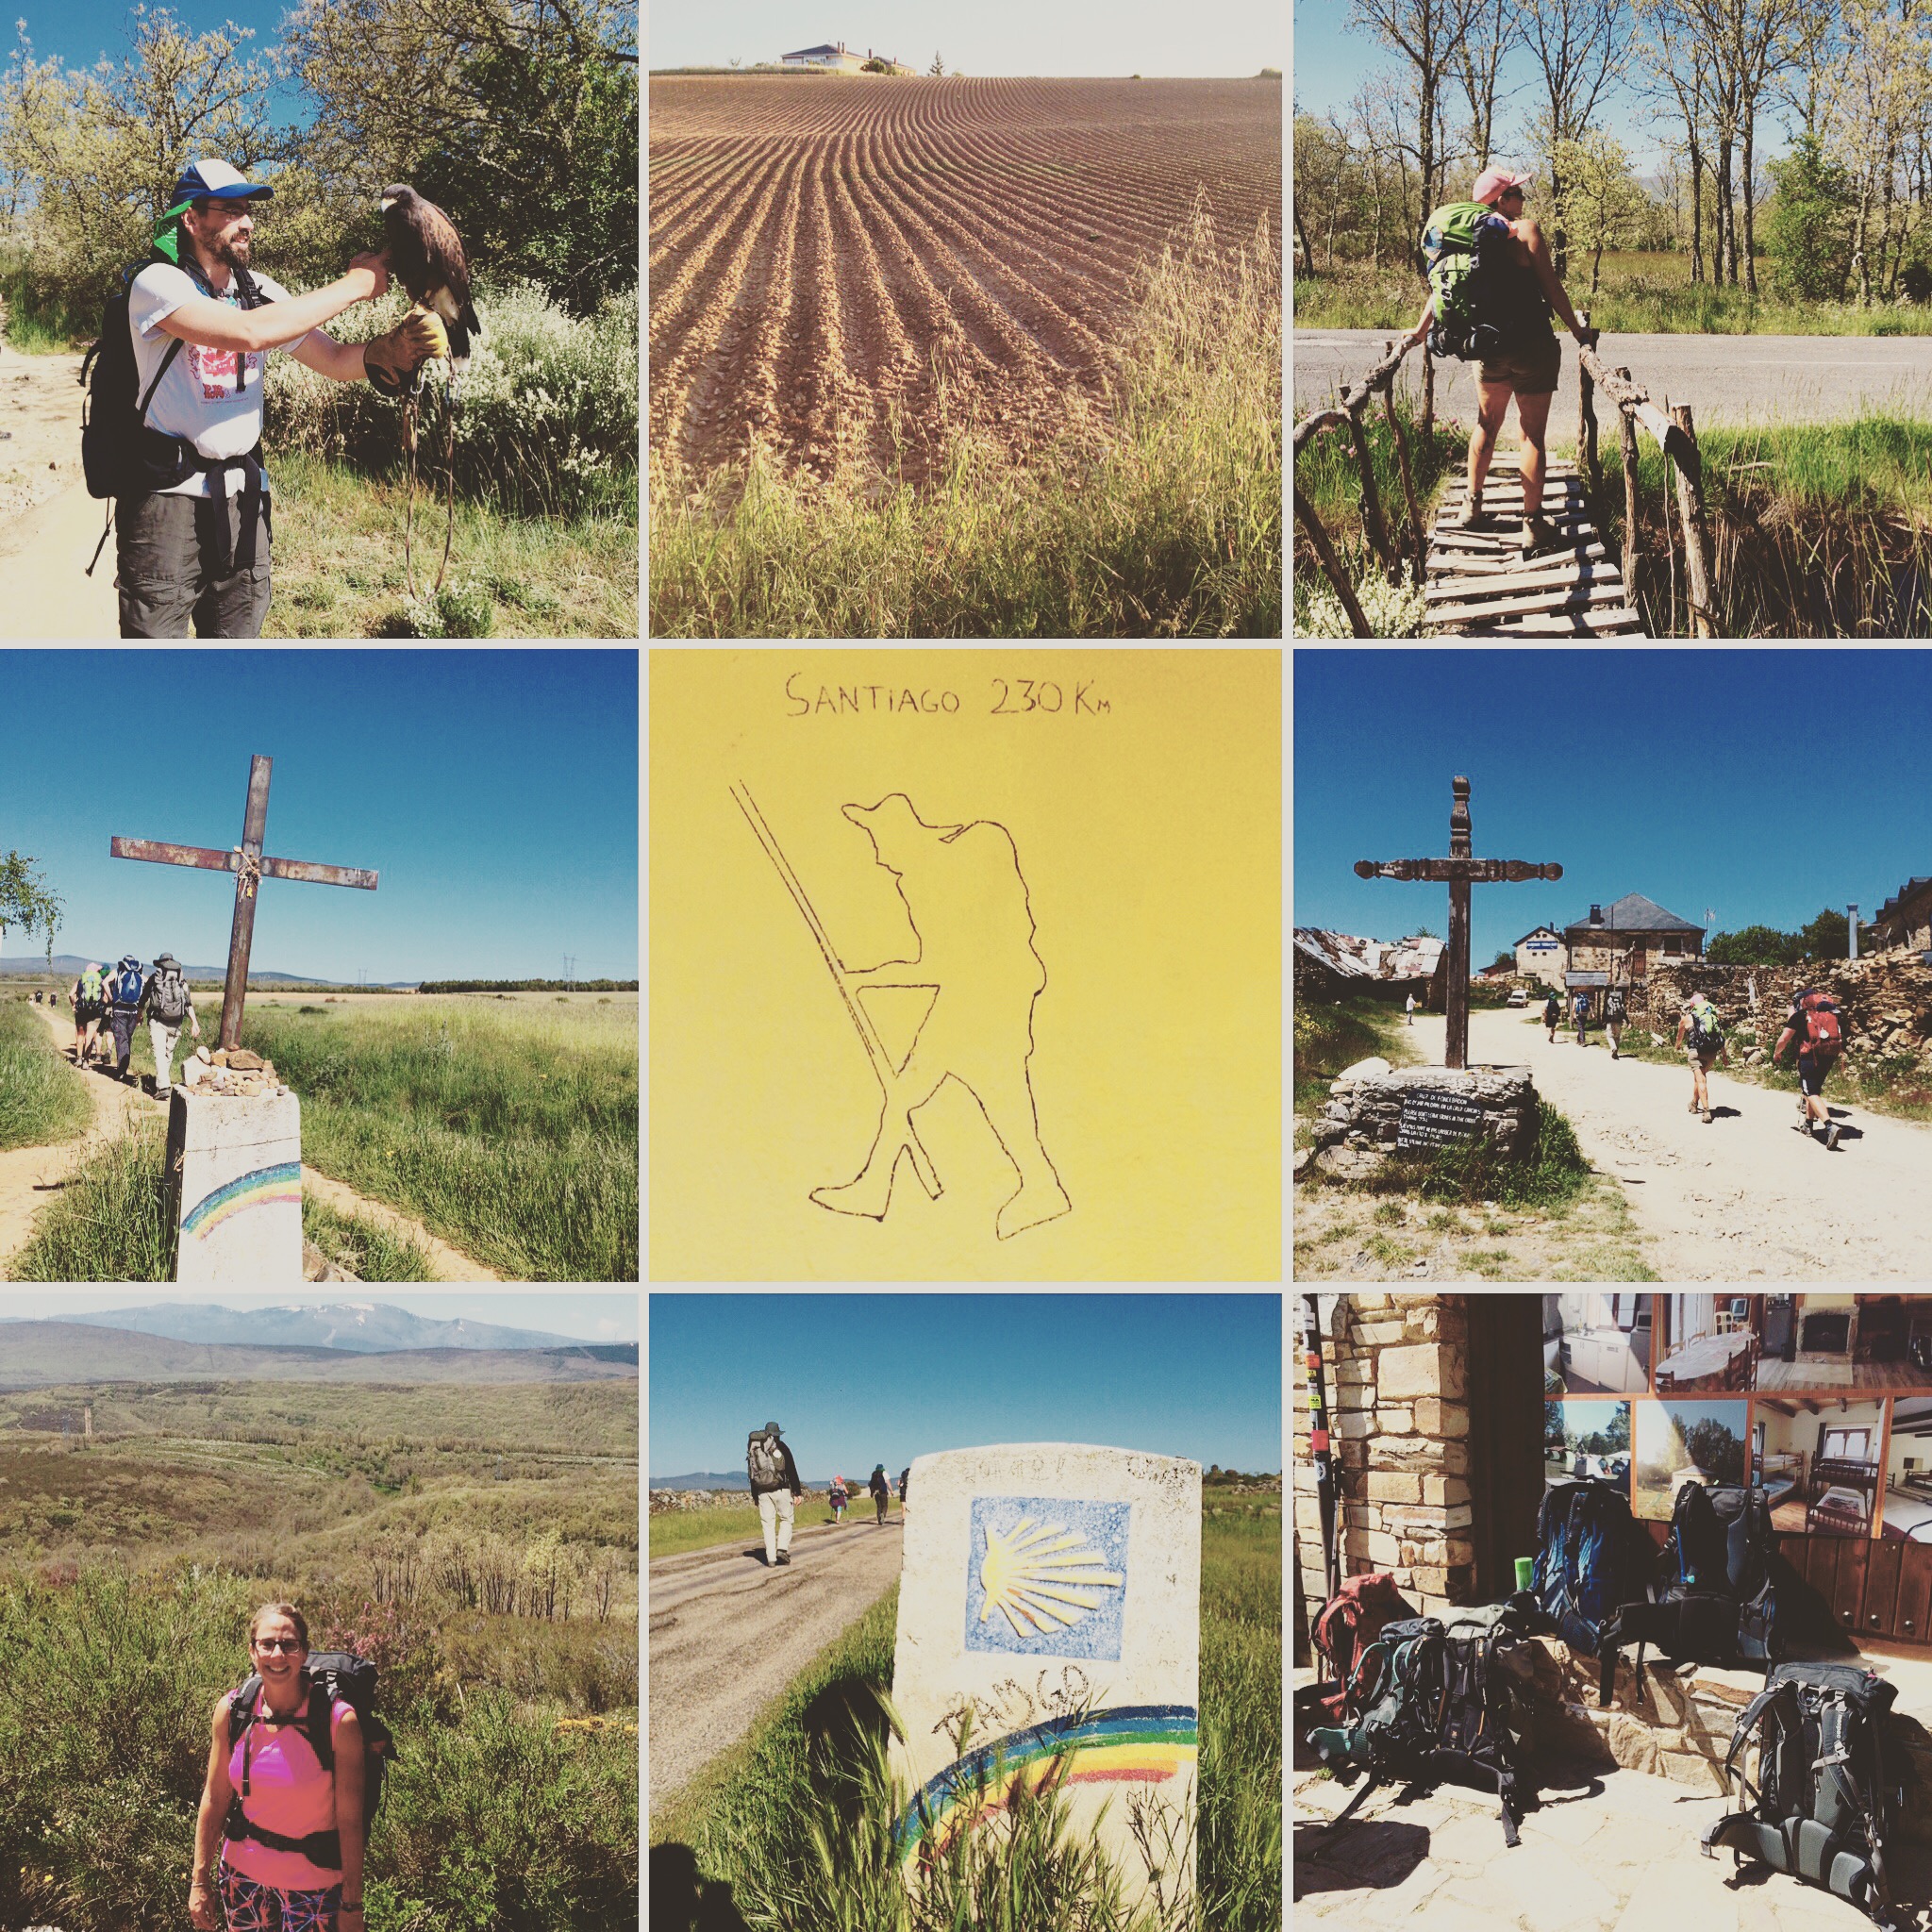
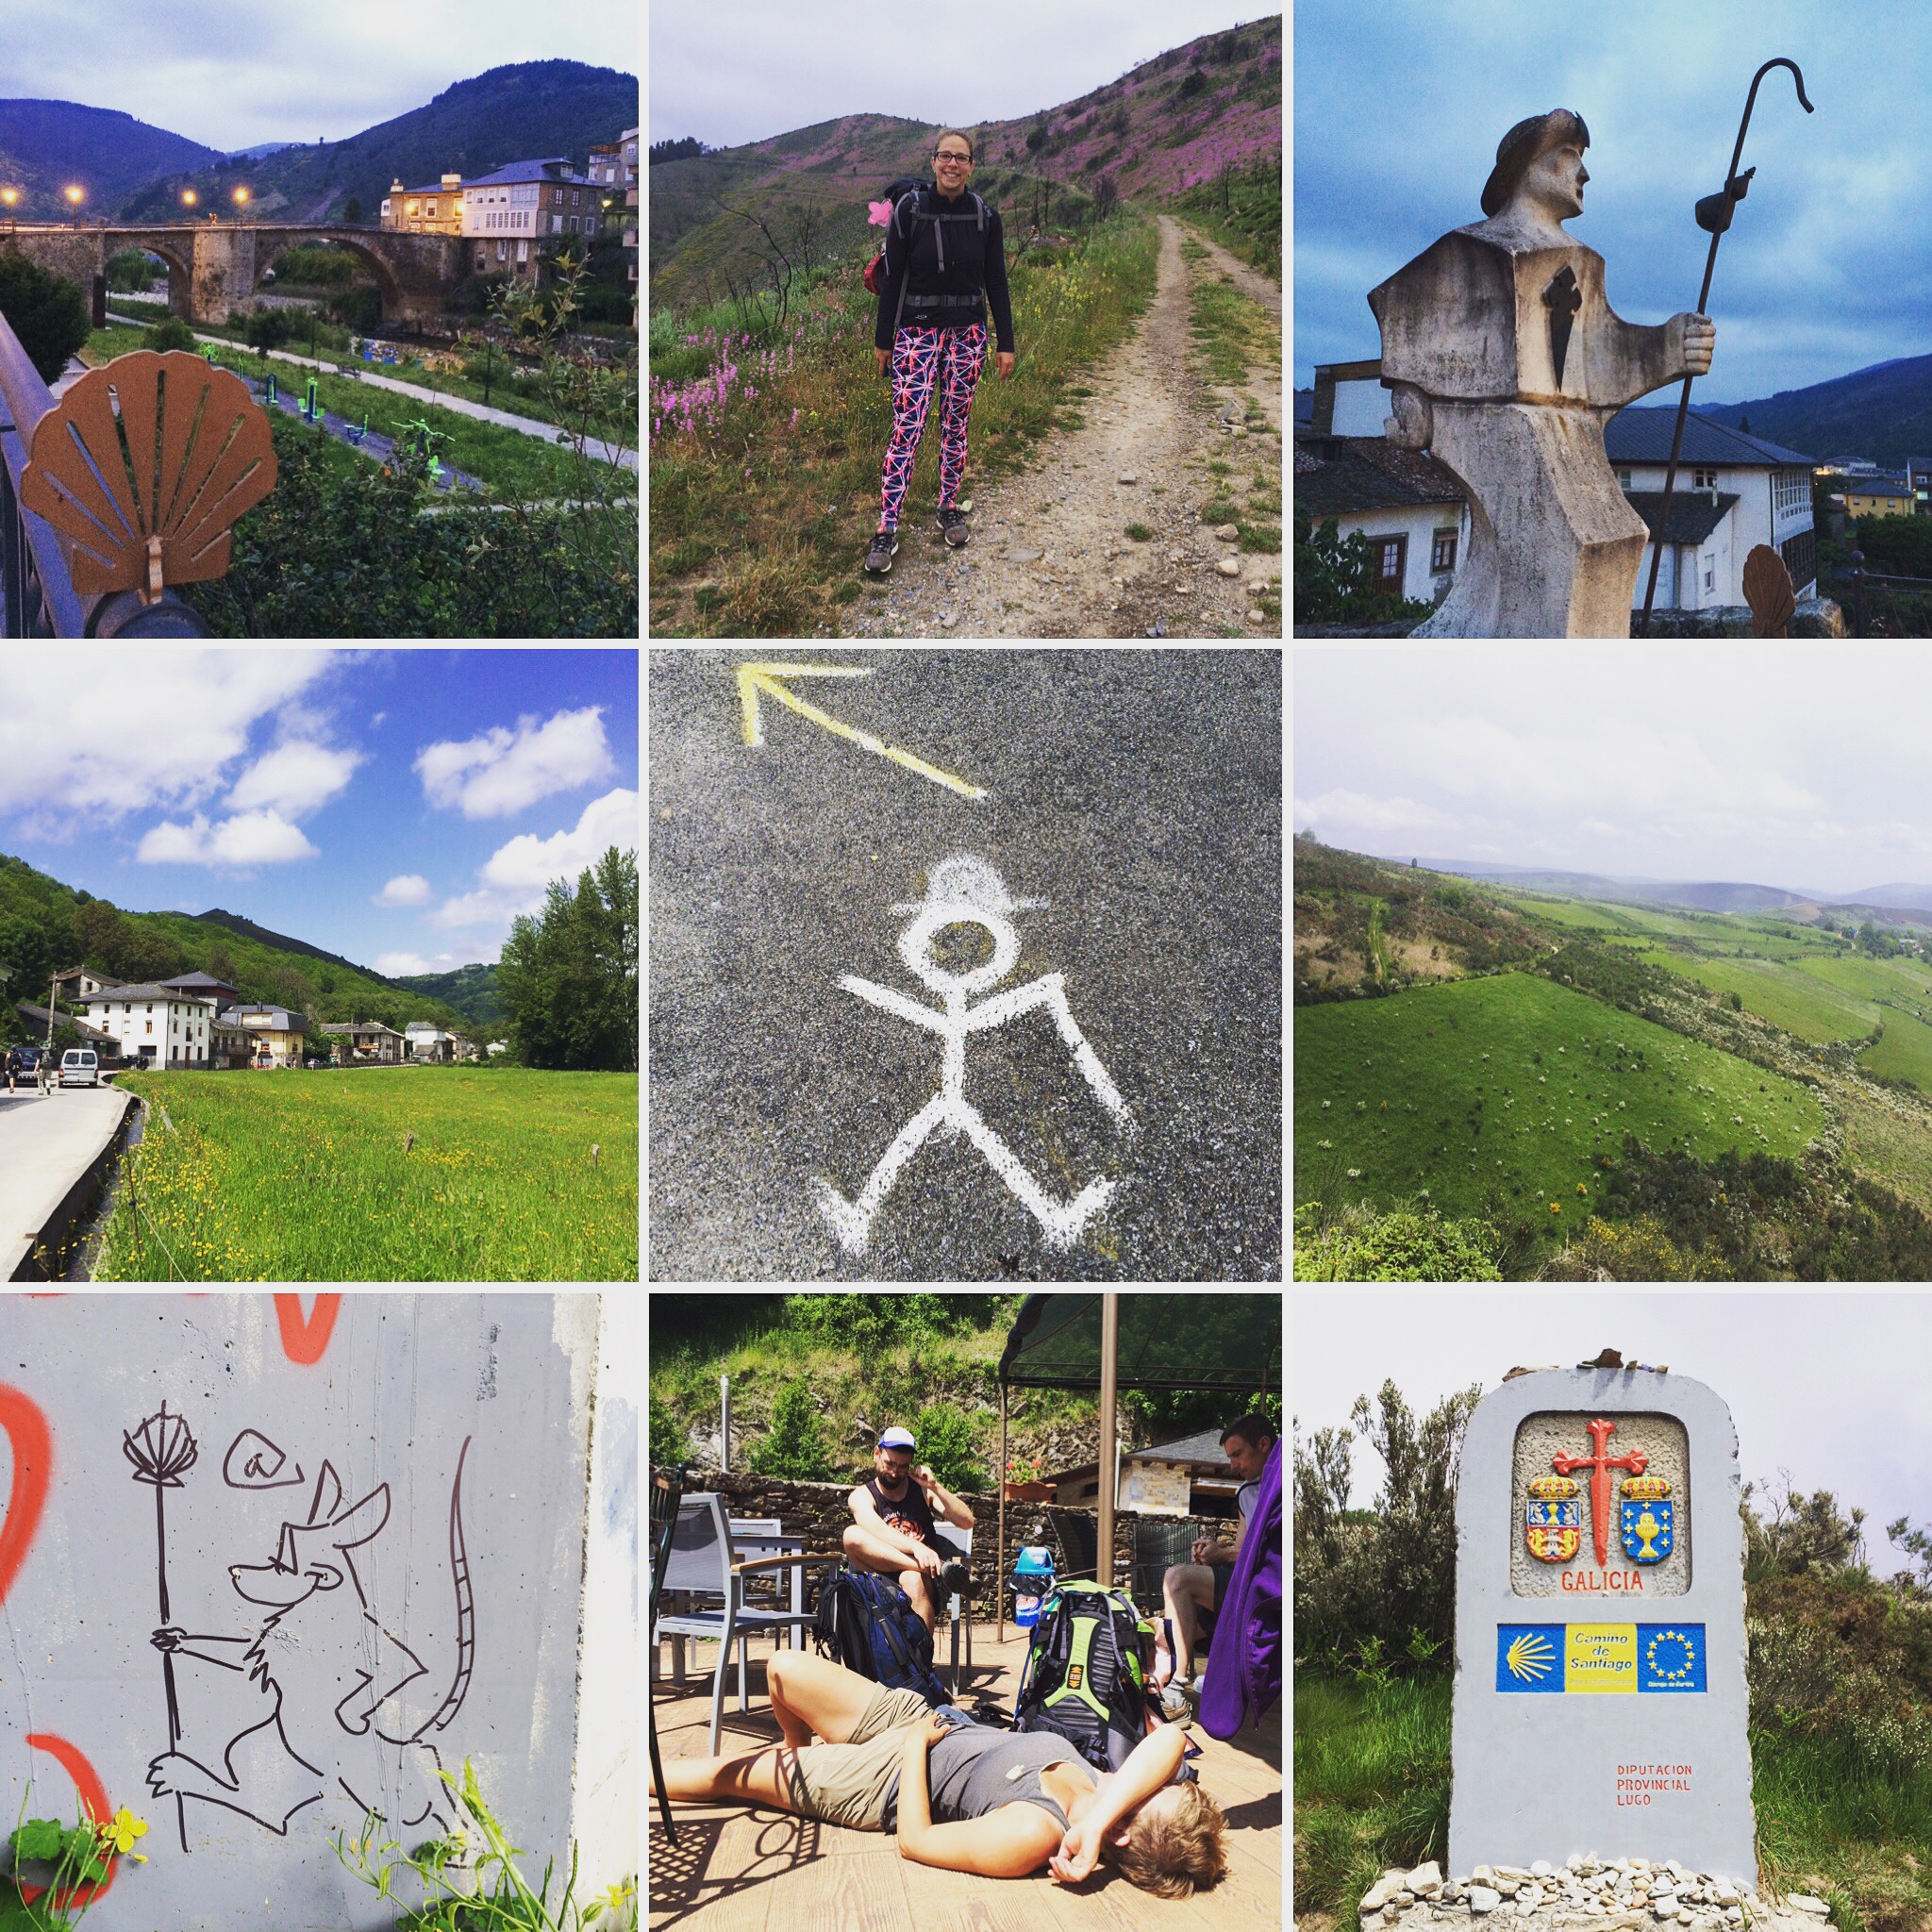
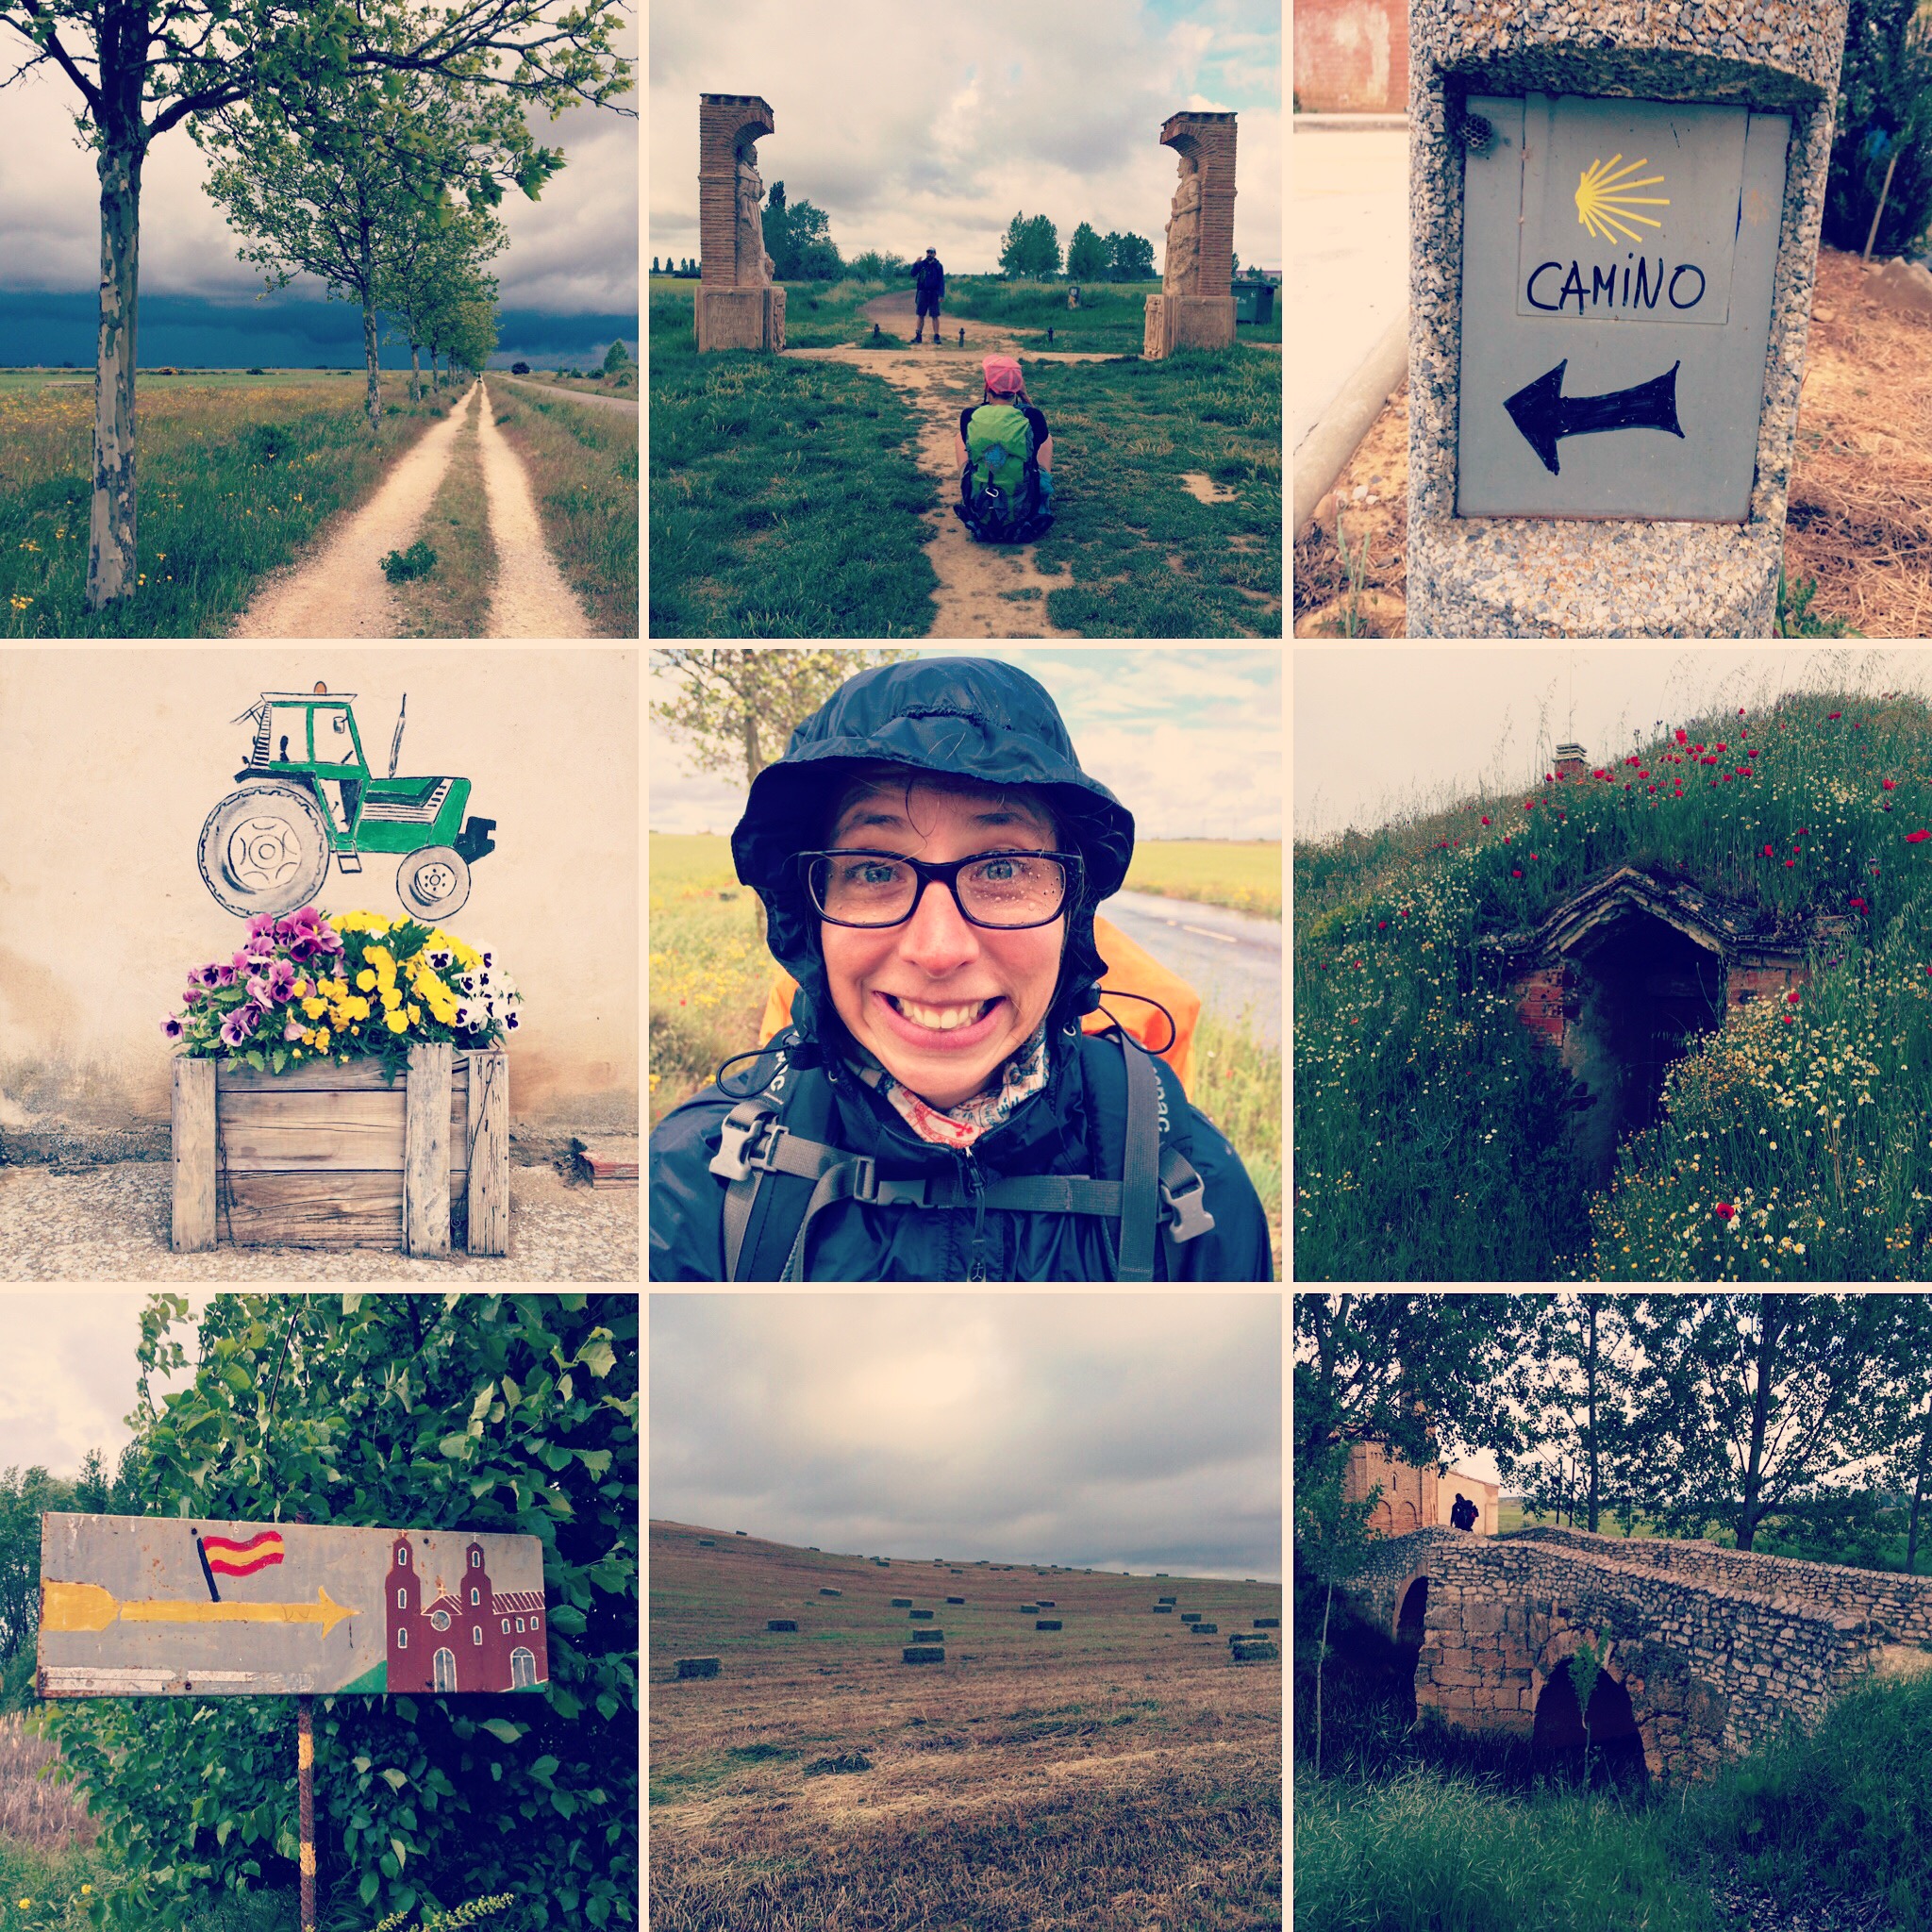
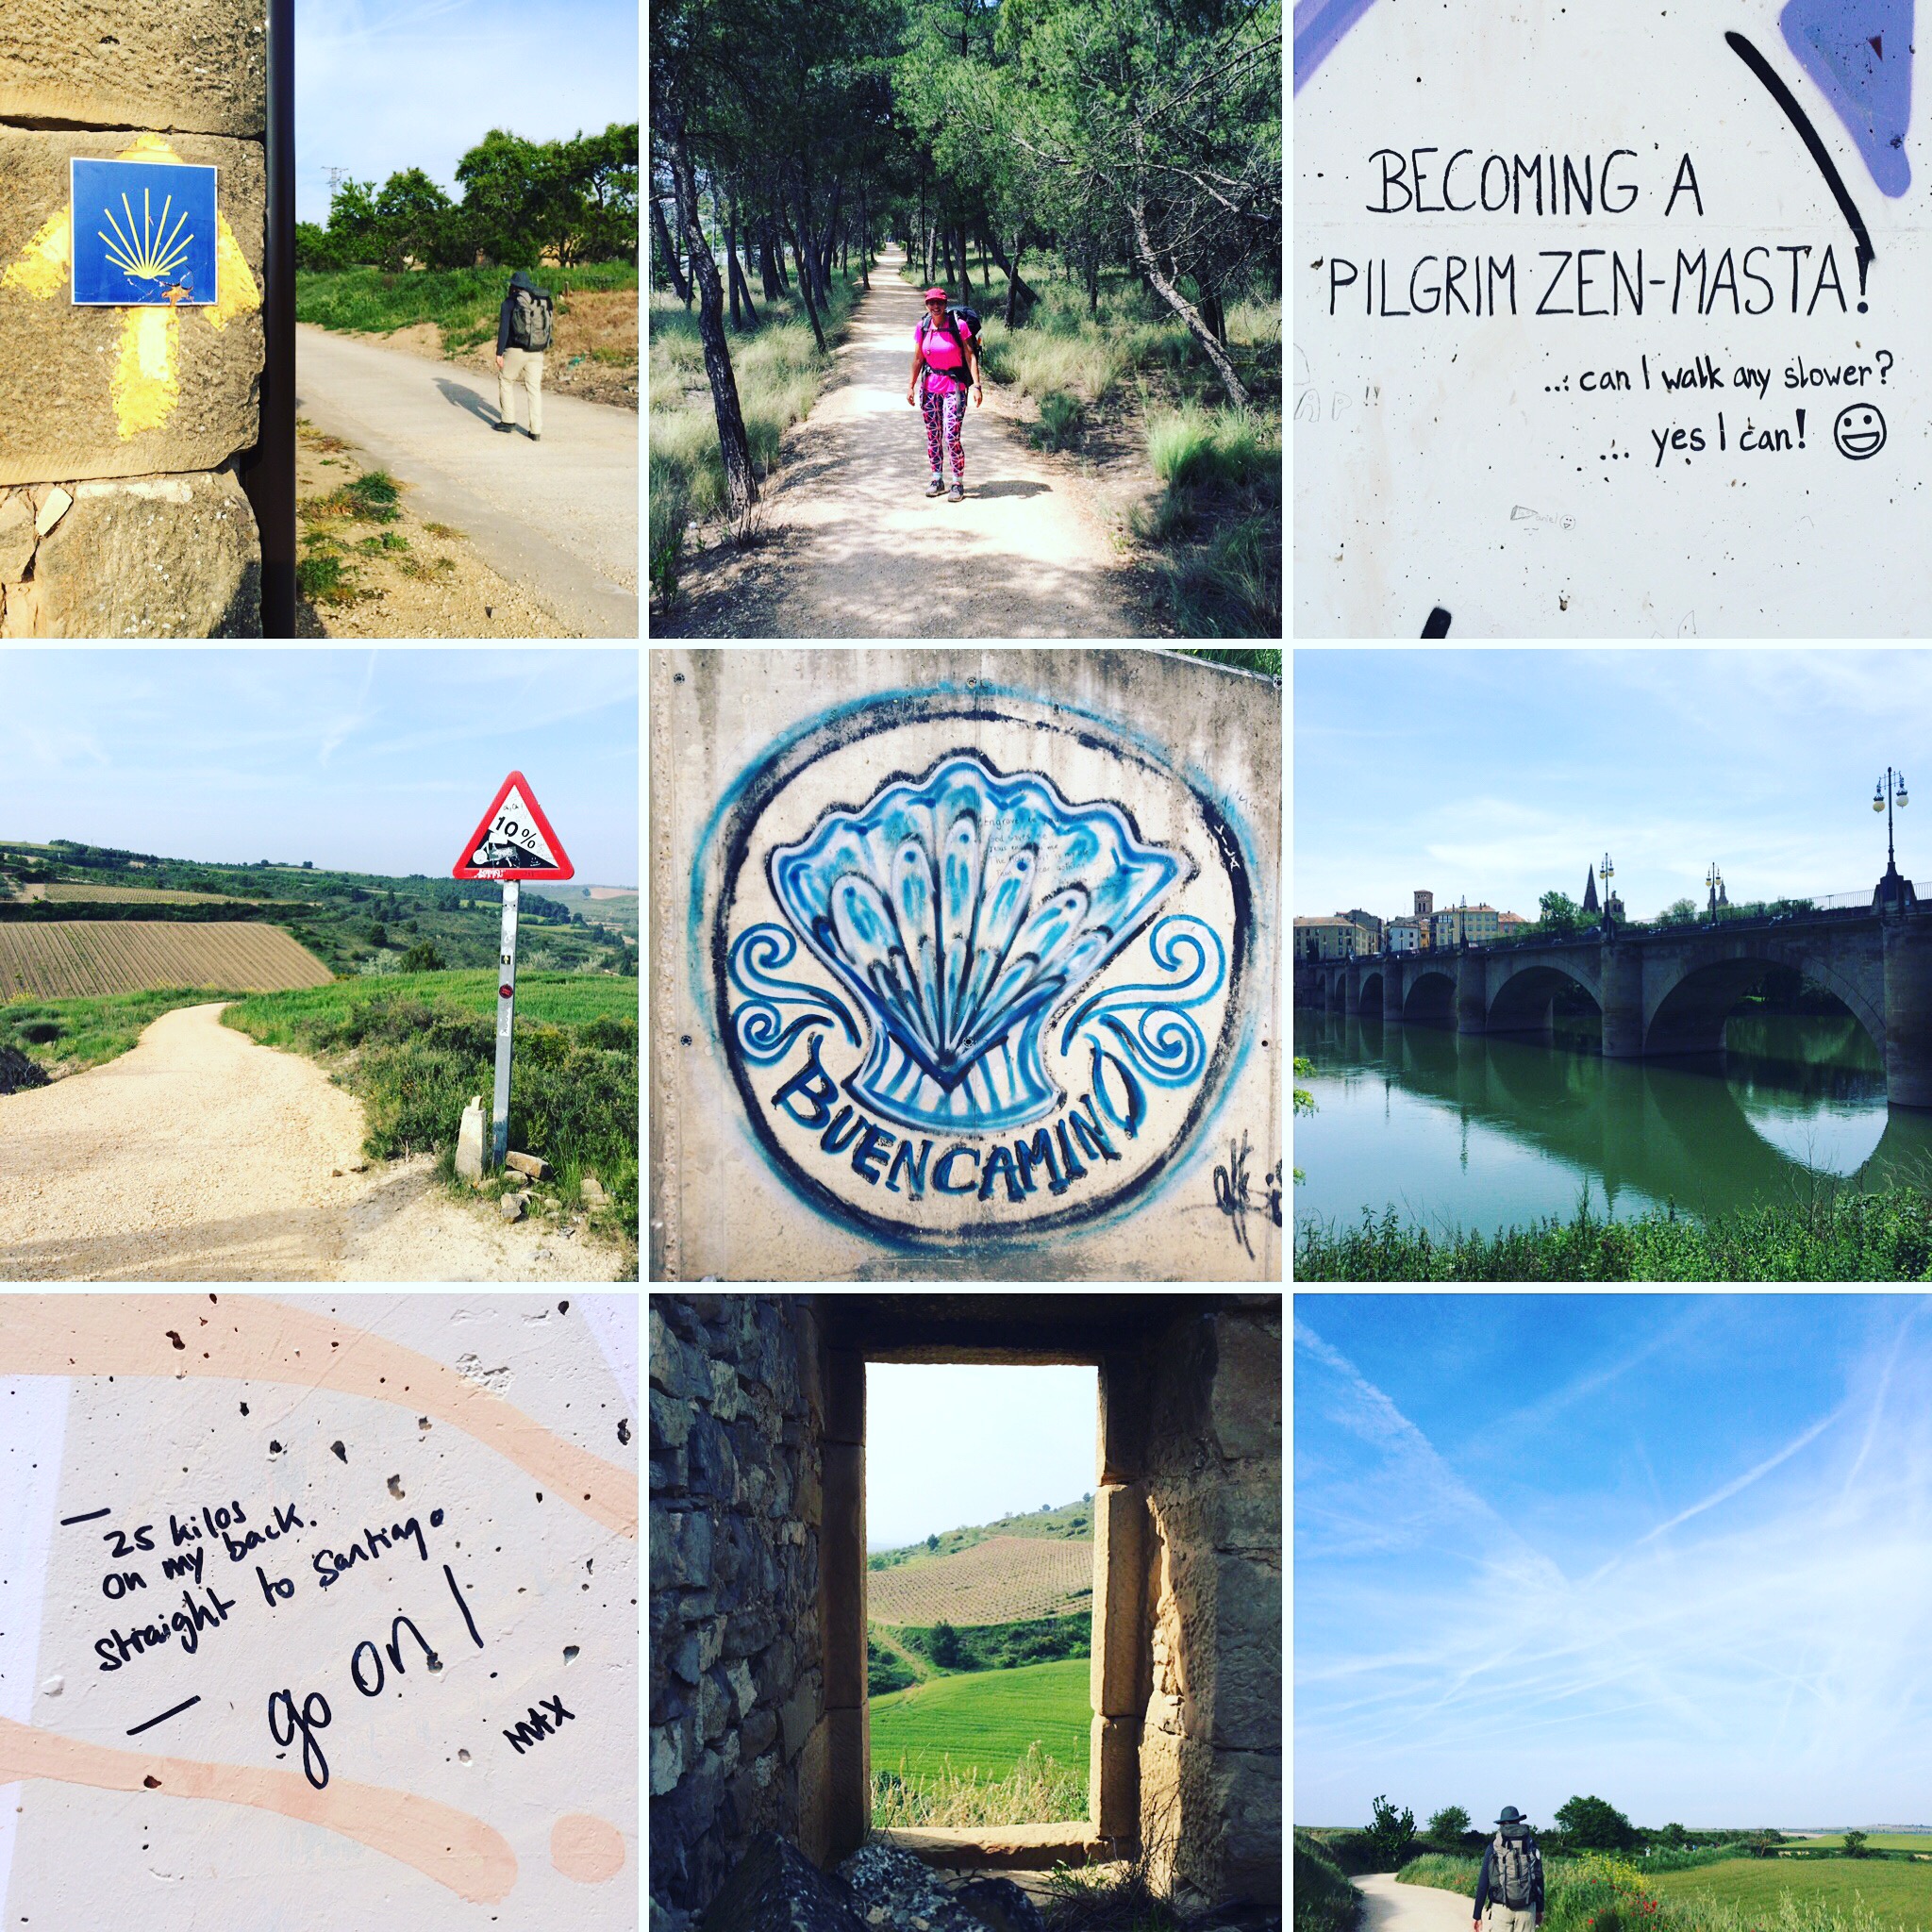
The entire camino is well marked with scallop shells and yellow arrows and sometimes distance markers, but there are a couple of things for me to point out.
Let me start with the distance markers. Within the space of 200 metres you could be told you are 610km from Santiago or 580km. Perhaps in Galicia they are believable, but everywhere else, don’t pay them much attention. Your guidebook, app or website will have a more accurate indication, though even they can vary up to a few kilometres.
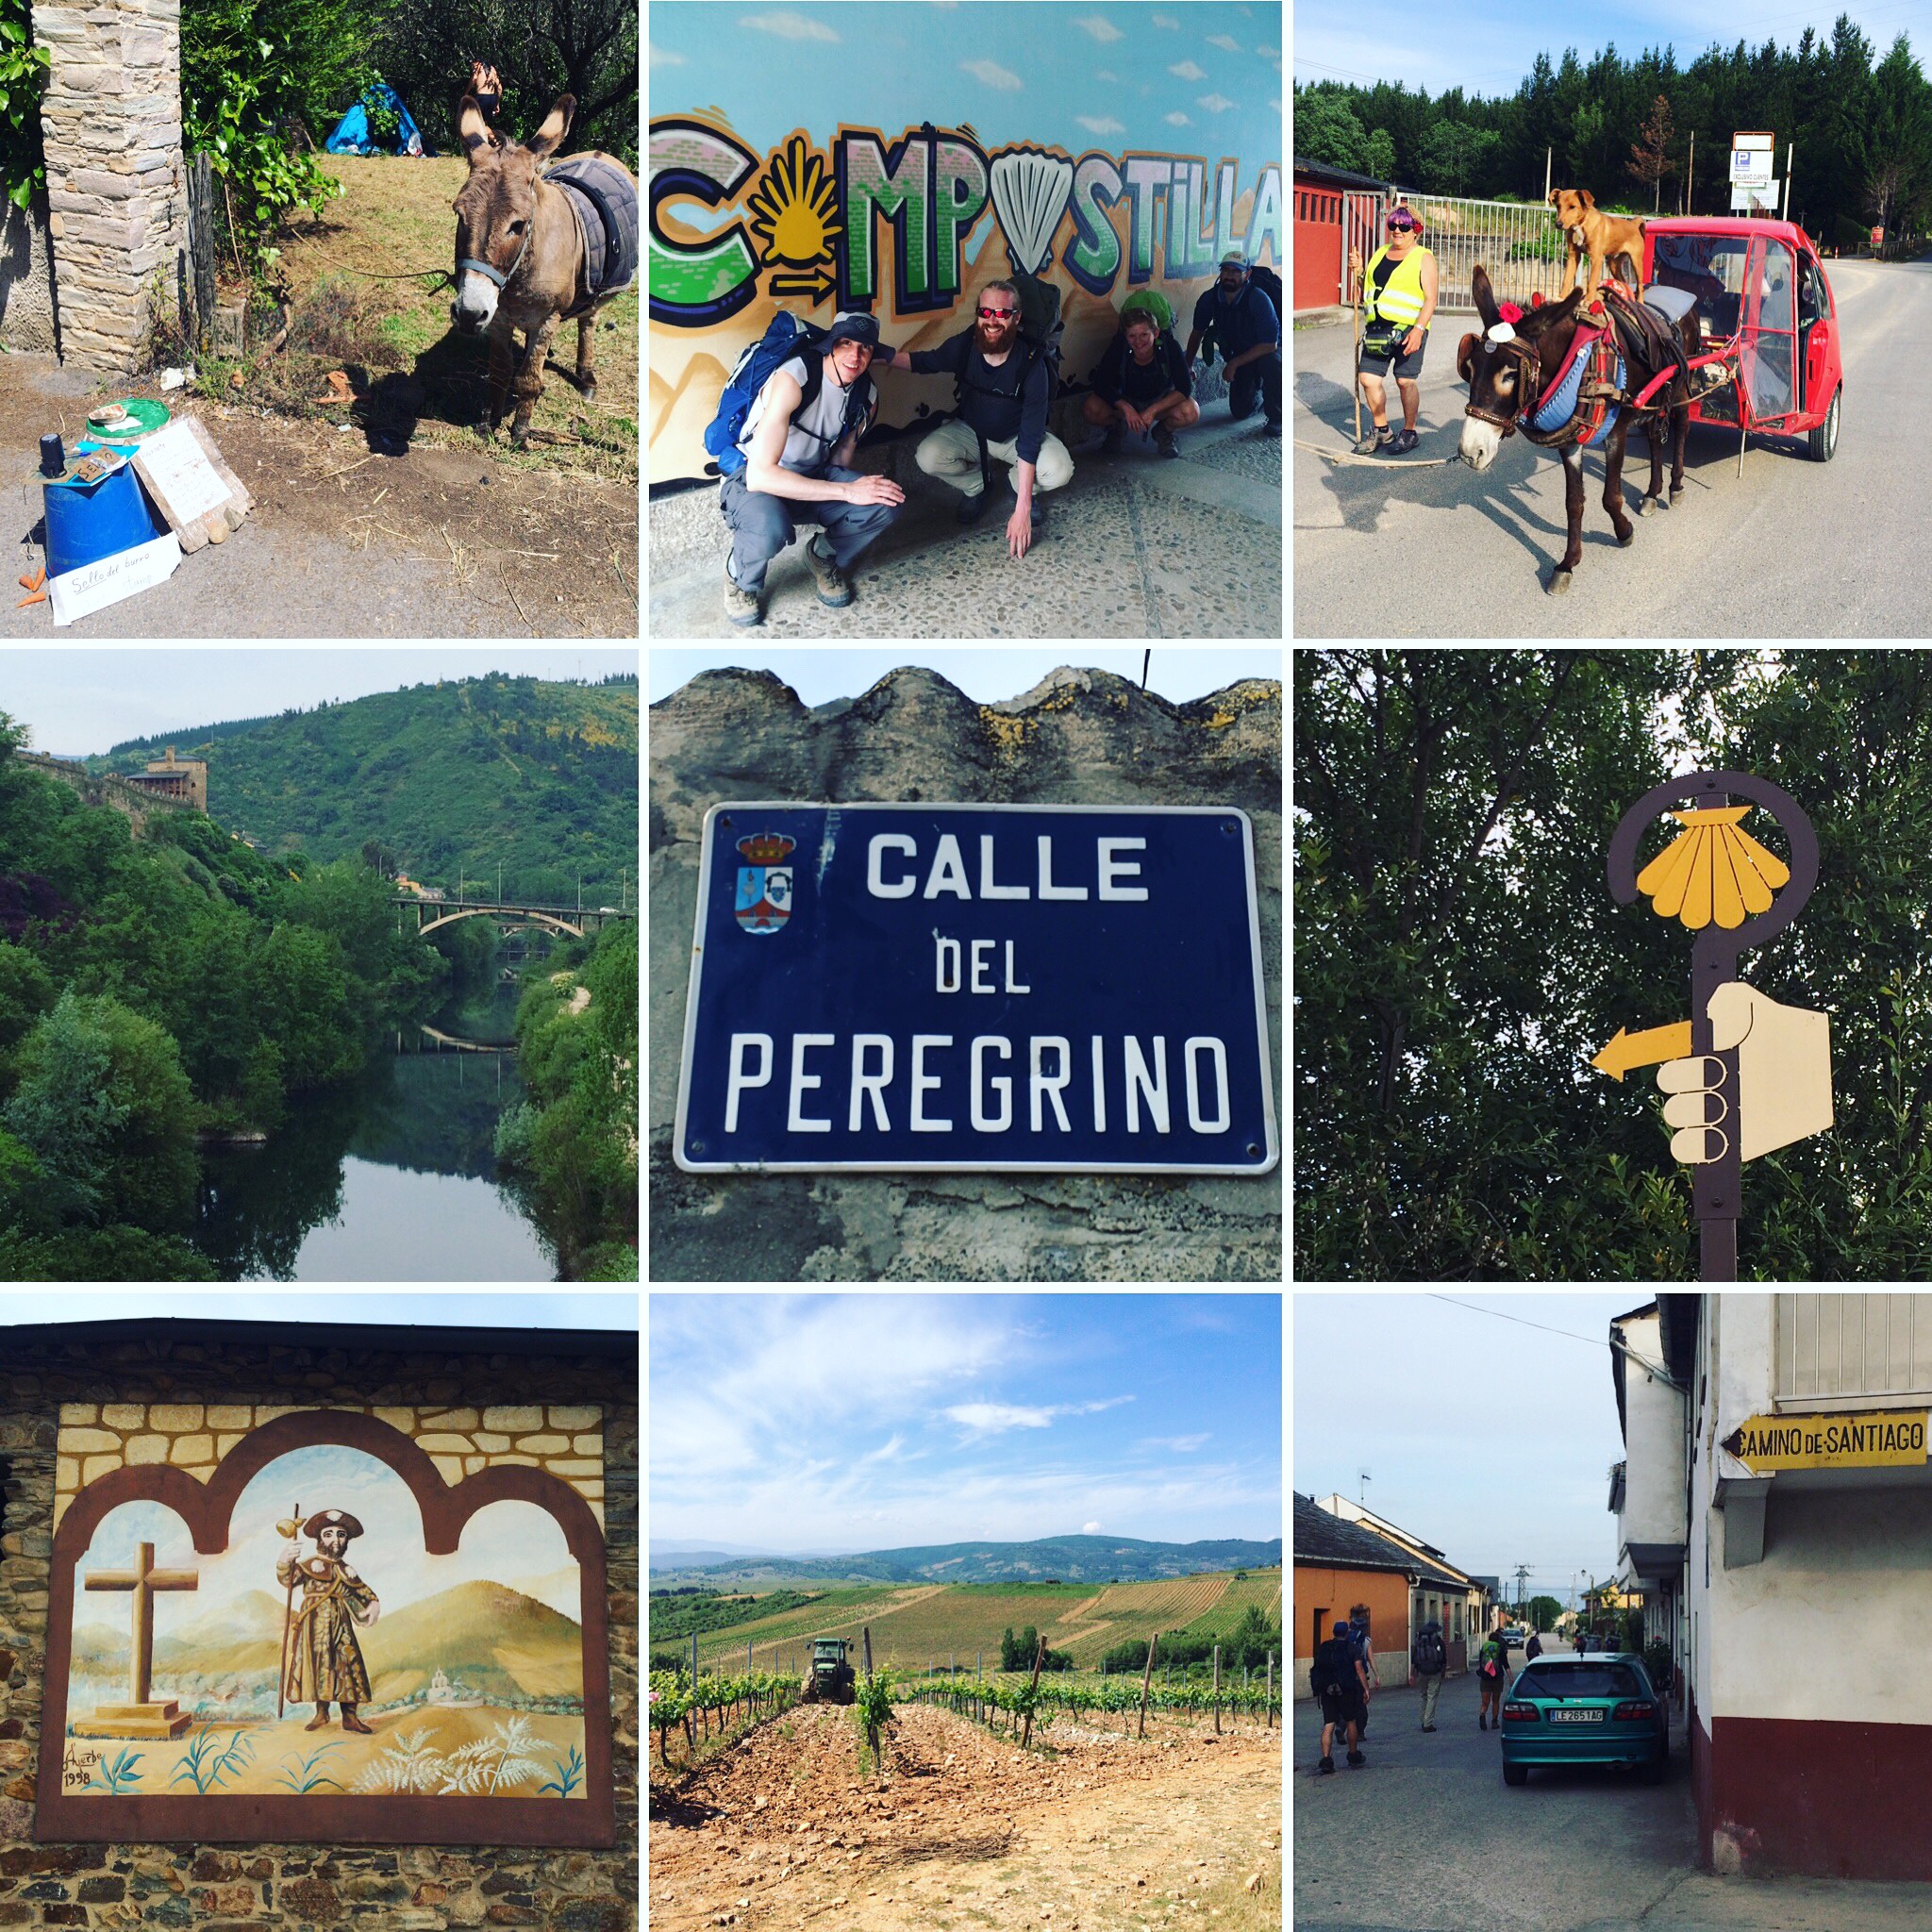
Out on the open trail, it is really easy to find all the trail markers and particularly challenging to get lost. Within cities or towns it is sometimes a different story. Some cities do a great job of it and others less so. You need to be vigilant in looking for markers. Sometimes the yellow arrows are on the curb of the road, side of buildings or painted on the ground. Shells can also be on the ground on walls or on signs. If you aren’t sure if you are on the right trail, locals will typically point you in the right direction.
Do be careful though, sometimes albergues also use yellow arrows to get you to their doorstep, and it is often challenging to know which ones are the trail and which are for the albergue.
In regards to the arrows and trail markers, it is surprising how quickly you assimilate to the simplicity of following an arrow. Equally surprising is how disconcerting it is when you can’t find one and aren’t sure where to go.
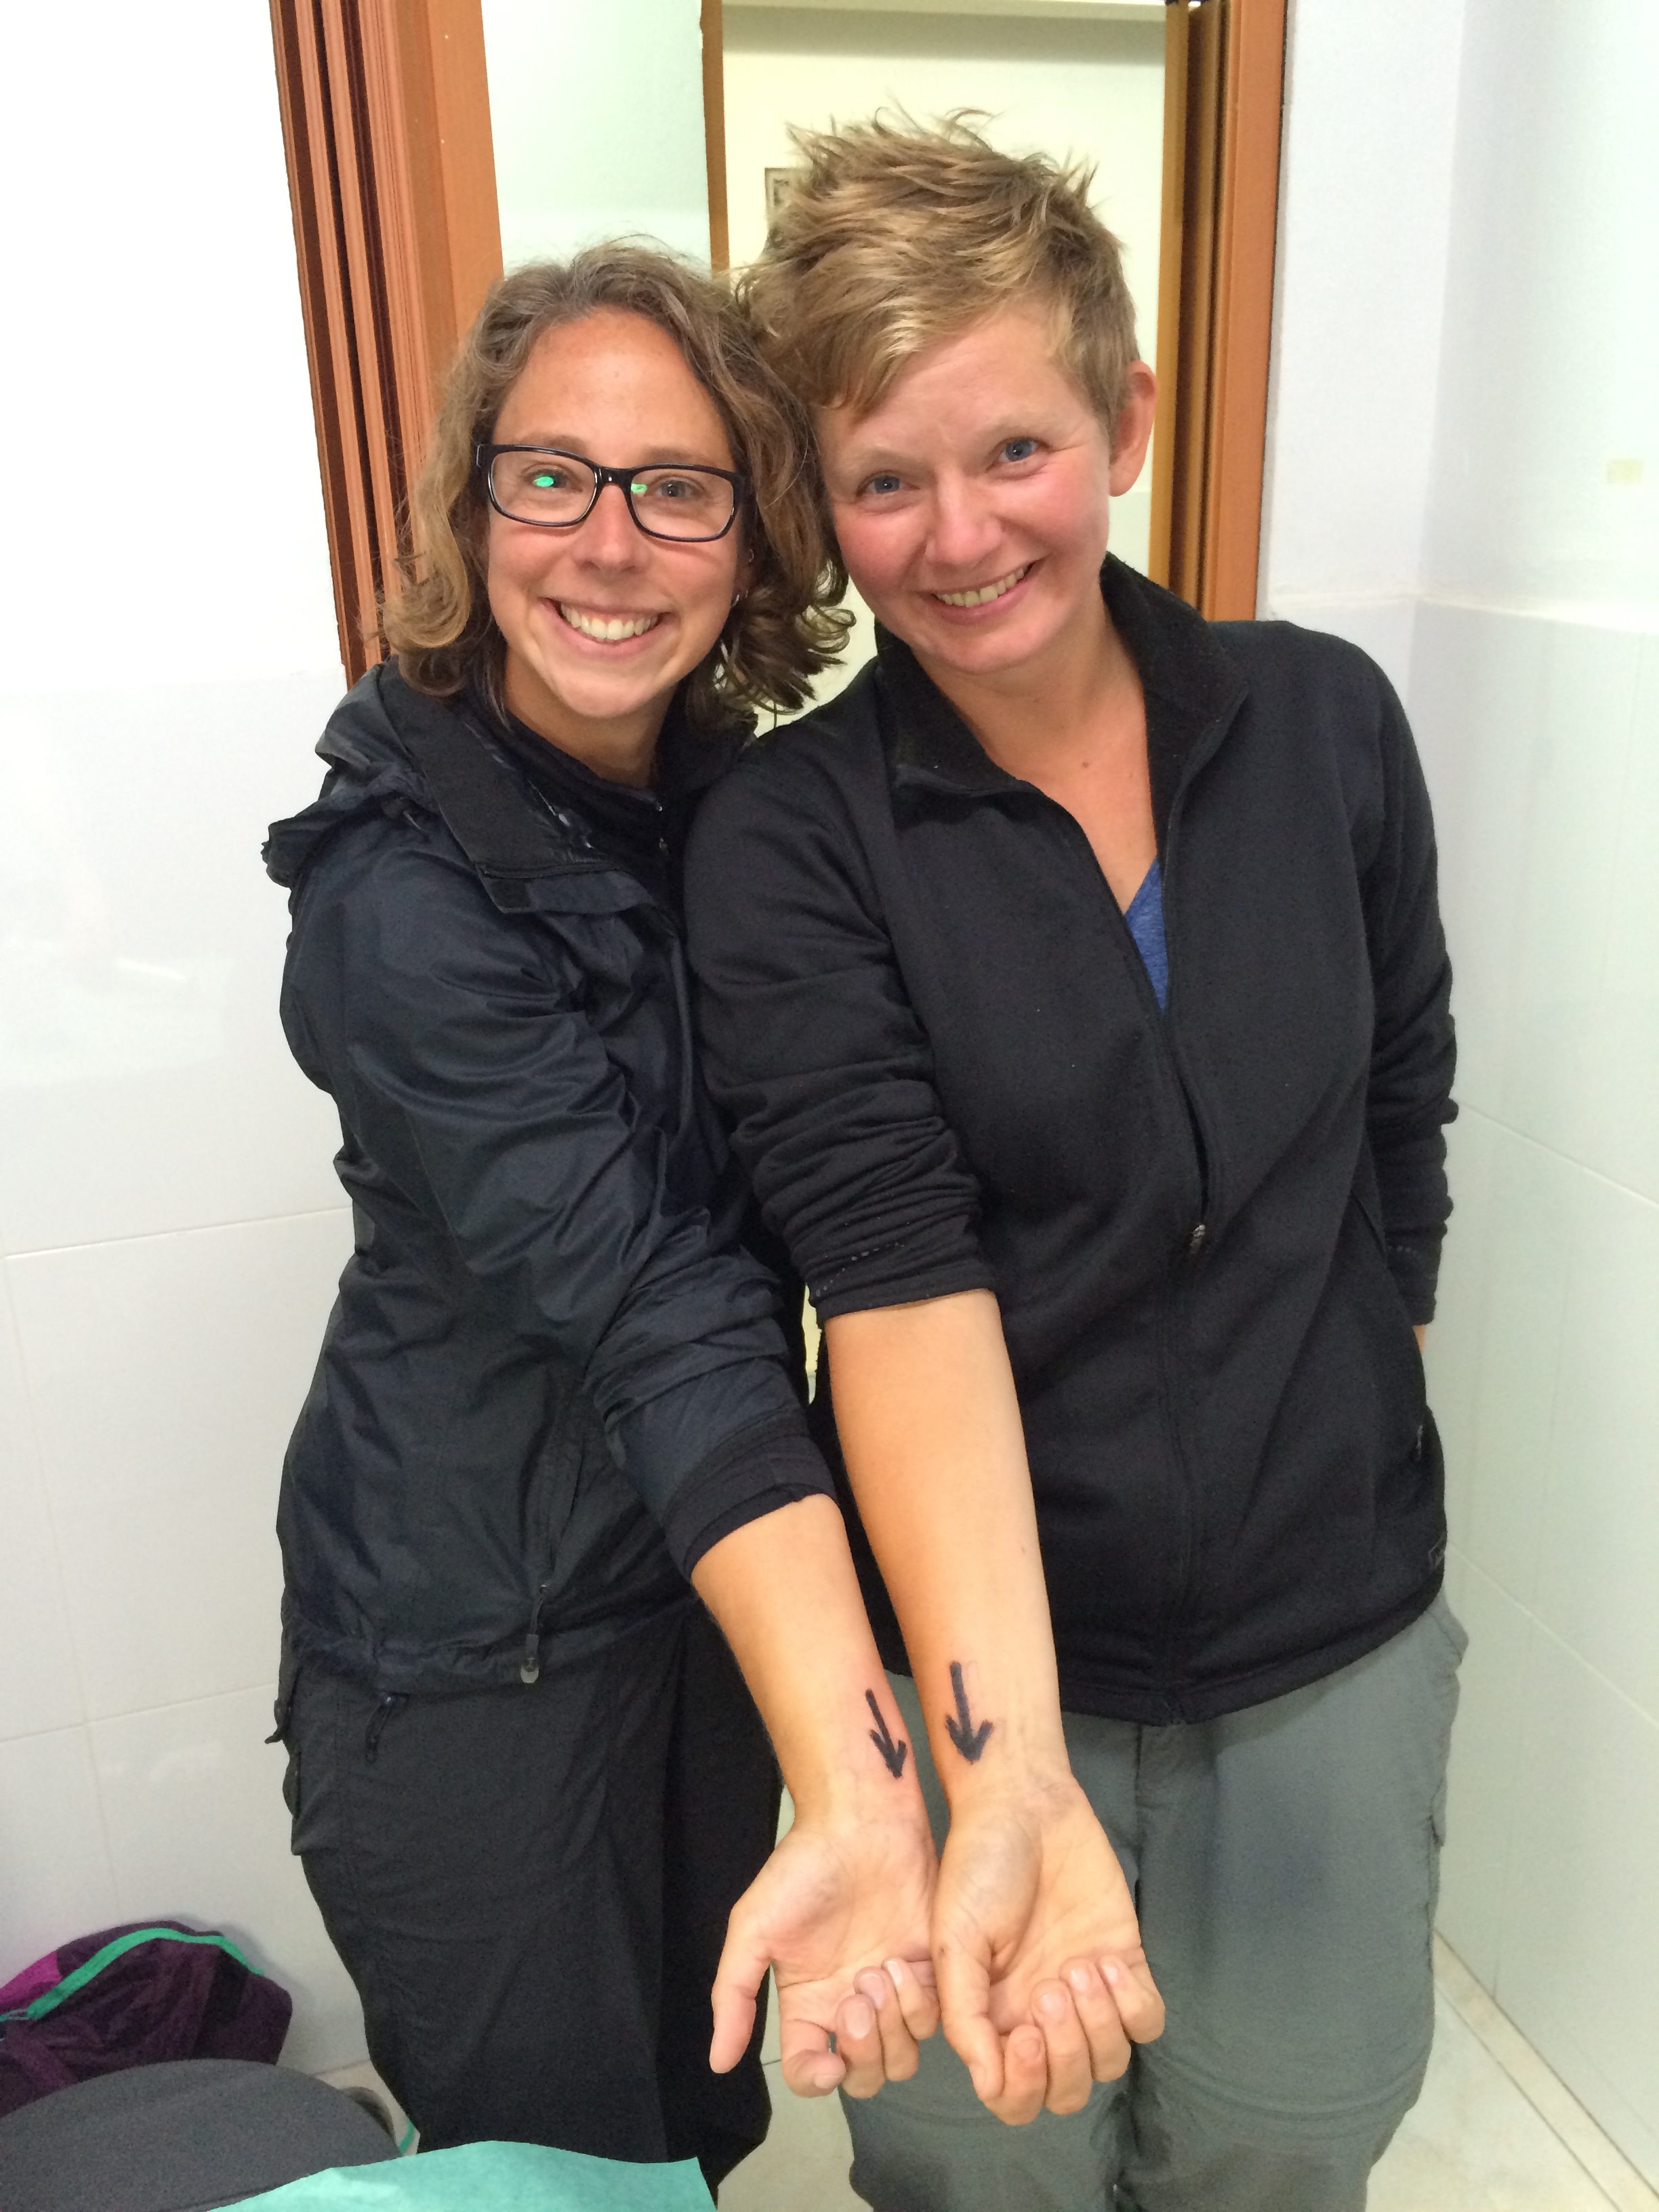
Hannah and I both really enjoyed the simplicity and the message in following an arrow and continually moving forward. So much so, that we both got an arrow tattoo on our wrist.
Todos somos unos
It is so hard to condense into words everything I experienced while walking the camino, but a phrase that sums up my feelings effectively is: Todos somos unos, “we are all one”. We share in our experiences, we share in our joy and we share in our pains (all kinds). The Camino brings all types of people from all ages, nations and religions together in a harmonious way. It is a brilliant experience to walk the Camino and is a reminder of how humanity should be: full of love, kindness and unity where we all work towards a common goal.
The Camino, a once in a lifetime experience well worth doing!
The first week of the Camino is obviously bound to be the worst. The transition from dawdling through life to hiking 20+ kilometres per day is quite a rude shock to the system both physically and mentally. Despite this, the experience is fantastic with both its ups and its downs. The people you meet are all instant friends, so cheerful and enthusiastic in this shared adventure.
While I plan to reflect on the experience at a later date, I will provide you a week by week summary of events.
Some things to note:
The distances are close estimates as every app, guidebook and sign post say something different.
Walking times are from start to finish and included is the time sitting at a cafe or by the side of the road.
The food costs include everything, coffee, snacks, beer and meals. The costs are low and hugely variable as frequently I bought groceries for multiple meals and other times I ate some meals out.
Along with about a billion other travellers and bloggers I decided some time ago that I wanted to walk El Camino de Santiago de Compostela, the Way of St James, also known as Camino Frances. It’s an 800km pilgrimage from Saint-Jean-Pied-De-Port in France across the north of Spain to Santiago de Compostela.
It’s a pilgrimage and pilgrimages are typically rooted in religion. People set themselves a hard physical challenge in order to atone for their sins and seek acceptance into heaven. While I was raised in a Christian home and school environment, I maintain some level of faith but I am not a practicing Christian. For me walking the camino is not a religious undertaking, it is more a personal challenge, to walk 800 kilometres and to give me time to think about what I want for myself in the future.
I know from my own perspective that there are lots of questions about the camino, how to go about preparing, what to pack, how to get to the start point, what’s it like on the train etc. I haven’t started yet, so I will answer some questions at a later date, but I can start off by answering all the pre-walk questions.
If you have never heard of the Camino, the I’d recommend watching the movie The Way. It certainly added to my inspiration!
Preparation
You might be horrified to know that I haven’t done any preparation (and I myself am currently in panic mode about this). I have been travelling continuously for over 12 months. As a money saving thing as well as being fitness related, I walk almost everywhere. Often exploring a new city I will walk at least 20km in a day. I also run, a bit, from time to time, so my fitness level is ok.
In travelling so much, I always carry my stuff around. I will often be carrying a full hiking pack and a full daypack, which might amount to something like 21kg. While I can’t maintain carrying that weight for a long time, it does mean I have built up some resilience to carrying gear.
When?
Based on discussions with people who have walked the Camino, the advice was to walk it in the lead up to Summer or at the end of Summer. Recommended months are May or September, this is for the temperature/weather and for the number of people walking.
I had hoped to walk it in September 2015 but was much too busy with other adventures and when I had time, it had gotten too late in the year for me to do it. That left me with May 2016 (well actually it really leaves me every May and September until I die, but I chose May 2016).
So I booked my transport to Saint Jean Pied De Port for May 10th, with a planned starting date of Wednesday May 11th. I don’t have a set finish date, but hope to complete it in under 5 weeks and be back in the Netherlands by June 15th (I have a flight to Ecuador on June 22nd and want some down time in the middle)
So what you would have realised by now is that despite this being a “pre camino” post, I am actually already walking as you read this and should be two weeks into my challenge.
Getting There
I will be heading of to my start point, Saint-Jean-Pied-De-Port from the tiny town of Sliedrecht in The Netherlands. The trip between the two has numerous connections, hopefully all of which will run smoothly and will take a FULL day.
Ask a family member VERY nicely if they will drop me off in Dordrecht for my 0627 train.
Catch a train from Dordrecht, Netherlands to Brussels Midi, Belgium (The trip will take approximately 2 hours, with two train changes) €28
Catch a shuttle bus from Brussels Midi to Brussels Charleroi airport €14
Fly with the cheapest possible flight from Brussels Charleroi, Belgium to Biarritz, France €30.99
Take a shuttle bus from Biarritz to Bayonne – cost unknownat time of writing
Take a train from Bayonne to Saint-Jean-Pied-De-Port- cost unknown at time of writing
Crash out in my dorm bed at Gite Izaxulo €27 incl. breakfast
Check out by 0830 and get going on my Camino…
I planned this specific route based on a combination of information from a Dutch website about the Camino, the website Rome2Rio, the knowledge of friends who also departed The Netherlands to start their camino and a cousin (my cousins spend so much time ping-ponging around the EU, that their knowledge is vast and can give personal perspective on the distances, best connections etc.)
Packing List
This is the challenging part, as I am a chronic over-packer. I have been making little piles of stuff to pack based on the advice from friends who have done it, in addition to the packing lists published by Dave from Whats Dave Doing? and Candice from Free Candie.
This is my current pile of stuff (it may still be altered at the last minute)…after the walk I will get back to you with the final list as well as what I wished I had packed and wished I hadn’t packed.
I started running in the summer of 2014 as a way to improve my mental as well as physical health. Running is something I have never loved, but it’s something I do from time to time. Usually I sign up for an event which then forces me to train.
My first crazy goal (Bucket List Item #11) was to complete the Point to Pinnacle, the “World’s Toughest Half Marathon”. Not only is it a half marathon (21.1km), but it goes straight up a mountain. Starting at sea level and finish at 1271 metres. I ran as much of it as I could (which was 13km) and completed the remainder of the course alternating between walking and running. I was incredibly proud of myself for finishing the race, and even managed to do so under 3 hours. This was in November 2015.
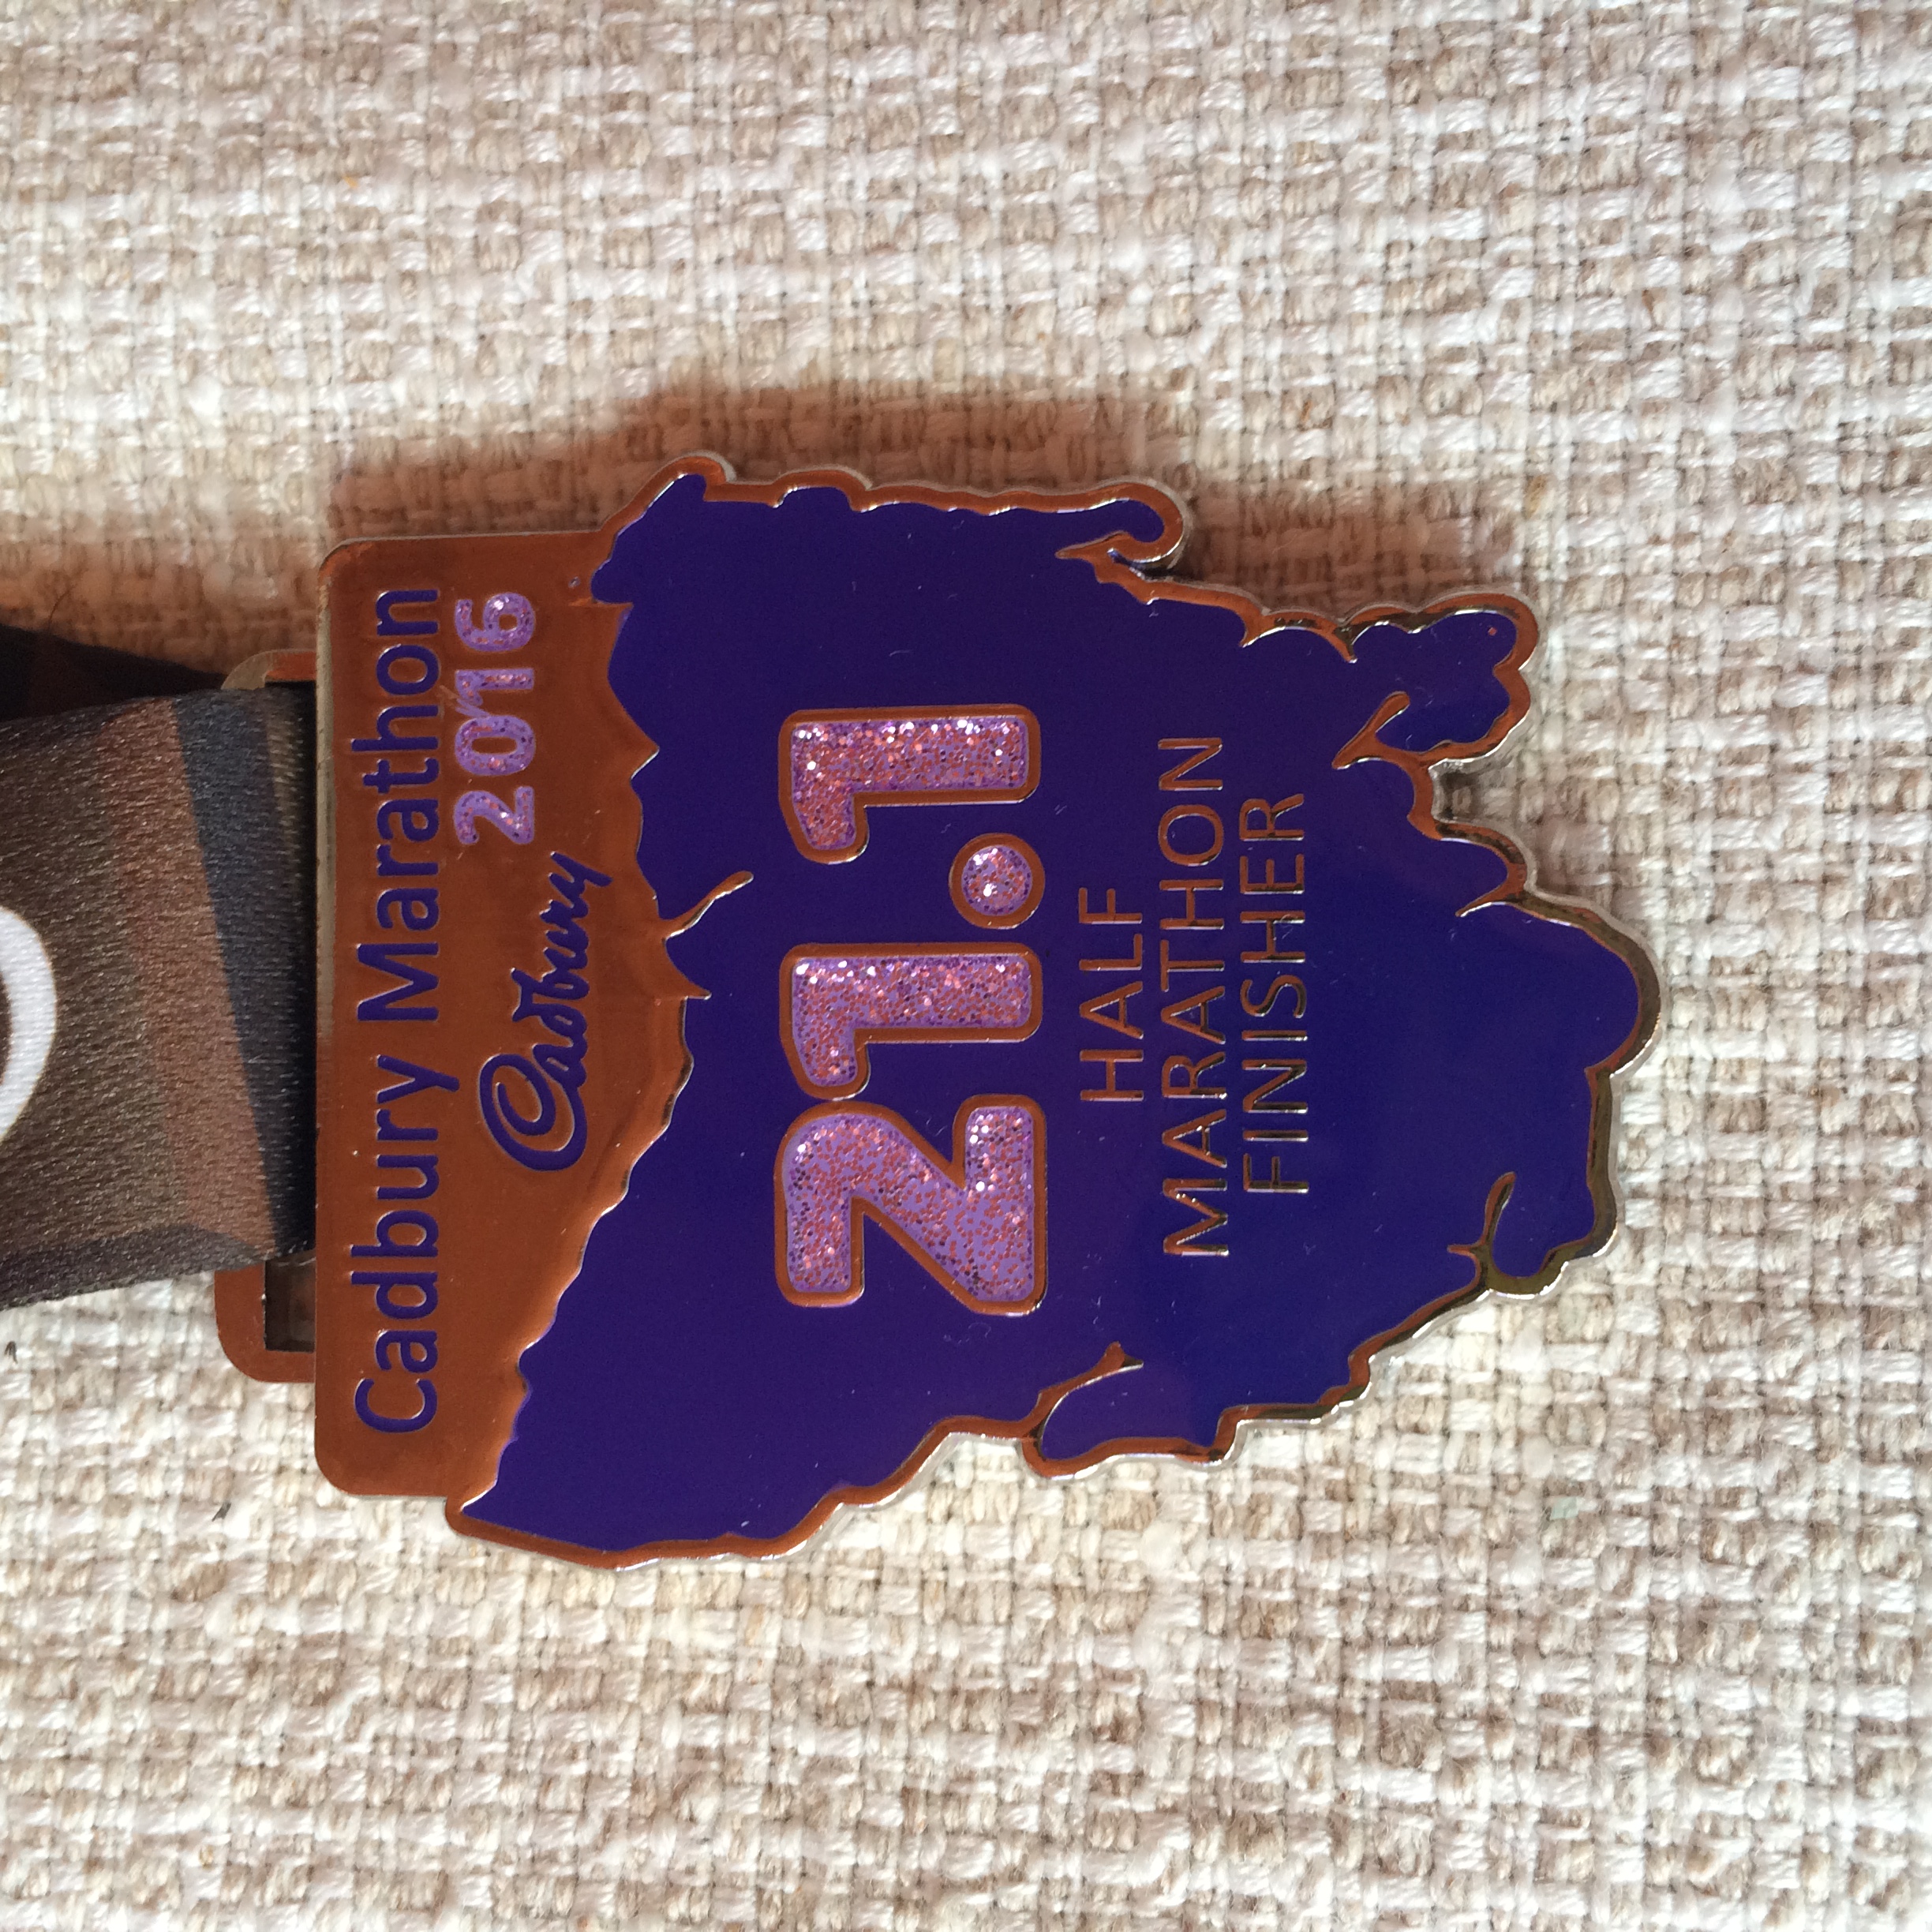
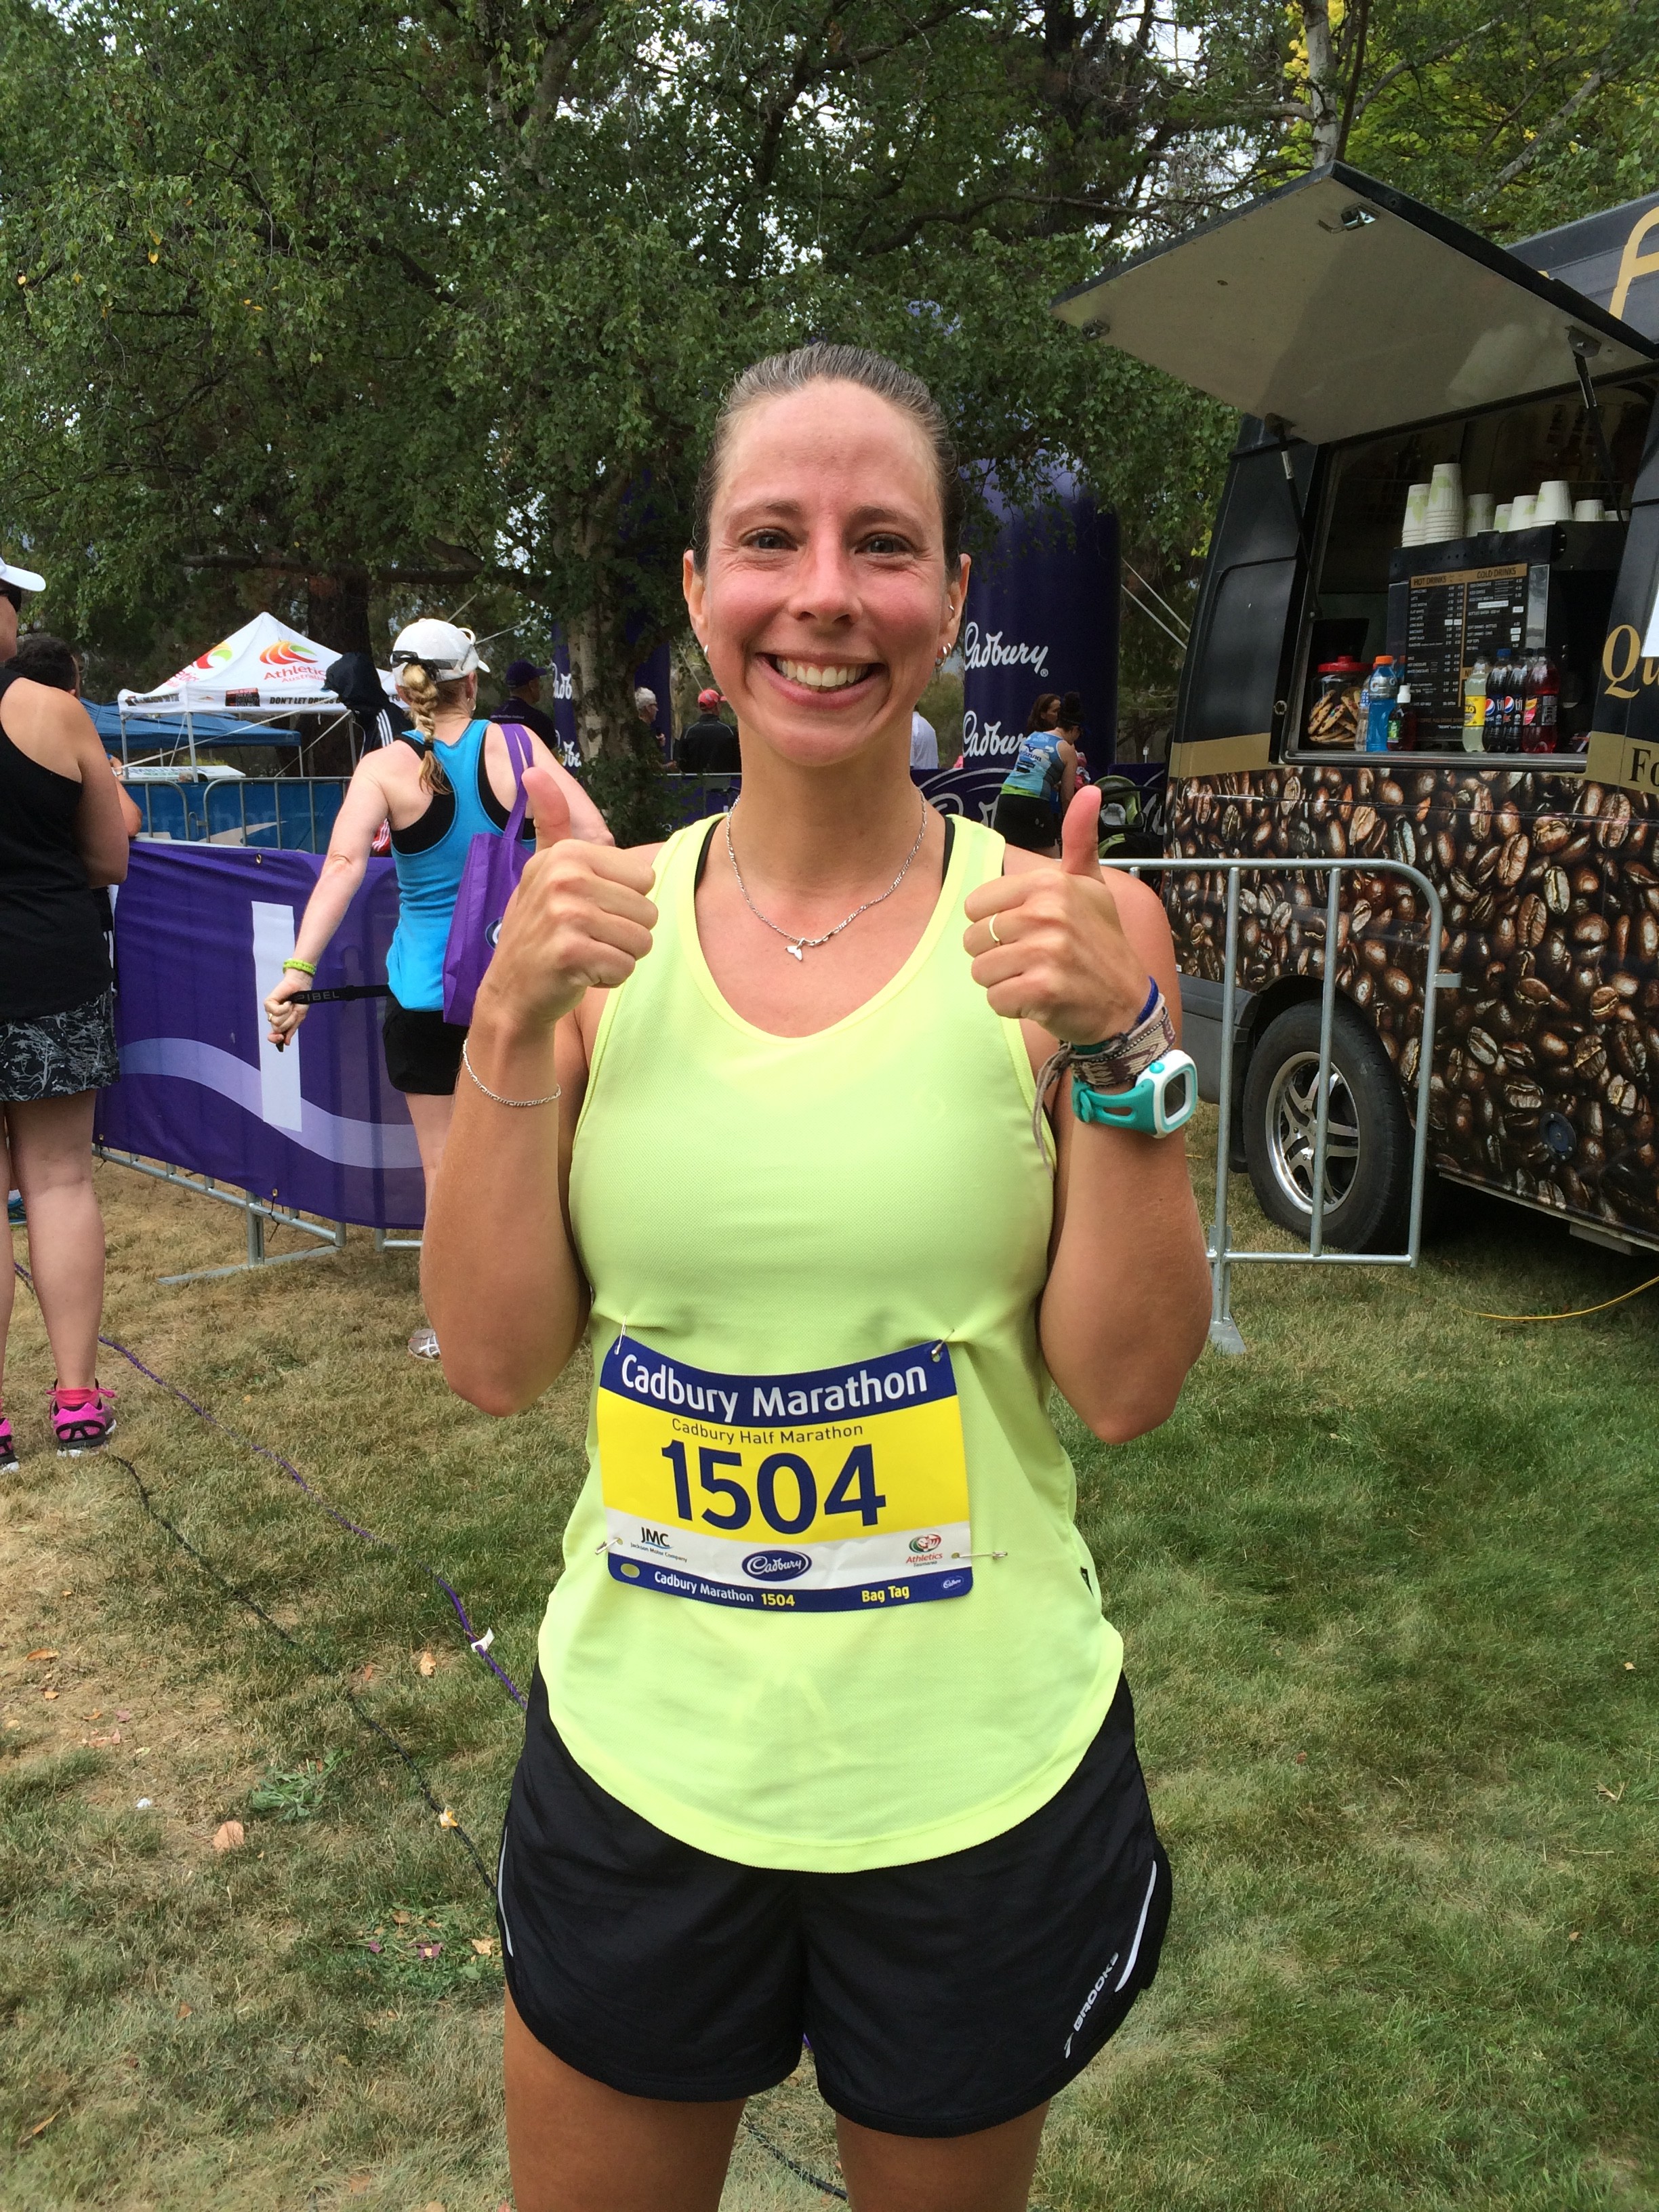
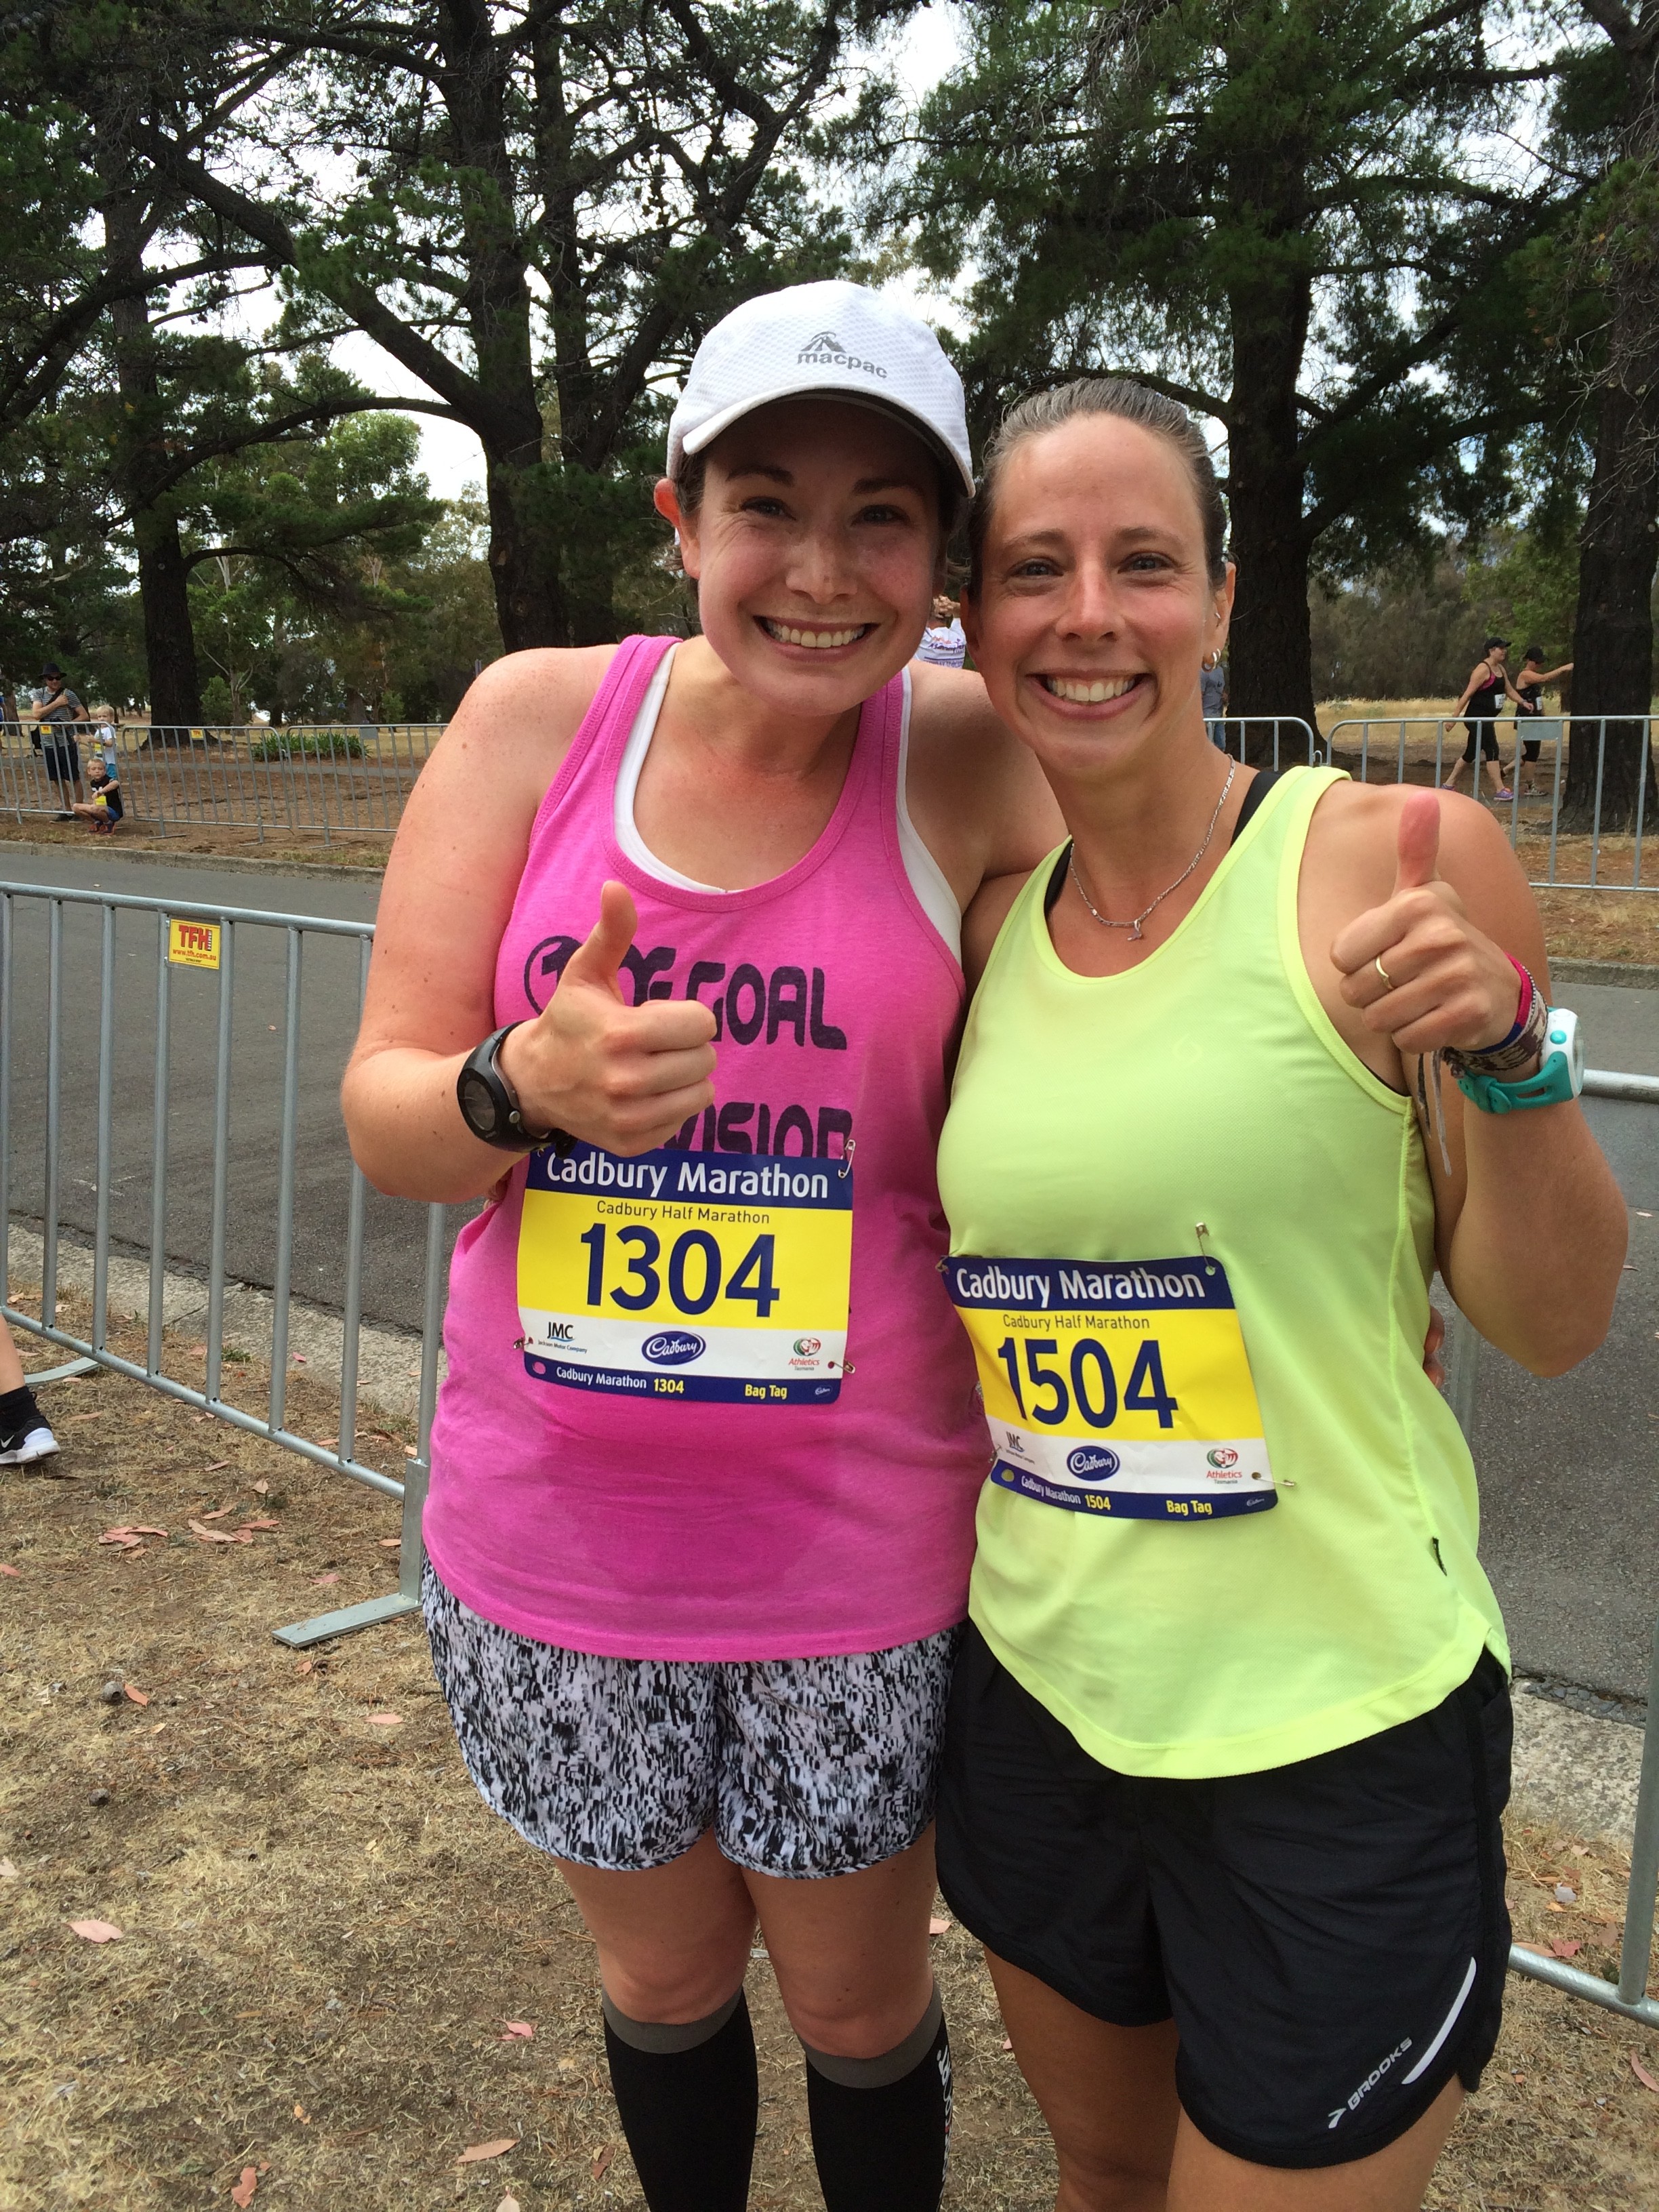
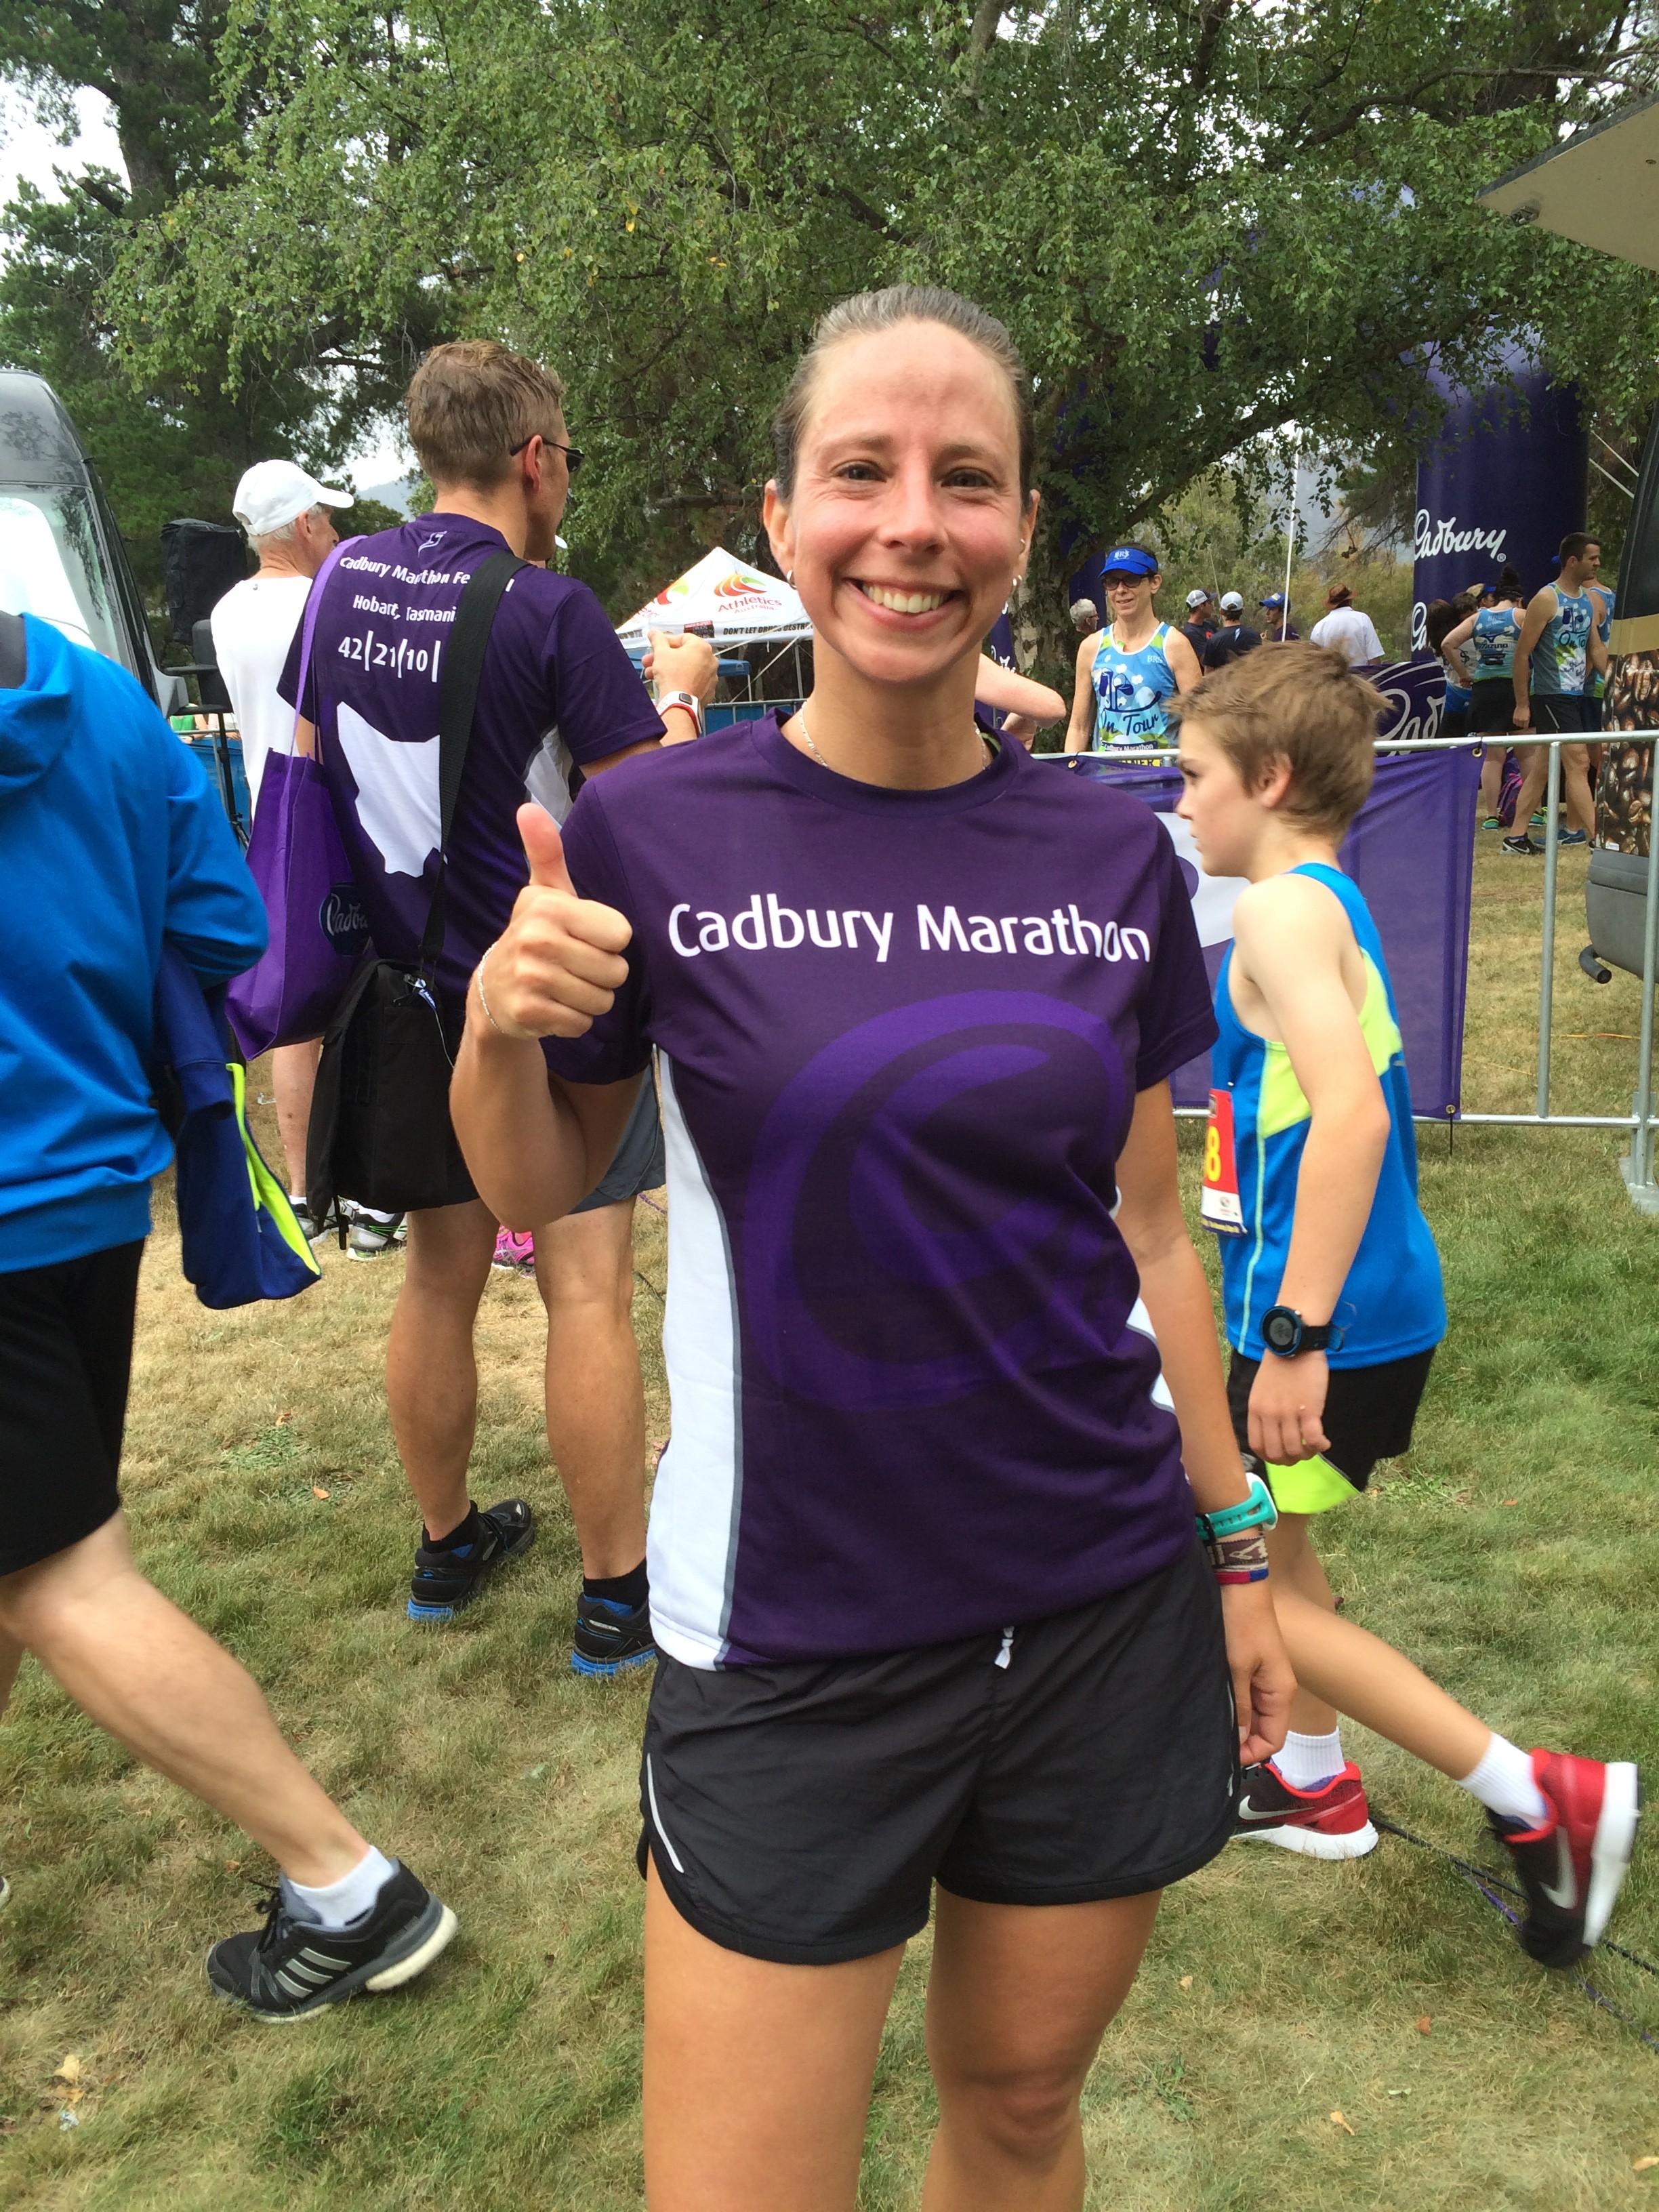
After this I really felt that despite it being such a big deal, something I am very proud of, I couldn’t really say I had run a half marathon. So I signed up for a “proper” half marathon, something that I was capable of running the whole distance. So I signed up for the Cadbury Marathon, well, the half marathon for January 2016, and at the last minute I convinced my friend Rachel to do the same.
I was in Netherlands in the lead-up and spent my time training in the cold weather on super flat terrain. I mixed it up a bit by competing in the 15km Zevenheuvelenloop (Seven Hills Run) in Nijmegen; setting myself a crazy goal of not walking any of it and finishing under 1hr 30mins (never having run 15km in my life). I achieved my crazy goal 1hr 23mins and was thrilled!
I had set myself a similar goal for the Cadbury half, not to walk any of it and to finish under 2 hours. So off I trot, back to the land of Kangaroos and start training where it’s hot, dry and mountainous.
I was feeling quite disheartened as the heat and hills were getting to me, my running times were quite poor and I was having serious fatigue issues.
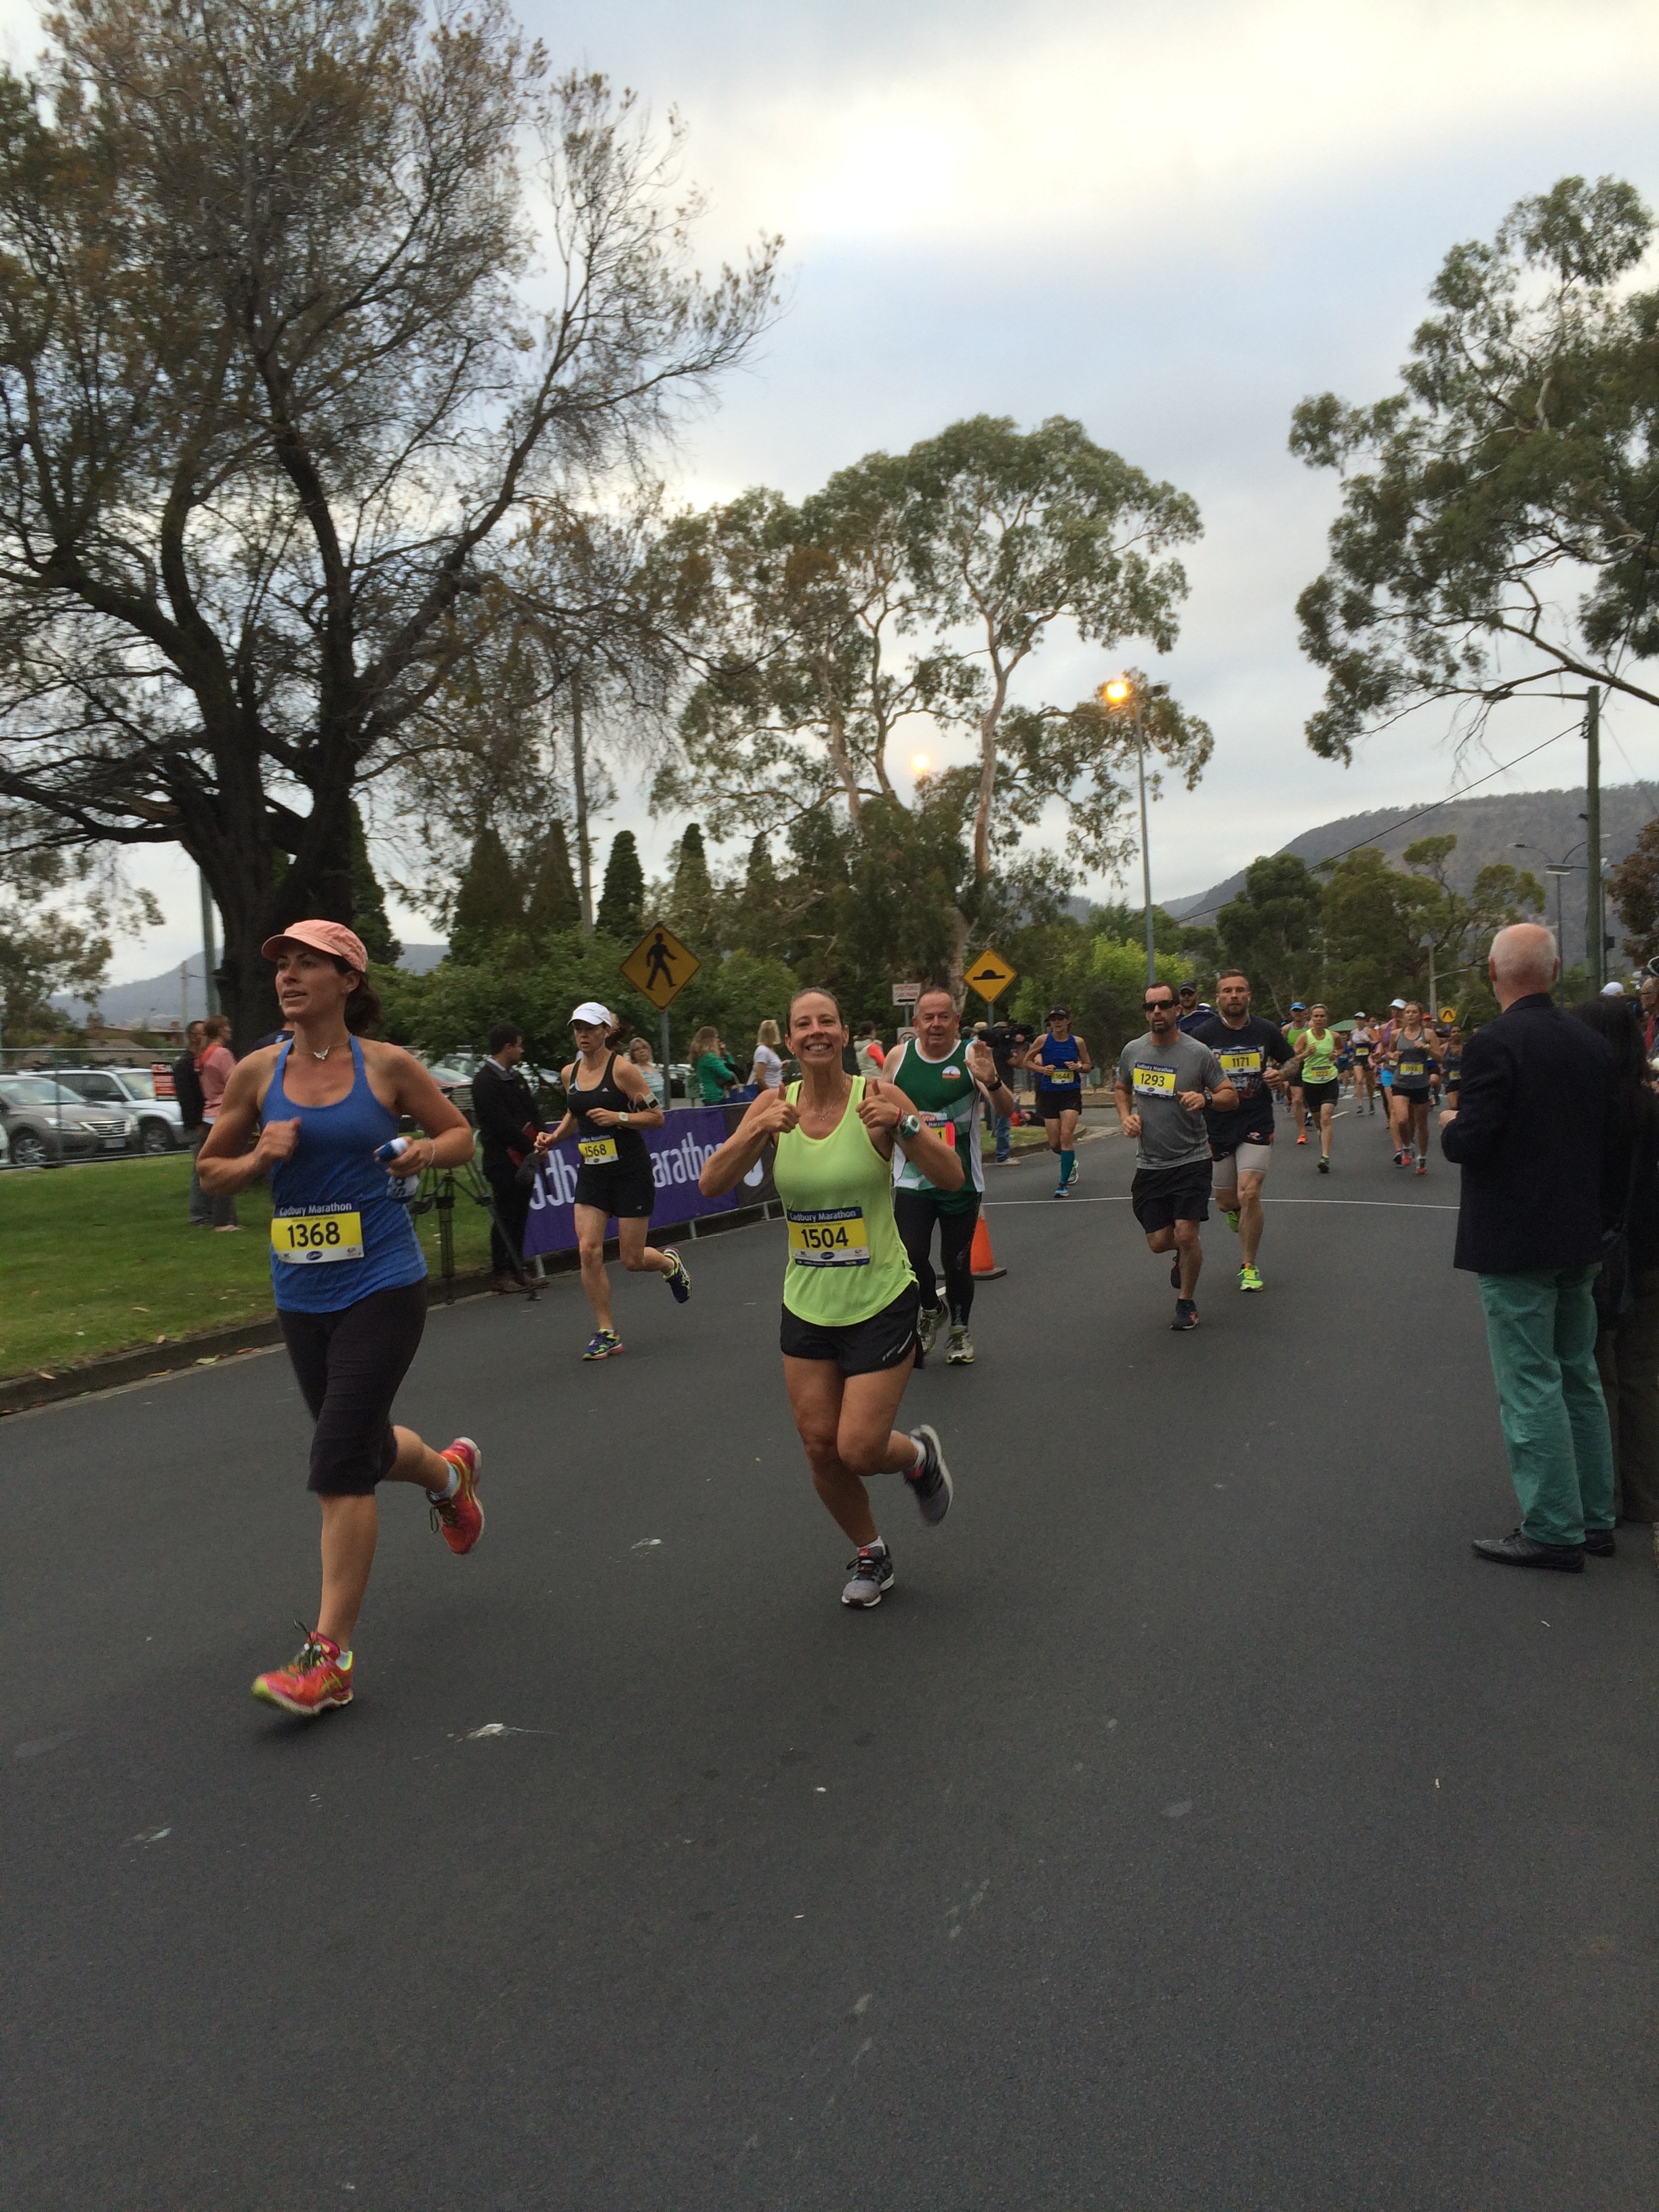
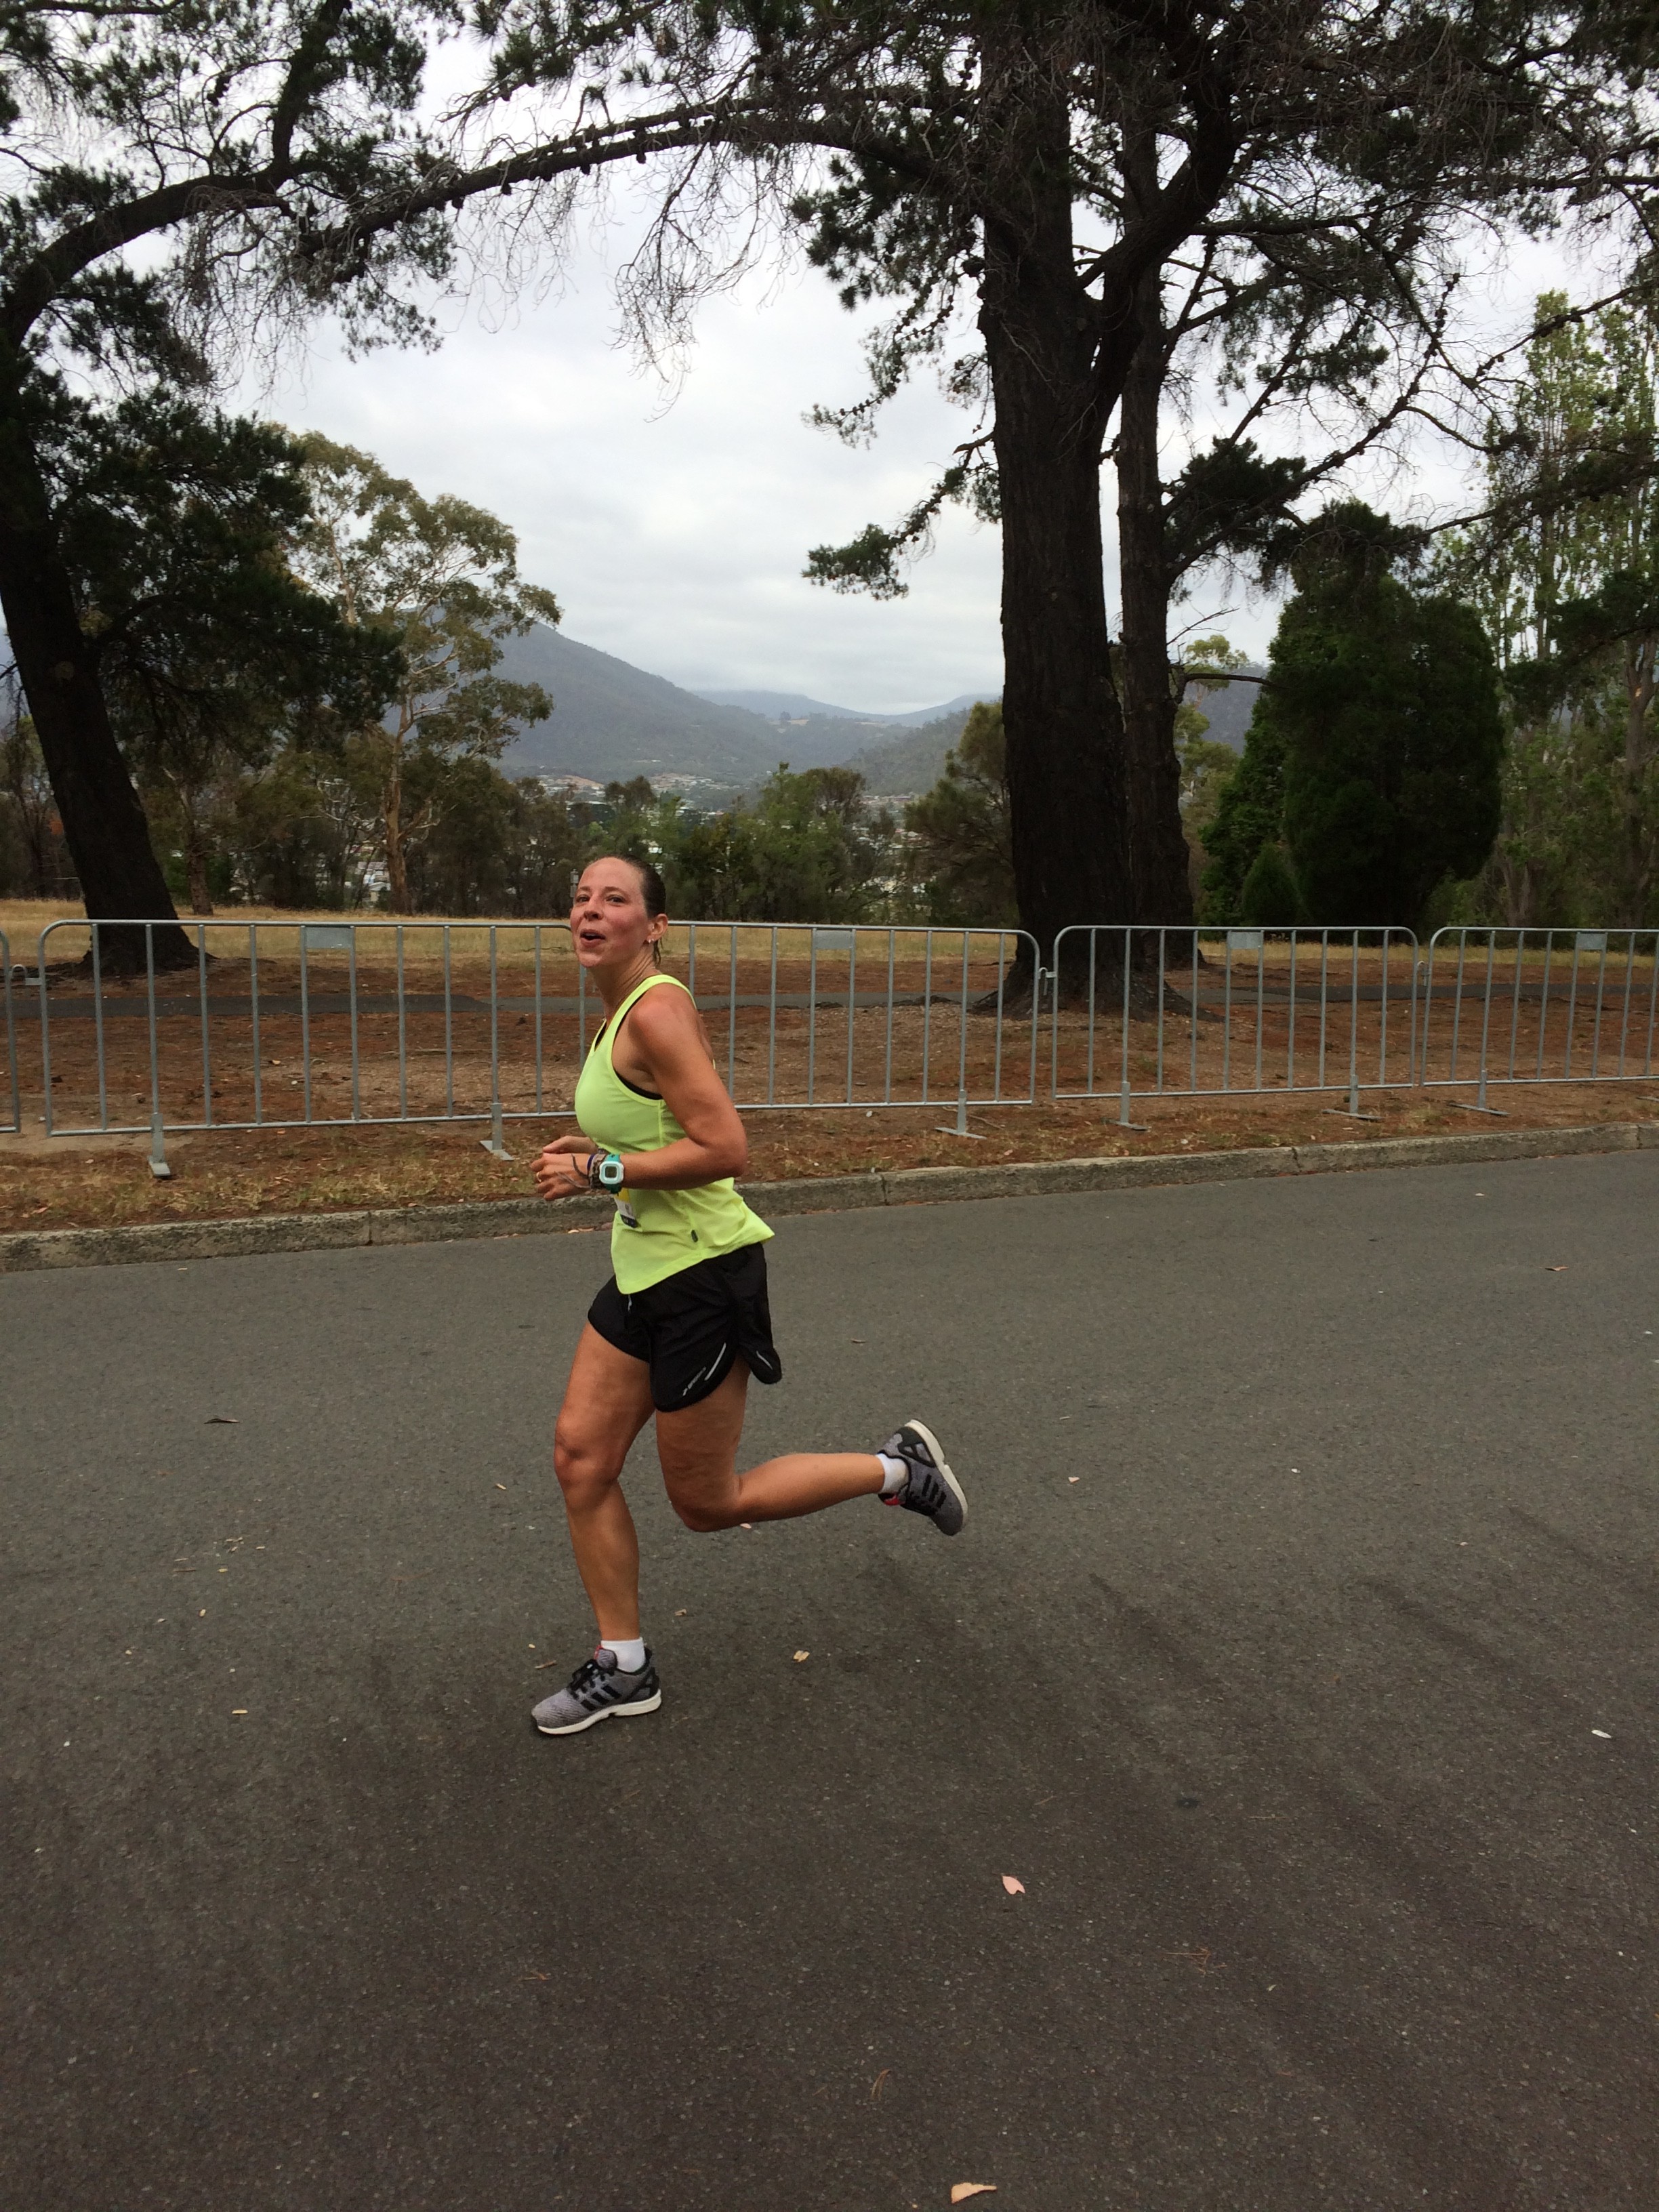
Brushing my doubts aside and feeling determined, I turned up on race day, at the butt-crack of dawn. Despite a weather forecast for sun and 27degrees, the morning was overcast, fresh and dry, without any wind. Perfect running weather!
The gun went at 6:30am and I started running. Putting one foot in front of the other. I knew I needed to run a pace of 5mins 40secs per kilometre to finish in exactly two hours. So I aimed to run at 5m15s so I could bank a few minutes to deal with hills and fatigue later in the race. The course was reasonably pleasant, it had slight ups and slight downs. I hit a bit of a wall at the 10km mark, but readjusted my thinking, ate energy candy and kept on going.
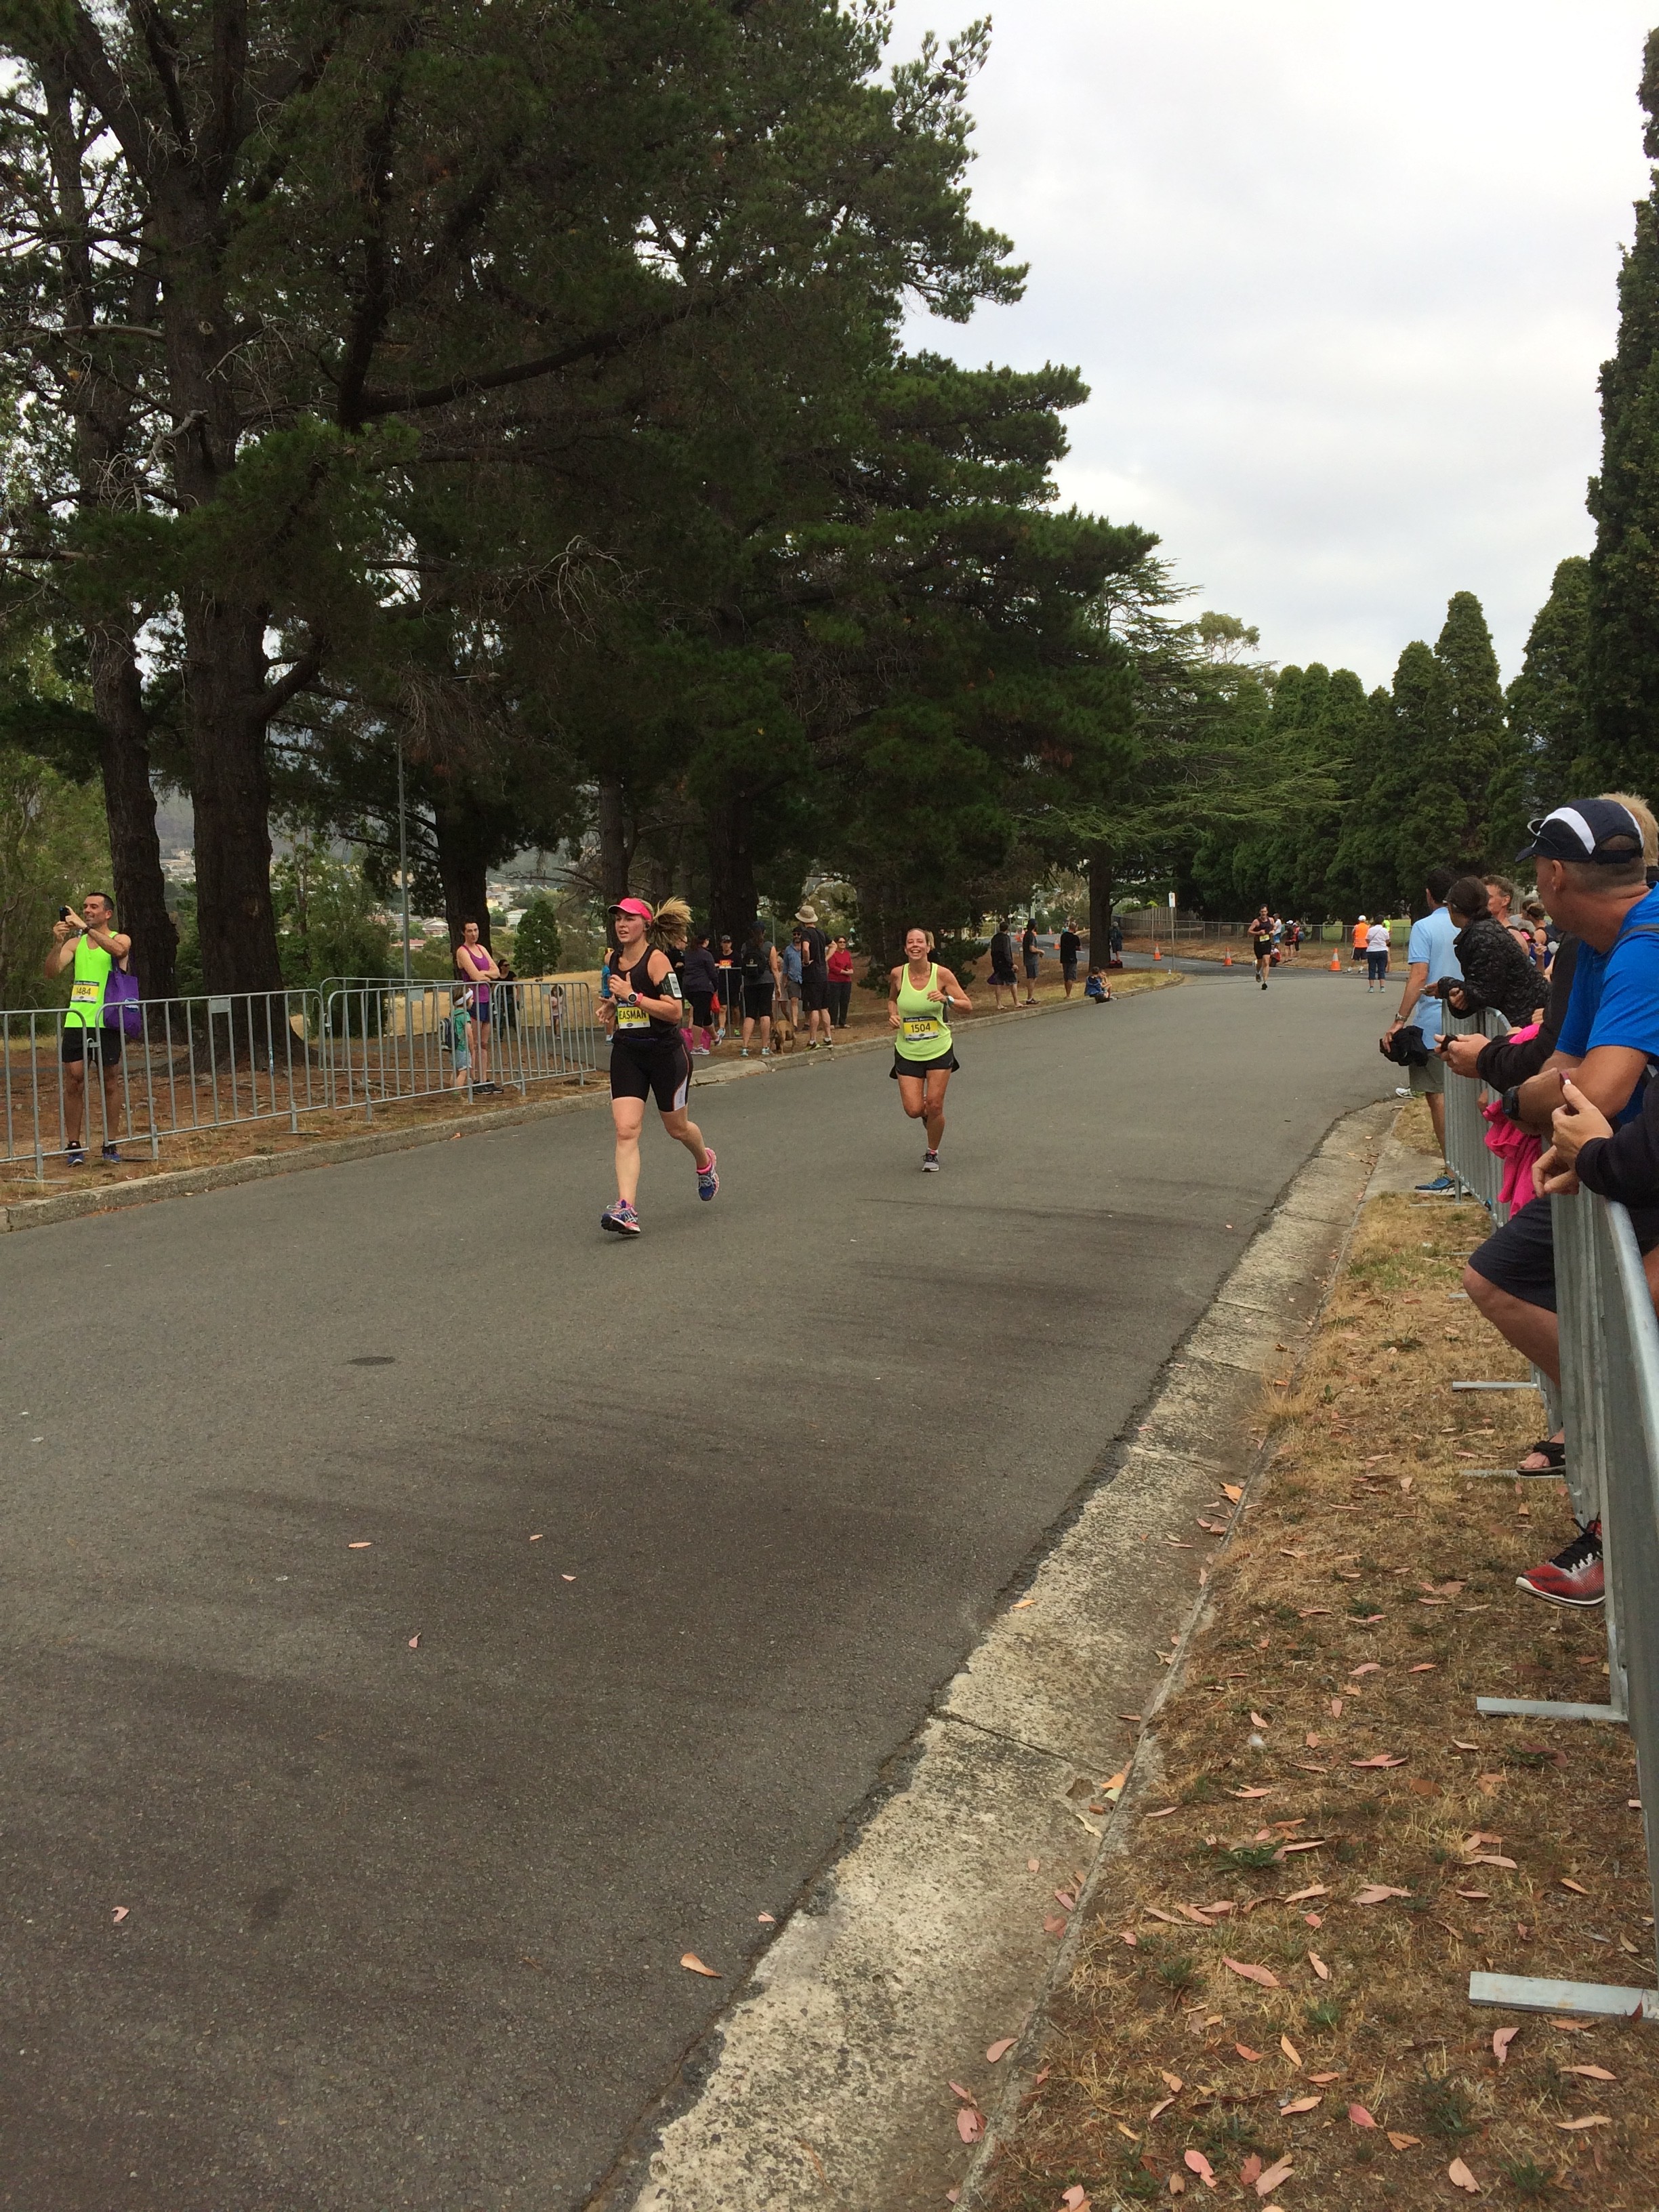
The last 5 kilometres had more uphills, and fatigue was getting to me, but I soldiered on and thankfully had some minutes up my sleeve because of my earlier faster pace.
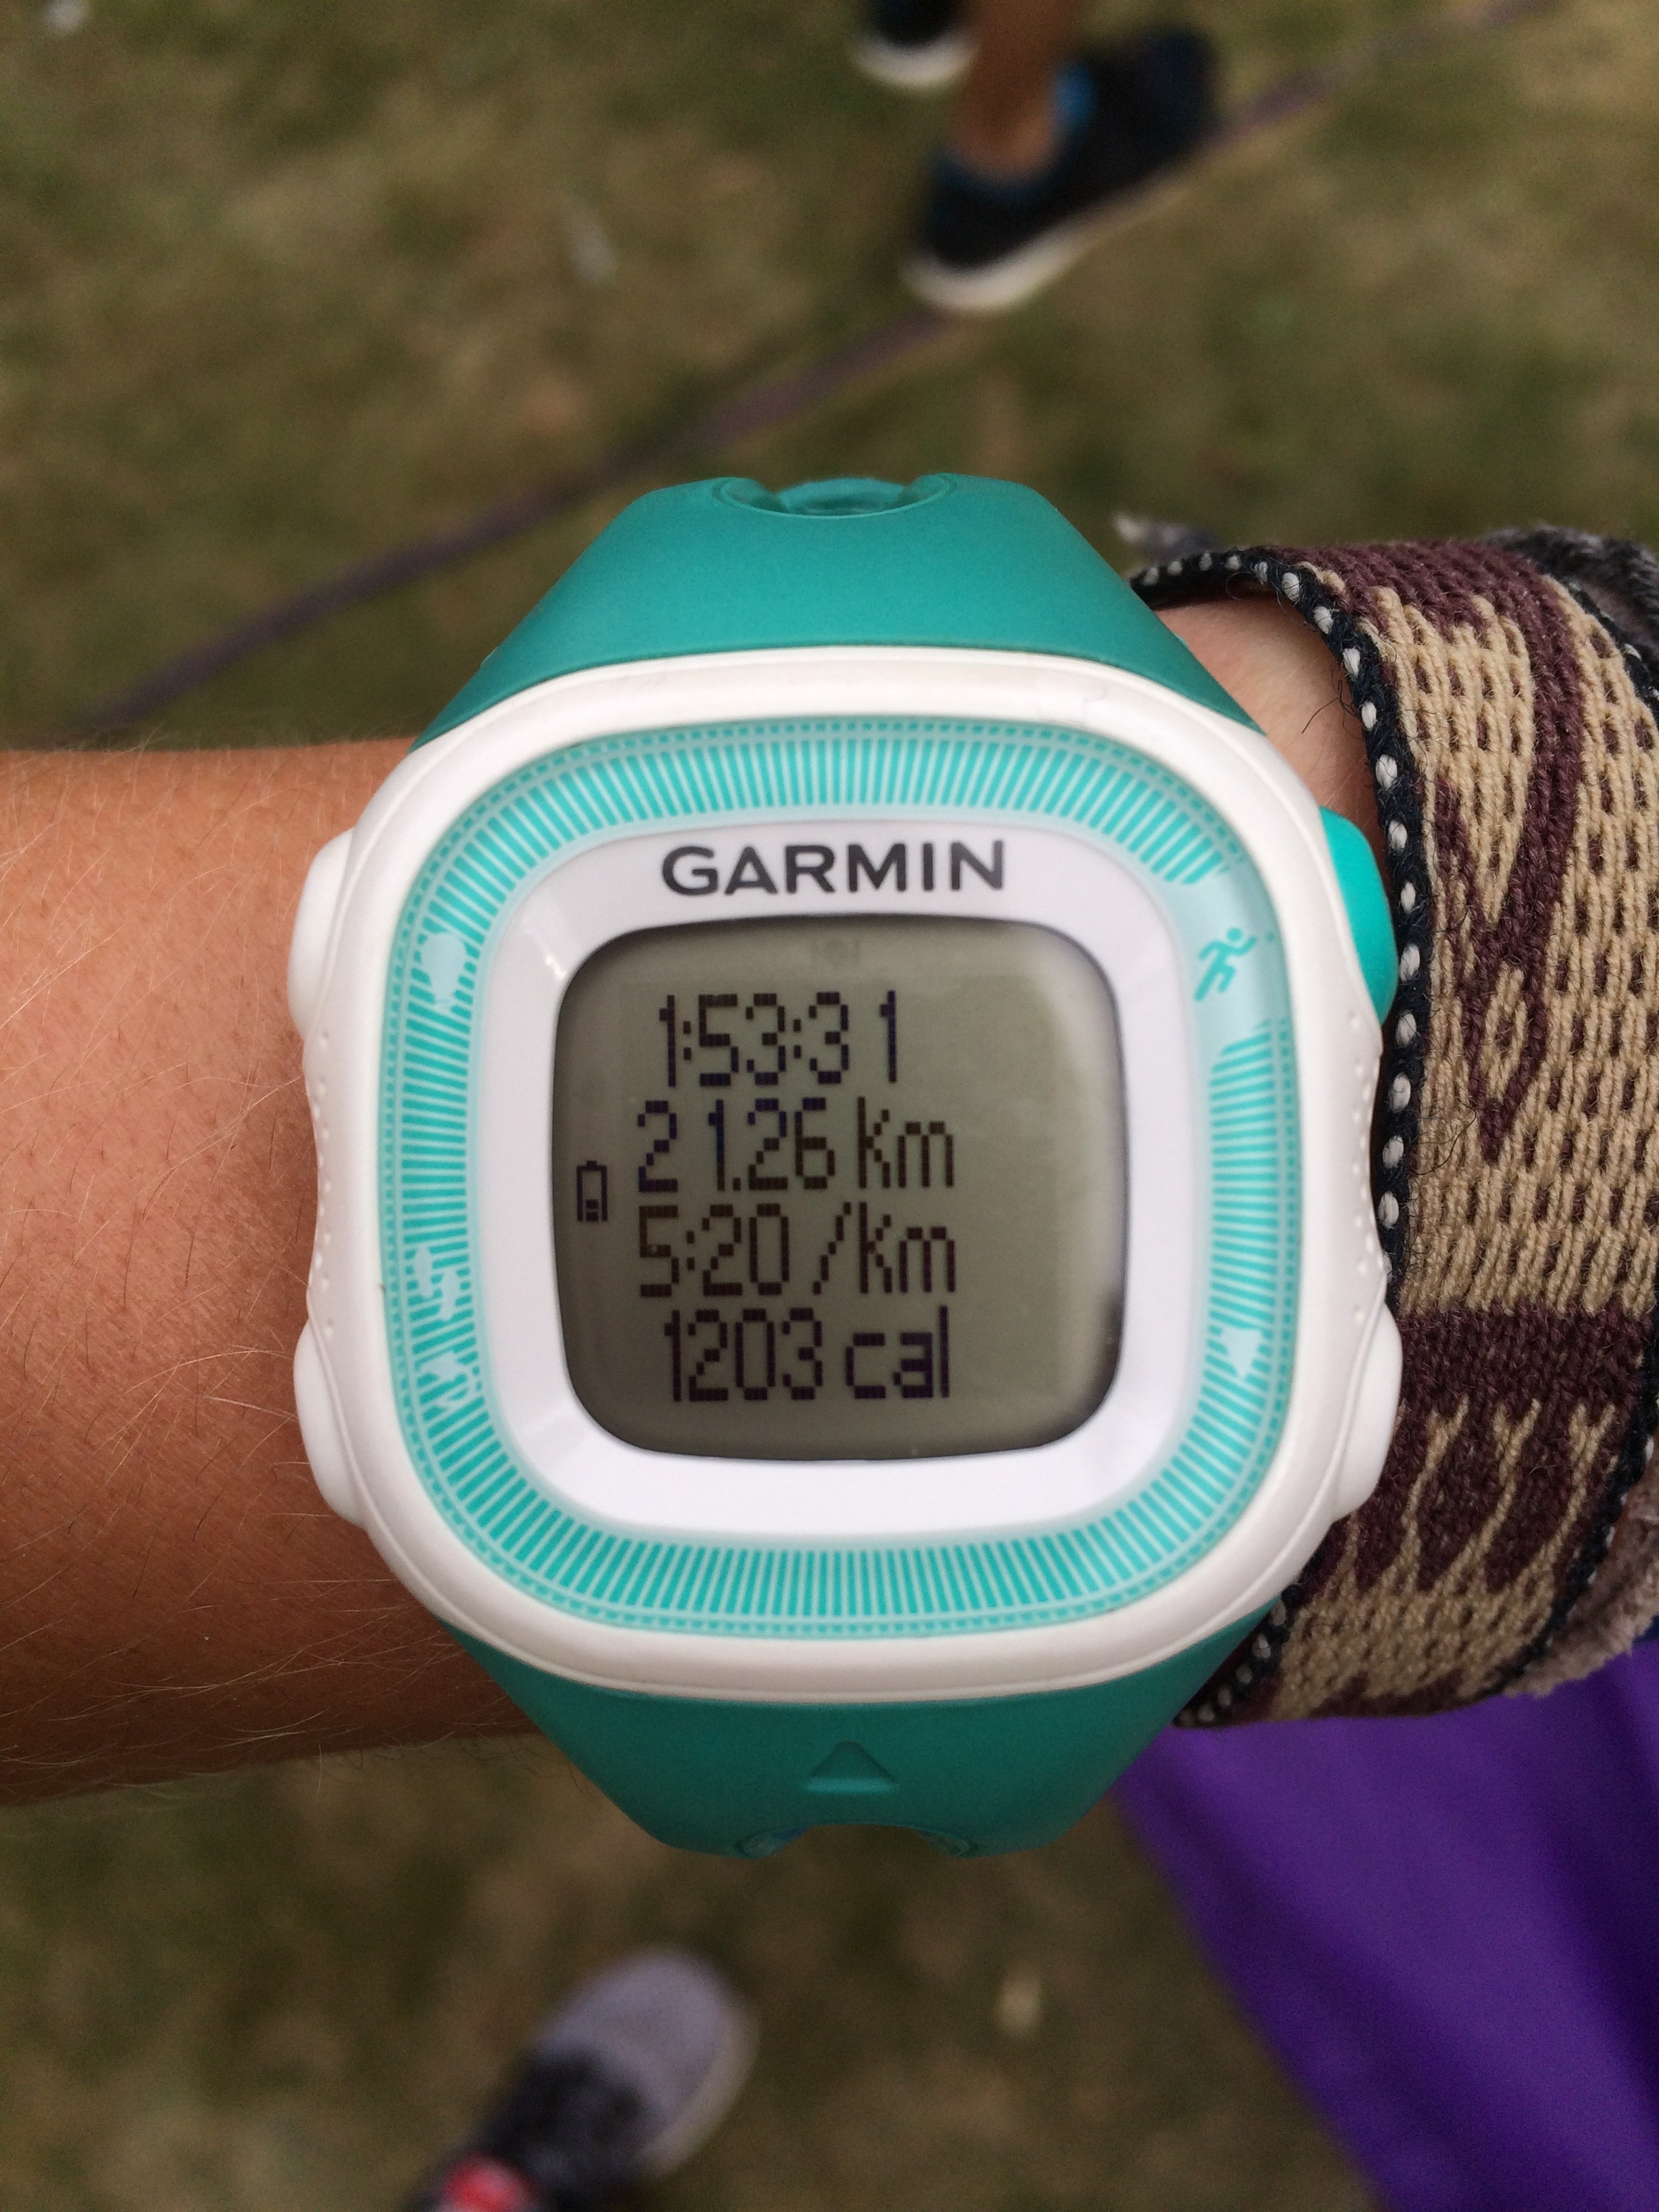
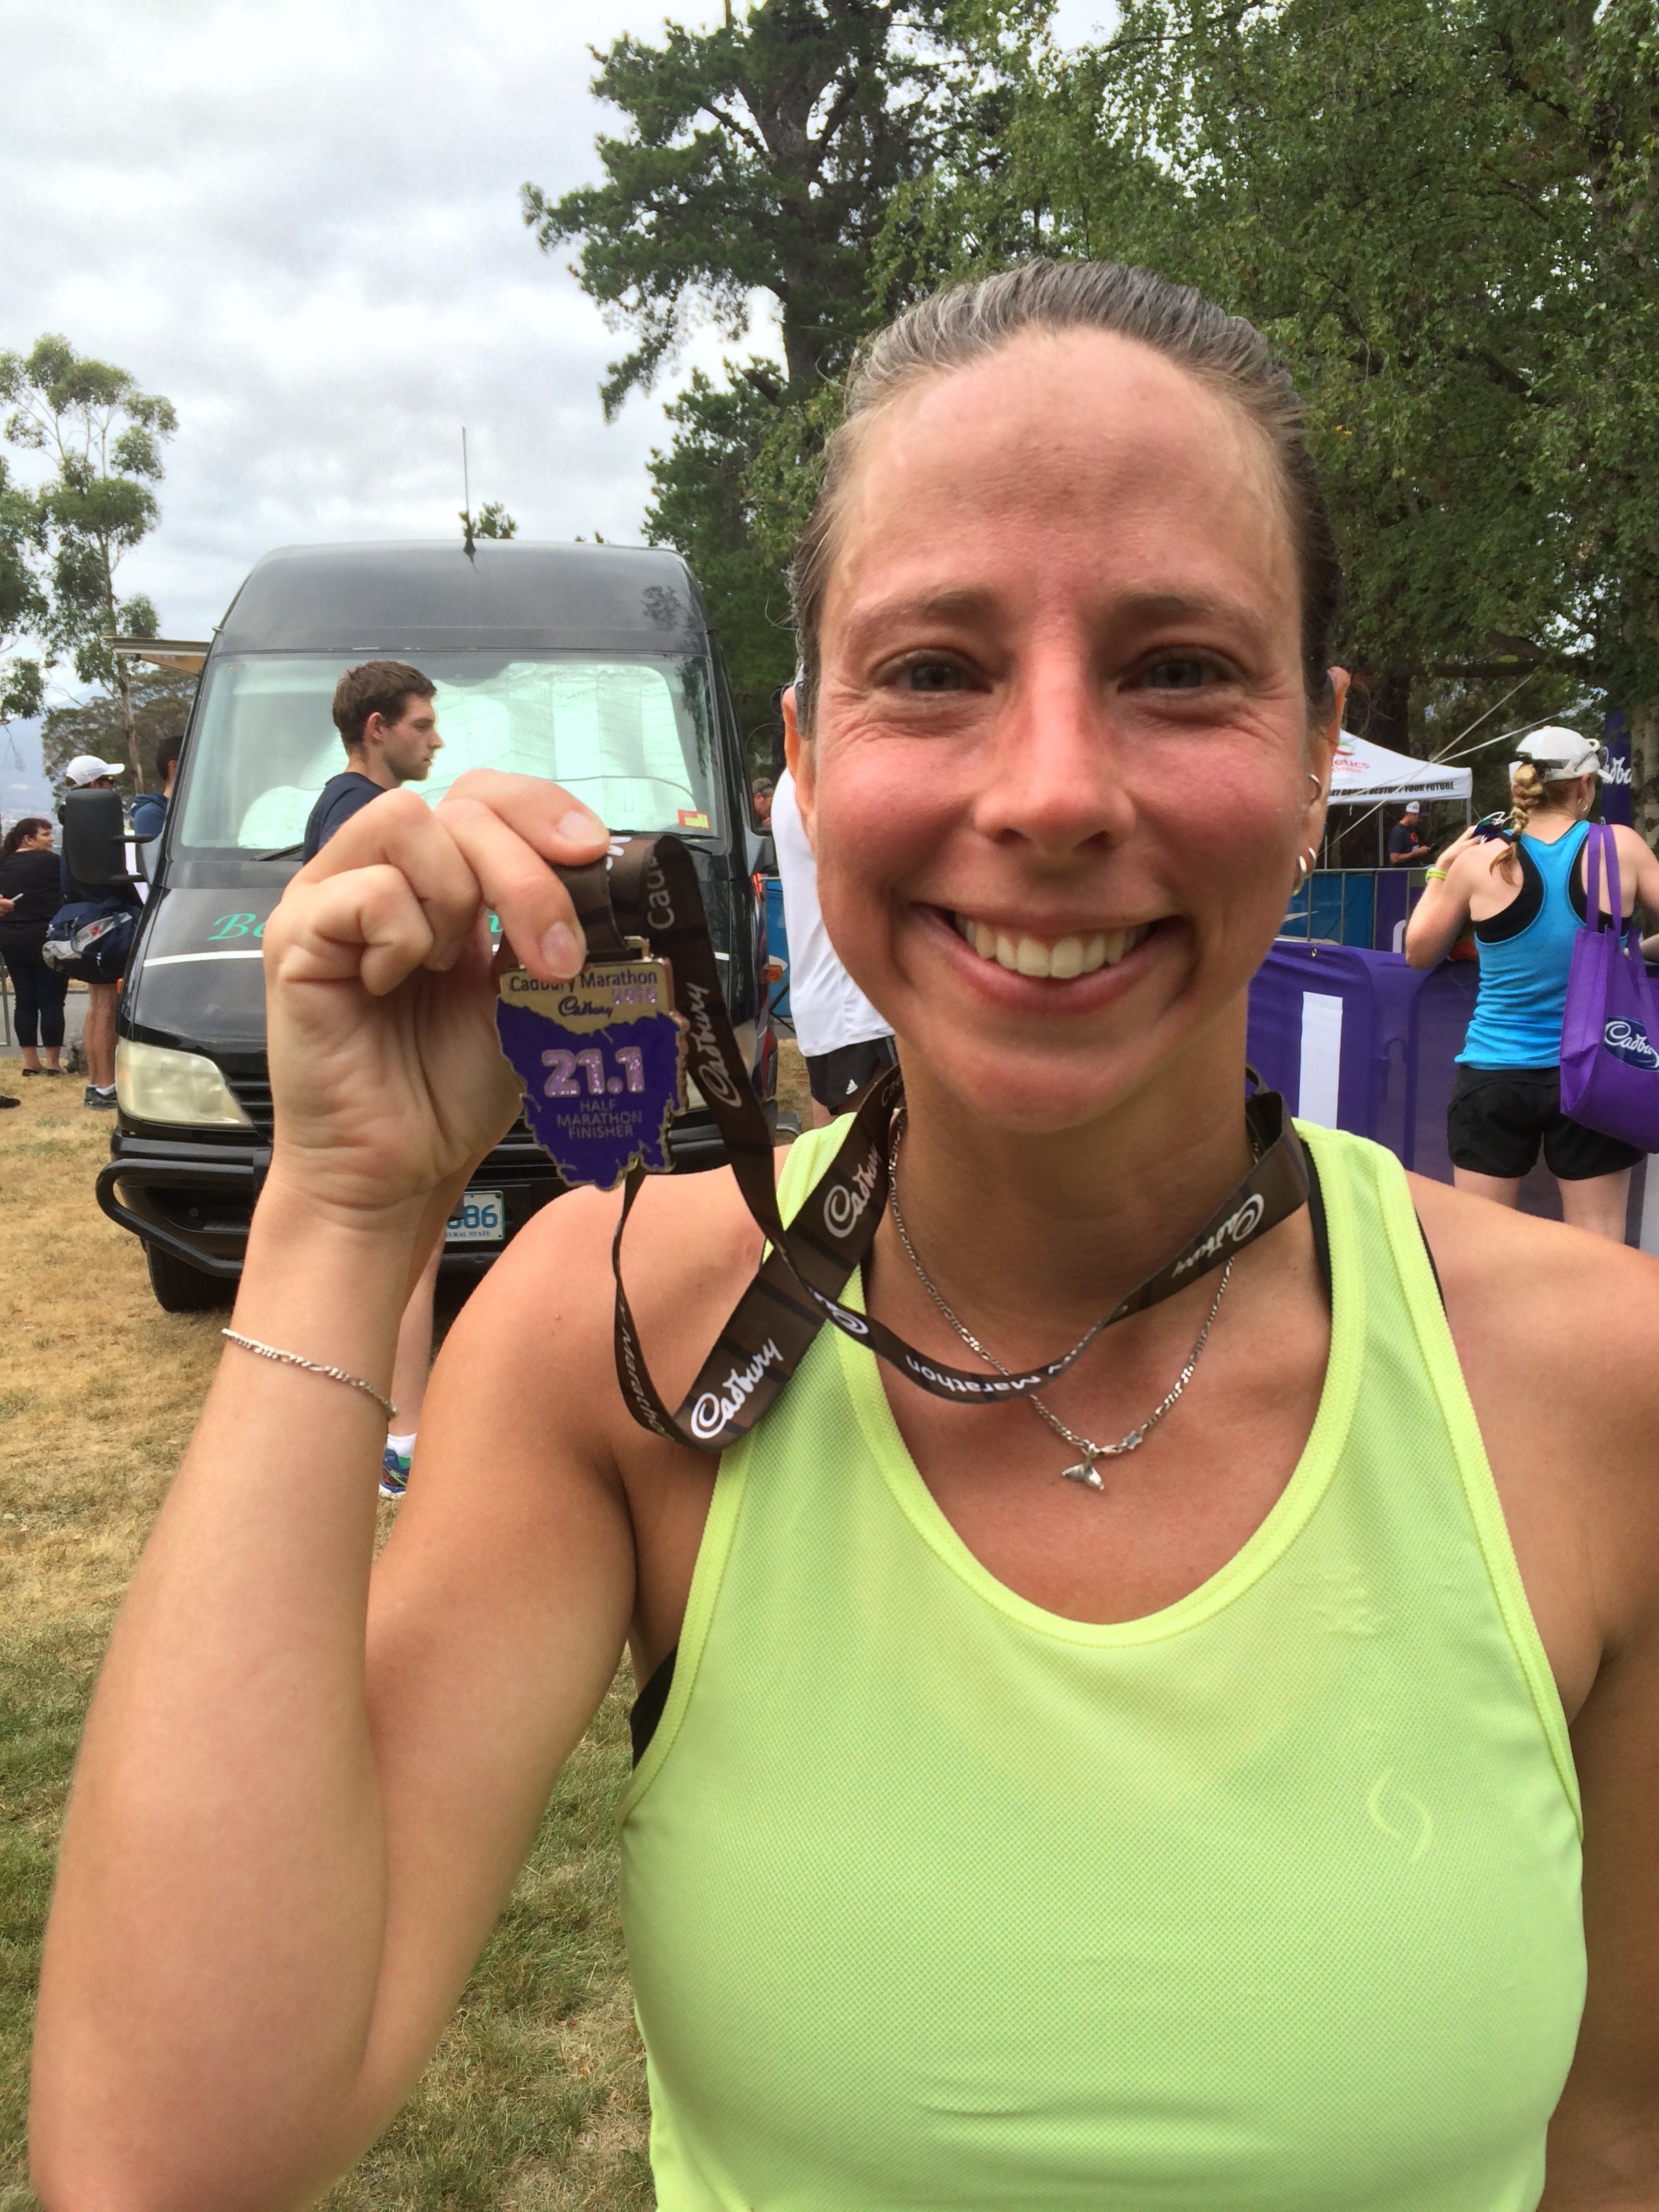
The final hill was a killer, but the 50-100metre home stretch was flat and I set in for a sprint to the finish, waving at my mum and friend Funnel on the way past. Crossing the line at 1hr 53minutes I was beside myself.
I DID IT!!!!!!
Standing excitedly by the finish line, Mum, Funnel and I eagerly awaited Rachel’s finish. With 3 weeks of training she brought home a strong finish in 2hr 45mins. An absolute killer effort for a last minute decision!
In preparation for the point to pinnacle, I did the Tasman Trail run – and boy did I struggle!! It was 18km of single track through the bush in the drizzle and a large chunk of it was up a big hill! I walked a large proportion of the course and held my team mate back (though he didn’t complain at all), but after about 3 hours we crossed the finish line! At which point I could barely stand up and almost passed out. This didn’t feel like a positive precursor to the point to pinnacle, but I remained positive.
Continuing with training but also in need of some time out, my running buddy (Mark) and I decided to have a weekend away. We headed up to the East Coast, drank delicious wines, ate loads, relaxed and crammed in an 11km trail run of the Hazards – Wineglass Bay Circuit. It was a gorgeous day and we thoroughly enjoyed the amazing scenery.
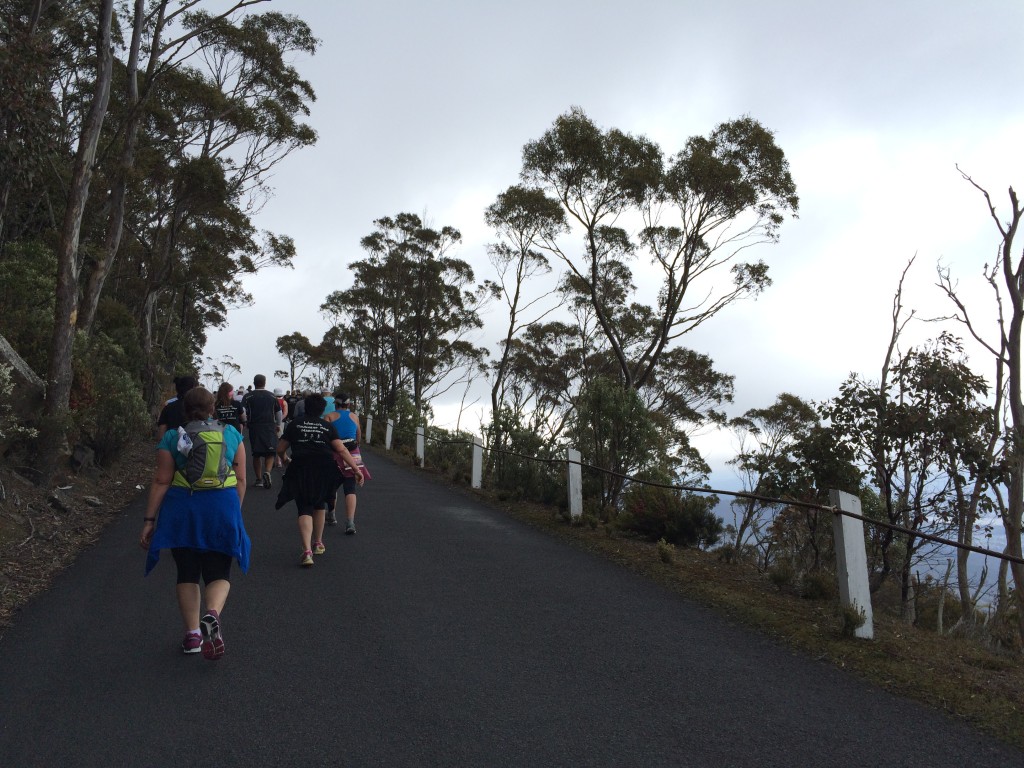
Soon enough it was time to pound the pavement and head up ..to the pinnacle of course!
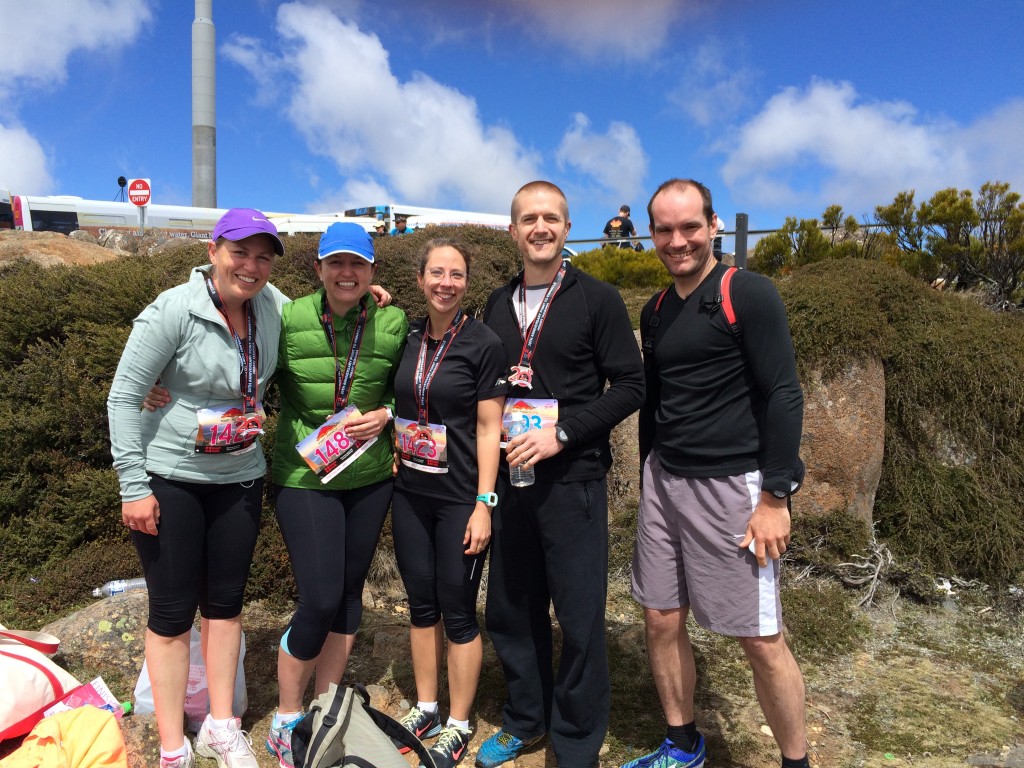
It was an overcast day, but not too cold, perfect for the Project Beans Running Team (Mark, Anna, Sue and I, and we were joined at the last minute by Klaas) to tackle the challenge.
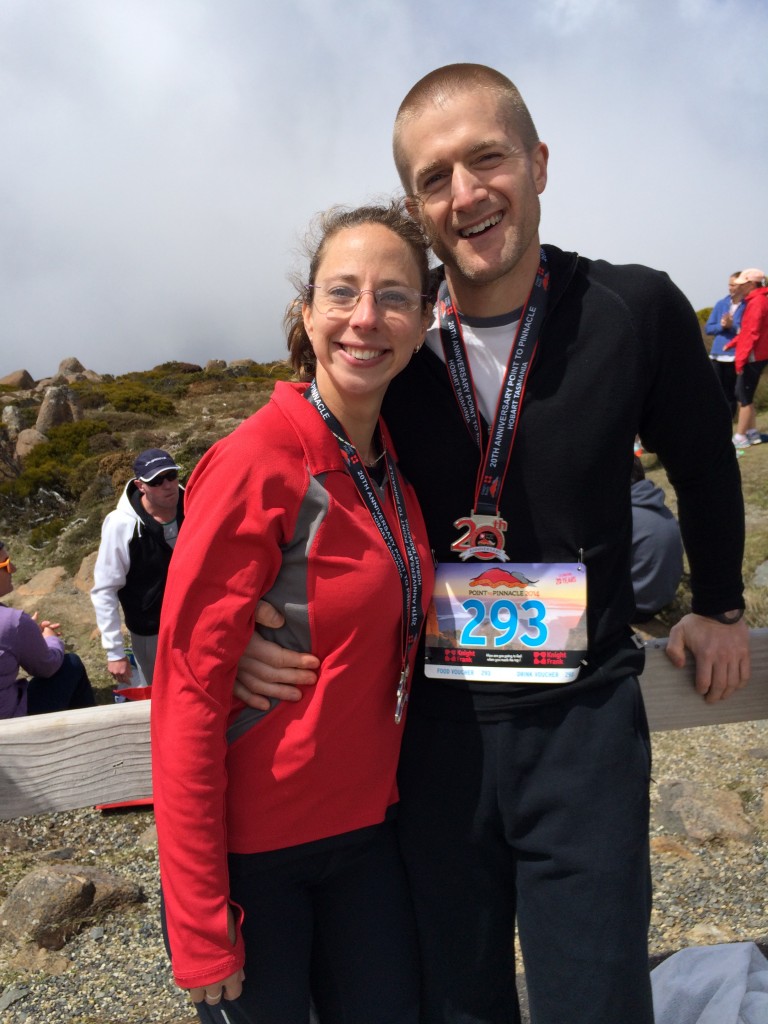
We paced ourselves and slowly made our way up the mountain, Mark and I ran fairly consistently until the Springs (roughly 13km), after that we ran on and off for a few kilometres, before walking the last 5-6 kms, we made it over the finish line in just under 3 hours.
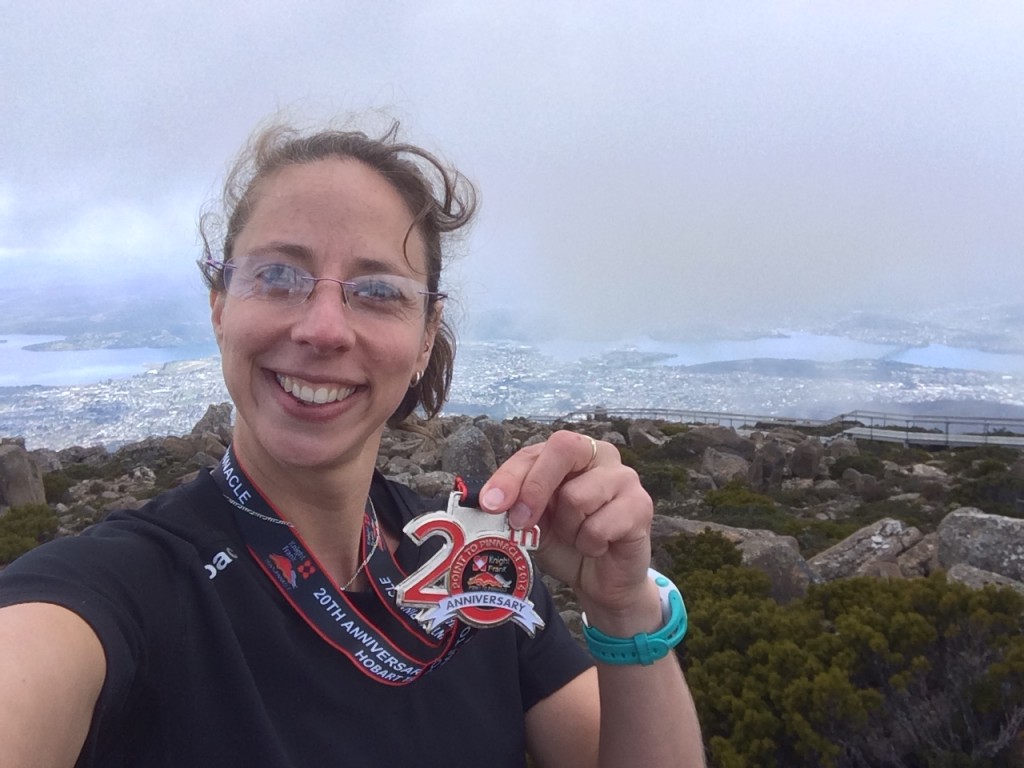
A year ago I had never even run 4km, yet 12 months later I ran the majority (and walked the rest) of the worlds toughest half marathon. It shows you what you can achieve when you set your mind to it.
I am very proud of myself and my team for achieving this goal, and for everyone who supported me along the way. I’d also like to say thanks to everyone who contributed to my fundraising efforts – together we raised almost $1000 for the Fight Cancer Foundation.
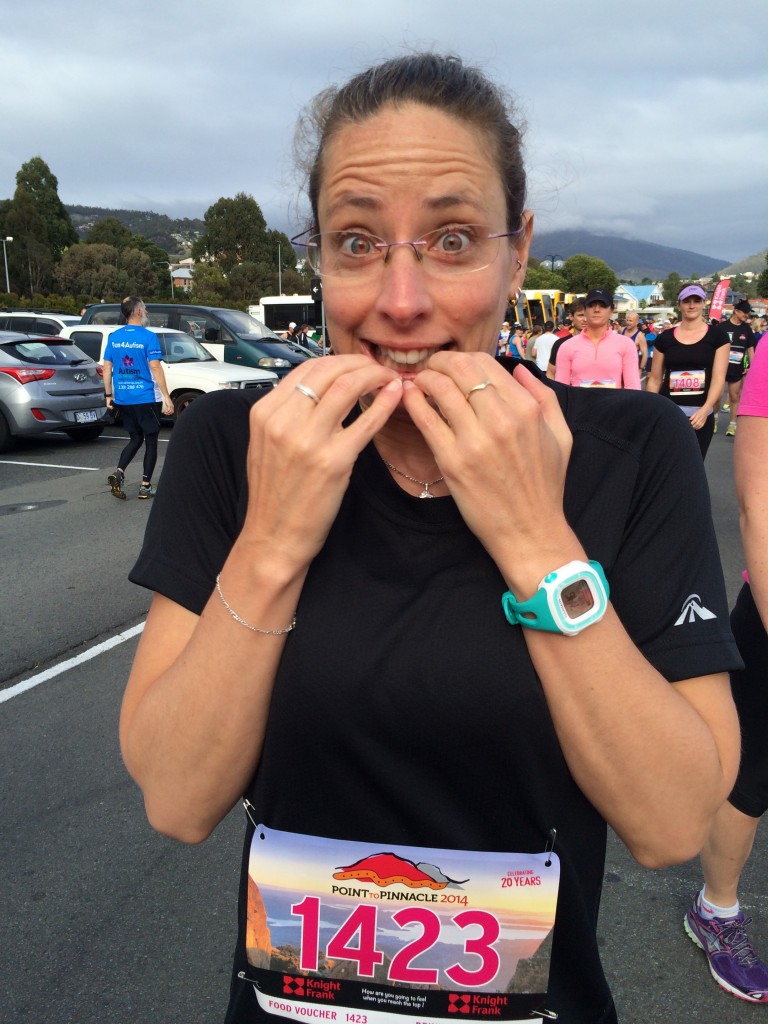
Ready to start – very nervous (0km)
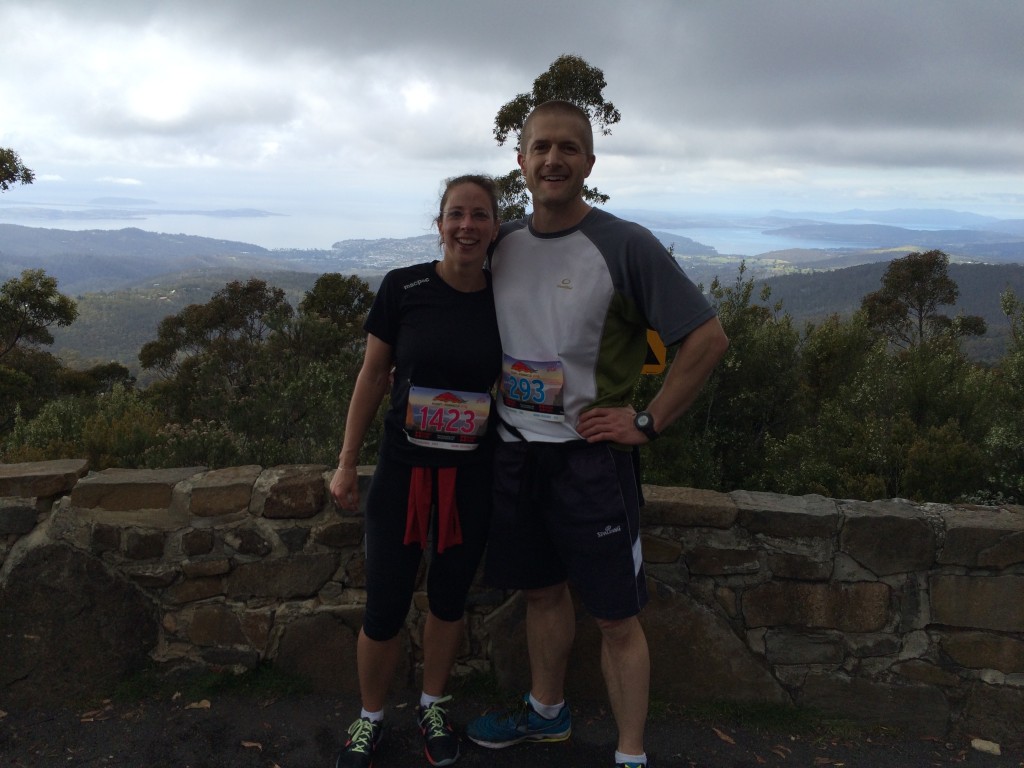
At the lookout (12km)
Past the springs, it’s getting steeper (16km)
We received some medals to prove we did it!! (21km)

 I try to stay reasonably fit and strong. One of the cheapest, easiest and convenient forms of exercise is running. So I run and I know it’s good for me (mentally and physically), but it’s not my favourite thing to do.
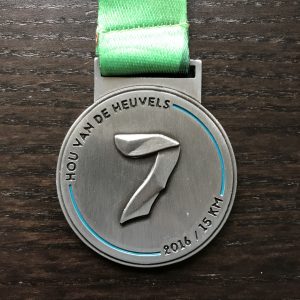 #1 Zevenheuvelenloop
 #2 Bruggenloop
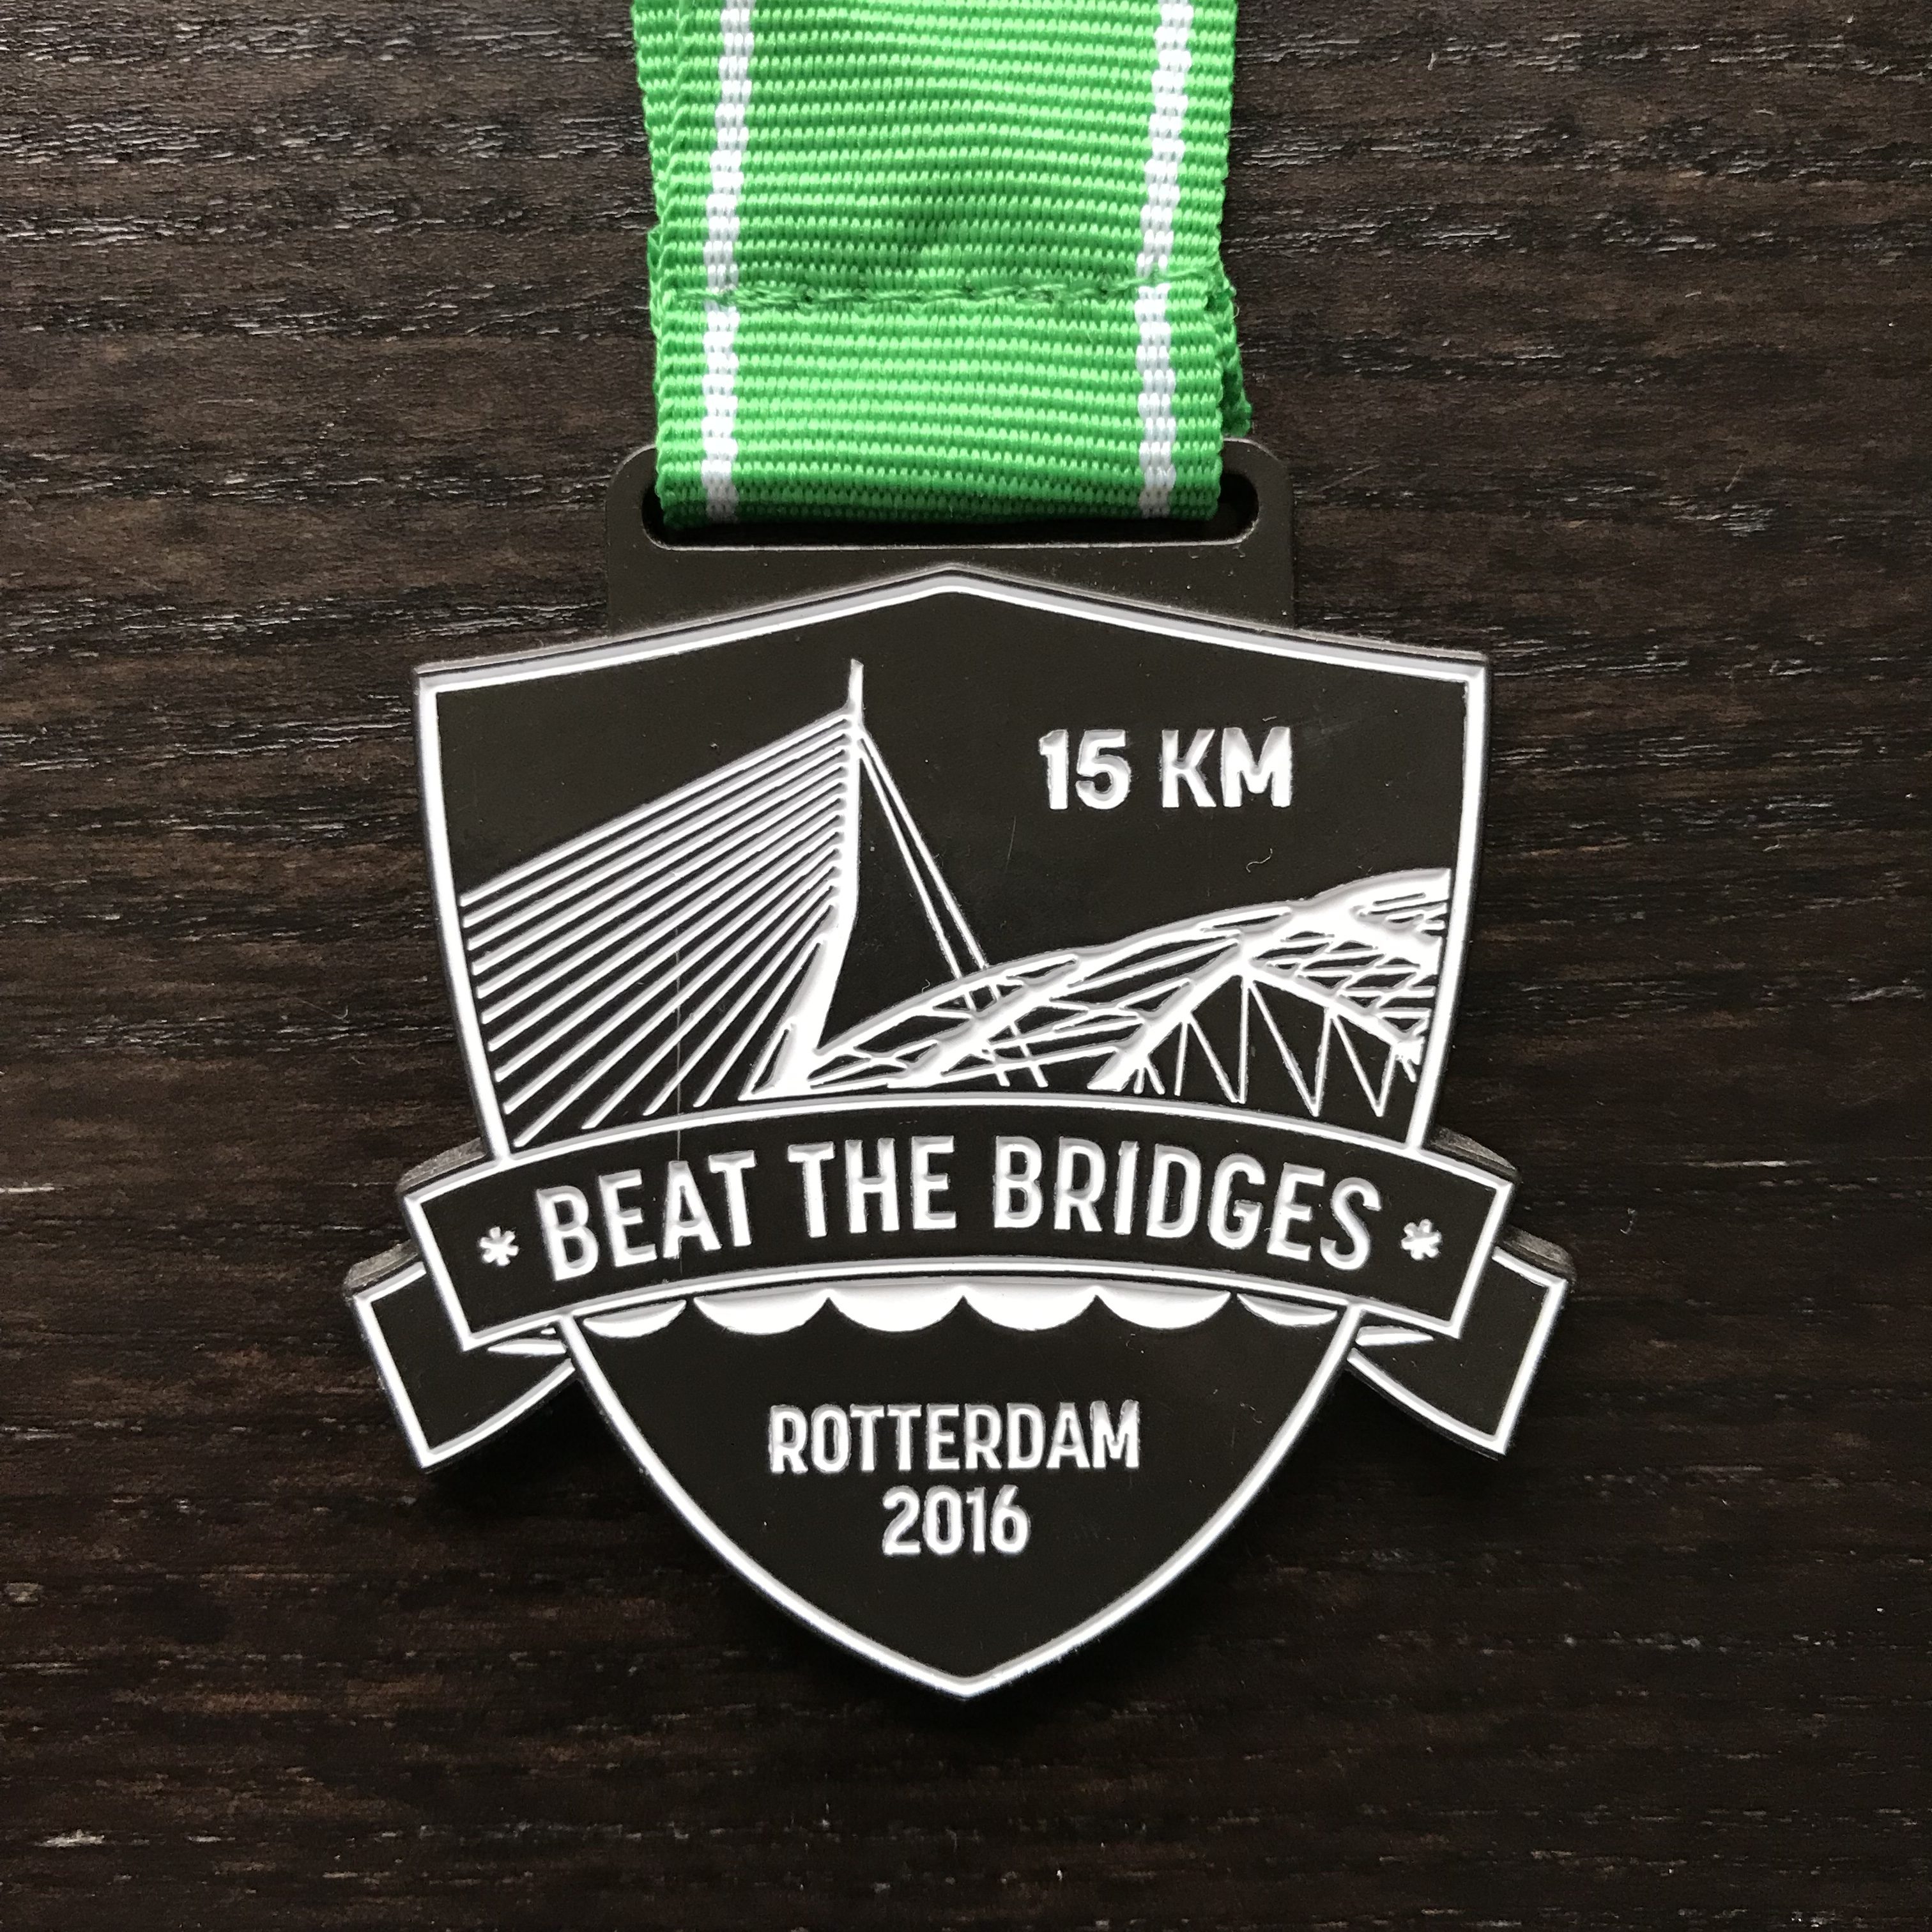
 #3 Egmond Half Marathon
 #4 Midwinter Marathon
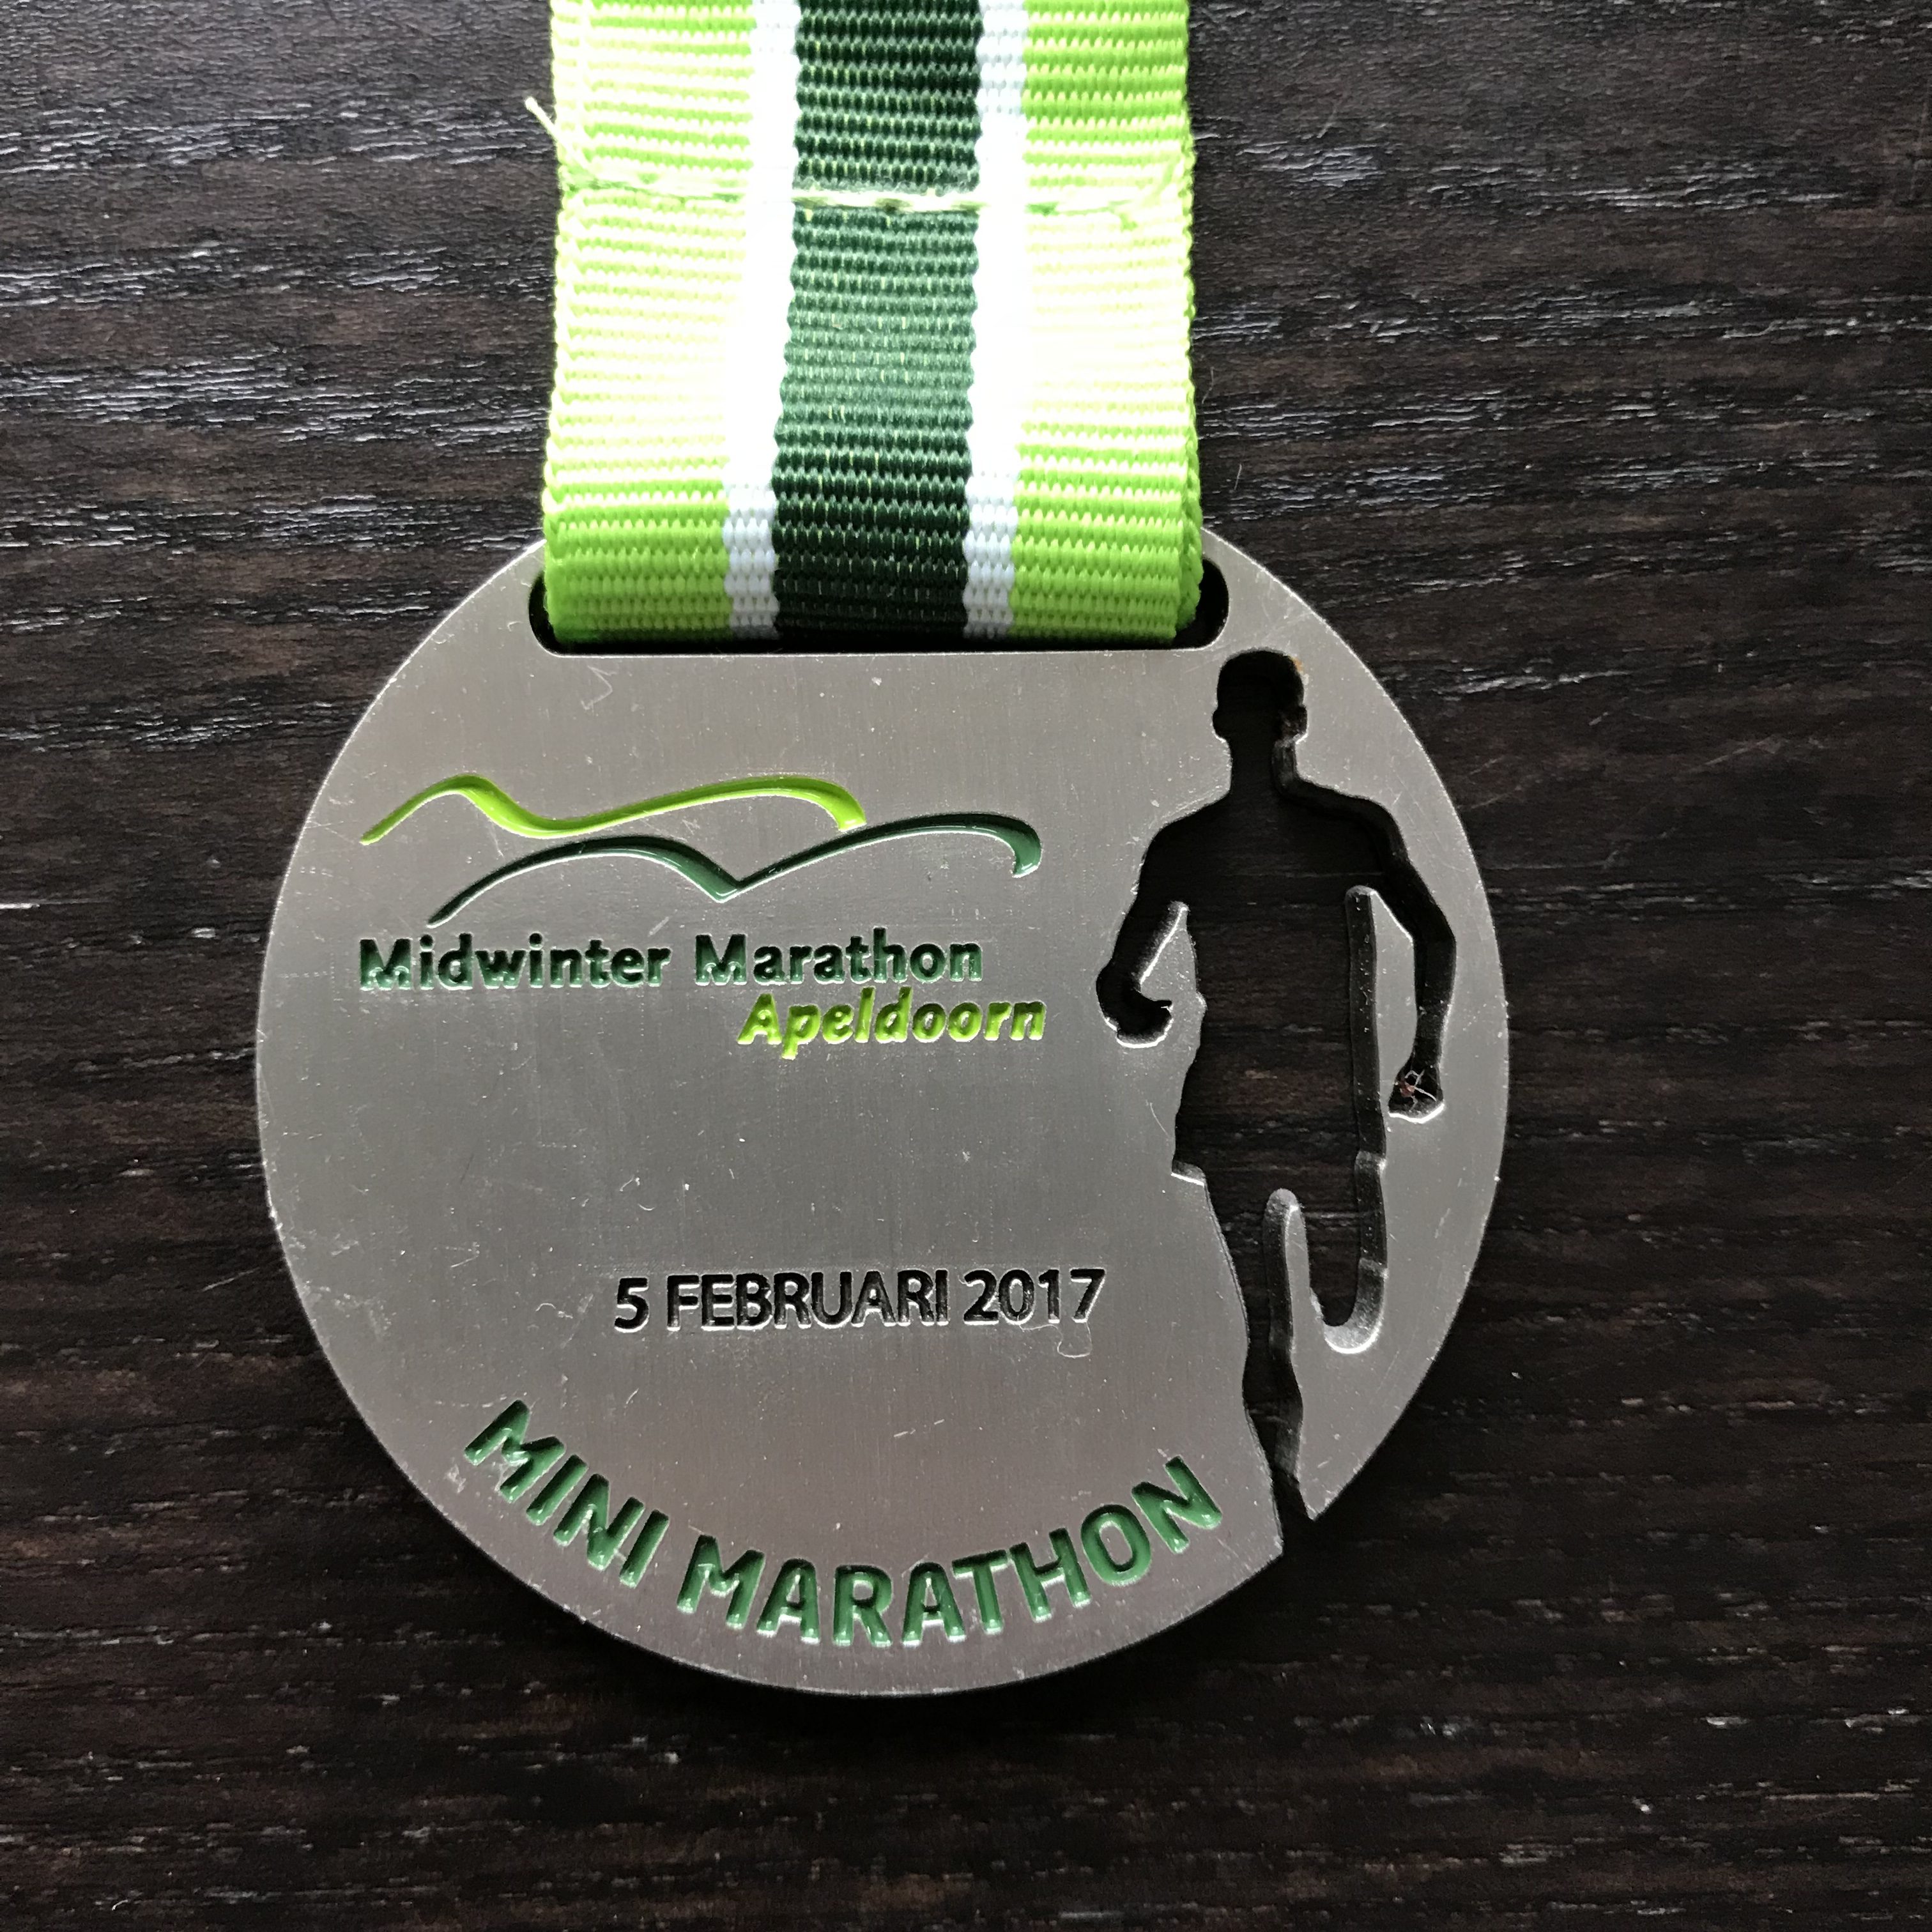
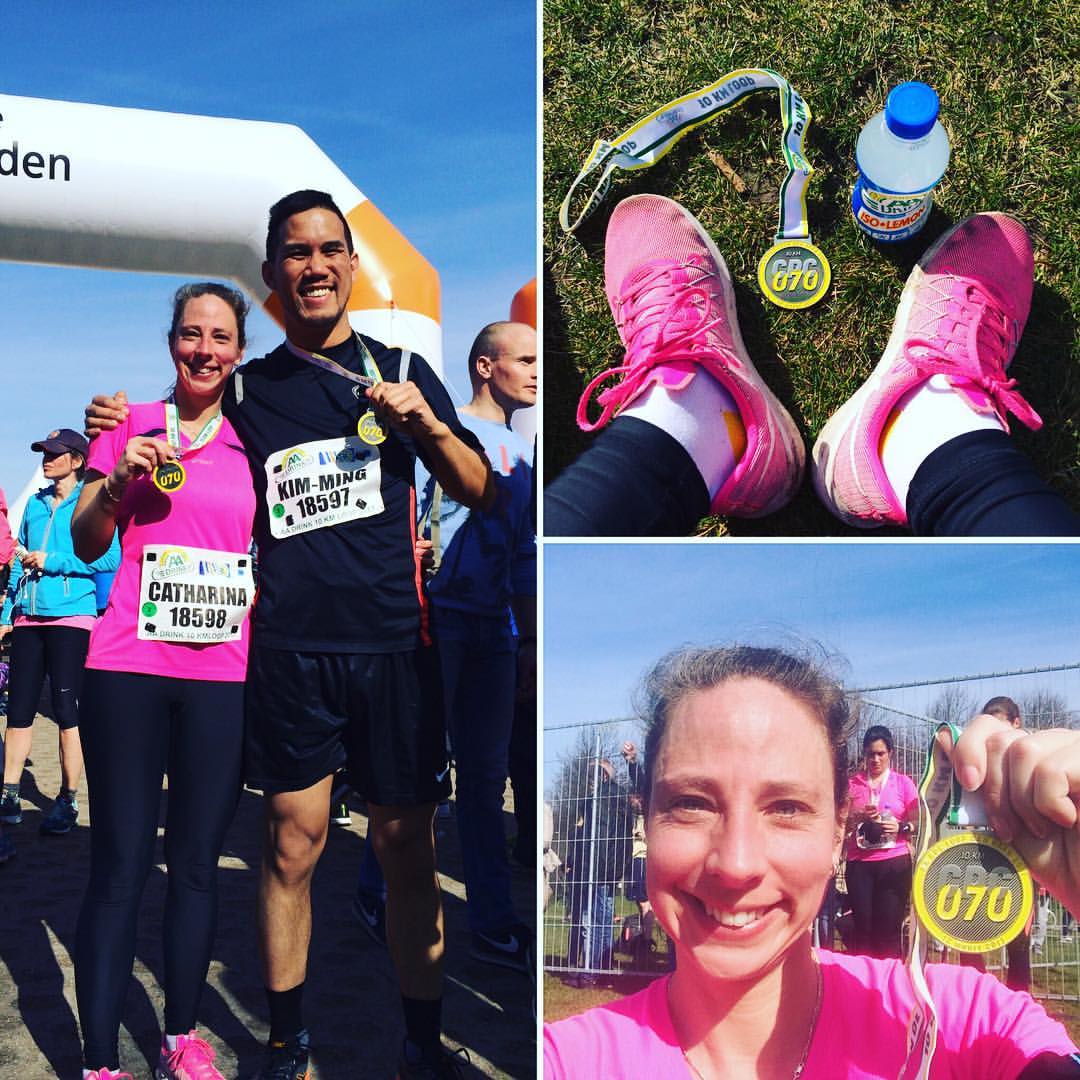
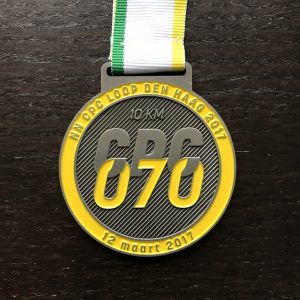 #5 CPC Loop
 #6 Enschede Marathon
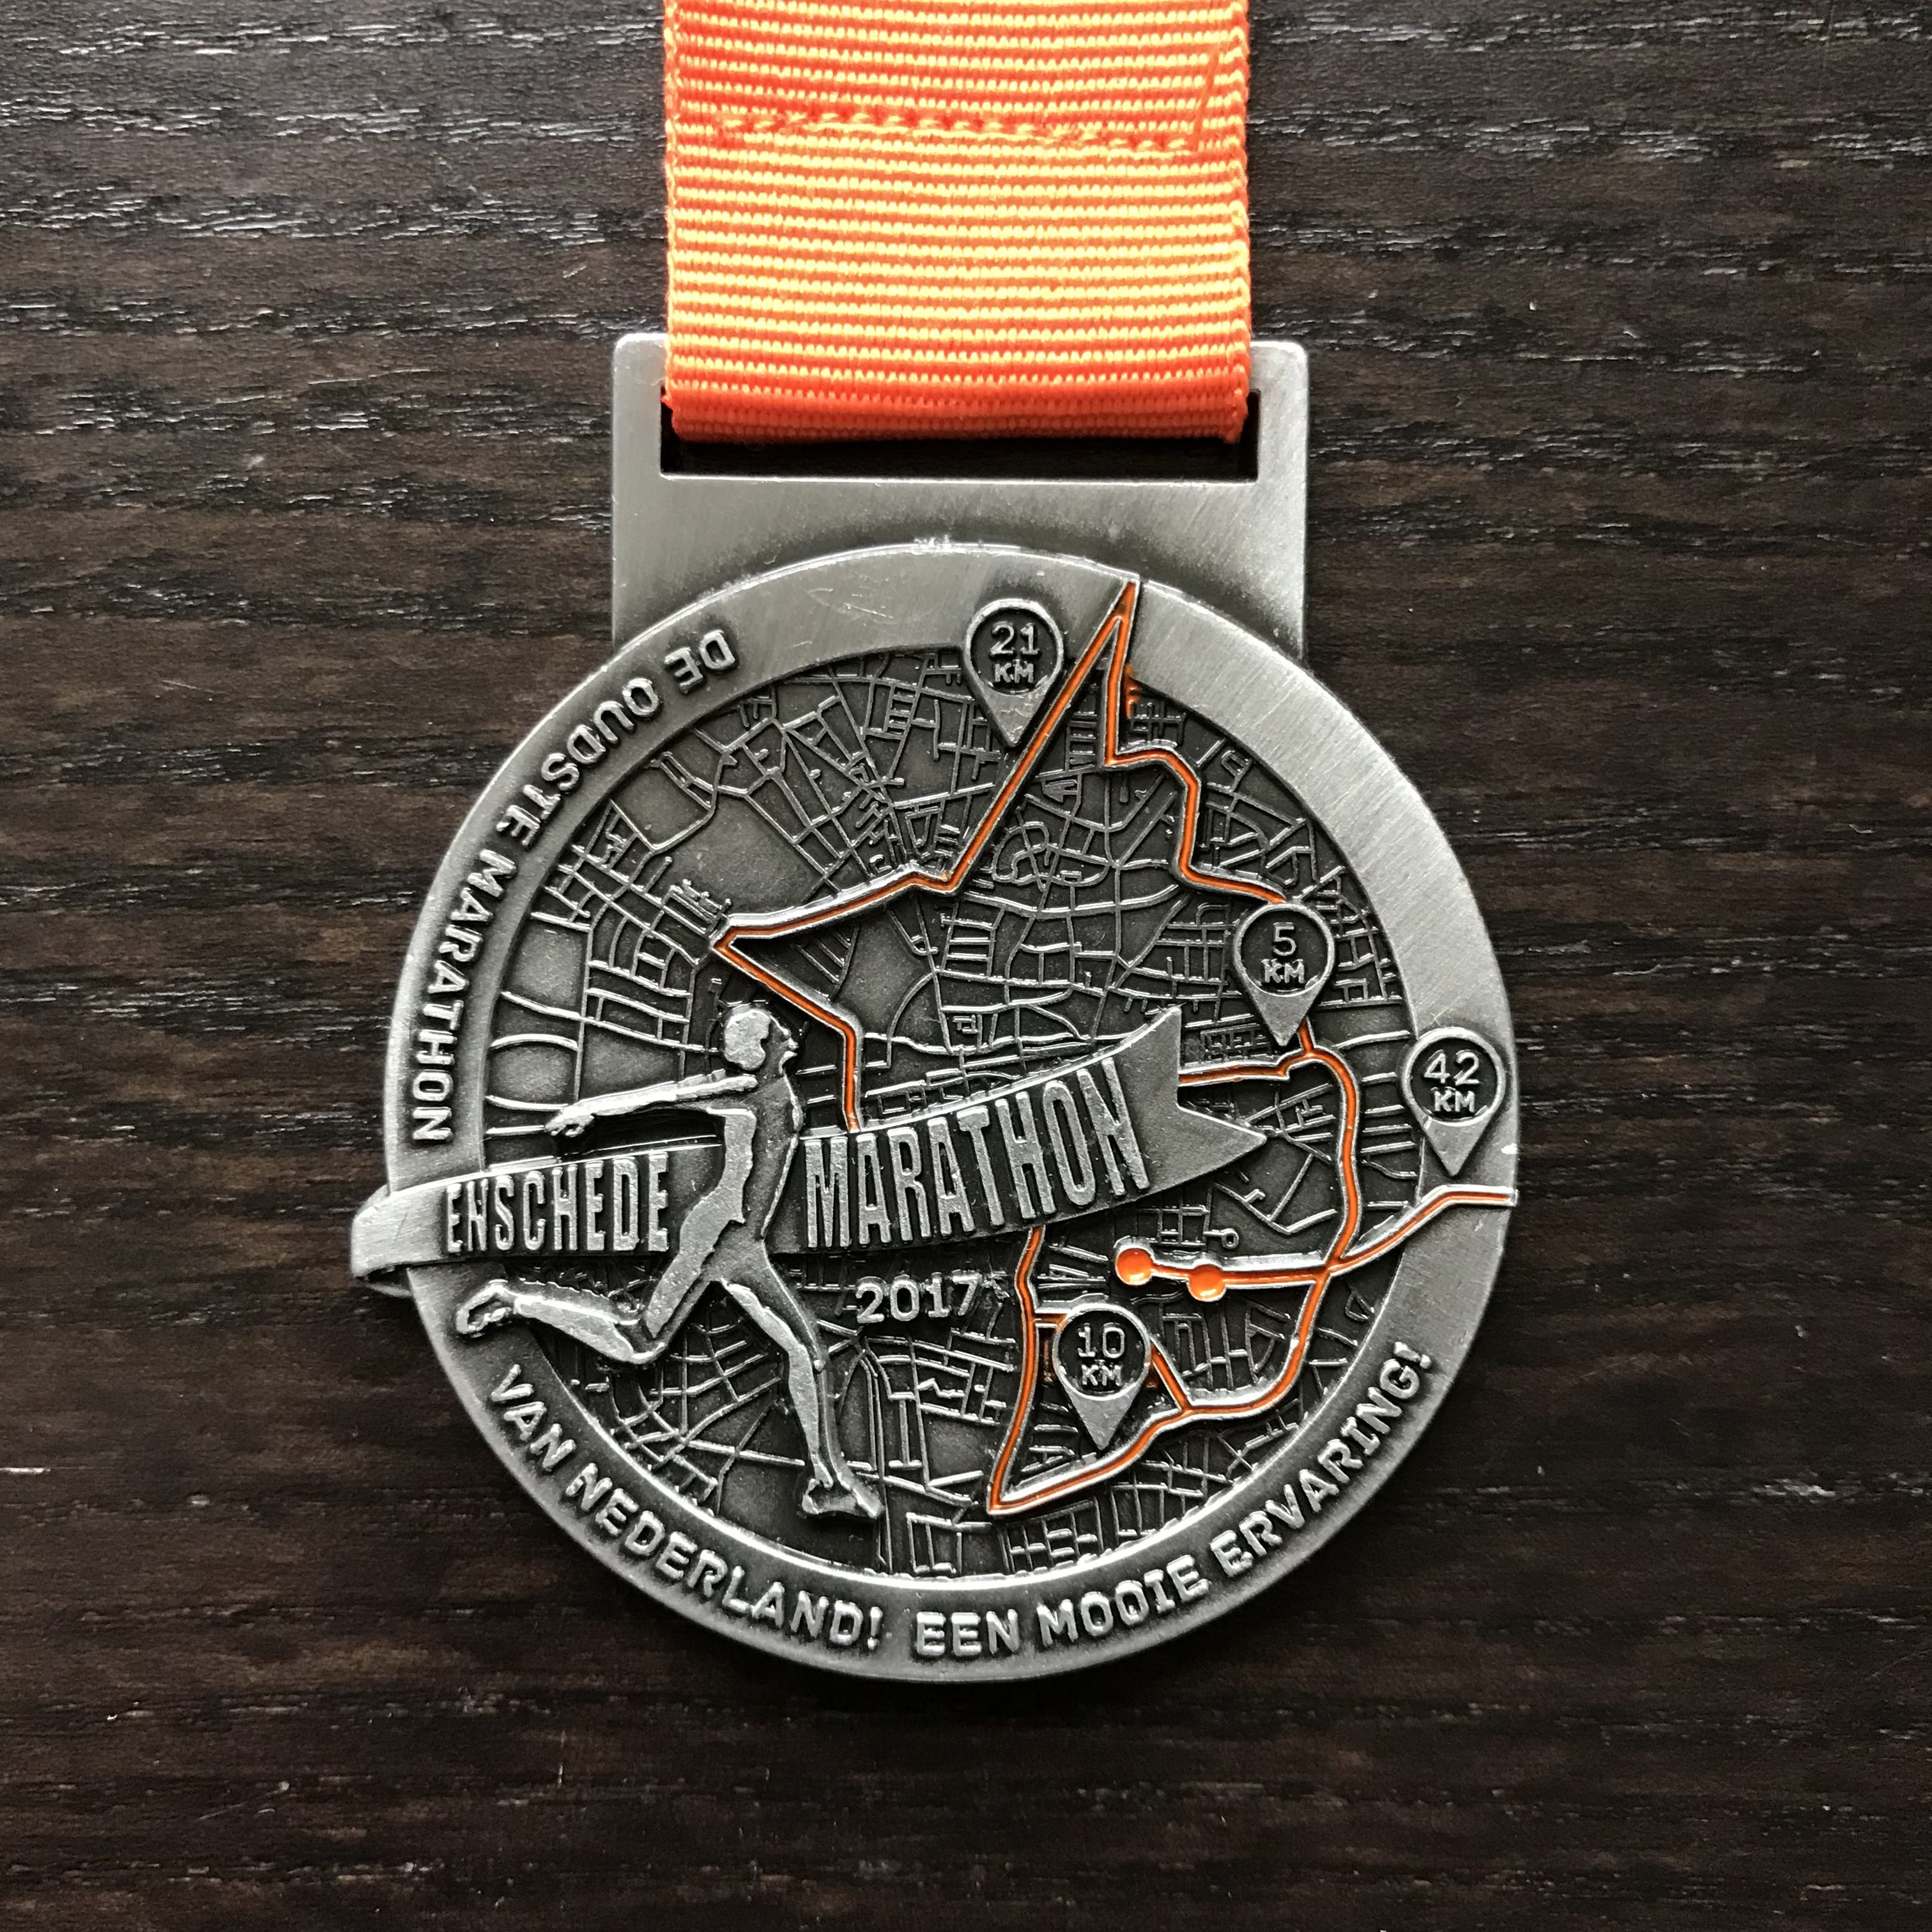
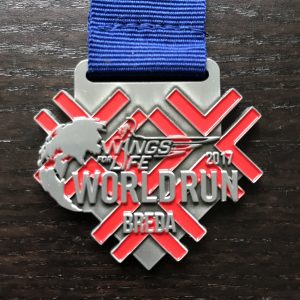 #7 Wings-for-life
 #8 Leiden Marathon
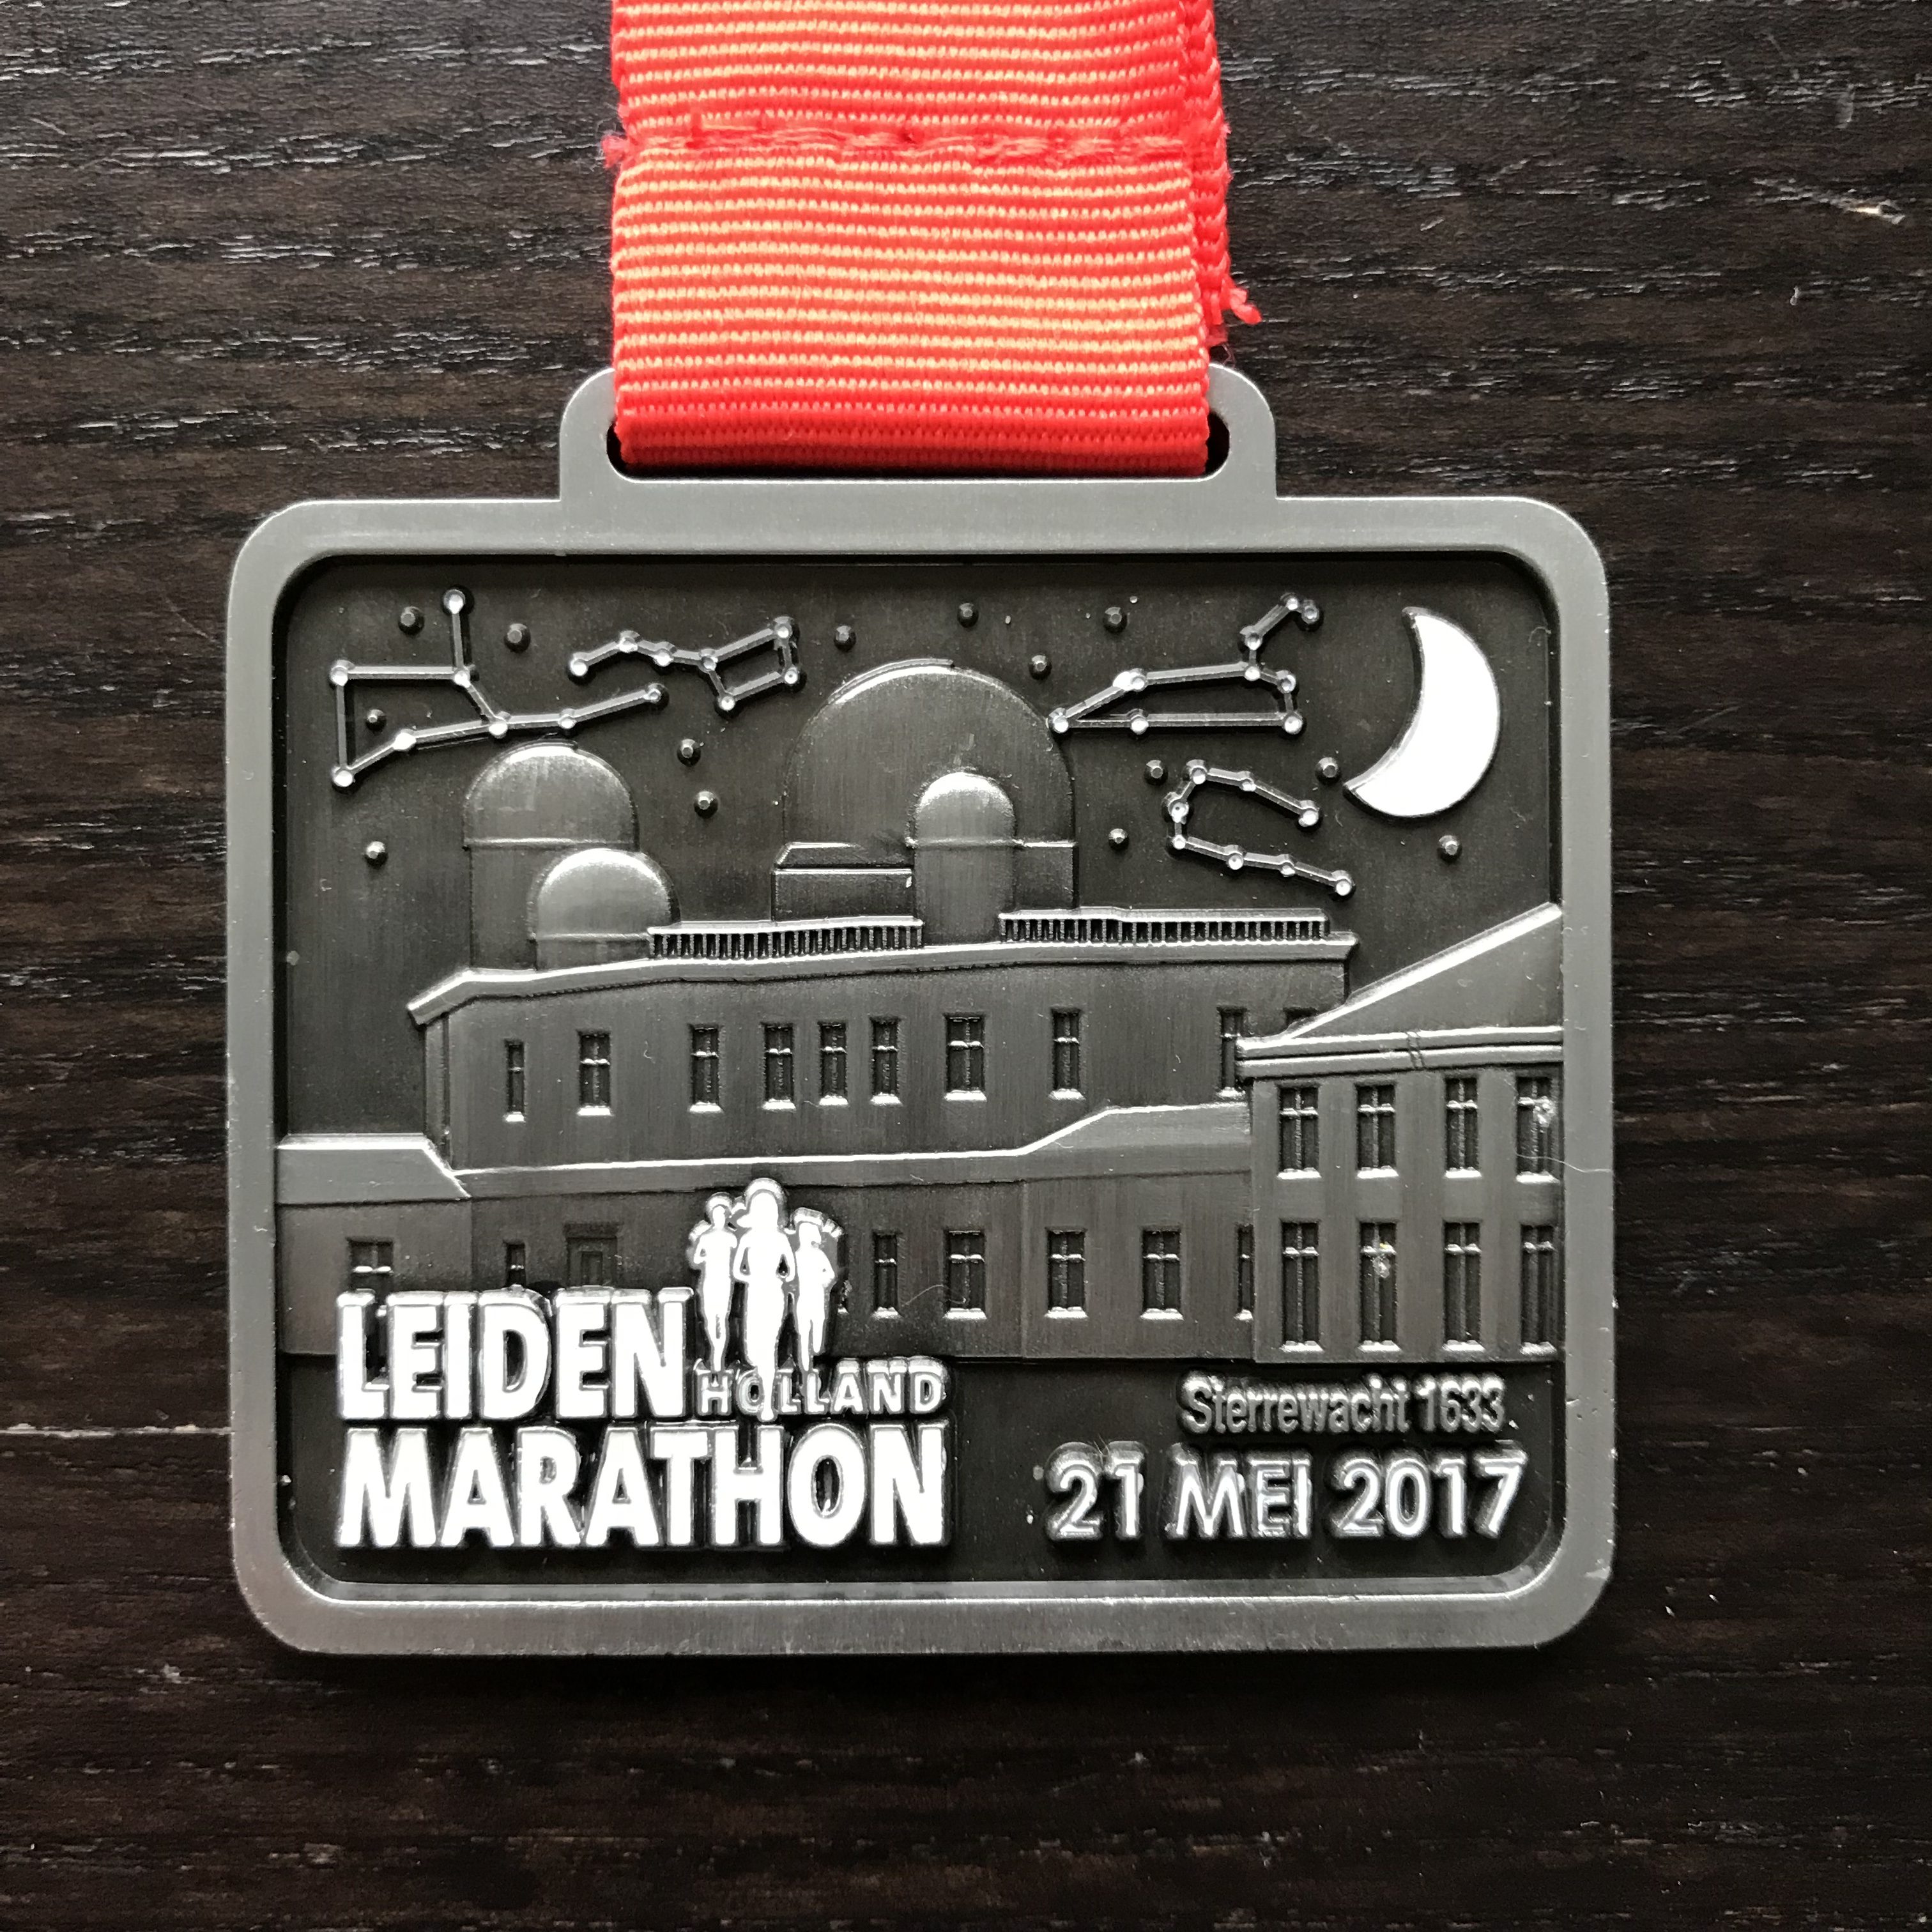
 #9 Maastrichts Mooiste
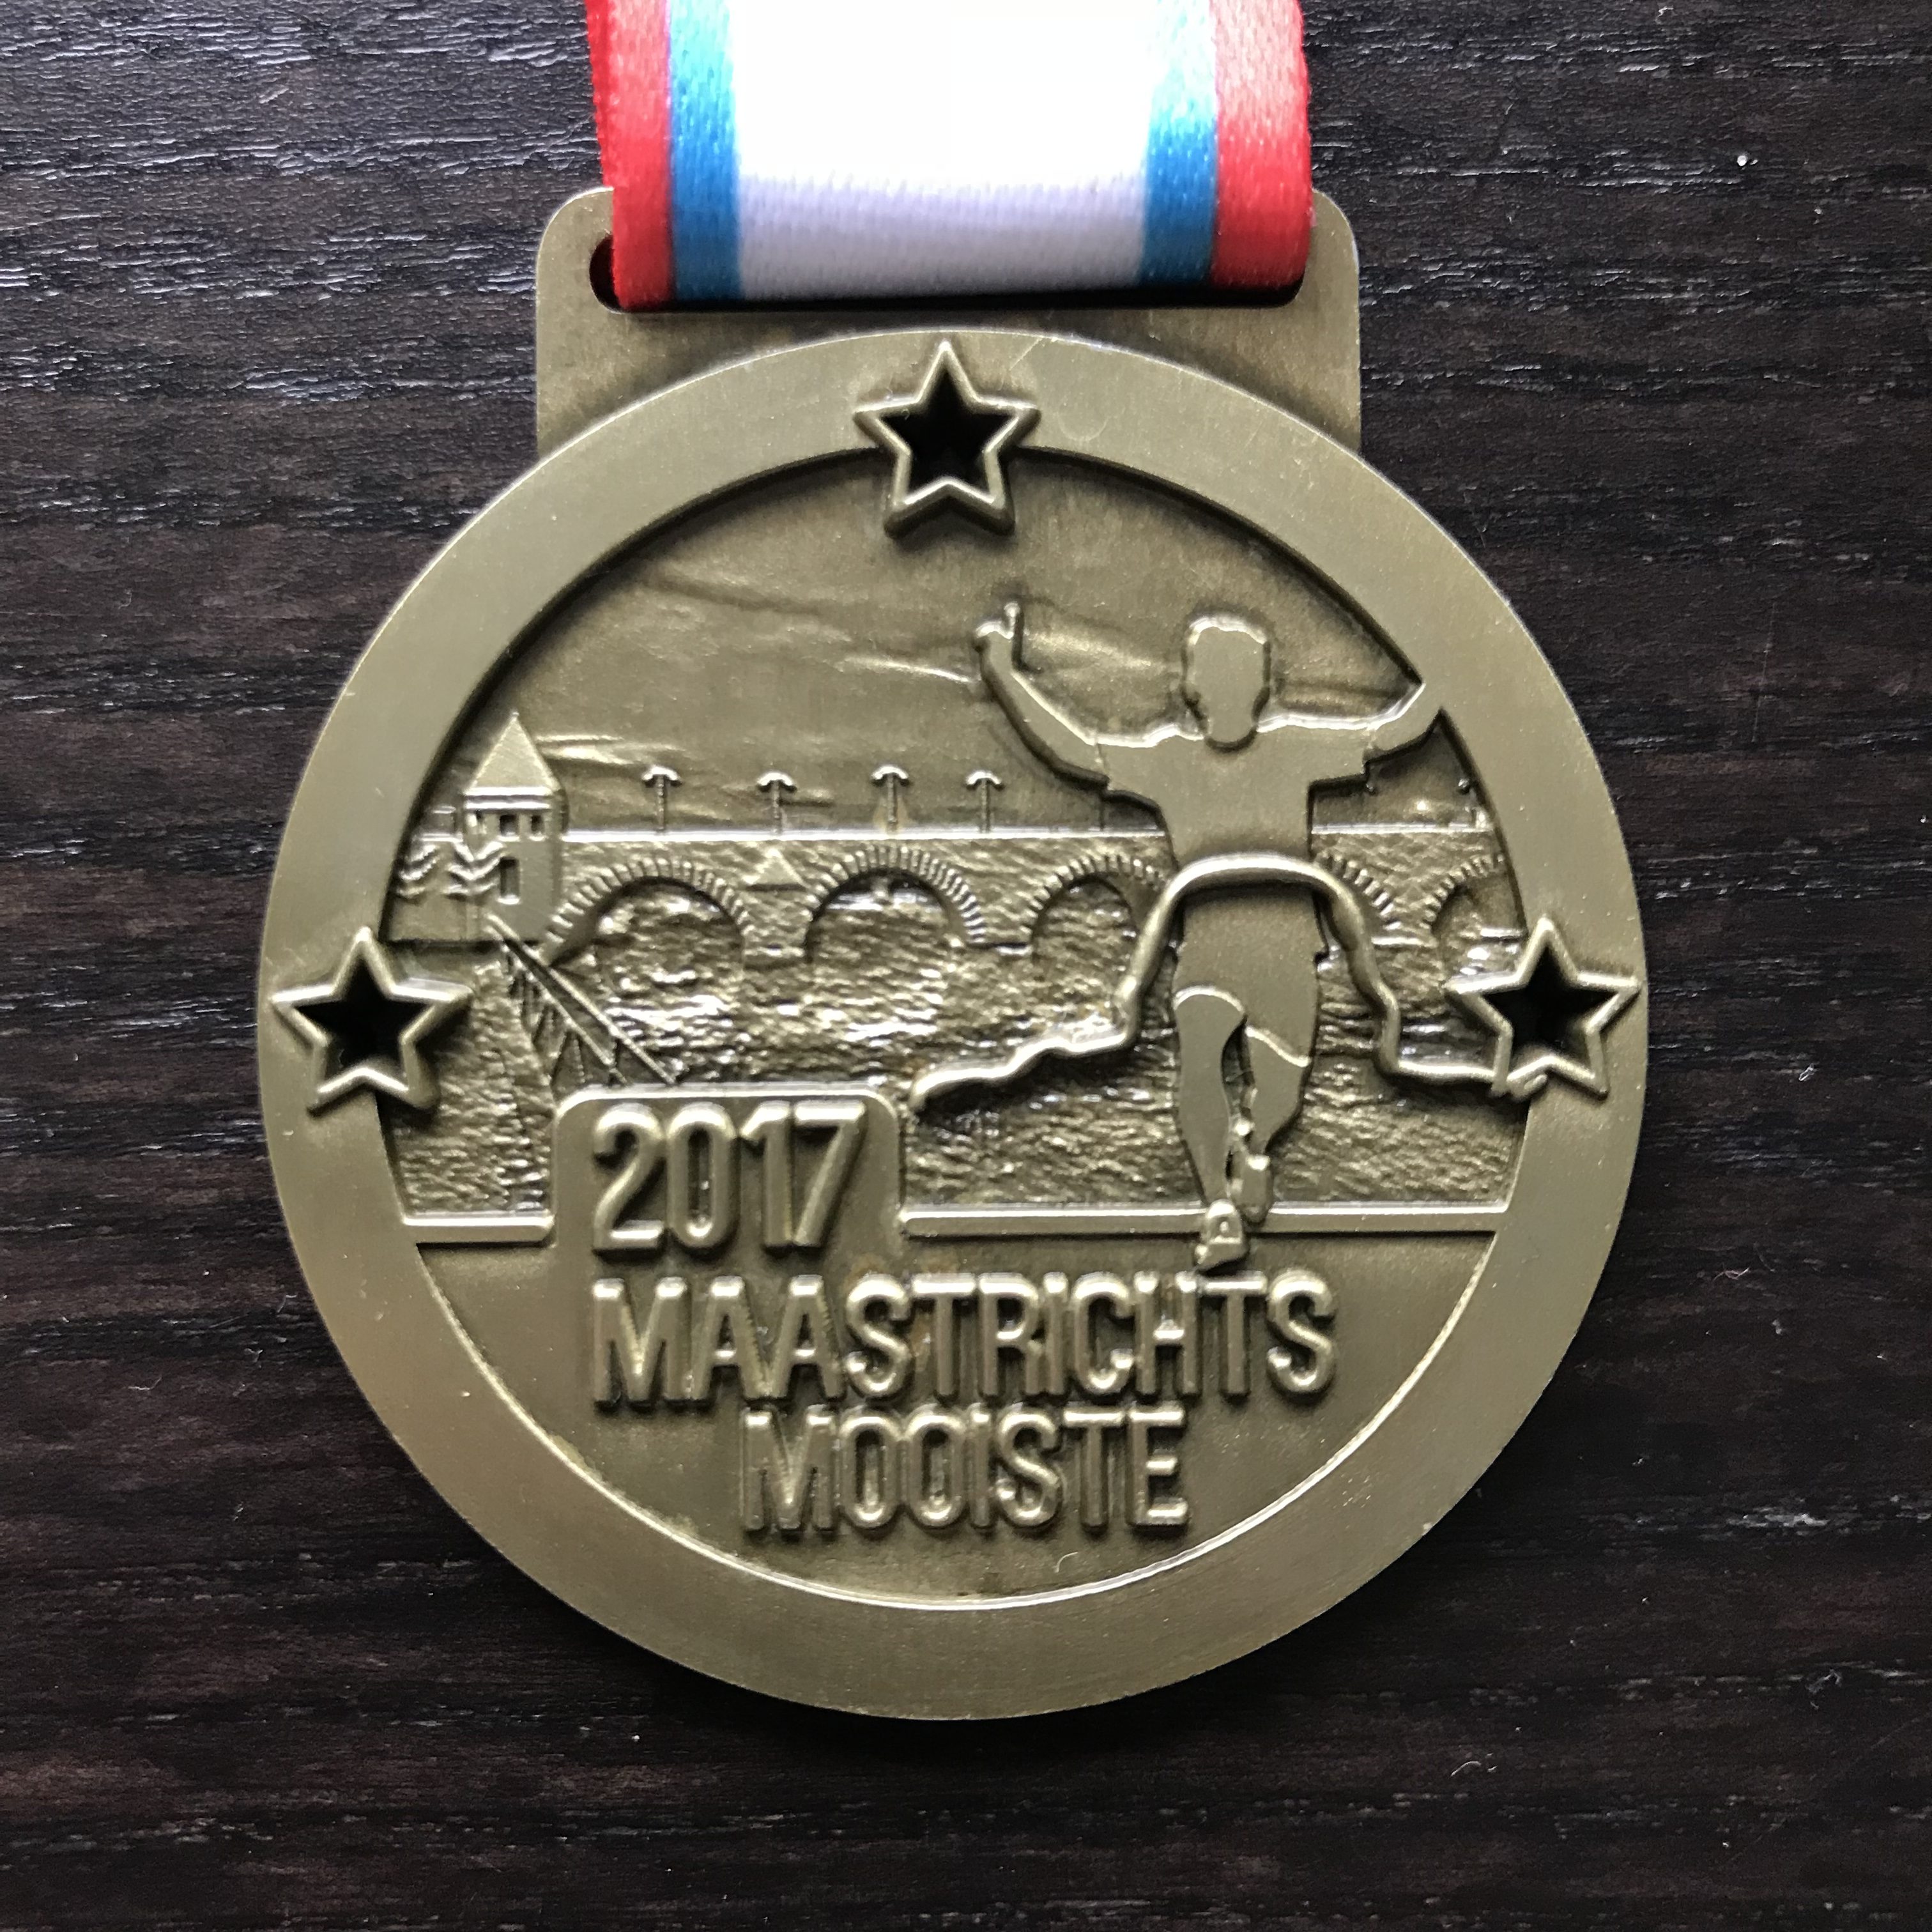
 #10 Dam tot Damloop
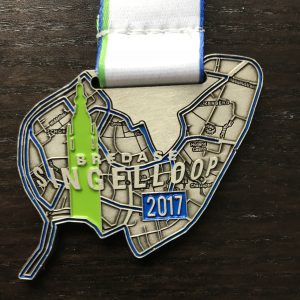 #11 Bredase Singelloop
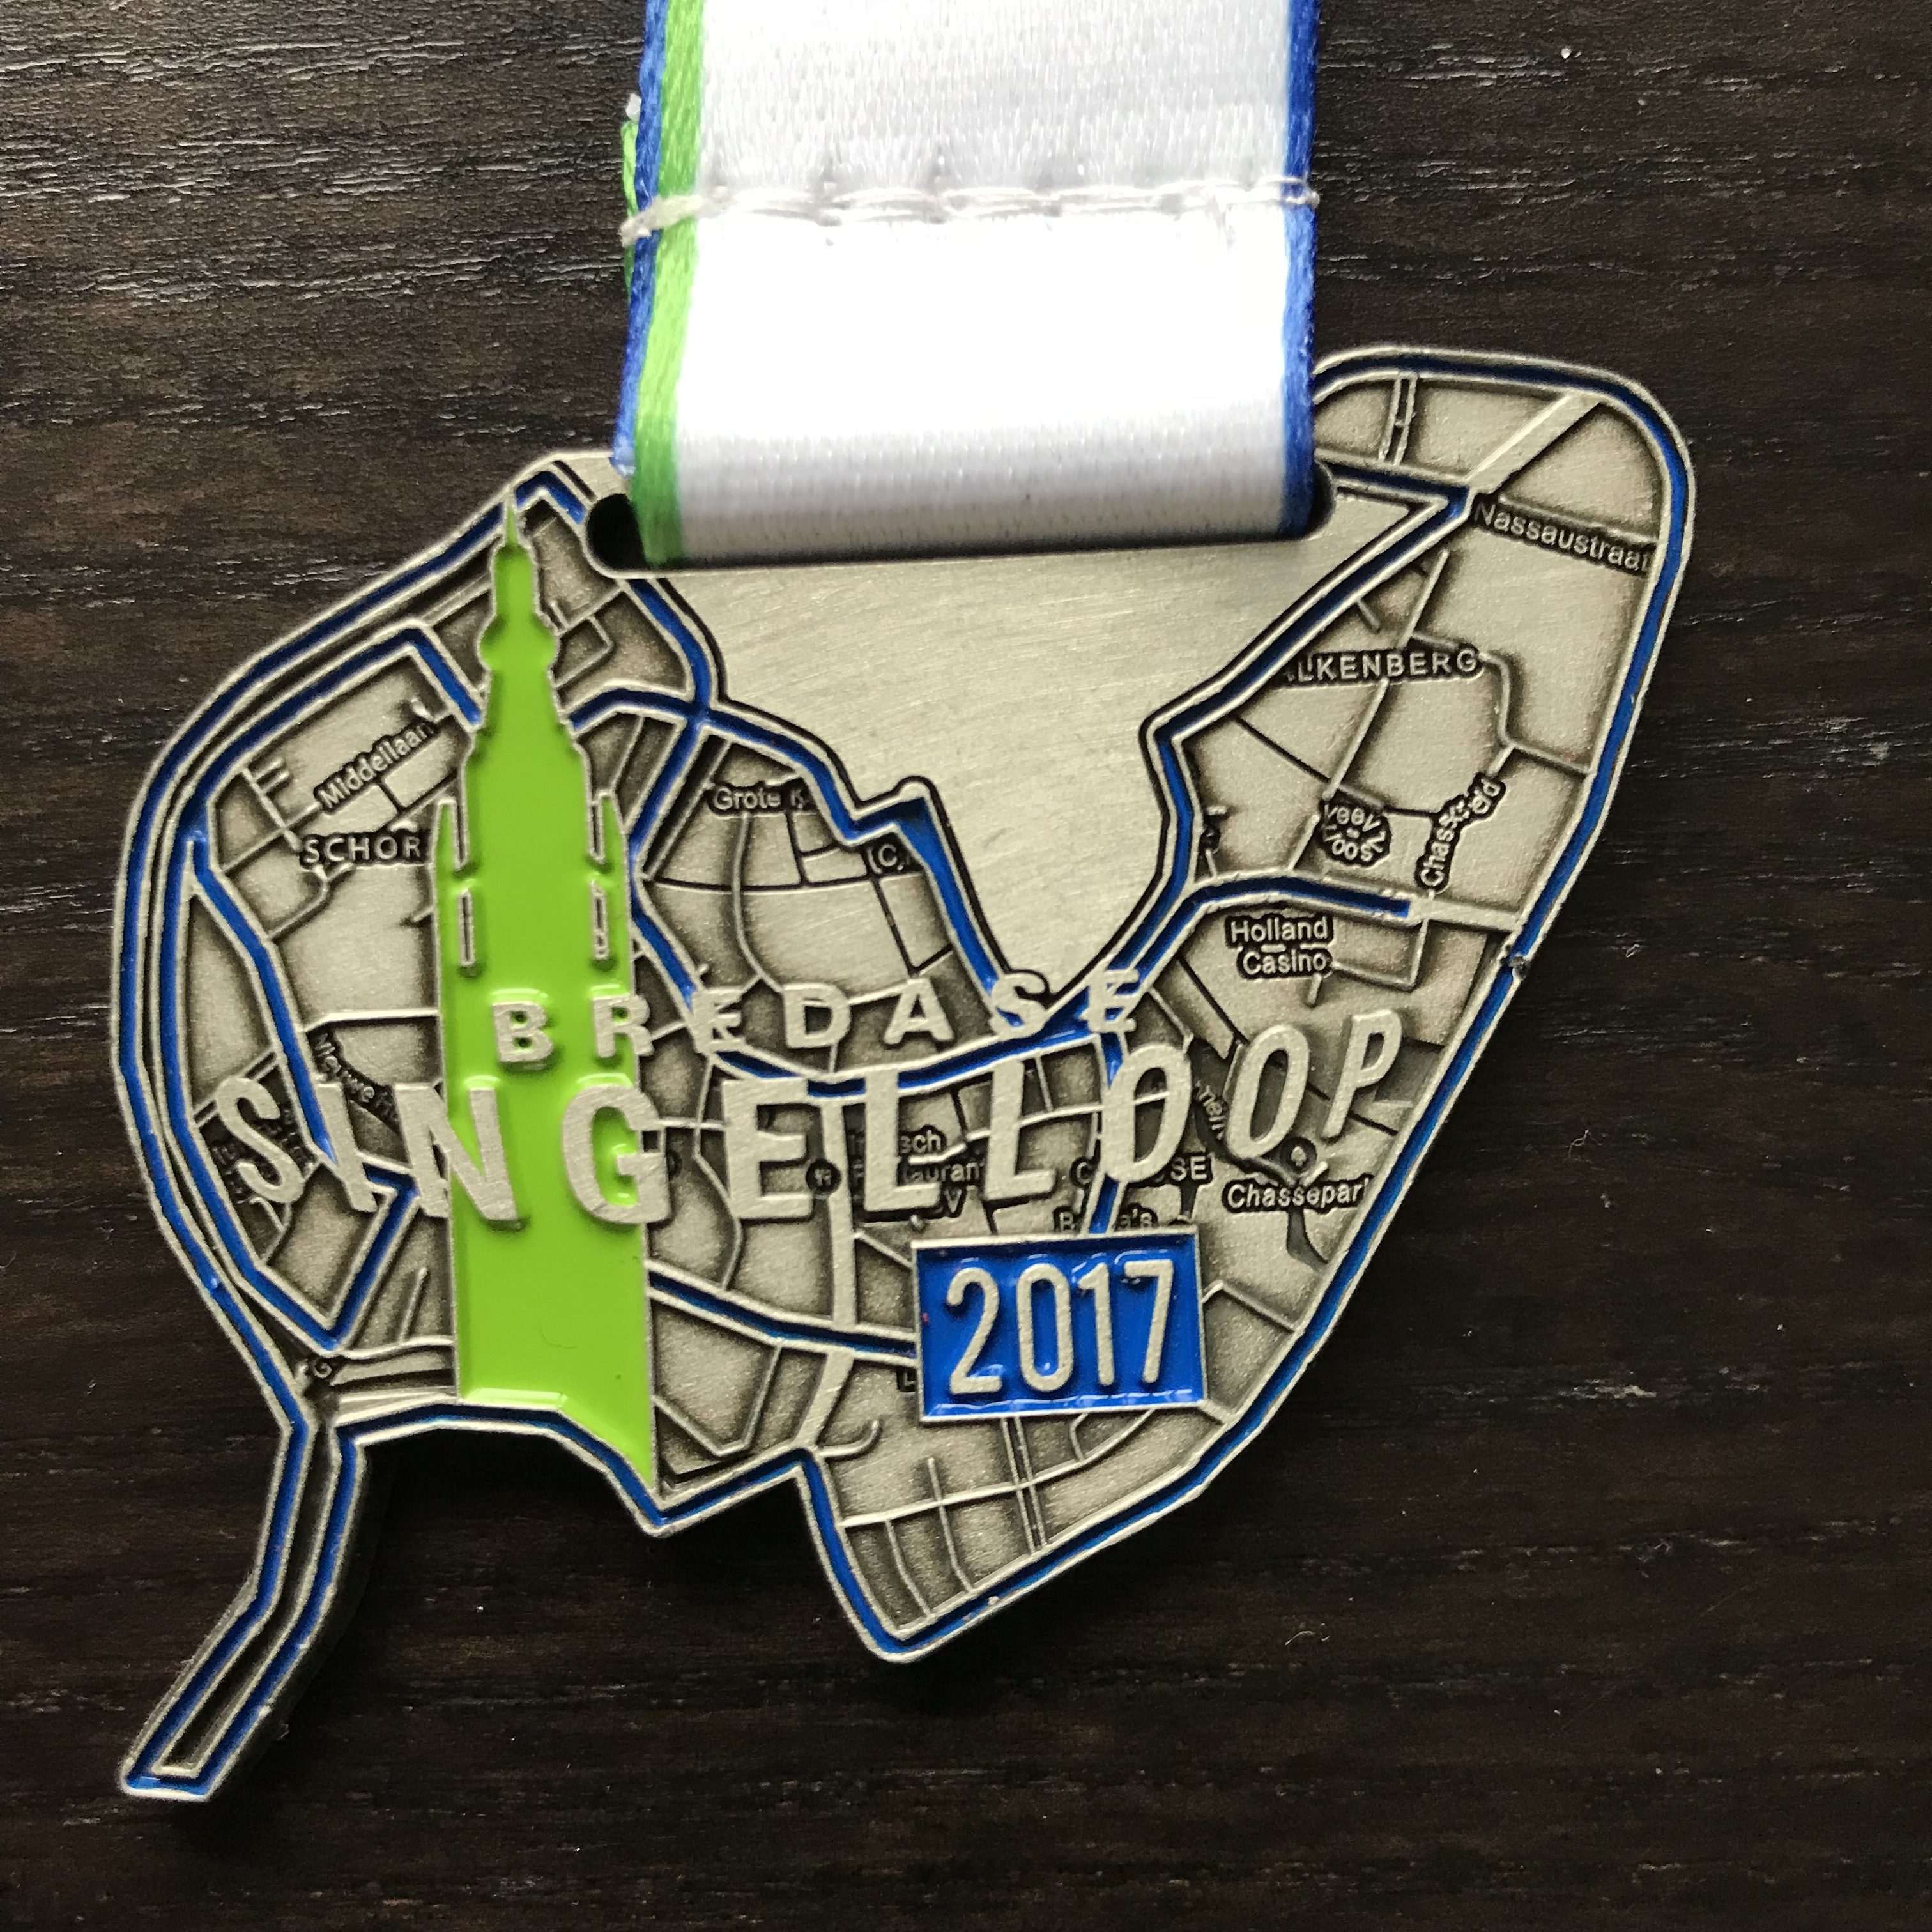
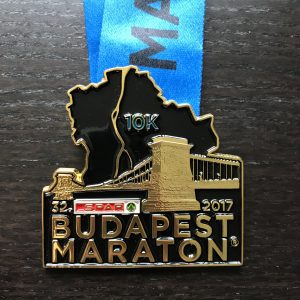 #12 Budapest Marathon
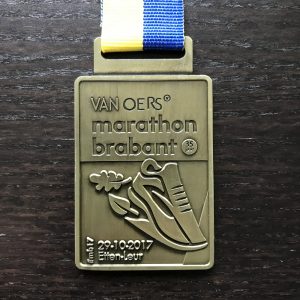 #13 Marathon Brabant